Garlic Naan
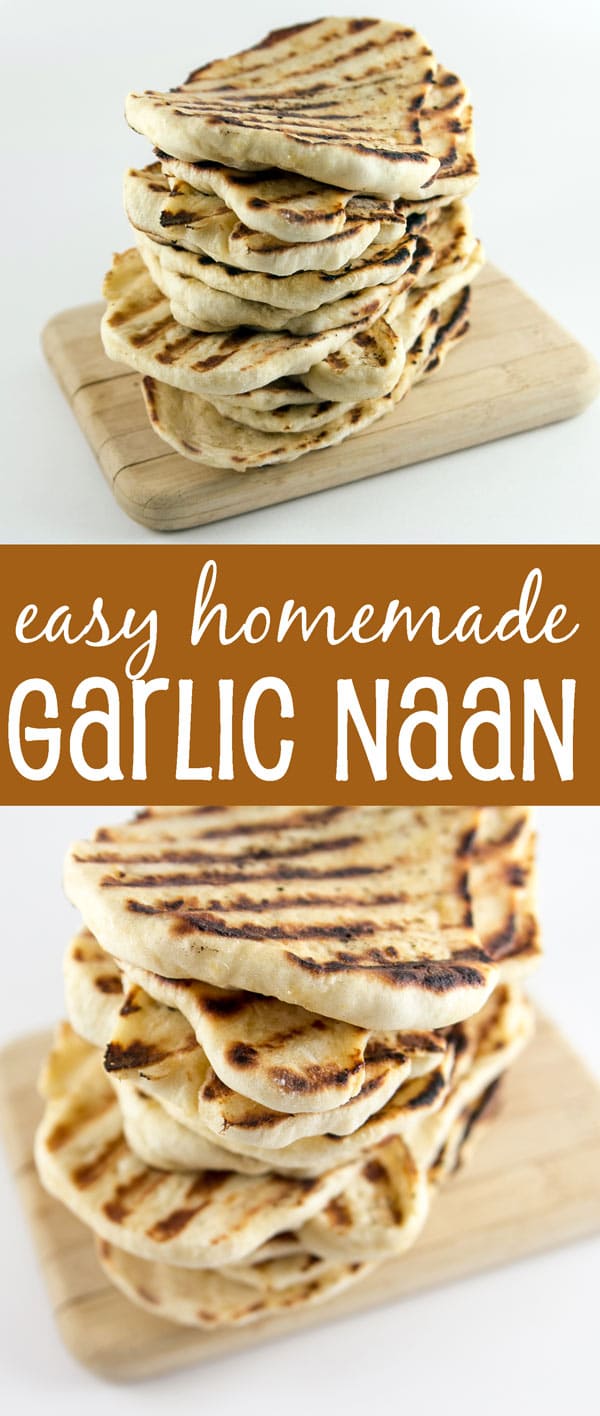
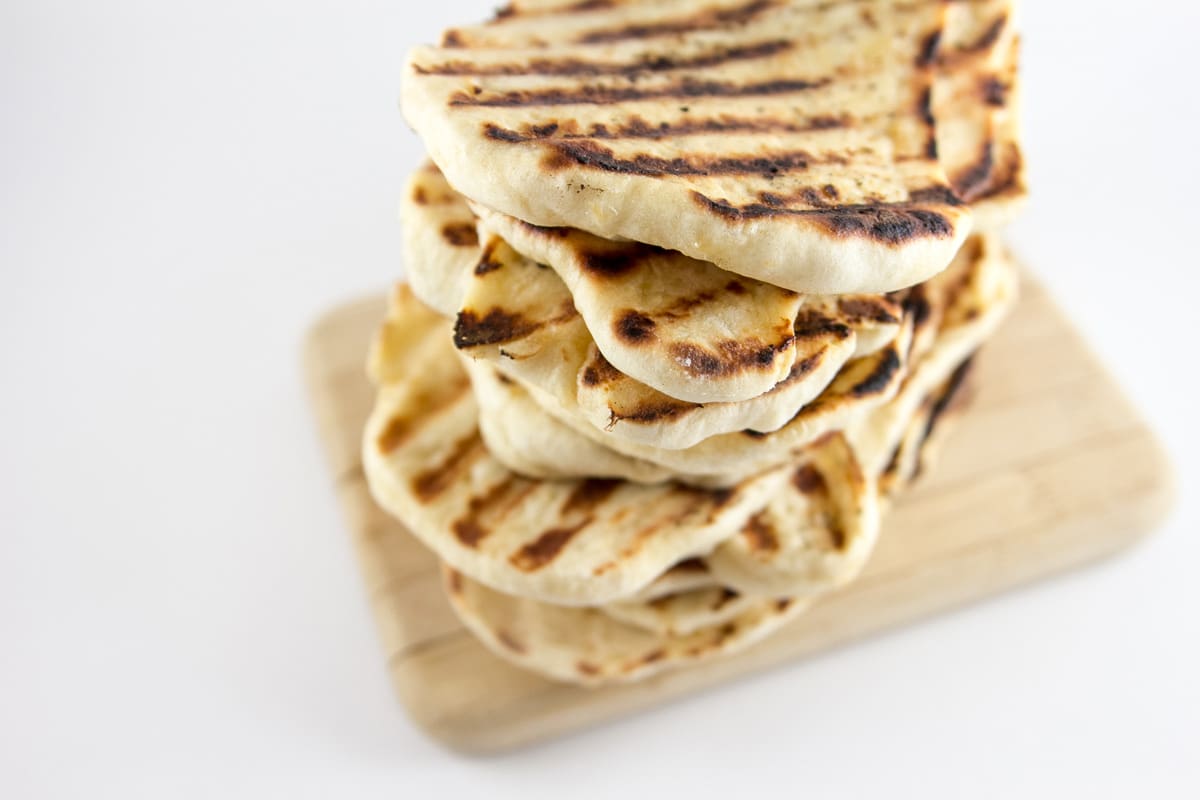
Homemade garlic naan is so much easier than you think! Soft, slightly chewy, and flavored with garlic, make a big batch and freeze the rest for later.
When I posted the recipe for eggplant curry last week, I mentioned that I also made garlic naan. This was actually my first time making naan – I have no idea why it took me so long. I don’t make bread frequently, and every time I do, I question why I don’t do it more often. There’s something so incredibly cathartic about kneading dough by hand and (not-so) patiently waiting to see if your dough rises. I think I might try working my way through a variety of yeast breads this fall; I’m already daydreaming about chilly fall days with the kitchen door open, football on the TV, and the scent of fresh bread coming from the oven.
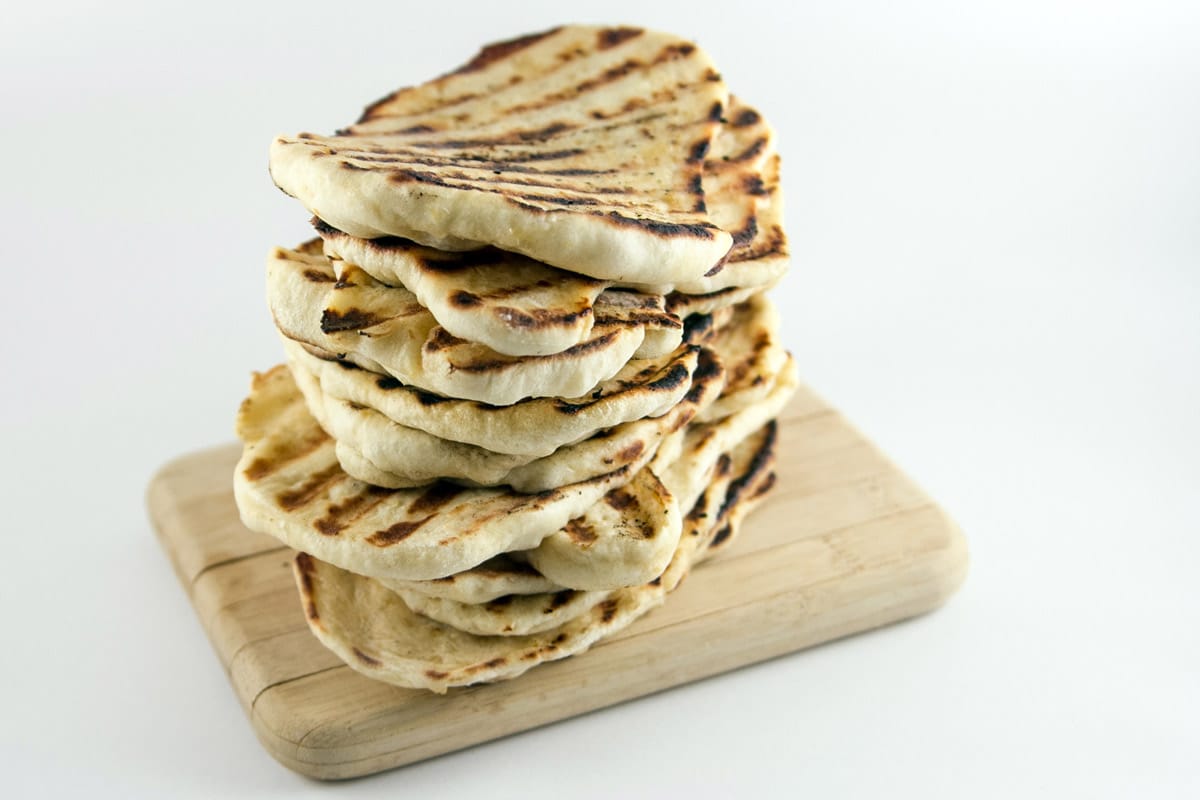
Back to reality… and upper-80s summer weather. This garlic naan was a peace offering to my husband, going alongside the vegan and gluten-free (two of his least favorite food descriptors) eggplant curry. The process is incredibly simple, though a bit time consuming if you don’t have a large workspace on your grill. Since I was stirring the curry simultaneously, I chose to make these on a grill pan on my stove, but the whole process would have gone much quicker if I used my outdoor grill. I used an assembly line-style process: roll out one piece of dough and add to grill pan. Roll out a second piece of dough and add that to the grill pan. Flip the first piece, roll out a third piece. Flip the second piece, remove the first piece, add the third piece to the grill, and so forth.
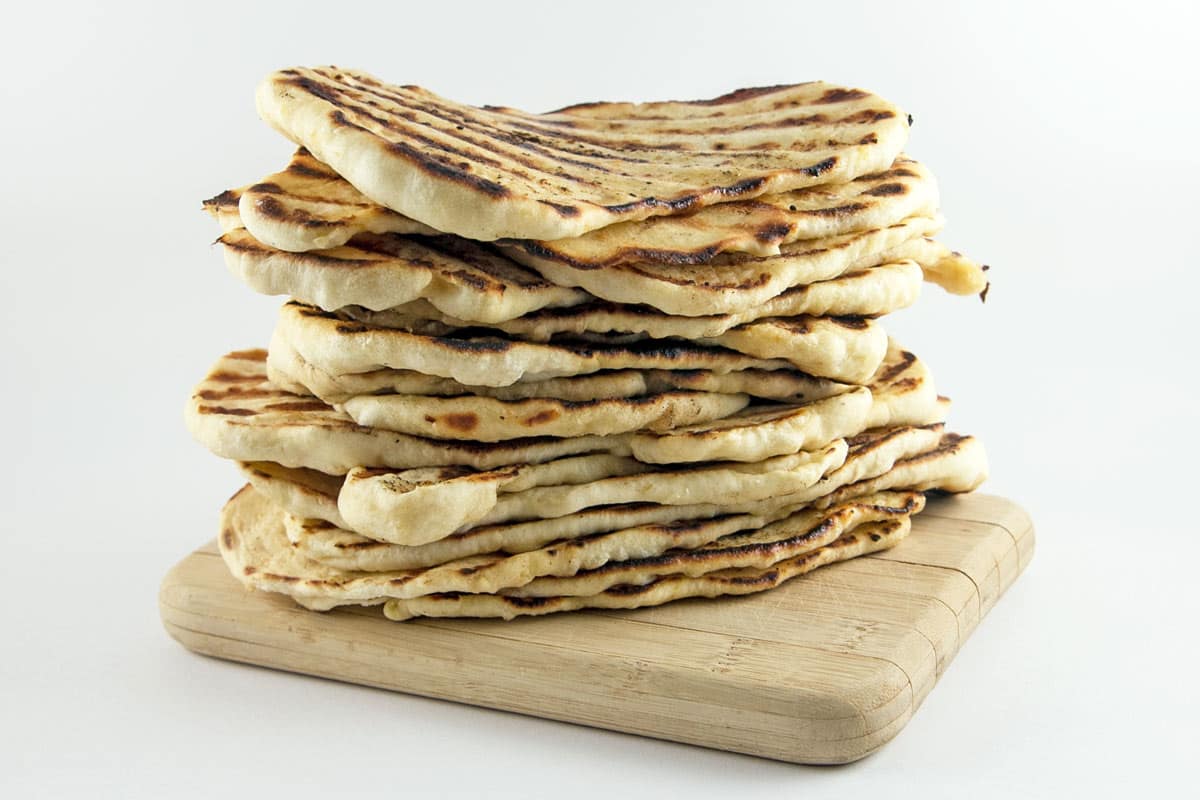
This recipe makes quite a lot (16 pieces based on the size I used), but it’s worth making the full batch, since they freeze well. I let the naan cool, wrap individual pieces in aluminum foil, and then store them in an air-tight bag. When you’re ready to use them, put them right in a 450F oven (straight from frozen) and cook for 6 or 7 minutes. All the deliciousness, with the work done ahead of time! What’s not to love?
Garlic Naan
Homemade garlic naan is so much easier than you think! Soft, slightly chewy, and flavored with garlic, make a big batch and freeze the rest for later.
Ingredients:
- 1 (0.25 ounce) package dry active yeast
- 1 cup warm water
- 1/4 cup granulated sugar
- 3 tablespoons milk
- 1 egg
- 2 teaspoons salt
- 4 – 4.5 cups bread flour
- 2 tablespoons minced garlic
- 1/4 cup butter or ghee, melted
Directions:
- Dissolve yeast in warm water in a large bowl. Let this stand for ~10 minutes, or until frothy.
- Stir in sugar, milk, the egg, and salt. Add in the flour, one cup at a time, until a soft dough forms. Start with 4 cups ,and add the additional half cup if necessary while kneading.
- Knead the dough for ~8 minutes on a lightly floured surface, or until smooth. If the dough is really sticky during the kneading process, keep sprinkling the additional half cup of flour onto the dough.
- Oil another large bowl, and transfer the dough into this bowl. Cover the dough with a damp cloth. Set in a warm space and allow the dough to rise for 1 hour, until doubled in volume. If you don’t have a warm spot to use, place the dough into an oven which was preheated to 180F. Turn the oven off as you insert the dough, and let it sit with the door shut for the hour.
- Punch down the dough and knead in the garlic. Pinch off small handfuls of dough, roughly the size of a golf ball. Roll into balls and place on a large tray. Cover the dough with a towel, and allow to rise until doubled in size again, about 30 minutes.
- Preheat a grill or grill pan (or heavy-bottomed skillet) to high. Roll each ball of dough out into a thin circle and grill for 60 seconds, until puffy and lightly browned. Brush the uncooked side with the melted butter, and then flip and cook another 1 to 2 minutes, until the other side is browned.
A Bunsen Burner Bakery Original Protocol
