Chocolate Buttermilk Pie
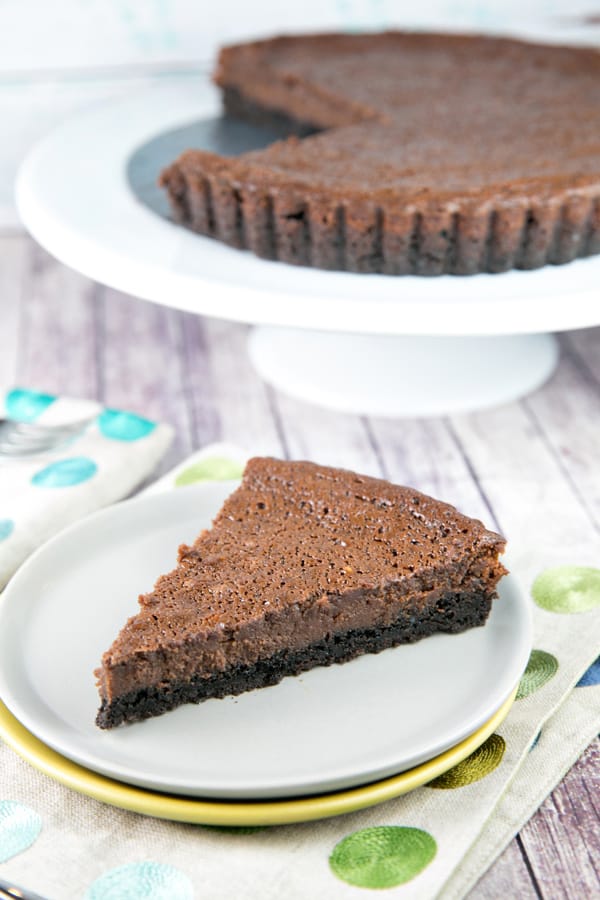
A sweet, custardy Chocolate Buttermilk Pie with an incredibly rich chocolate flavor, paired with a crunchy Oreo crust. A pie worthy of a special event, but easy enough for a Tuesday night.
Today, we’re digging into the archives and giving an old post a new refresh.
After 6 years, it’s time for some new photos – and some new, helpful tips! I’ve made this pie a lot over the past 6 years and have done some testing to answer come frequent questions I’ve received.
This pie has made an appearance at birthdays, at potlucks, and has now become a Thanksgiving staple for our family.
And of course, it’s perfect for Pi Day coming up – hint, hint!
I first learned about buttermilk pie from a friend who was telling me about chess pie — a pie made with cornmeal. While I was trying to wrap my head around how this would possibly taste, she said “It’s like a buttermilk pie, but with cornmeal.”
Buttermilk pie? I had no idea what such a thing was.
And so, I did what any good Baking Chemist does, and went to work in the kitchen, trying my hand at different versions!
In all honesty, chocolate buttermilk pie did not taste at all all what I thought it would taste like – but it was absolutely delicious! (And why it’s become a Thanksgiving staple for us).
So for those of you who also have no idea what a buttermilk pie is or tastes like, let’s get into some details (although I do love the “make something and hope it’s good!” element of surprise).
What is Buttermilk Pie?
Buttermilk pie originated in the United Kingdom, but is now considered a southern staple. A classic buttermilk pie consists of sugar, butter, eggs, buttermilk, and flour, and is baked in a traditional pie crust. The filling sets as the pie cooks and results in a custard-like texture, which can be eaten at room temperature or chilled.
Old-Fashioned Buttermilk Pie has a super smooth, custard-like filling that is really sweet. The filling only takes about 5 minutes to make and consists of eggs, buttermilk, sugar, melted butter, flour for thickening, and lemon juice, vanilla extract, and nutmeg for flavor.
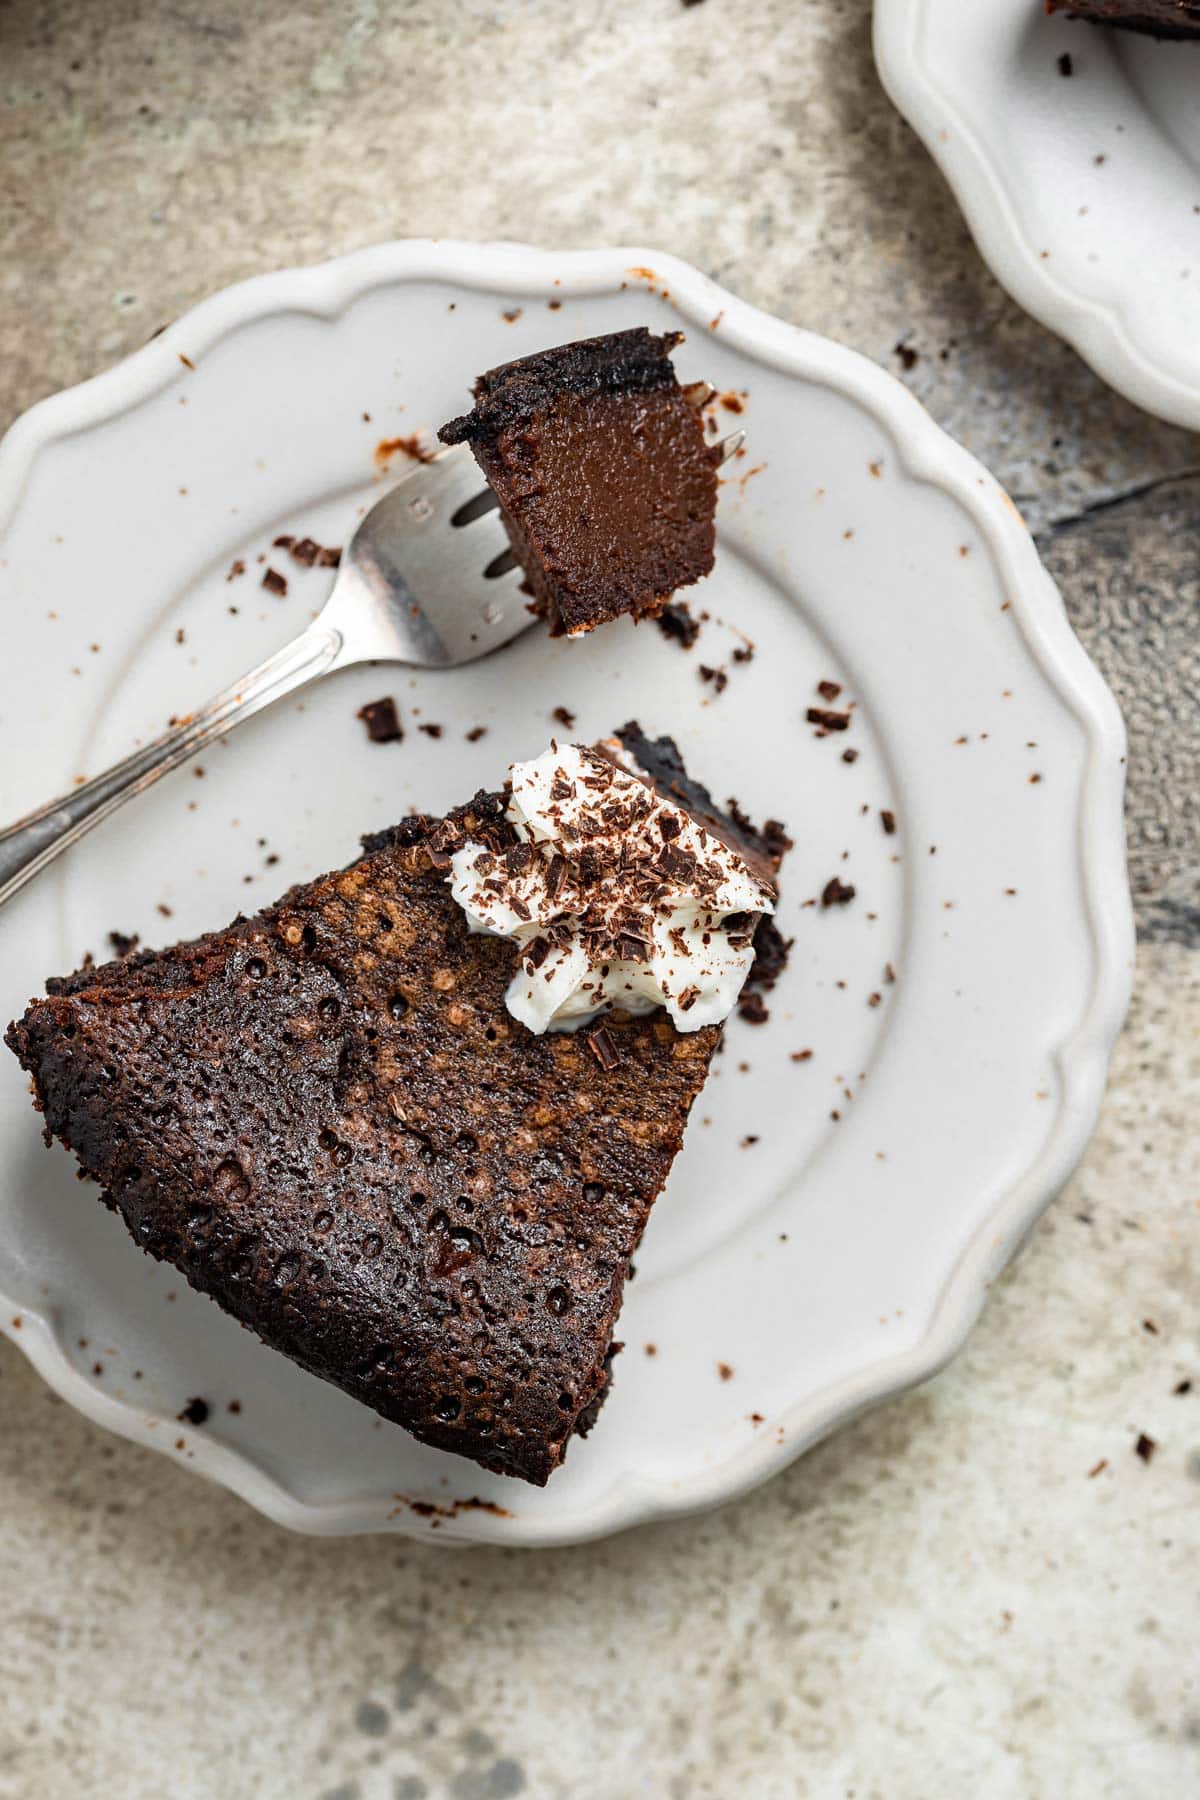
Thanks to the buttermilk, the pie takes on a custard consistency — thick enough to eat with a fork, but still soft.
Most importantly: it’s EASY to make. As in, whisk by hand – no mixer necessary!

Buttermilk: The Key Ingredient
Since the star of this chocolate buttermilk pie is… drumroll please… buttermilk… let’s talk about it for a minute!
Traditionally, buttermilk was the liquid that remained after cream was churned into butter. Today, however, we culture our buttermilk, pretty similar to making yogurt. Low fat milk is combined with bacteria cultures and heated. This bacteria converts lactose (the sugar in the milk) into lactic acid.
Lactic acid is what makes buttermilk, well… buttermilk. Ready to learn why? It’s time for my favorite subject… kitchen chemistry!
Kitchen Chemistry
All proteins have an isoelectric point, or the pH at which that particular molecule carries no electrical charge. The net charge on a protein molecule is affected by the pH of its surrounding environment. Proteins are generally happiest (most soluble) when they are at least 1.5 pH units away from their isoelectric point, and as they approach their isoelectric point, often begin to precipitate out of solution.
Casein, the primary milk protein, has an isoelectric point of 4.6. Before the buttermilk is cultured, the pH of milk is higher than this, and casein stays in solution. However, after lactose converts into lactic acid, the overall pH of the milk decreases, approaching this pH level of 4.6. This causes the milk proteins to precipitate out of solution. This process is known as clabbering— and it’s what makes buttermilk so thick and tart.
The Creamiest Buttermilk Pie Filling
For this version of a buttermilk pie, we’re going CHOCOLATE – chocolate buttermilk pie!
To make our buttermilk pie chocolate, we’re going to add cocoa powder to the ingredients.
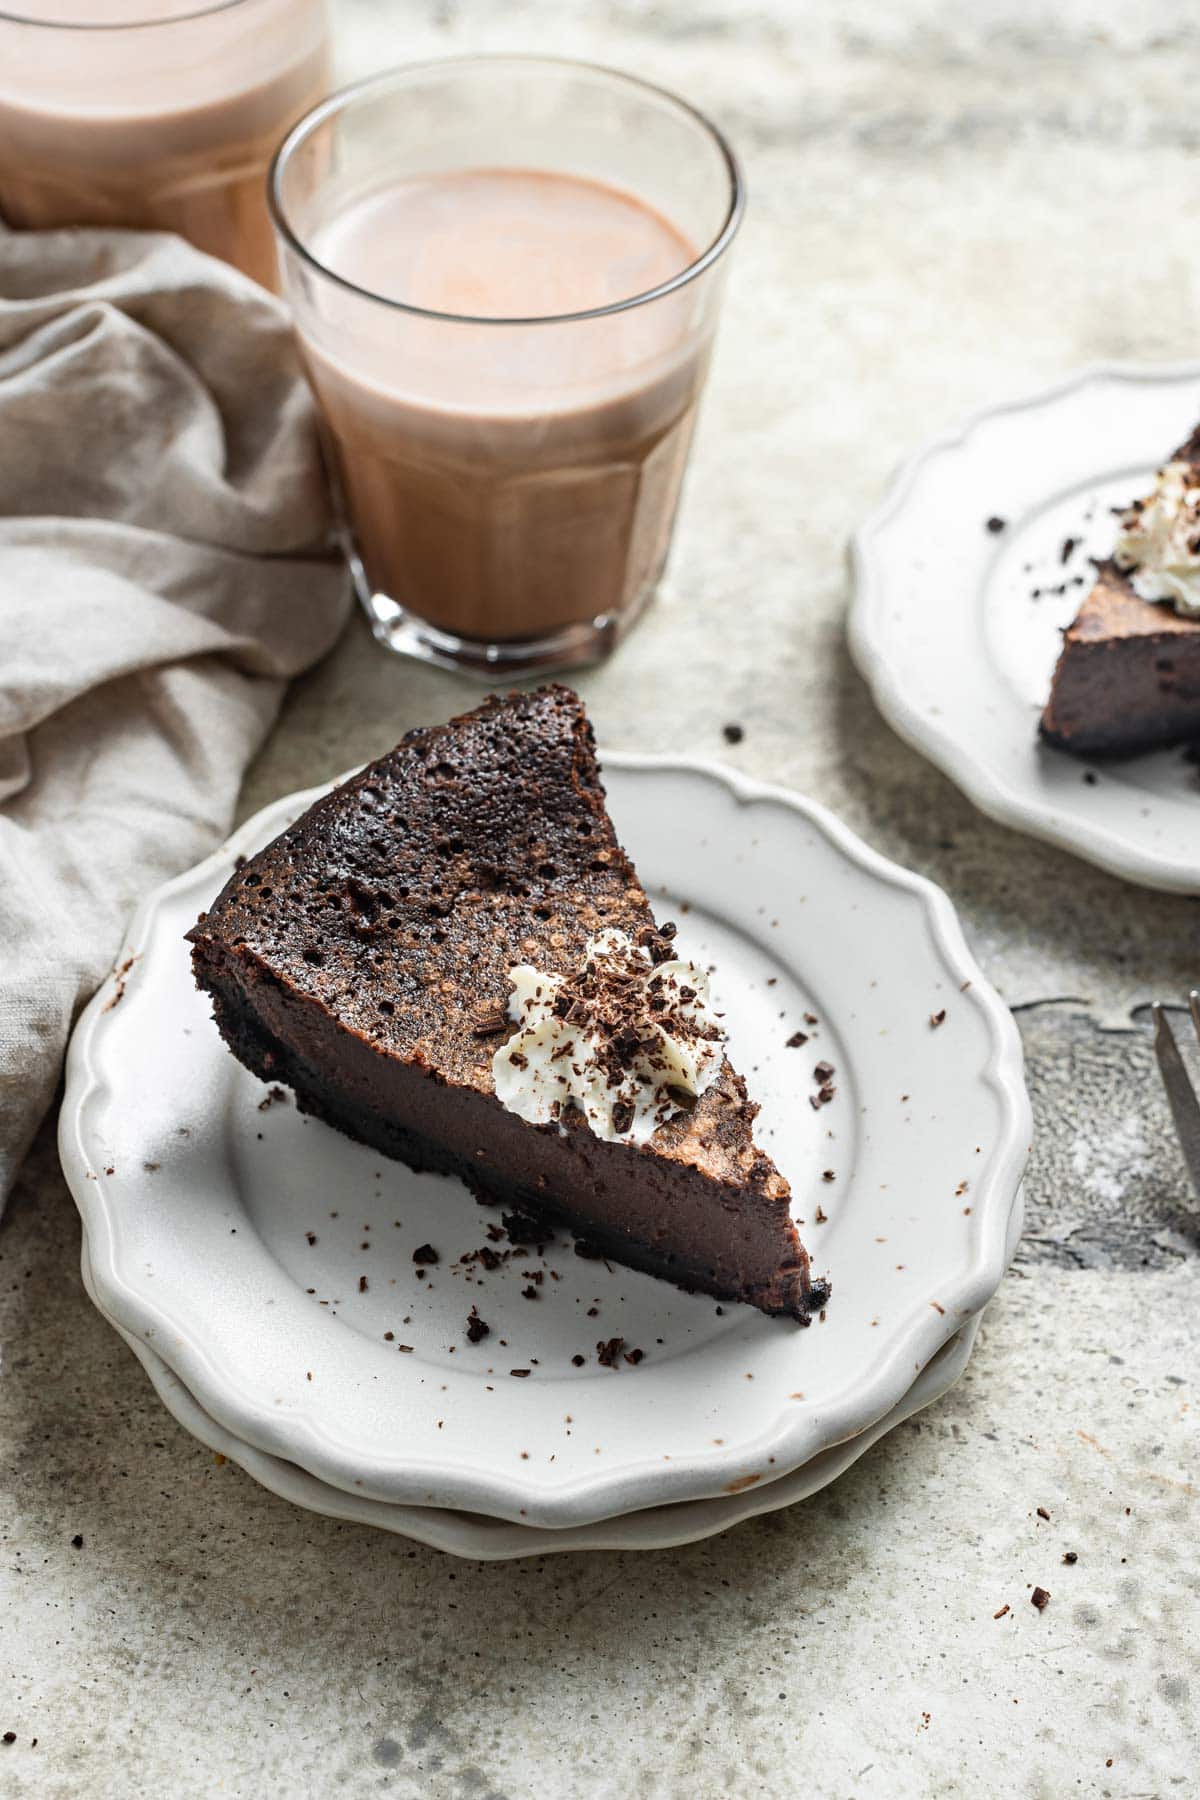
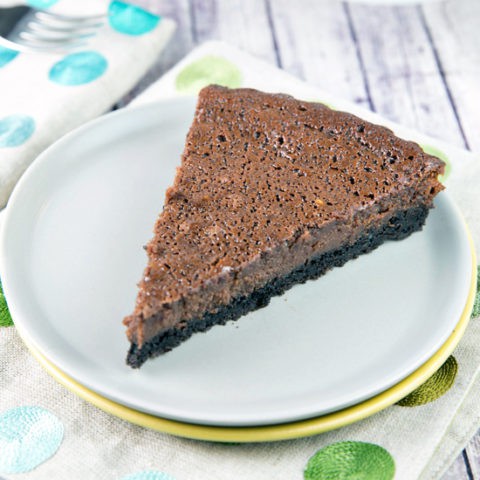
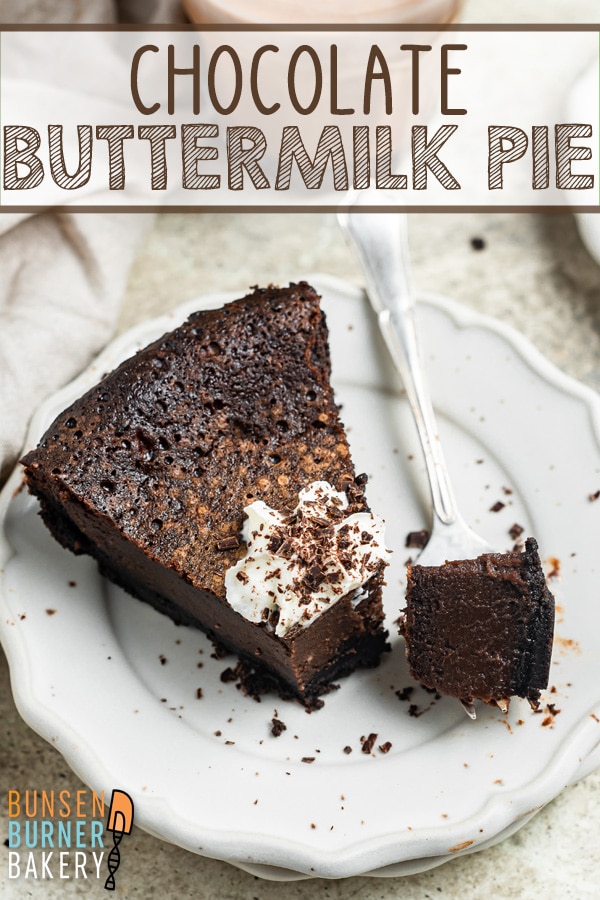
I initially expected the pie to be fairly tart, because of all the buttermilk, and pictured it having more of a crumbly brownie texture. In reality, however, the pie is just sweet enough, custardy, and had such an intense, deep chocolate flavor.
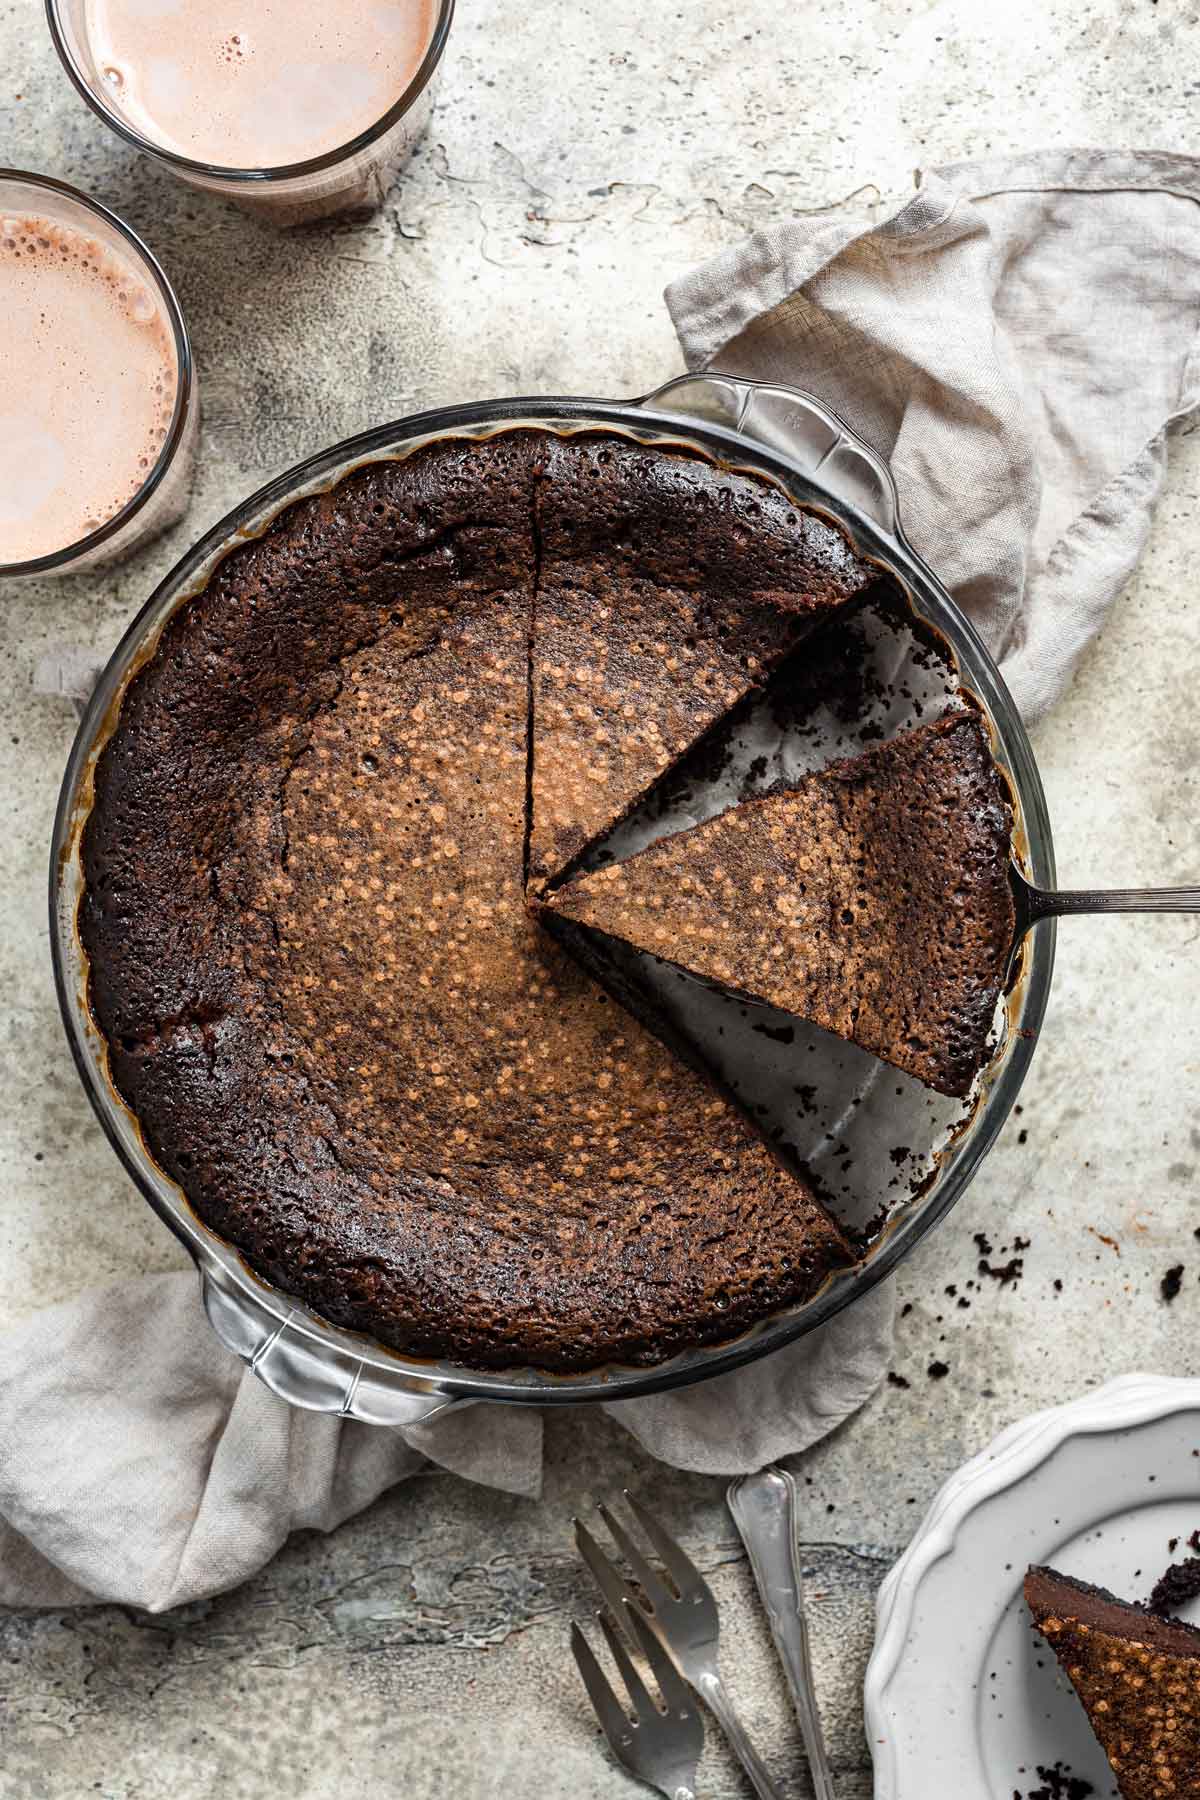
The top of the pie is slightly reminiscent of brownies and their crackly crust— slightly crunchy and caramelized — but the inside is smooth and creamy. Buttermilk pie traditionally uses a pie crust, but I opted for an oreo crust instead, intensifying the chocolate flavor (and making the pie even easier!).
The key to the custardy inside is using real buttermilk. There are lots of faux buttermilk variations out there – like mixing a little vinegar or lemon juice with regular milk.
While these will lower the pH of the milk, they don’t create the same thick, clumpy consistency, and don’t work as well in this pie. Because buttermilk is so important, use the real thing!
Leftover buttermilk freezes wonderfully and can be used for baking in the future! Or, if you need ideas of how to use up the rest of your buttermilk, try these:
- Bourbon Buttermilk Pie
- Chocolate Buttermilk Quick Bread
- Garlic Cheddar Buttermilk Biscuits
- Buttermilk Lime Quick Bread
- Best Belgian Waffle Recipe
Tart Pan vs Pie Pan
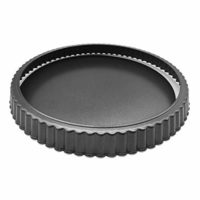
The first time I shared this recipe, 6 years ago, I made it in a 10-inch tart pan with a removable bottom. It worked really well, and being able to easily remove the sides made serving the pie a snap.
But! A lot of you don’t have a 10-inch tart pan with a removable bottom and want to know if this can be made in a regular pie plate.
As the updated photos show, YES! Yes, you can make this in a regular pie pan and it cuts beautifully.
Because the pie dish has a smaller diameter, the pie is even thicker and even MORE custardy in the center.
I’ll include this picture below from my original post, so you can see the visual differences between a tart pan and pie pan. You can’t go wrong with either, so use what you have available!
Common Questions about Chocolate Buttermilk Pie
I love substitutions whenever possible to make baking easier, but in this case… no. Buttermilk is the star of the show here, so use real buttermilk to make this pie!
Because this pie does not containing any chemical leavening agents, you can use either natural unsweetened or dutch processed cocoa powder. Natural unsweetened cocoa powder has a deep, deep chocolate flavor, almost bitter. Dutch processed cocoa powder is more mild and delicate. Personally, I prefer the taste of natural unsweetened cocoa powder in this pie.
To make a gluten free chocolate buttermilk pie, substitute almond flour or coconut flour for the flour in the pie. (And of course, use gluten free chocolate sandwich cookies for the crust!)
Let me assure you, this pie is delicious on its own. But if you’re looking for something to serve on top, dollops of homemade whipped cream or a scoop of vanilla ice cream would be delicious!
Because the center of the pie remains custard-like, this chocolate buttermilk pie should be stored in the refrigerator, for up to 4 days.
Buttermilk pie can be frozen, but it may weep a little when thawed. If the custard is at all overcooked while baking the pie, it will break down slightly, forming tiny pockets of water. When frozen, these little pockets of water turn into ice. After thawing the pie, these little pockets of water won’t reabsorb back into the custard, and instead will seep out into the pie – a phrase known as a “weepy pie.” To prevent this, ensure the custard is not overbaked! Refrigerate the pie for 2 hours, then freeze wrapped in two layers of plastic wrap and aluminum foil. To thaw, unwrap the pie and thaw overnight in the refrigerator (not at room temperature!).
Most Popular Pie Recipes:
- Chocolate Peanut Butter Banana Pretzel Pie
- Flourless Brownie Pie
- No Bake Oreo Peanut Butter Pie
- Cranberry Curd Pie
- Chocolate Cream Pie
- Caramel Pear Pie with Oatmeal Cookie Crumble
- All Pie Recipes »
Chocolate Buttermilk Pie
A sweet, custardy pie with an incredibly rich chocolate flavor, paired with a crunchy Oreo crust.
Ingredients
For the Crust:
- 25 oreo/chocolate sandwich cookies
- 5 tablespoons (70.6 grams) unsalted butter
For the Filling:
- 12 tablespoons (169.5 grams) unsalted butter
- 1/3 cup (28 grams) cocoa powder
- 1 1/2 cups (297 grams) granulated sugar
- 1 cup (227 grams) buttermilk
- 2 tablespoons all-purpose flour
- 4 large eggs
- 1 tablespoon vanilla extract
- 1/4 teaspoon salt
Instructions
- Preheat oven to 350°F.
- To make the crust, begin by finely crushing the Oreo cookies (preferred method: food processor). Melt 5 tablespoons of butter. Stir together the cookie crumbs and the melted butter with a fork. Press this mixture into the bottom and up the sides of a 9” pie plate or 10" tart pan. Bake for 8 minutes, then remove the crust from the oven and allow to cool slightly.
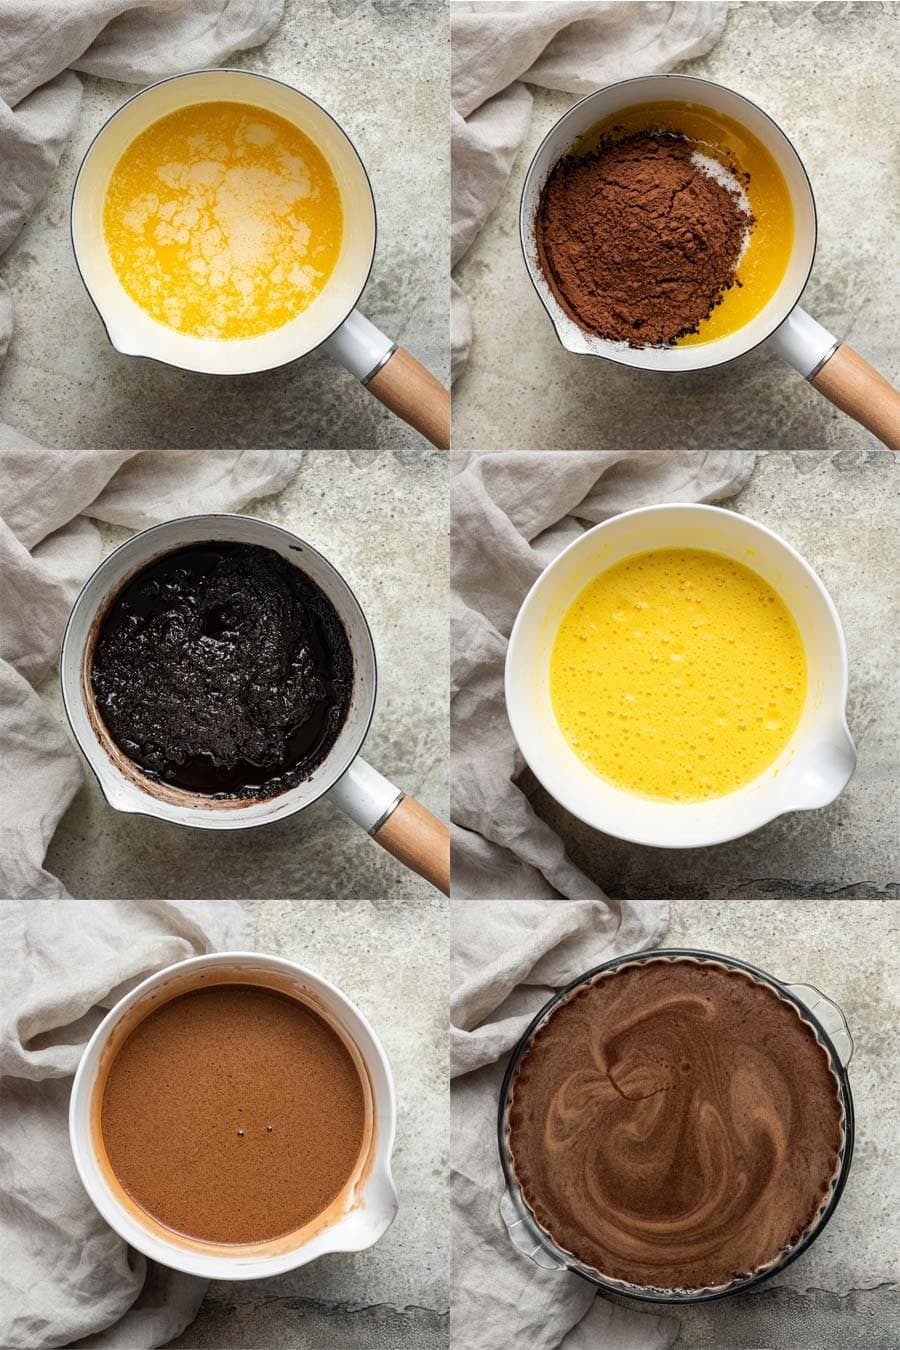
- Melt the remaining 12 tablespoons of butter in a medium saucepan over low heat. Add the cocoa powder and sugar, stirring constantly until well blended. Set aside.
- In a large bowl, whisk the eggs by hand until light and frothy. Add the flour and buttermilk and continue to whisk until well combined. Slowly add the chocolate mixture, continuing to stir the entire time. Whisk this mixture very well – otherwise the pie will separate while baking. Add in the vanilla and salt, stirring to incorporate.
- Pour the filling into the prepared crust. Bake for 45 minutes — the edges of the pie will be slightly crusty and the center will still jiggly slightly (like a cheesecake). Remove to a wire rack and cool. Pie can be served warm or at room temperature.
Notes
- Either natural unsweeened or dutch processed cocoa powder can be used - natural unsweetened cocoa powder will have a richer, more bold chocolate flavor.
- To make this pie gluten free, use almond flour or coconut flour to replace the all purpose flour in the filling. Use gluten free chocolate sandwich cookies for the crust.
- Do not overbake the pie or the custard will separate! The center of the pie should still be jiggly but the edges starting to set.
- Store chocolate buttermilk pie in the refrigerator for up to 4 days.
Recommended Products
As an Amazon Associate and member of other affiliate programs, I earn from qualifying purchases.
Nutrition Information:
Yield: 8 Serving Size: 1 sliceAmount Per Serving: Calories: 601Total Fat: 35gCarbohydrates: 69gProtein: 6g
This recipe for Chocolate Buttermilk Pie was originally posted on March 10, 2016 and updated with new photos and helpful tips and tricks on March 2, 2022.