Halloween Monster Cookies
These Halloween Monster Cookies are thick, soft brown sugar cookies made with orange, purple, and black dough, then decorated with candy eyes, white chocolate stitches, and Oreo spiders for an easy Halloween cookie that’s as fun to make as it is to eat.
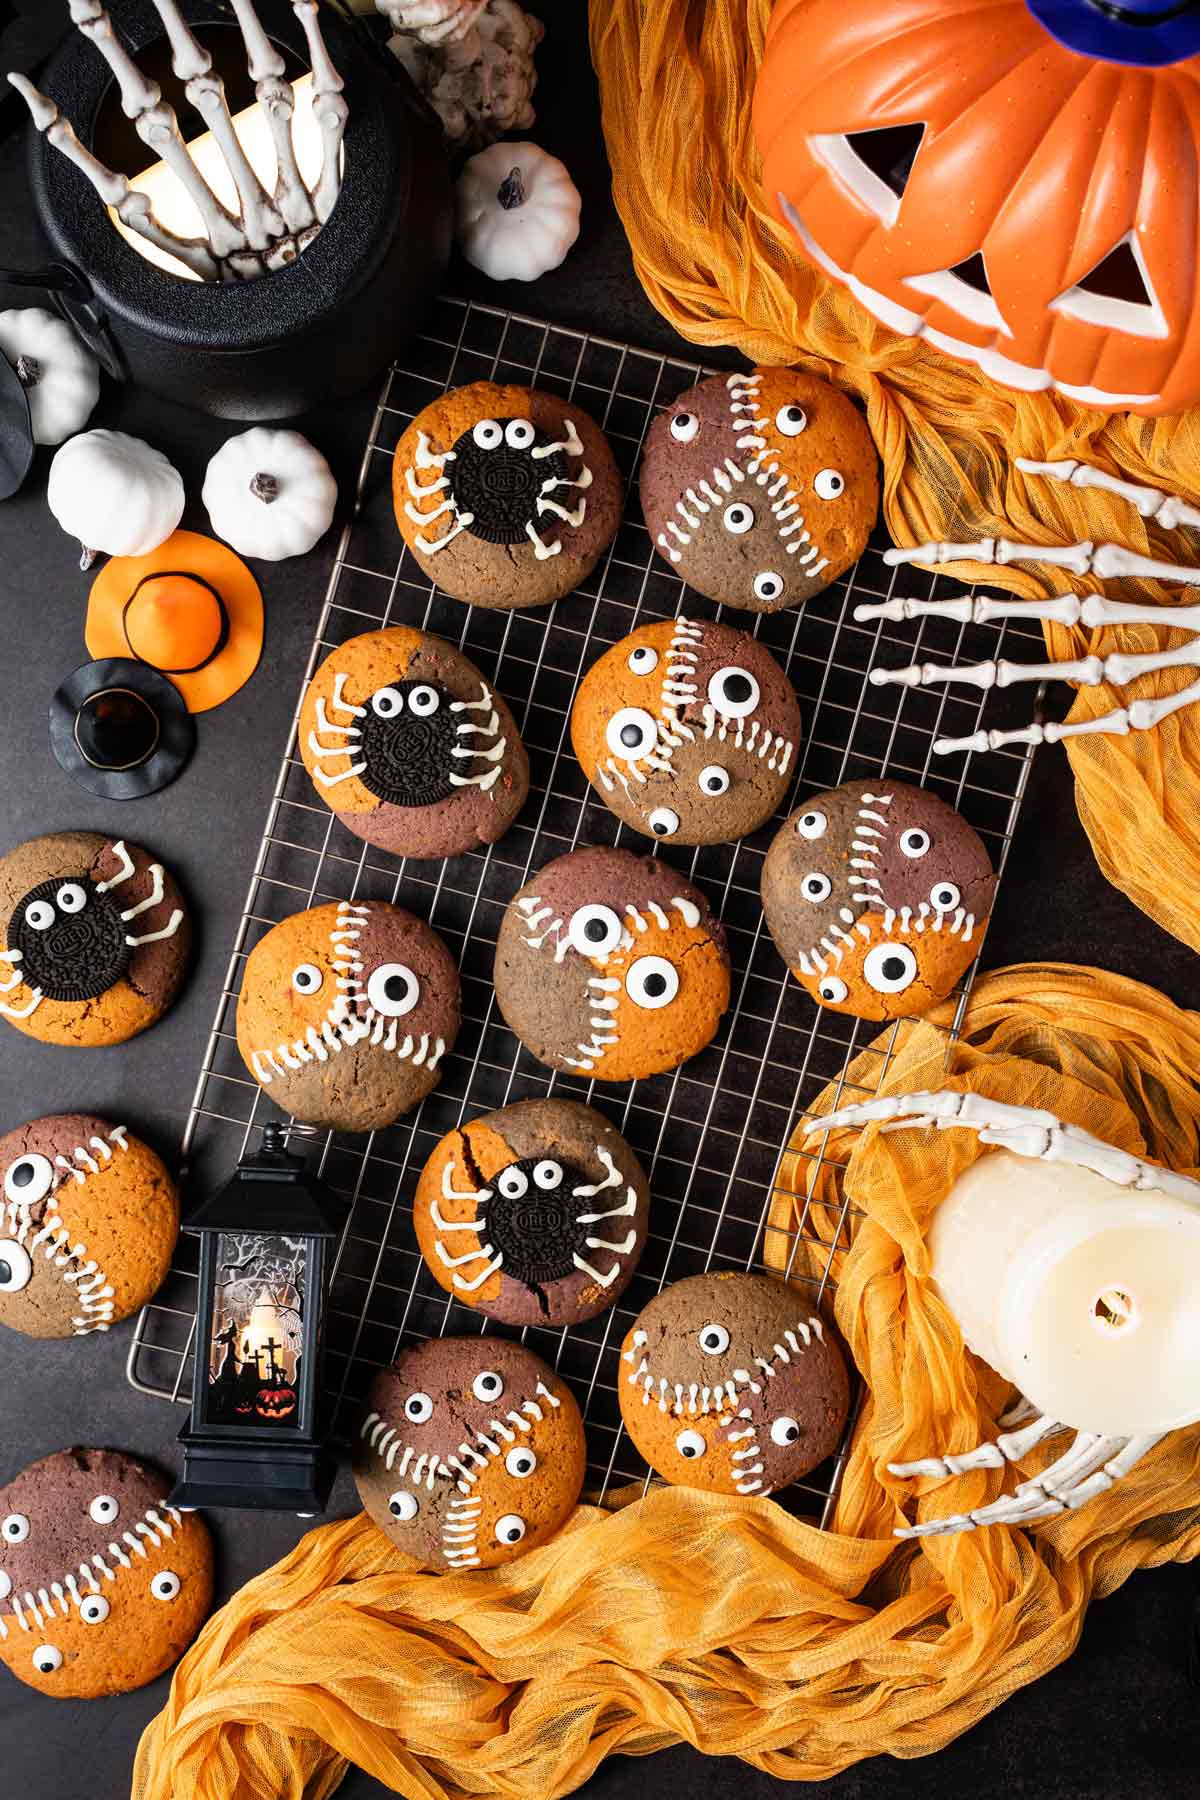
If there’s ever a time for cookies that look a little weird, it’s Halloween.
These Halloween Monster Cookies start with a soft brown sugar cookie dough, but instead of scooping and baking it as-is, the dough gets divided into three colors and pressed back together. The result is a different orange, purple, and black pattern on every cookie.
Then comes the fun part. Add mismatched candy eyes, pipe on a few white chocolate stitches, or stick an Oreo on top and turn it into a spider. There’s no precision required here. In fact, the uneven eyes and crooked stitches are what make them look better.
And unlike decorated sugar cookies, there’s no rolling, cutting, flooding, or waiting around for layers of icing to dry. You get all the Halloween payoff with a fraction of the decorating work.


Ingredients and Substitutions
A few ingredients are especially important for getting the thick texture and bold Halloween colors in these cookies.
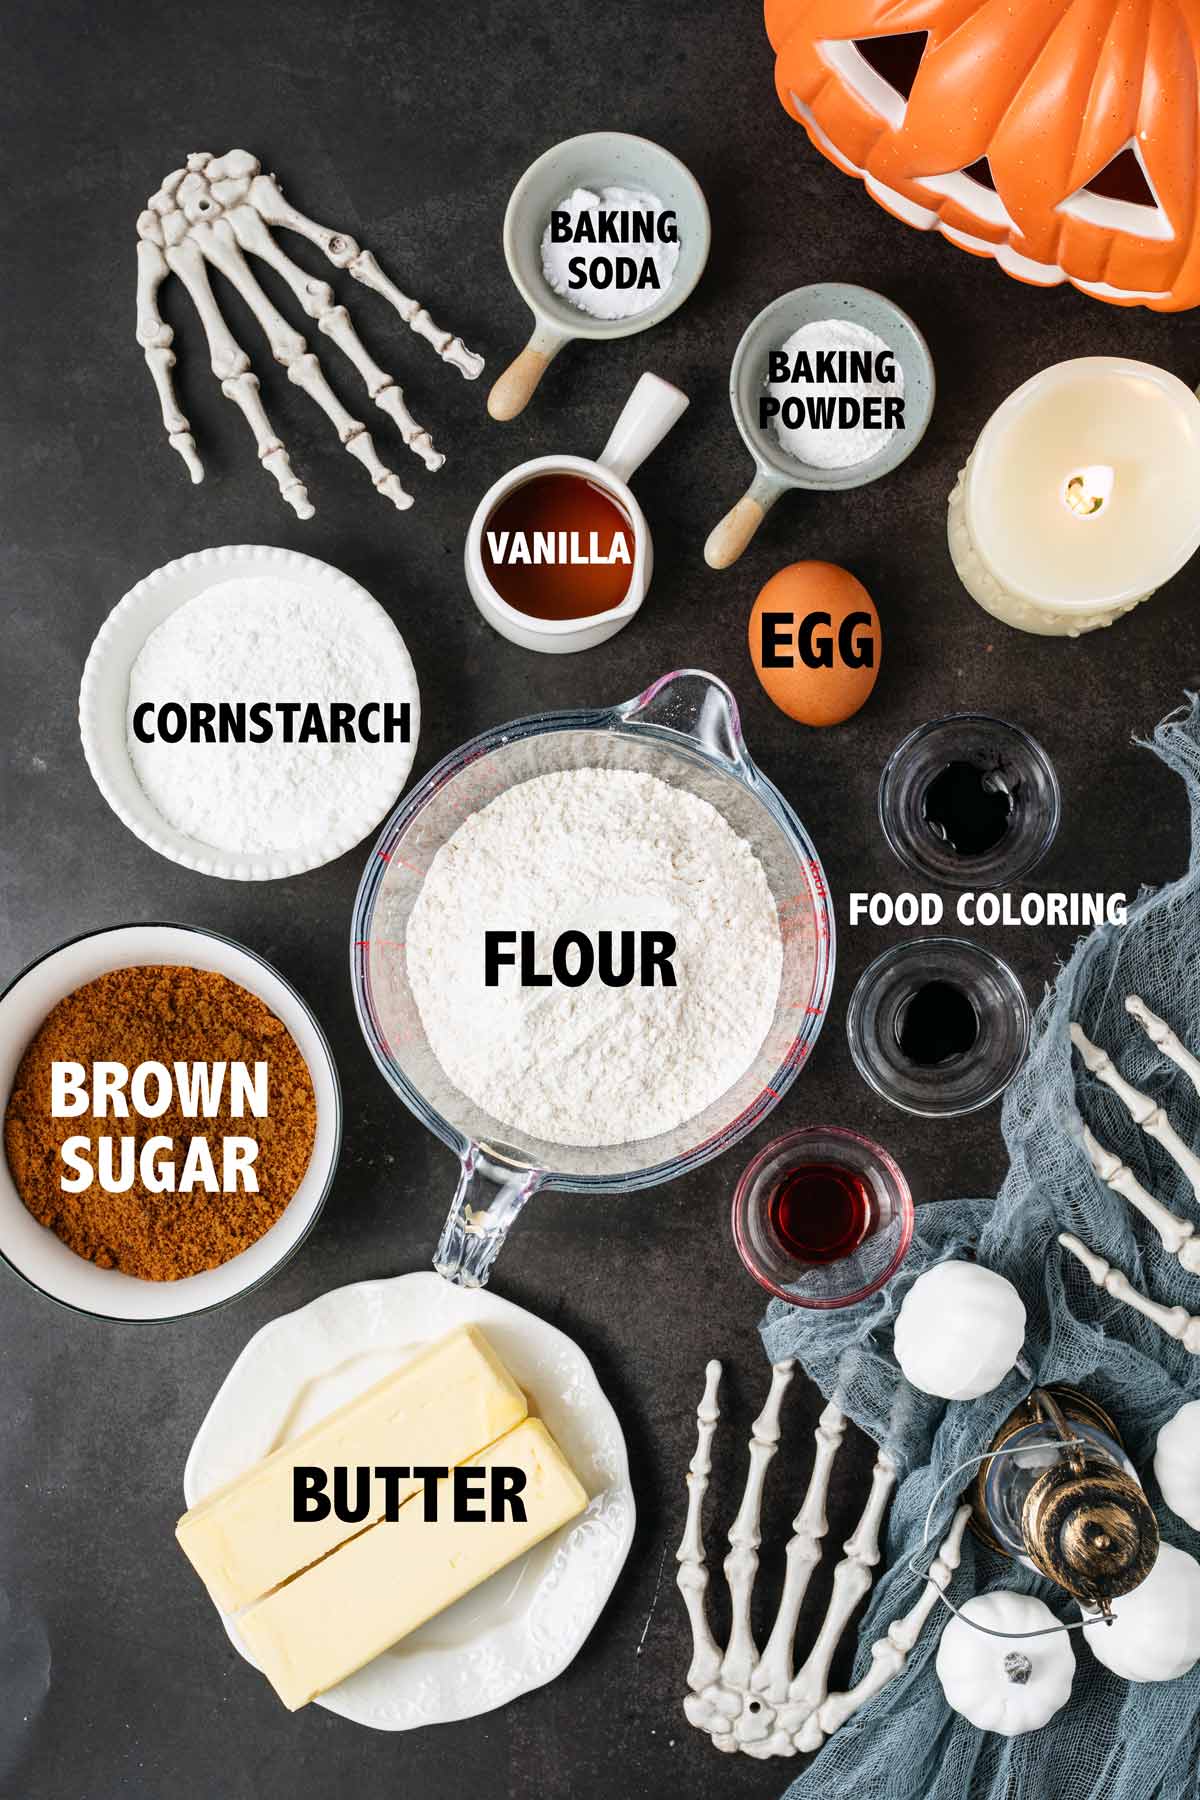
All-Purpose Flour
Regular all-purpose flour gives the cookies enough structure to hold their shape. A 1:1 gluten-free baking flour can be substituted to keep these cookies gluten-free.
Cornstarch
This recipe uses much more cornstarch than a typical cookie dough. It helps limit spreading so the cookies stay thick and the three sections of colored dough remain distinct. Don’t reduce or omit it.
Food Coloring
If you prefer brighter, bolder colors, use gel food coloring rather than liquid coloring. Gel produces much stronger colors without adding enough extra liquid to change the consistency of the dough. For more muted colors, regular food coloring is fine.
White Chocolate or Candy Melts
Either works for piping the stitches and attaching the decorations. Candy melts are easier to work with and set more firmly, while white chocolate tastes better.
Candy Eyes and Oreos
Use any size or combination of candy eyes you like. Oreos become the spider bodies, but they’re completely optional if you want to stick with monster faces instead.

How to Make Halloween Monster Cookies
The dough comes together like a standard cookie dough, but the shaping is what gives these cookies their Halloween look. Keep the three colors distinct as you work so they stay visibly separate after baking.
Make the cookie dough
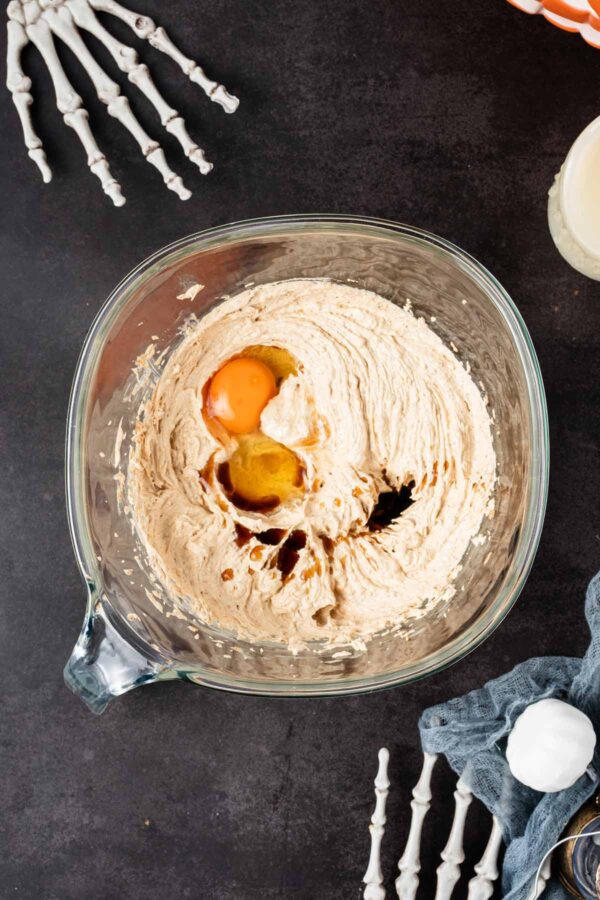
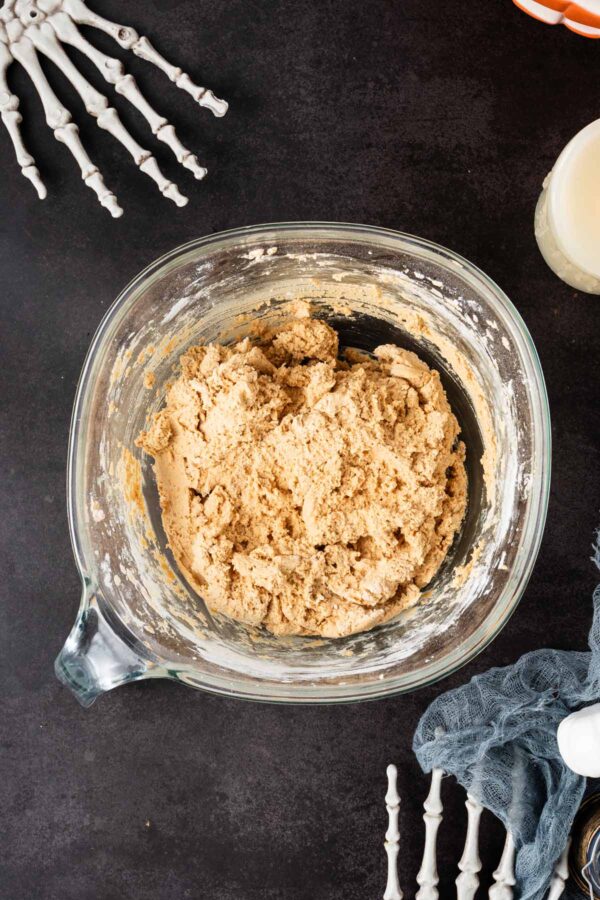
Beat the butter and brown sugar until light and fluffy, then mix in the egg, egg yolk, and vanilla. Add the flour, cornstarch, baking powder, baking soda, and salt, mixing just until the dough comes together.
Divide and color the dough
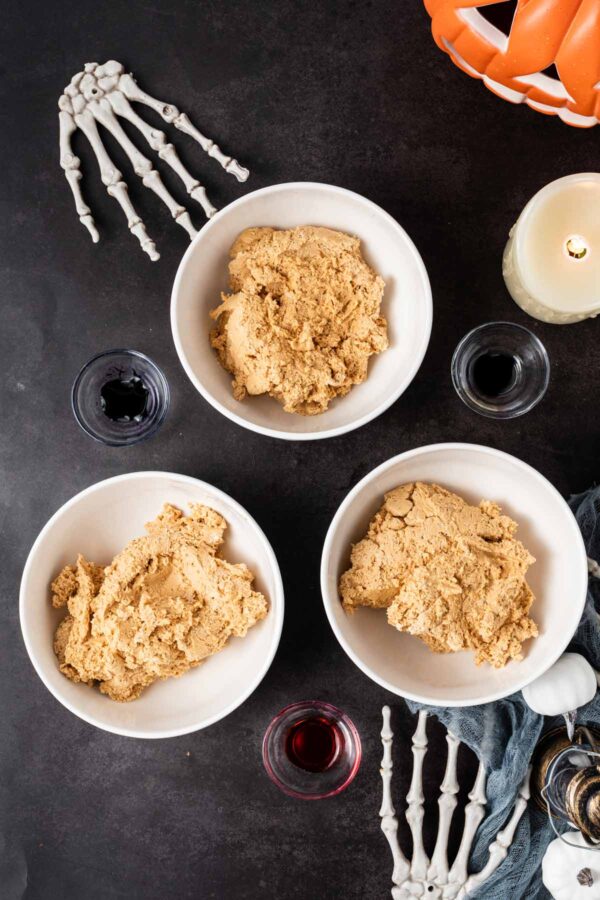
Divide the dough evenly into three bowls. Tint one portion orange, one purple, and one black with gel food coloring, mixing only until the color is evenly distributed.

Shape and Bake
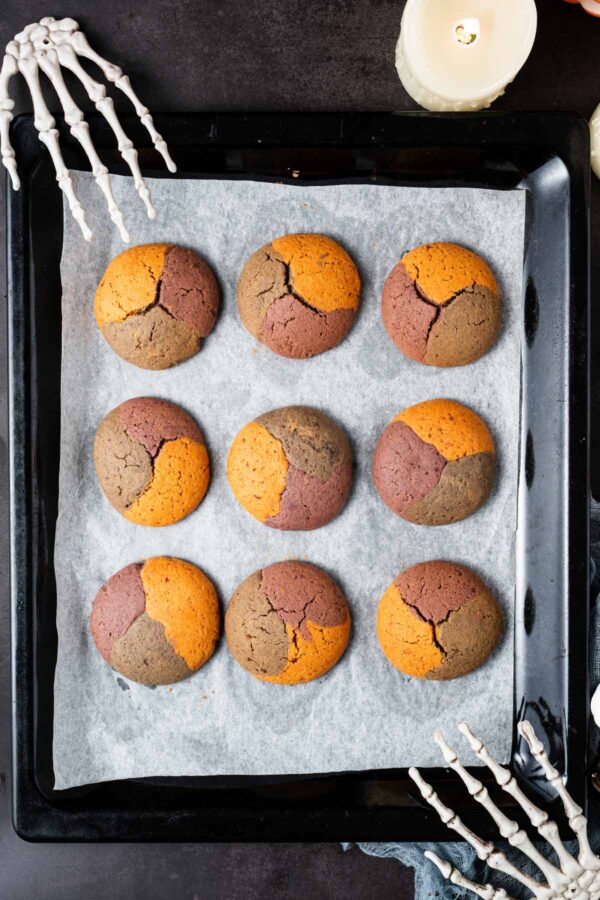
Divide each color into 15 pieces. Press one piece of orange, purple, and black dough together, then gently roll into a ball without blending the colors. Flatten slightly with your palm before placing on a parchment-lined baking sheet. Bake until the edges are set and the tops are lightly cracked.

Decorate
Once the cookies are completely cool, add candy eyes and pipe on white chocolate or candy melt stitches. For spider cookies, attach an Oreo with a little melted chocolate, add candy eyes, and pipe four legs on each side.


Cornstarch for Thick Cookies
Half a cup of cornstarch is a lot for a batch of cookies, but it has an important job here. These cookies need to stay thick enough for the three colors of dough to remain distinct instead of spreading into one another.
Kitchen Chemistry
Cornstarch absorbs moisture and gelatinizes as the cookies bake, helping the dough set while also reducing the amount of gluten-forming protein in the mixture.
Because cornstarch is almost entirely starch, it dilutes the proteins from the flour that would otherwise form gluten. That keeps the cookies tender rather than chewy. At the same time, the starch granules absorb water and swell as they heat, helping the dough firm up and hold its shape in the oven.
The cookies stay thick and soft, while the orange, purple, and black sections remain clearly defined instead of melting together into one color.

Frequently Asked Questions
Can I make smaller Halloween cookies?
As you can tell from the photos, these make some pretty large cookies. You can absolutely make smaller cookies, just keep in mind that smaller cookies will bake faster, so start checking them several minutes earlier than the full-size cookies.
Why didn’t my cookies spread very much?
That’s intentional. The large amount of cornstarch helps the cookies stay thick and hold their shape, so they won’t spread like a typical chocolate chip cookie. Flattening the dough slightly before baking helps give them the right shape.
Can I freeze the cookie dough?
Yes. Shape the dough into cookies, freeze them on a baking sheet until firm, then transfer to a freezer-safe container for up to 2 months. Bake from frozen, adding a few extra minutes as needed.
Can I freeze the baked cookies?
Yes. Freeze the cookies undecorated for up to 2 months, then thaw at room temperature before decorating.
How do I keep the Oreo spiders from sliding off?
Use a small amount of melted white chocolate or candy melts underneath each Oreo, then let it set completely before moving the cookies.
More Halloween Treats
- Monster Pretzel Rods
- Mummy Brownies
- Chocolate Covered Halloween Oreos
- Candy Corn Pretzel Bites
- Halloween Boo Bark
- Leftover Candy Cookie Cake

Halloween Monster Cookies
These Halloween Monster Cookies are thick, soft brown sugar cookies made with orange, purple, and black dough, then decorated with candy eyes, white chocolate stitches, and Oreo spiders.
Ingredients
- 1 cup (226 grams) unsalted butter, room temperature
- 2 cups (426 grams) packed brown sugar
- 1 large egg, room temperature
- 1 large egg yolk, room temperature
- 2 teaspoons vanilla extract
- 2 1/2 cups (300 grams) all-purpose flour
- 1/2 cup + 1 tablespoon (72 grams) cornstarch
- 1 teaspoon baking powder
- 1 teaspoon baking soda
- 1/2 teaspoon salt
- food coloring (orange, purple, and black)
- white candy melts or white chocolate, melted
- assorted candy eyes
- Oreo cookies
Instructions
- Preheat the oven to 350°F. Line baking sheets with parchment paper.
- Make the cookie dough. Beat the butter and brown sugar with an electric mixer for 2 to 3 minutes, until light and fluffy. Add the egg, egg yolk, and vanilla and beat until combined, scraping down the sides of the bowl as needed.
- In a separate bowl, whisk together the flour, cornstarch, baking powder, baking soda, and salt. Add the dry ingredients to the butter mixture and mix on low speed just until no streaks of flour remain.
- Color the dough. Divide the dough evenly among three bowls. Tint one portion orange, one purple, and one black with gel food coloring. Mix each just until the color is evenly distributed. Divide each color of dough into 15 approximately equal pieces, for a total of 45 pieces.
- Shape the cookies. Press one piece of each color together. Gently roll into a ball, just enough to adhere the three sections without blending the colors. Flatten slightly with the palm of your hand. Arrange the cookies several inches apart on the prepared baking sheets.
- Bake for 18 to 22 minutes, until the edges are set, the tops are lightly cracked, and the centers look baked through but still soft. Let the cookies cool on the baking sheet for 5 minutes, then transfer to a wire rack to cool completely.
- Decorate the cookies. For stitched monster cookies, add candy eyes, then pipe thin lines of melted white chocolate or candy melts across the cookies. Add short cross-stitches along the lines. For Oreo spider cookies, use a small amount of melted white chocolate or candy melts to attach an Oreo to the cookie. Add two candy eyes to the Oreo, then pipe four legs on each side. Let the decorations set completely before serving.
Notes
- Don’t over-blend the colors: Gently press and roll the three pieces of dough together only until they hold. Too much mixing will muddy the orange, purple, and black sections.
- For the stitches: Use melted white chocolate or white candy melts rather than frosting. They pipe easily in thin lines and firm up as they cool, so the decorations stay in place.
- Smaller cookies: These cookies are intentionally large and thick. If you make smaller cookies, start checking them earlier because they will bake faster.
- Freeze the dough: Freeze the shaped cookies on a baking sheet until firm, then transfer to a freezer-safe container and freeze for up to 2 months. Bake from frozen, adding a few extra minutes as needed.
- Storage: Store decorated cookies in an airtight container at room temperature for up to 4 to 5 days. Place parchment paper between layers to protect the decorations.
- Recommended tools: Electric Mixer | Mixing Bowls | Baking Sheet | Cooling Rack | Kitchen Scale | Candy Melts | Candy Eyeballs
Recommended Products
As an Amazon Associate and member of other affiliate programs, I earn from qualifying purchases.