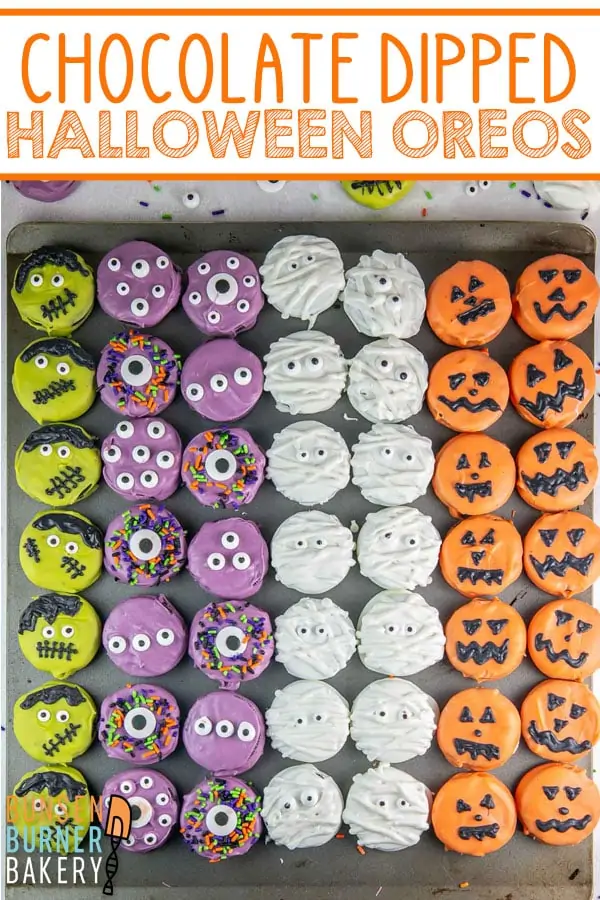
Chocolate Covered Halloween Oreos
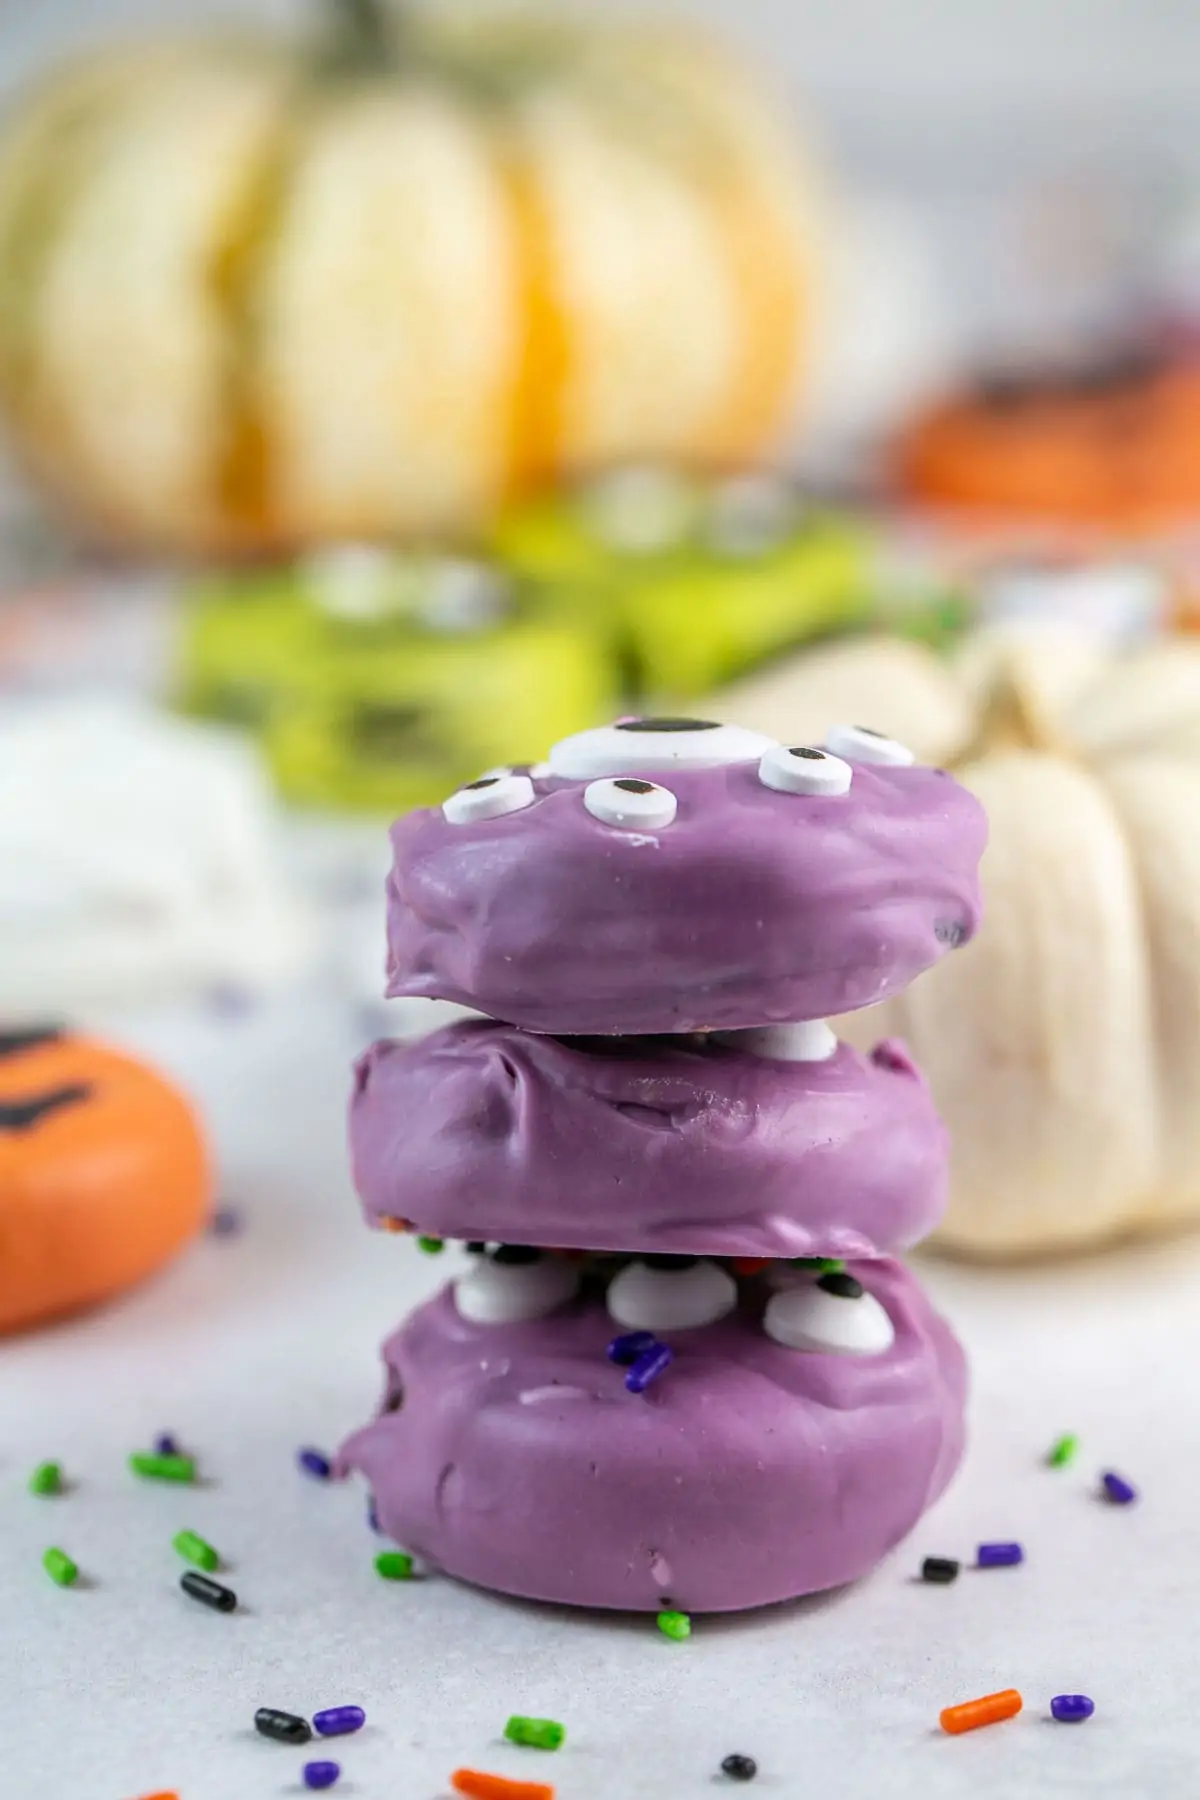
Cute? Spooky? These Chocolate Covered Halloween Oreos are both – and just as fun to eat! Perfect for kids to help decorate and share with all their friends.
It’s Day 4 of our week of easy Halloween treats, and this one just might be my favorite!
(In case you missed any earlier posts: Halloween Boo Bark, Chocolate Halloween Sprinkle Cookies, Candy Corn Pretzel Bites)
These Chocolate Covered Halloween Oreos are more of a tutorial than a recipe because all you have to do is melt chocolate (really, candy wafers).
Dip the Oreos in the melted chocolate and decorate with more melted chocolate.
This is an impressive treat that is actually incredibly simple – no artistic talent necessary!
My kids loved helping me make these last year – and loved sharing them with their friends (and eating them!) even more.
The chocolate covered Halloween Oreos will also last in a cool, dry place for up to 2 weeks, so you can make them ahead of time.
So let’s gather our supplies, and start dipping some Oreos!

How to Melt Candy Melts
I like using candy melts instead of white chocolate for these because they melt smoother and a little thinner – we don’t need a thick coating of chocolate on these Oreos.
Plus, they come in so many fun colors! Perfect for decorating for Halloween.
There are two major tricks for perfectly smooth candy melts:
- Make sure everything is perfectly dry – no moisture!
- Heat over low heat, stirring frequently.
Heating too fast or in the presence of adding moisture can cause chocolate or candy melts to seize. Why does this happen? It’s time for my favorite subject… kitchen chemistry!
Kitchen Chemistry
Chocolate and candy melts are made from a combination of fat (cocoa butter for chocolate, oil for candy melts) and dry ingredients (sugar, added milk solids and stabilizers in candy melts). Even when melted in a liquid state, chocolate is still considered a dry ingredient, because there is no added liquid. The addition of any drops of moisture cause chocolate to seize into a grainy lump, much like adding a few drops of water to flour.
When melting chocolate or candy wafers, be sure everything is completely try and melt slowly! I like to use the microwave at 50% power, heating for 30 seconds and stirring well afterward. Continue to heat for 30 seconds at a time at 50% power, stirring well, until fully melted and smooth.

The Best Candy Melts
There are a lot of brands of candy melts out there — and all are not created equal!
Last year, I, and MANY others, had problems with Wilton brand candy melts seizing, even doing everything correctly. Old bags I had purchased prior to 2019 worked fine; every bag I purchased in 2020 eventually wound up in the trash.
I haven’t tried any 2021 bags yet, but I HAVE found a brand that has worked wonderfully over the past year: Merckens. Other recommended brands that I have not personally tried yet include Alpine, CK Candy Melts, and Sweet Tooth Fairy Meltables.
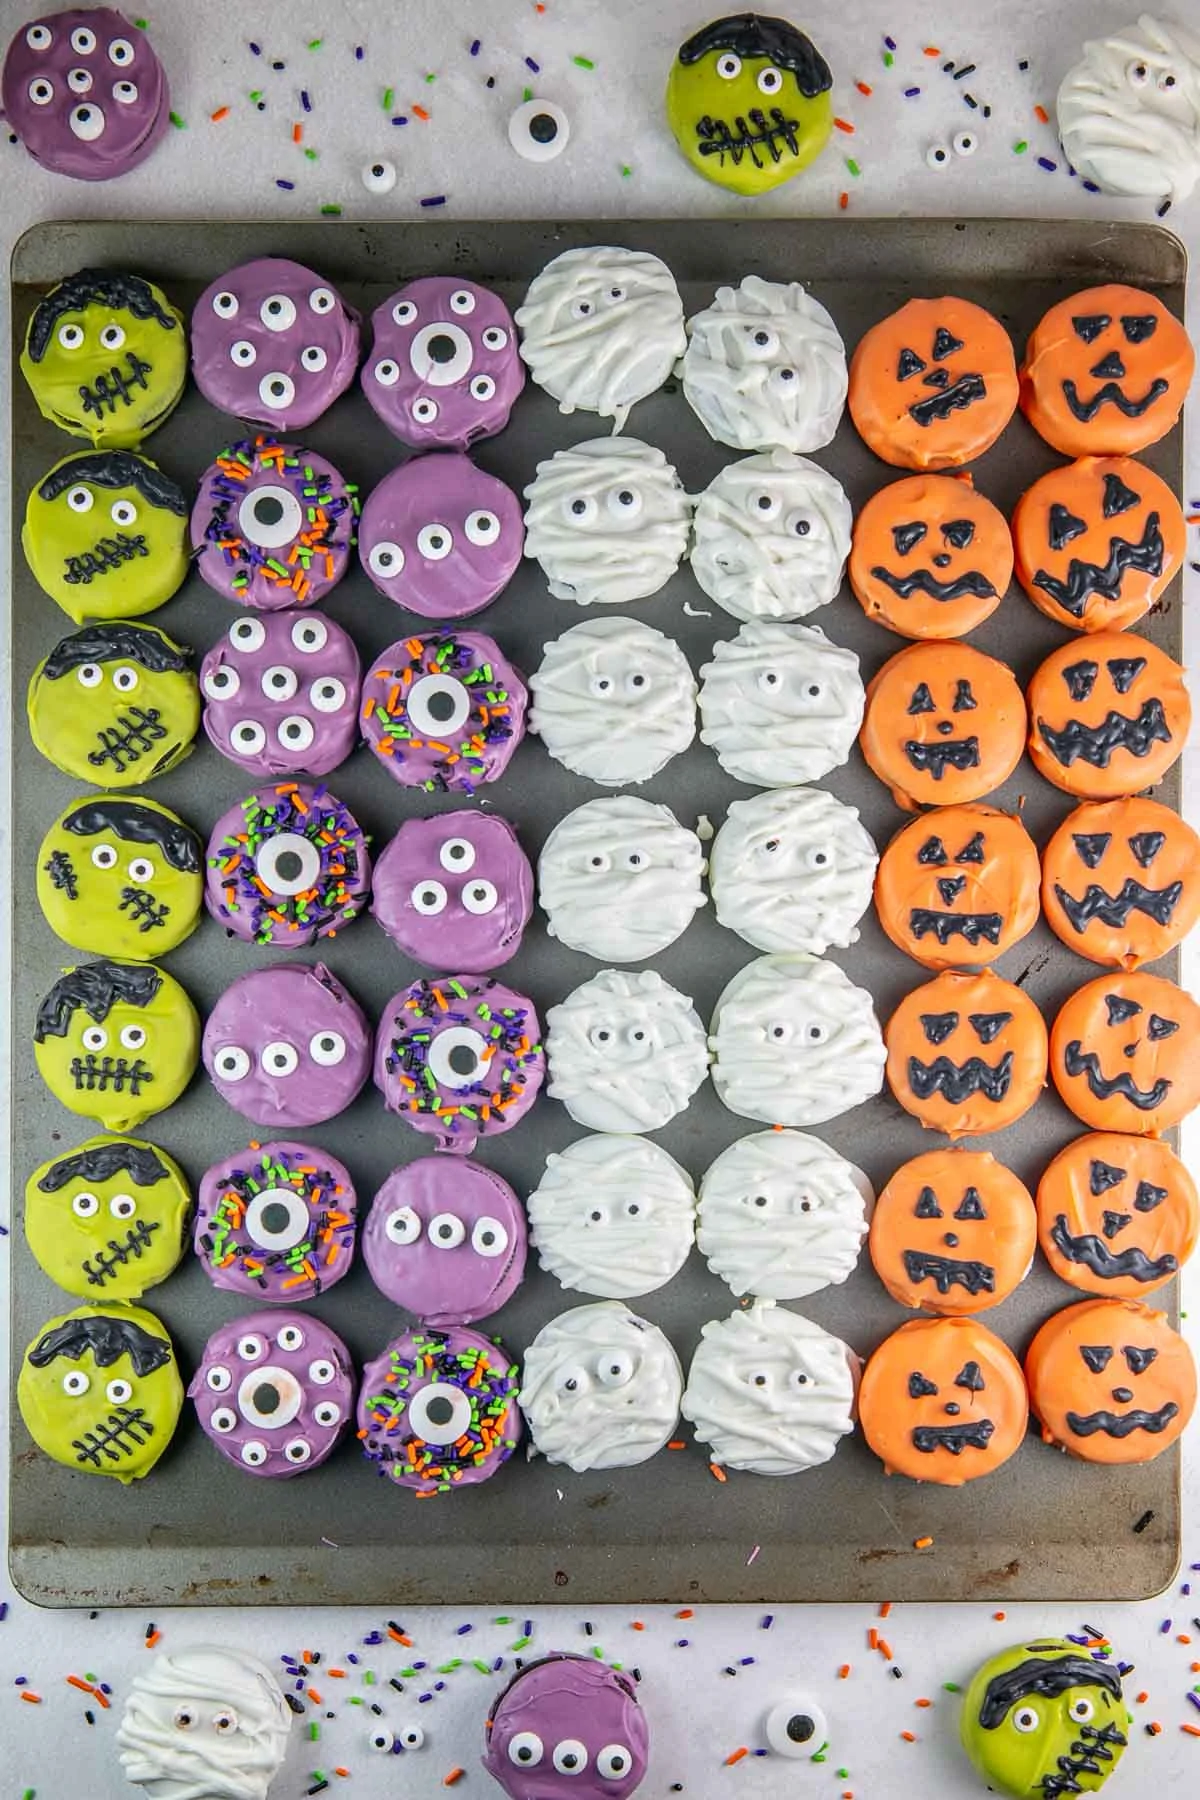
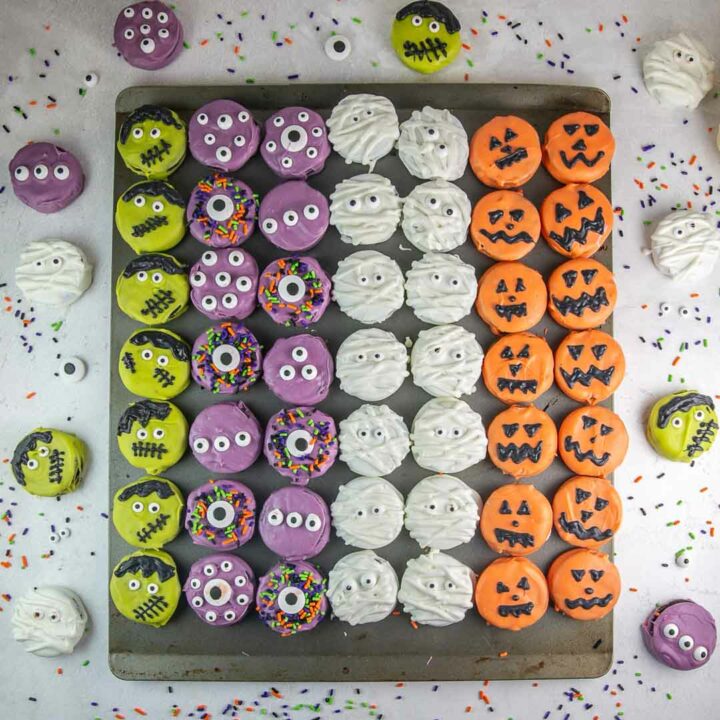
Even better, Merckens comes in all the colors you need to make these Oreos, so no need to color the wafers: we’ll use white, green, purple, orange, and black (Amazon links may be affiliate).
Storing Chocolate Dipped Oreos
These Chocolate Covered Halloween Oreos are especially perfect because you can make them ahead of time!
Let the dipped Oreos set completely on a piece of wax paper until fully hardened. Peel the cookies off the wax paper and transfer them to an airtight storage container.
Once fully set, the cookies can be stacked on top of each other with no transfer of chocolate coating.
Store the cookies at cool room temperature for up to two weeks. (Just don’t store them in the refrigerator, or you may wind up with sugar bloom — see the Kitchen Chemistry section on the Candy Corn Pretzel Bites post for more information!)
Tips and Tricks for Chocolate Covered Halloween Oreos
- Don’t melt more than 8 ounces of candy melts at a time. If you’re doubling or tripling these, work in smaller batches – otherwise, the candy melts will start to solidify and get too thick to dip the cookies.
- If the candy melts start to seize while melting, add 1-2 teaspoons of vegetable oil and heat gently, stirring frequently.
- Once the oreo is covered in melted chocolate, place it on a piece of wax paper or a perfectly smooth silicone baking mat. If there is any sort of slight pattern on the baking mat, it will be visible on the bottom of the Oreo.
- Dip one cookie at a time, then add decorations right away. The candy coating needs to be warm for the decorations to stick!
More Halloween Treats:
- Chocolate Halloween Sprinkle Cookies
- Halloween Boo Bark
- Candy Corn Pretzel Bites
- Snickers Cheesecake Bars
- Leftover Candy Cookie Cake
Chocolate Covered Halloween Oreos
Cute? Spooky? These Chocolate Covered Halloween Oreos are both – and just as fun to eat! Perfect for kids to help decorate and share with all their friends.
Ingredients
- 40 chocolate sandwich cookies
- 6 ounces each, candy melts in white, green, purple, and orange
- 2 ounces black candy melts
- Halloween sprinkles
- candy eyeball decorations
Instructions
- Line a cookie sheet with wax paper or a smooth reusable silicone baking sheet.
- Melt one color of candy melts in a microwave safe glass bowl at 50% power, stirring after each 30 seconds, until fully melted and smooth.
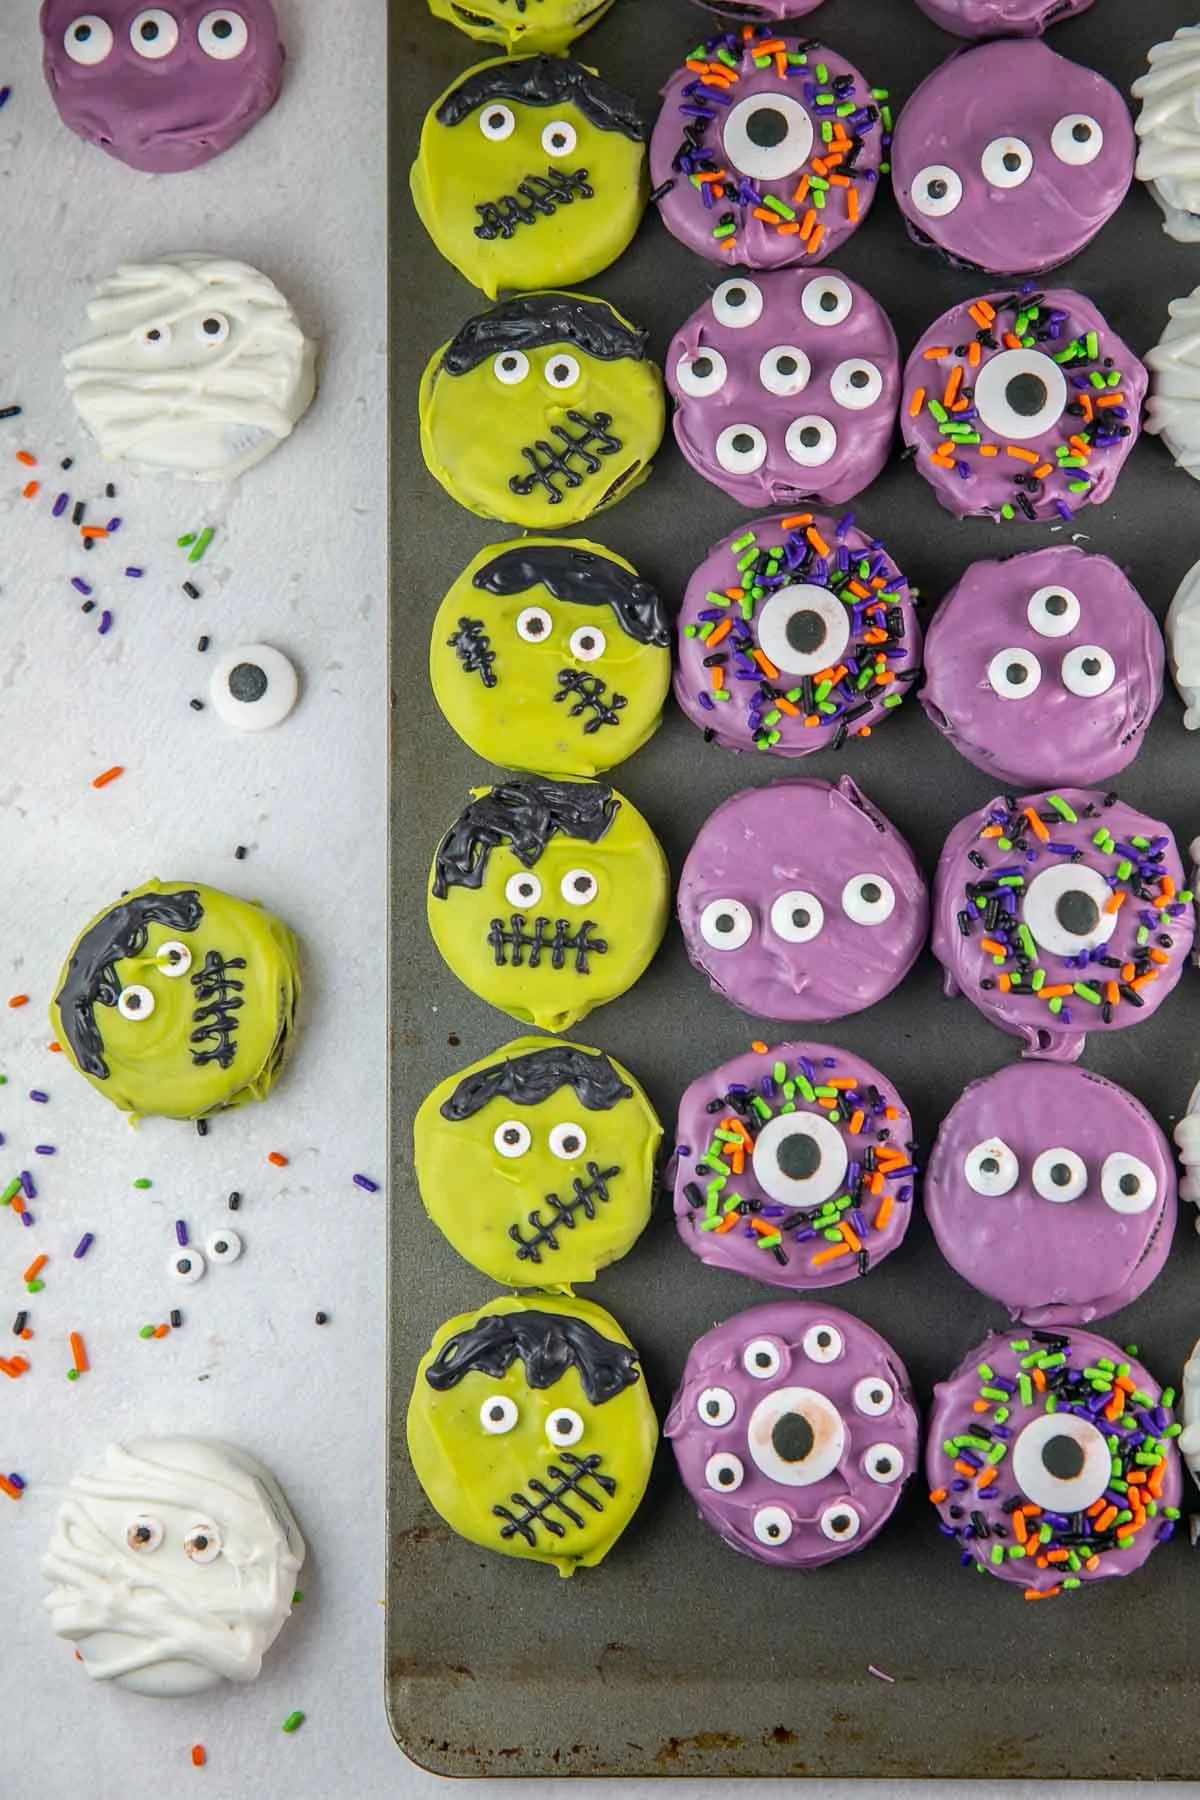
- Drop one Oreo cookie into the melted candy melts and use a spoon to flip the Oreo upside-down, ensuring all sides are coated. Use a fork to scoop up the cookie, gently shake to remove excess candy melt coating, and transfer to the prepared cookie sheet.
- Immediately add sprinkles or eyeballs to the surface of the Oreo before allowing the coating to harden.
- Once candy coating has hardened, pipe on additional designs with black candy melts using a piping bag and small piping tip.
- Store fully set chocolate covered Halloween oreos in an airtight container at room temperature for up to 2 weeks.
Notes
- Don’t melt more than 8 ounces of candy melts at a time. If doubling or tripling these, work in smaller batches – otherwise, the candy melts will start to solidify and get too thick to dip the cookies.
- If the candy melts start to seize while melting, add 1-2 teaspoons of vegetable oil and heat gently, stirring frequently.
- Dip one cookie at a time, then add decorations right away. The candy coating needs to be warm for the decorations to stick! For cookies with piped-on melted chocolate (Frankenstein, Jack-o-Lantern), allow the base layer of candy melt to cool before adding addtional piping.
Recommended Products
As an Amazon Associate and member of other affiliate programs, I earn from qualifying purchases.