Lemon Shallot Chickpea Casserole
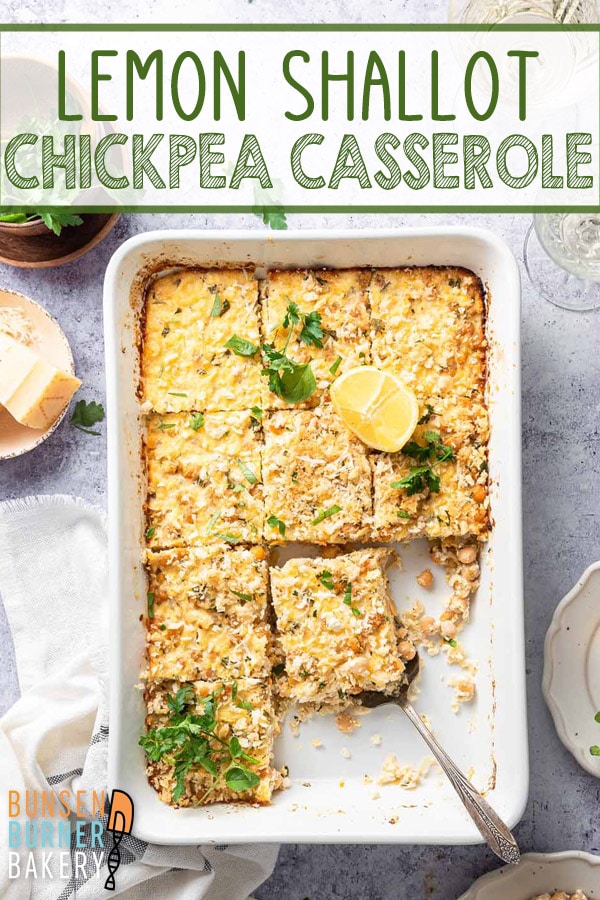
Packed full of protein, Lemon Shallot Chickpea Casserole is an easy make-ahead, freezer-friendly vegetarian dinner or side. It’s a light and fresh take on the comfort food you crave.
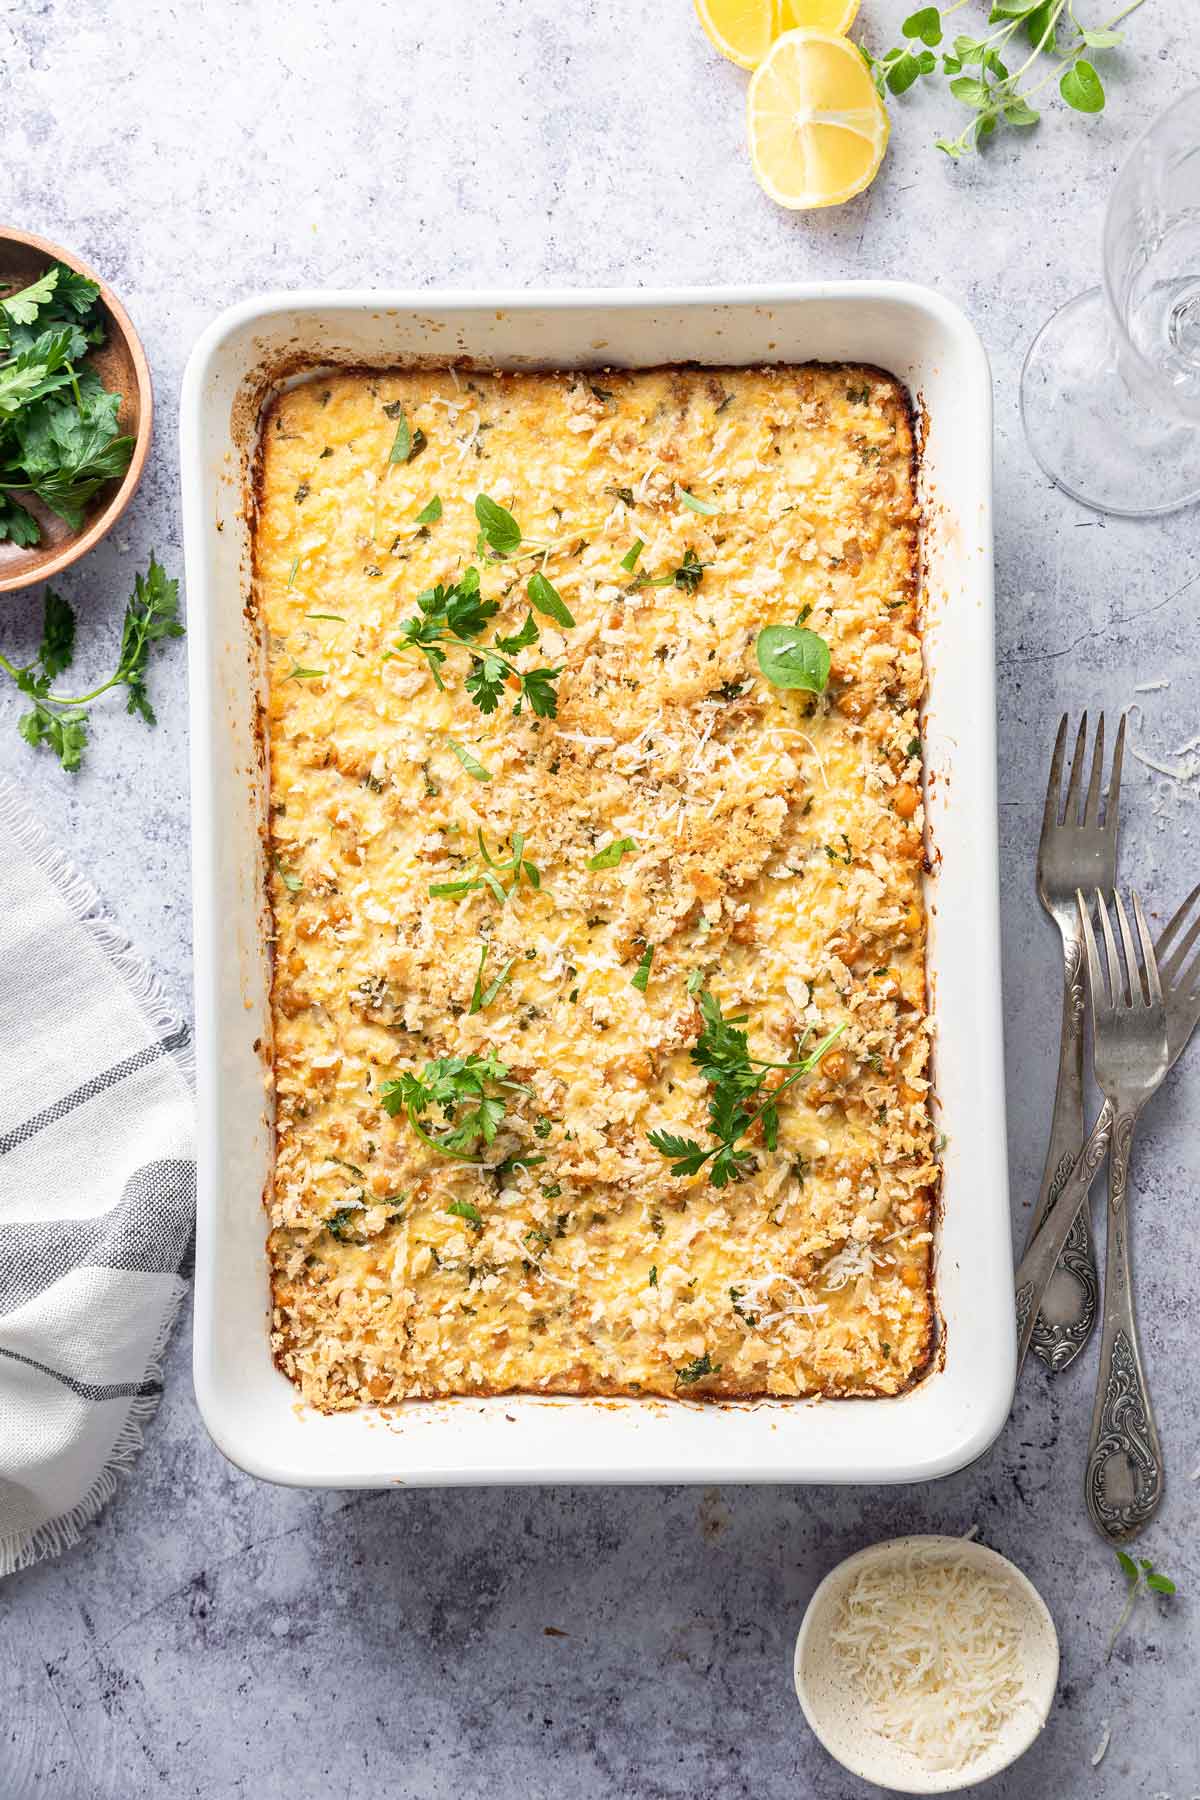
As the weather turns colder, we so often turn to “comfort food” — casseroles, one-pot meals, and warm, filling dinners. While these dinners are often on the heavier side, they don’t have to be!
This easy chickpea casserole, full of the bright flavors of lemons and shallots, is somehow the perfect balance between hearty and filling but also fresh and light.
It’s just the right amount of creamy but also packed full of protein, with chickpeas, eggs, yogurt, and cottage cheese. (Don’t like cottage cheese? No worries – it doesn’t taste like cottage cheese, or have that curdy texture either!)
It’s a dump-and-bake type casserole, meaning you basically dump the ingredients in a bowl, mix, and bake. You can make it ahead of time — either baking the whole thing and storing or prepping the casserole dish and baking it at the end of the day. Because it freezes so well, it’s become one of my go-to dishes to bring to friends and neighbors after new babies, sickness, or other challenging times.
As a former vegetarian, I am more than happy to eat this as my “main dish” (paired with a crisp green salad), but it’s also a perfect side to some simple baked chicken or pork for those who enjoy meat at dinner. Leftovers are perfect for lunch, and you can almost always find a few precut squares of this in my freezer for emergency out-of-food dinners.
Super easy, super delicious, full of protein, and perfect to make ahead? Check, check, check, and check! This chickpea casserole will be a favorite all year round.
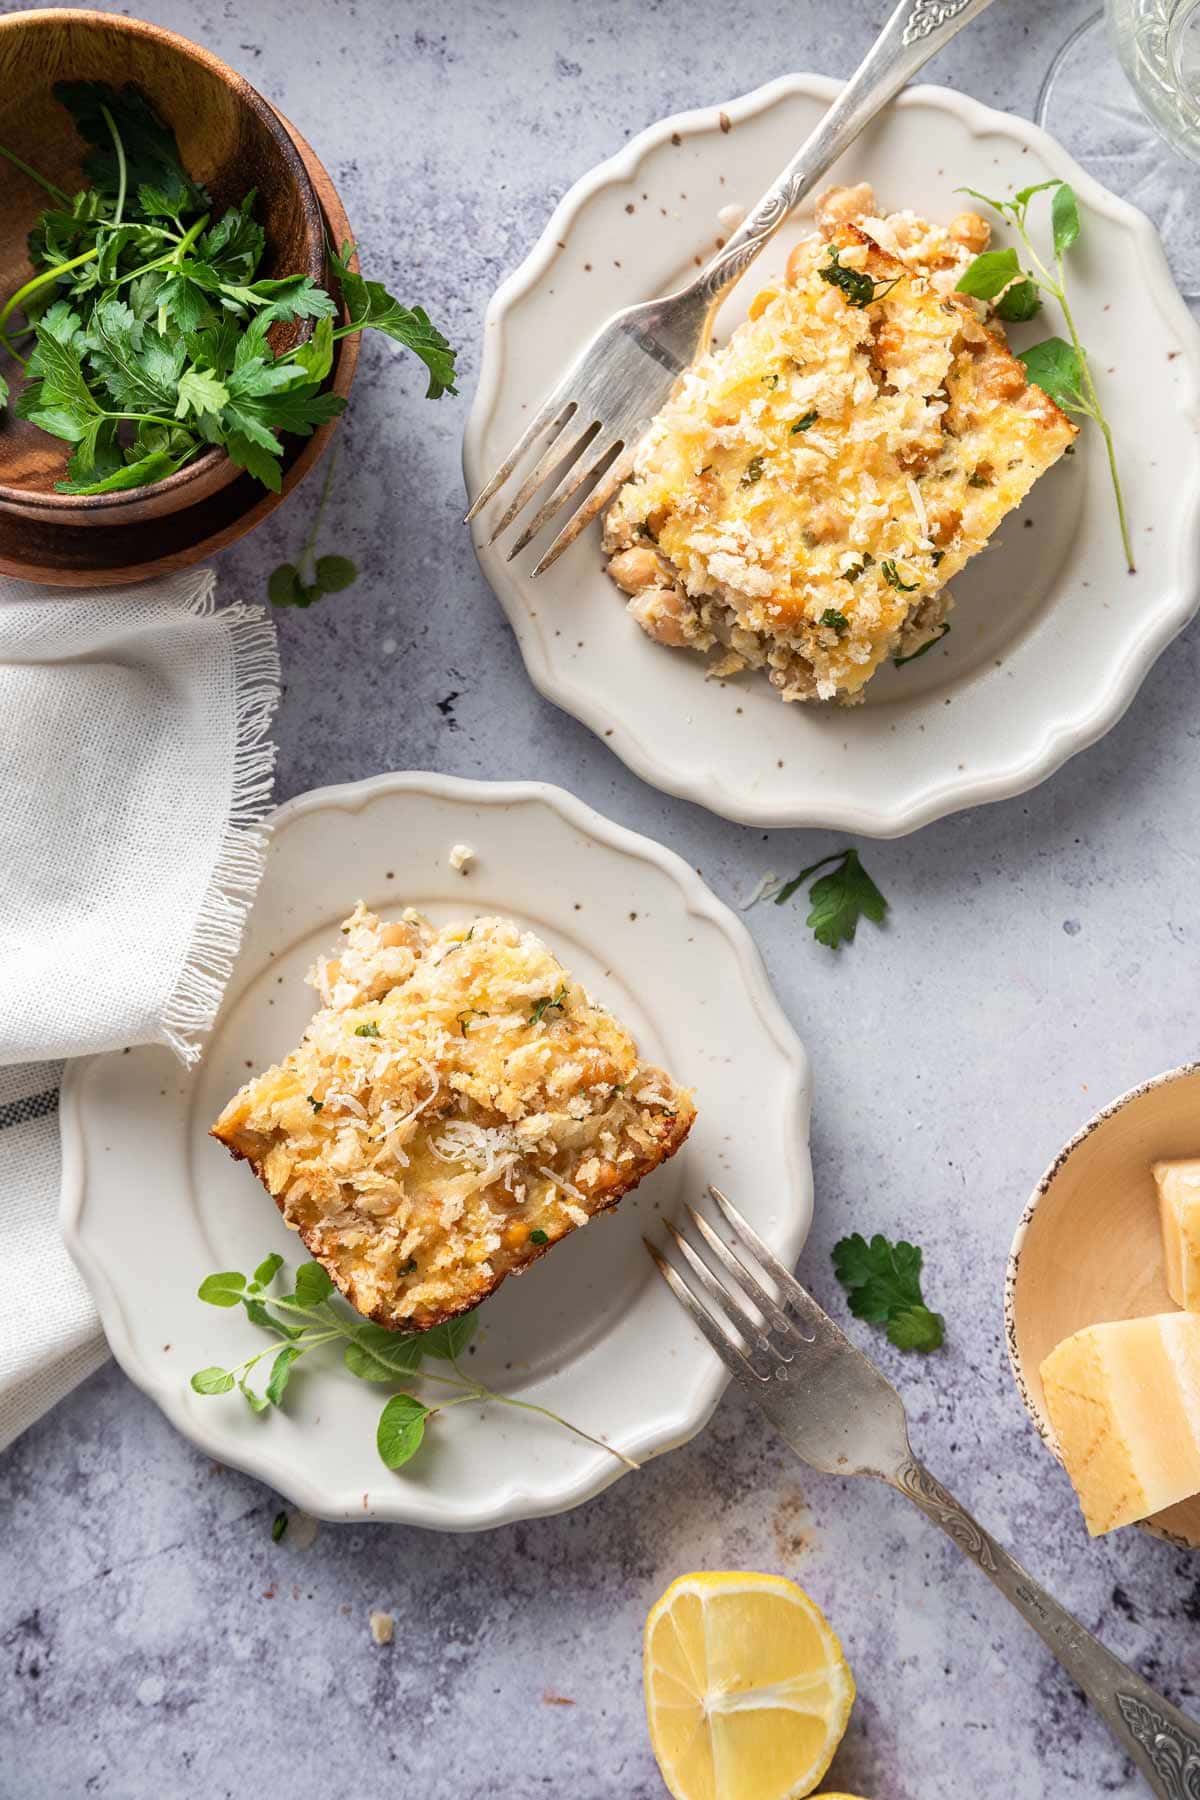
Easy Pantry Ingredients
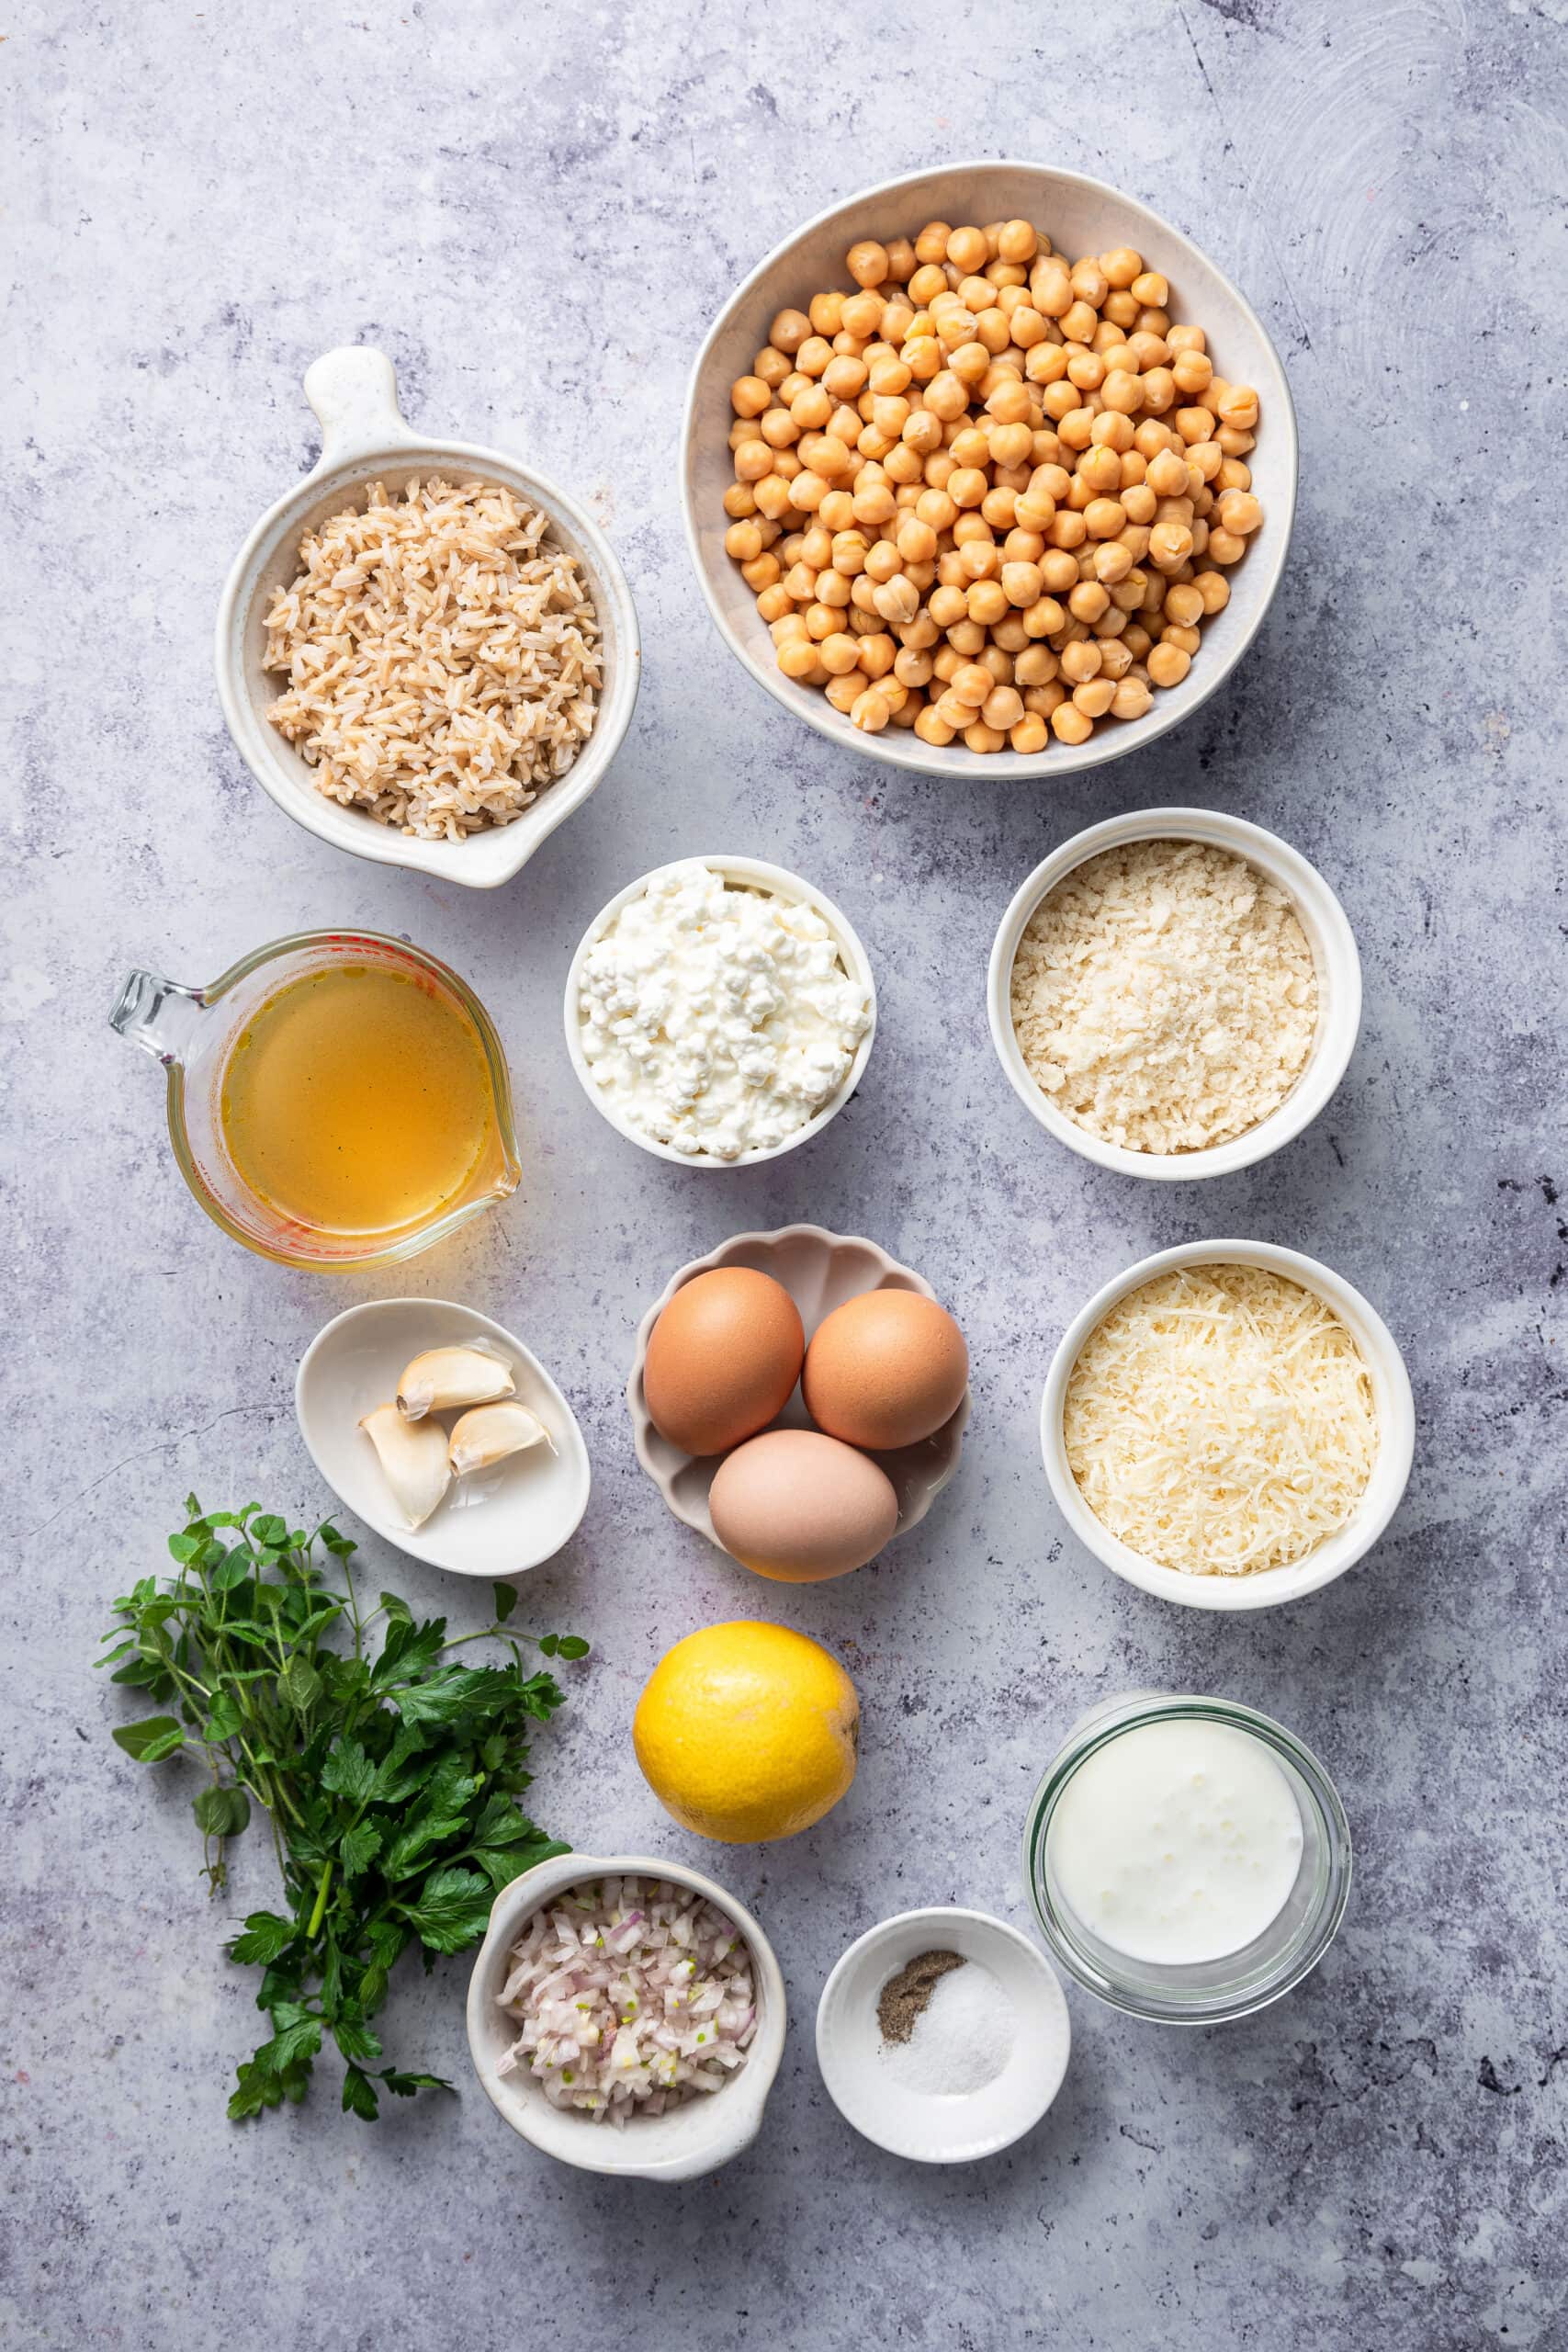
This casserole is made entirely from simple, real foods. No cream-of-something soup necessary. Aside from the cottage cheese and shallot, there’s a decent chance you may already have everything you need on hand! To make this casserole, you’ll need:
- eggs
- cottage cheese
- plain yogurt
- grated Parmesan cheese (vegetarian friendly, if relevant)
- canned chickpeas
- cooked brown rice (can also substitute white rice)
- shallots
- garlic
- lemon
- vegetable broth (chicken broth works too)
- panko or bread crumbs
- chopped fresh herbs
To make this even easier, I have a few shortcuts I like to use. Whenever I make rice, I always make a double batch and keep extra in the freezer, pre-cooked, so I can just pull it out, thaw, and use it for this recipe. I also always freeze the extra rice we receive if we order Indian food or Chinese food – the white works fine for this casserole!
You can also use dried herbs, but in the summer I’ll chop some herbs from my garden and freeze a few tablespoons in ice cube trays – perfect to pop out and add to this!
Dump and Bake Chickpea Casserole
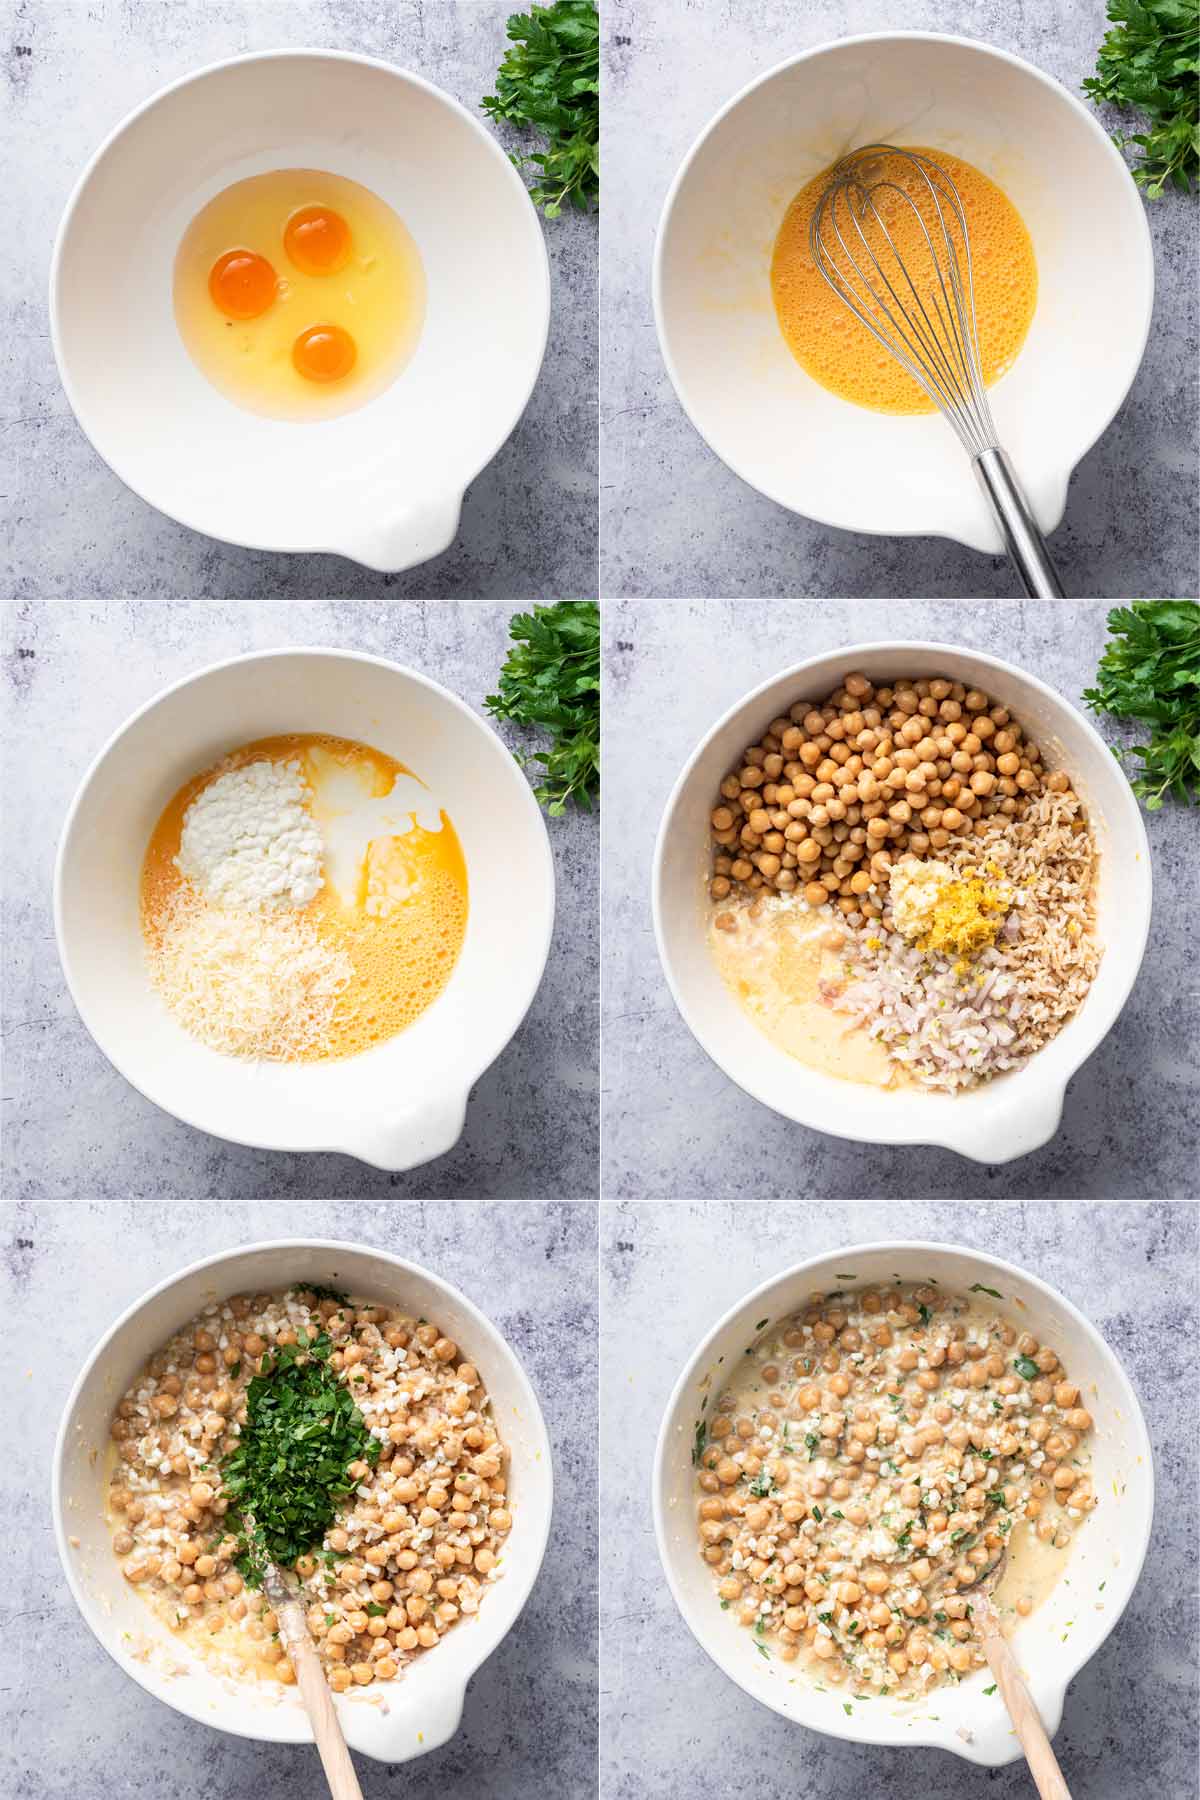
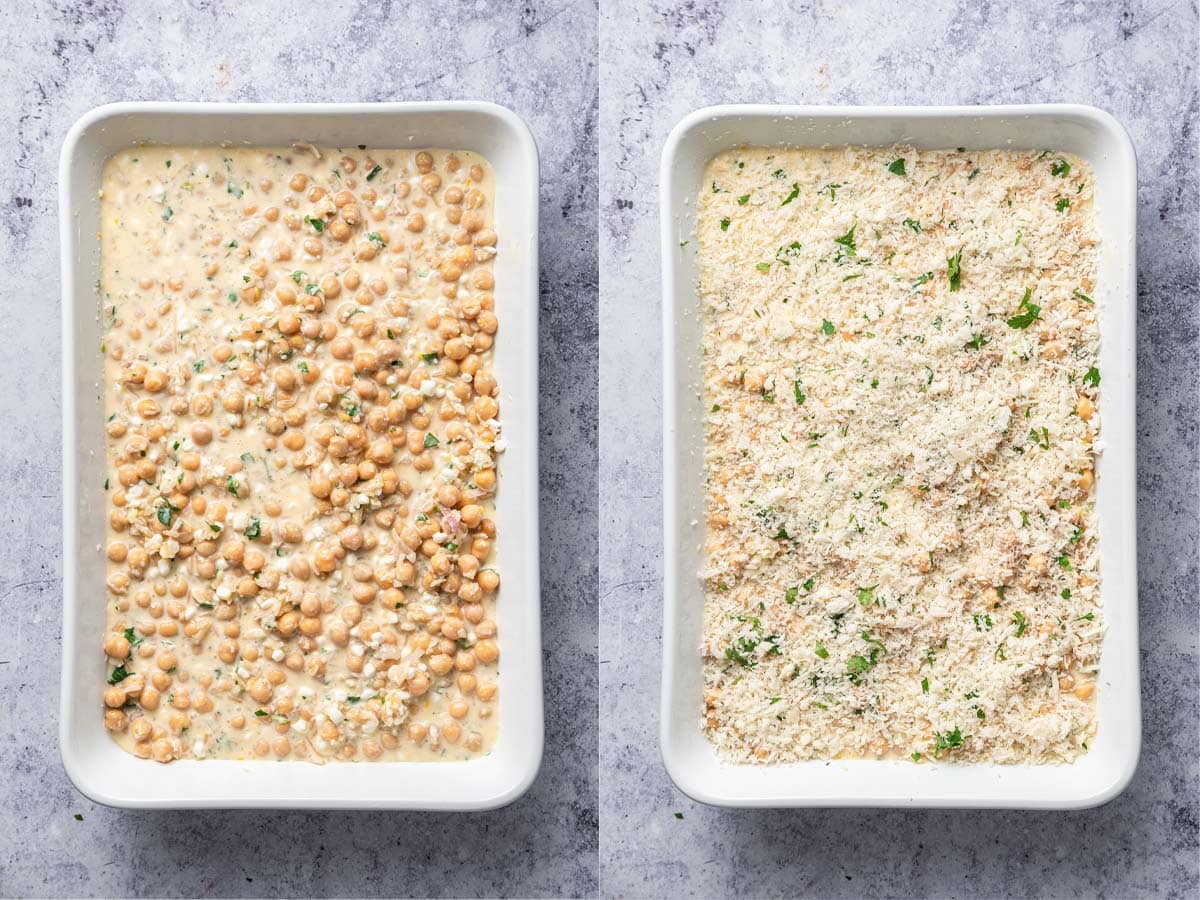
The true beauty of this casserole is how easy it is. All we need to do is beat some eggs together and then stir in the rest of the ingredients. Transfer the mixture to a casserole dish, then sprinkle on some bread crumbs and cheese.
Why is it so important to whisk the eggs first rather than dump everything together? We can explain everything with my favorite subject… kitchen chemistry!
Kitchen Chemistry
The proteins in eggs act as binding agents. As the eggs are heated, they coagulate and form clumps, changing from a liquid to a semisolid or solid state. This “sets” the protein, which is adhered to other ingredients and connects everything together.
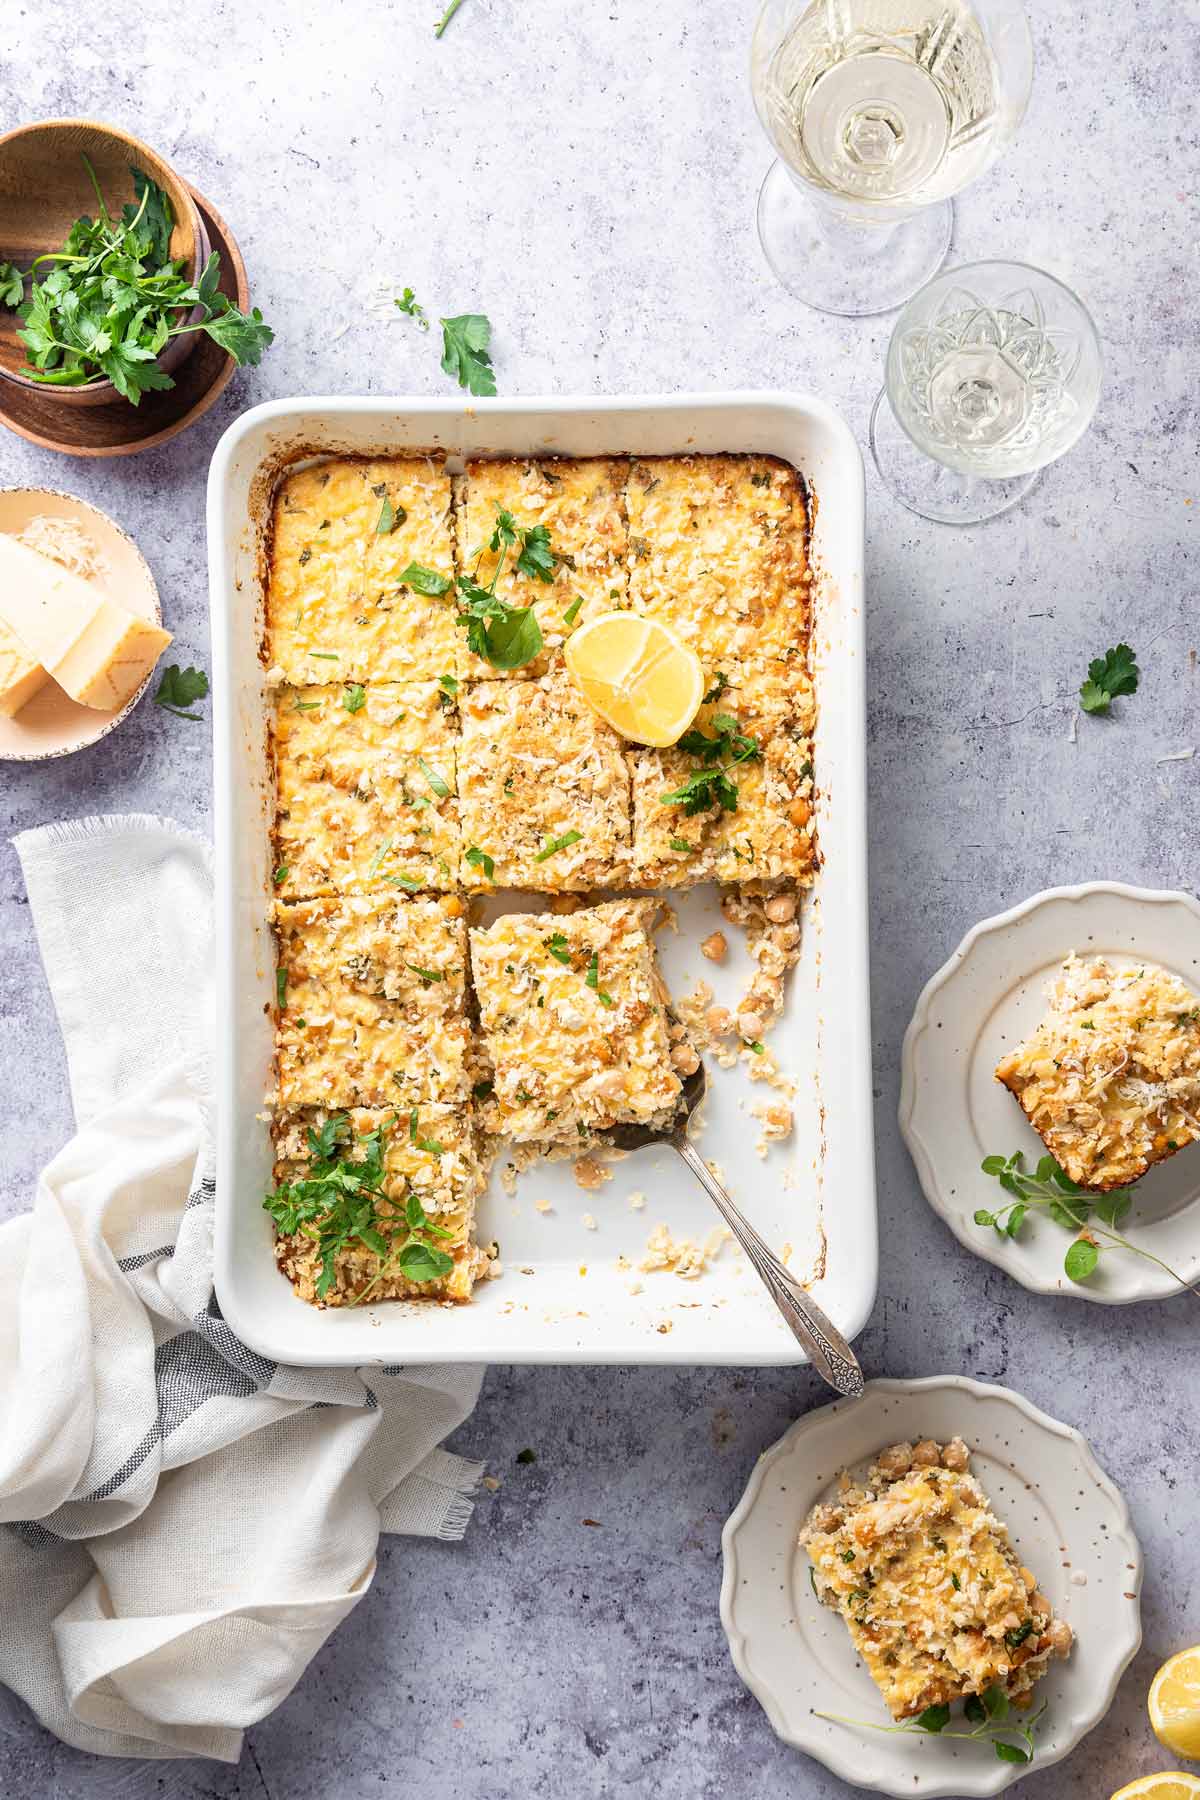
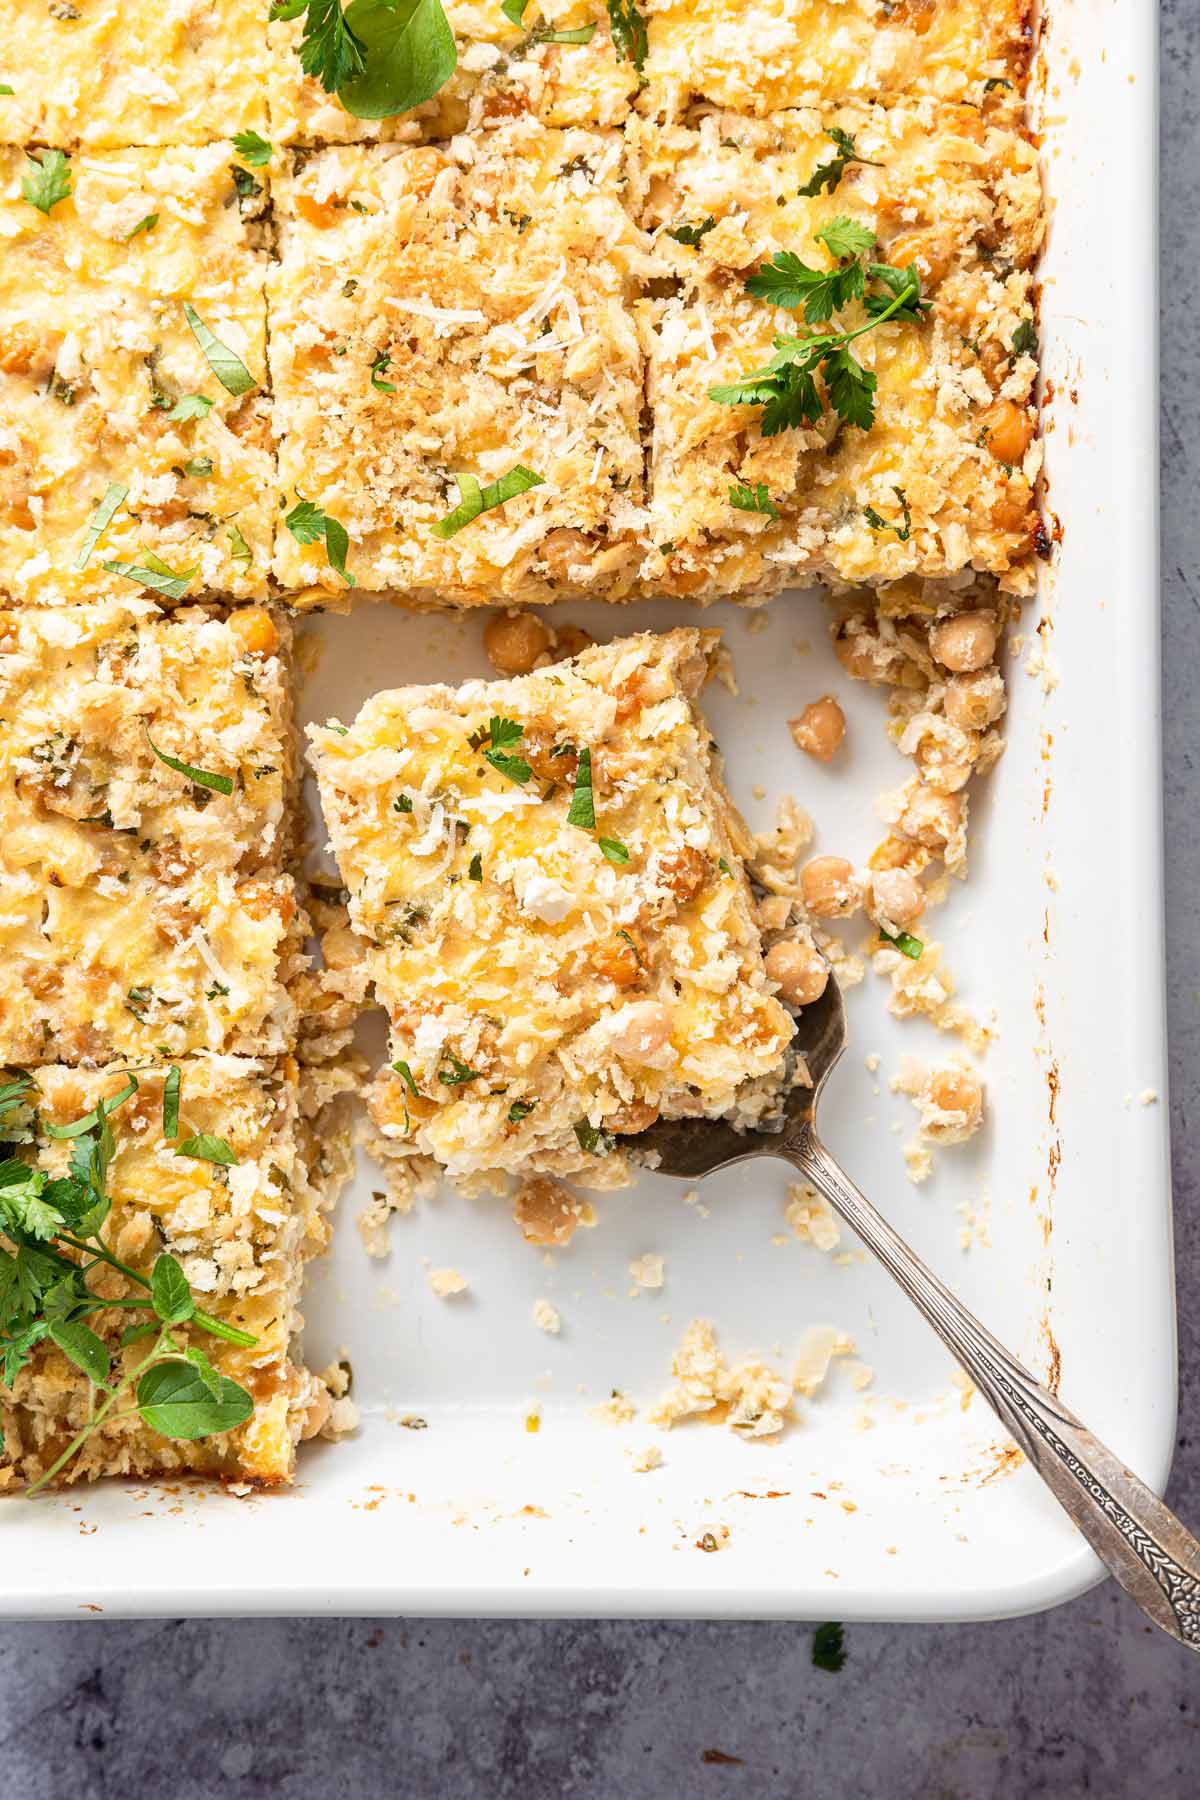
Bake for 45 minutes until the top is golden and the casserole is bubbling. Let it cool on the counter for 10 minutes before serving.
It is seriously so, so easy – and you can even make it ahead of time!
I’ve baked the entire casserole the night before and reheated cut squares of it in the microwave for dinner the next day. I’ve also added all the ingredients to the baking dish the evening before or the morning of and then baked it after work. It’s perfect either way.
Easy Substitutions
As long as ratios stay the same, you can swap out just about anything in this chickpea casserole for something you already have on hand!
Prefer small white beans to chickpeas? Go for it. Cooked white rice? Perfect. Ricotta cheese instead of cottage cheese? Yep. Onion instead of shallots? You betchya. Prefer chicken stock to vegetable? Sure thing.
If you want to keep this gluten-free, use gluten-free breadcrumbs or crush some gluten-free crackers.
And if you’d prefer to use dried chickpeas instead of canned, well, as a lover of dried beans, I FULLY support this! Start with 2.25 cups of dried chickpeas (roughly 13.5 ounces). Rinse the beans, then place them in a bowl and cover them with a few inches of water. Soak for 4-6 hours, then transfer to a large pot. Add additional water to cover the beans by several inches and bring the water to a boil. After 10 minutes, turn down the heat to a gentle simmer and cook until soft, somewhere around 2-3 hours.
Storing and Freezing
The lemon shallot chickpea casserole can be stored unbaked in the refrigerator overnight, or kept refrigerated for up to 5 days after baking. Reheating in the oven is a little tastier (I usually cut squares beforehand and bake at 350 °F for 10-15 minutes) but the microwave is faster and works well, too.
The casserole can be frozen after baking, either as a whole casserole dish or, my favorite for space-saving reasons, as individual portions. Once the casserole is baked and cooled, I like to cut it into squares and wrap each square in a layer of aluminum foil. All the wrapped squares go into a zip-top freezer bag for up to 3 months.
Then whenever we need an easy lunch or a simple dinner, I just pull out the number of squares we need and defrost.
Recommended Tools to Make Lemon Shallot Chickpea Casserole
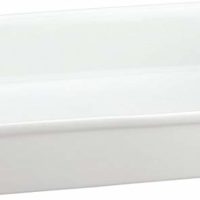
- Baking Dish: This recipe is designed to fit in a 9 x 13-inch baking dish and this set of three white ceramic casserole dishes is my favorite – perfect heat conduction for baking, pretty enough to place on the table for serving.
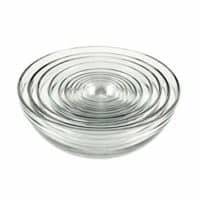
- Mixing Bowl: This glass mixing bowl set is microwave and dishwasher-safe and contains all the sizes you need for mixing ingredients.
- Citrus Juicer: A handheld juicer is the easiest way to squeeze all the juice out of your lemons and limes.
Tips and Tricks for the Best Chickpea Casserole
- Beat the eggs well to begin to ensure even distribution throughout the other ingredients, as the eggs are a key binding agent.
- If the casserole feels a little dry, add a few additional teaspoons of vegetable stock.
- To make the recipe even easier, double a future batch of brown rice and store it in the freezer to pull out for this recipe. (Or use white rice leftover from ordering in Chinese or Indian food!)
- The chickpea casserole can be made gluten-free by using gluten-free breadcrumbs.
More Easy Vegetarian Dinners:
- Honey Glazed Mocorccan Eggplant
- One Pot Tortellini with Sweet Potatoes and Spinach
- Curried Lentil Soup
- Quinoa Cakes with Poached Eggs
- Mexican Couscous Bowl
- Sweet Potato Kale Chickpea Bowl
- All Vegetarian Recipes »
Lemon Shallot Chickpea Casserole
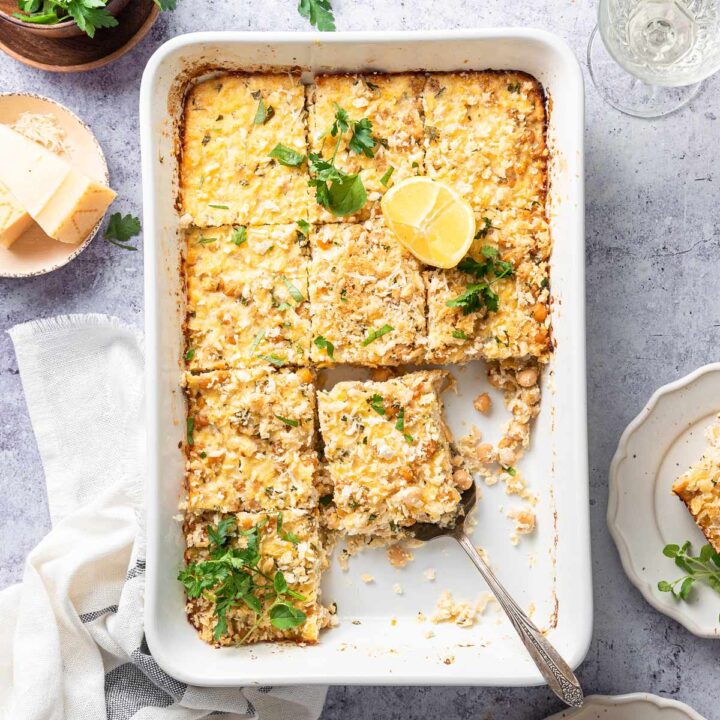
Packed full of protein, Lemon Shallot Chickpea Casserole is an easy make-ahead, freezer-friendly vegetarian dinner or side.
Ingredients
- 3 large eggs, beaten
- 1 cup cottage cheese
- 3/4 cup plain yogurt
- 1 cup grated Parmesan cheese (vegetarian friendly), divided
- 3 (15-ounce) cans chickpeas, drained
- 1 cup cooked brown rice
- 4 shallots, minced
- 3 cloves garlic, minced
- 1 lemon, juiced and zested
- 1/2 cup vegetable broth
- salt and freshly ground black pepper, to taste
- 2/3 cup panko or dried bread crumbs
- 1/2 cup fresh chopped herbs (parsley and oregano recommended)
- olive oil, for drizzling
Instructions
- Preheat the oven to 375 °F and lightly grease a 9×13-inch baking dish.
- Beat the eggs in a large bowl. Add cottage cheese, yogurt, and 1/2 cup of Parmesan cheese. Stir in chickpeas, rice, shallots, garlic, lemon zest, juice, and vegetable broth. Season with salt and pepper and stir in the herbs.
- Spread the mixture into the baking dish and top with the remaining Parmesan cheese and bread crumbs. Drizzle with olive oil and bake for 45 minutes, until golden and bubbling. Allow the casserole to stand for 10 minutes before serving.
Notes
- Beat the eggs well to begin to ensure even distribution throughout the other ingredients.
- If the casserole feels a little dry, add a few additional teaspoons of vegetable stock.
- Use gluten-free breadcrumbs to make this a gluten-free casserole.
- The casserole can be stored in the refrigerator for up to 5 days or frozen for up to 3 months.
Recommended Products
As an Amazon Associate and member of other affiliate programs, I earn from qualifying purchases.
This recipe was first published October 2015 and updated with new photos and helpful tips November 2022.

