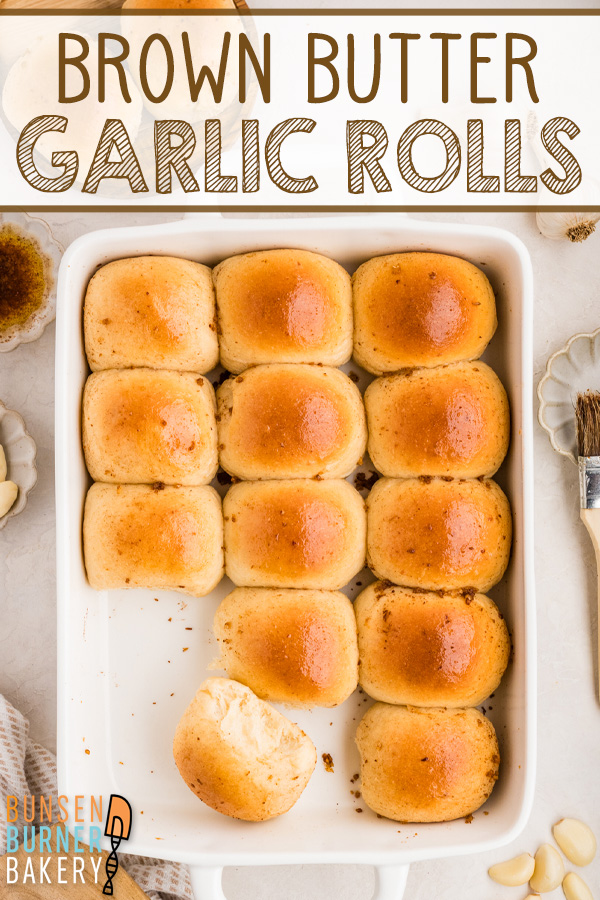
Brown Butter Garlic Rolls
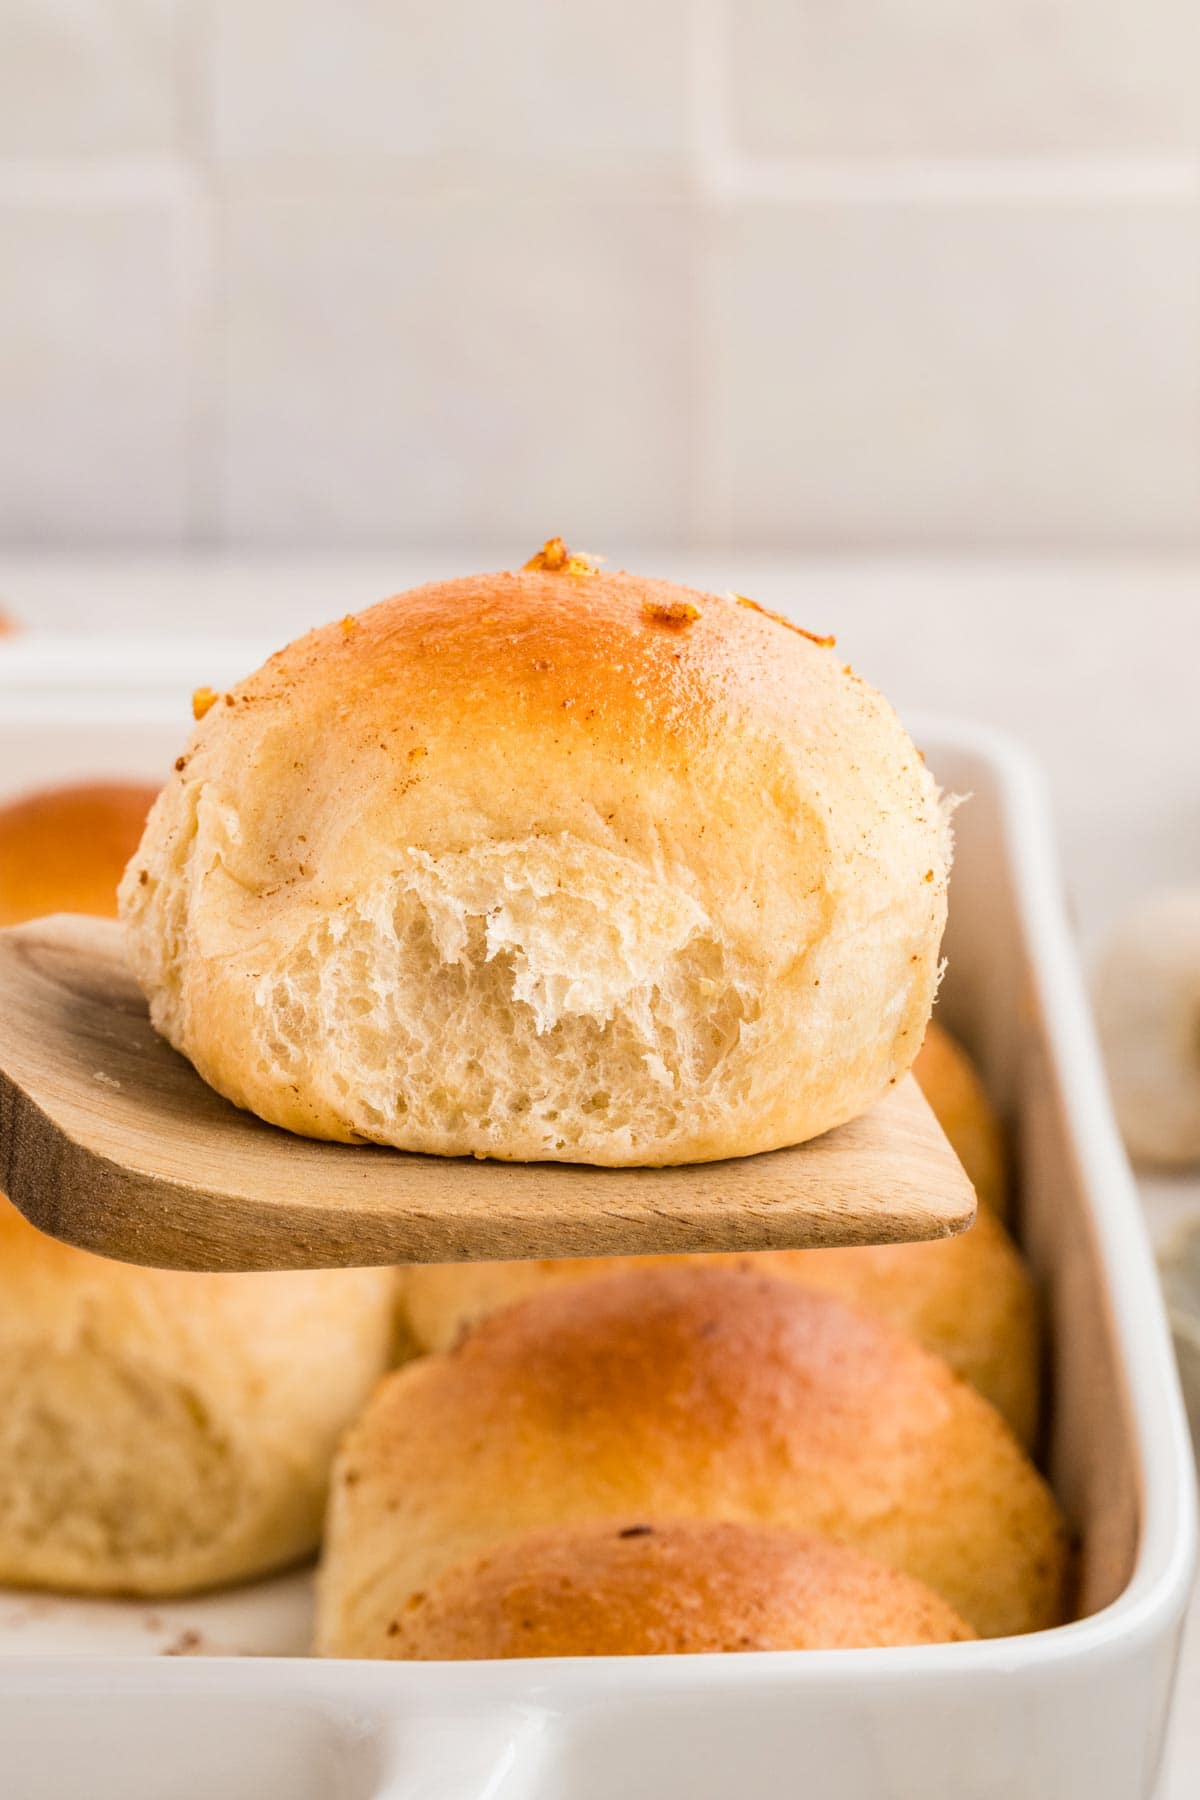
These soft, fluffy Brown Butter Garlic Rolls are made with nutty browned butter and toasted garlic mixed right into the dough. Brushed with even more garlic butter after baking, these homemade dinner rolls are perfect for everything from weeknight dinners to holiday gatherings.
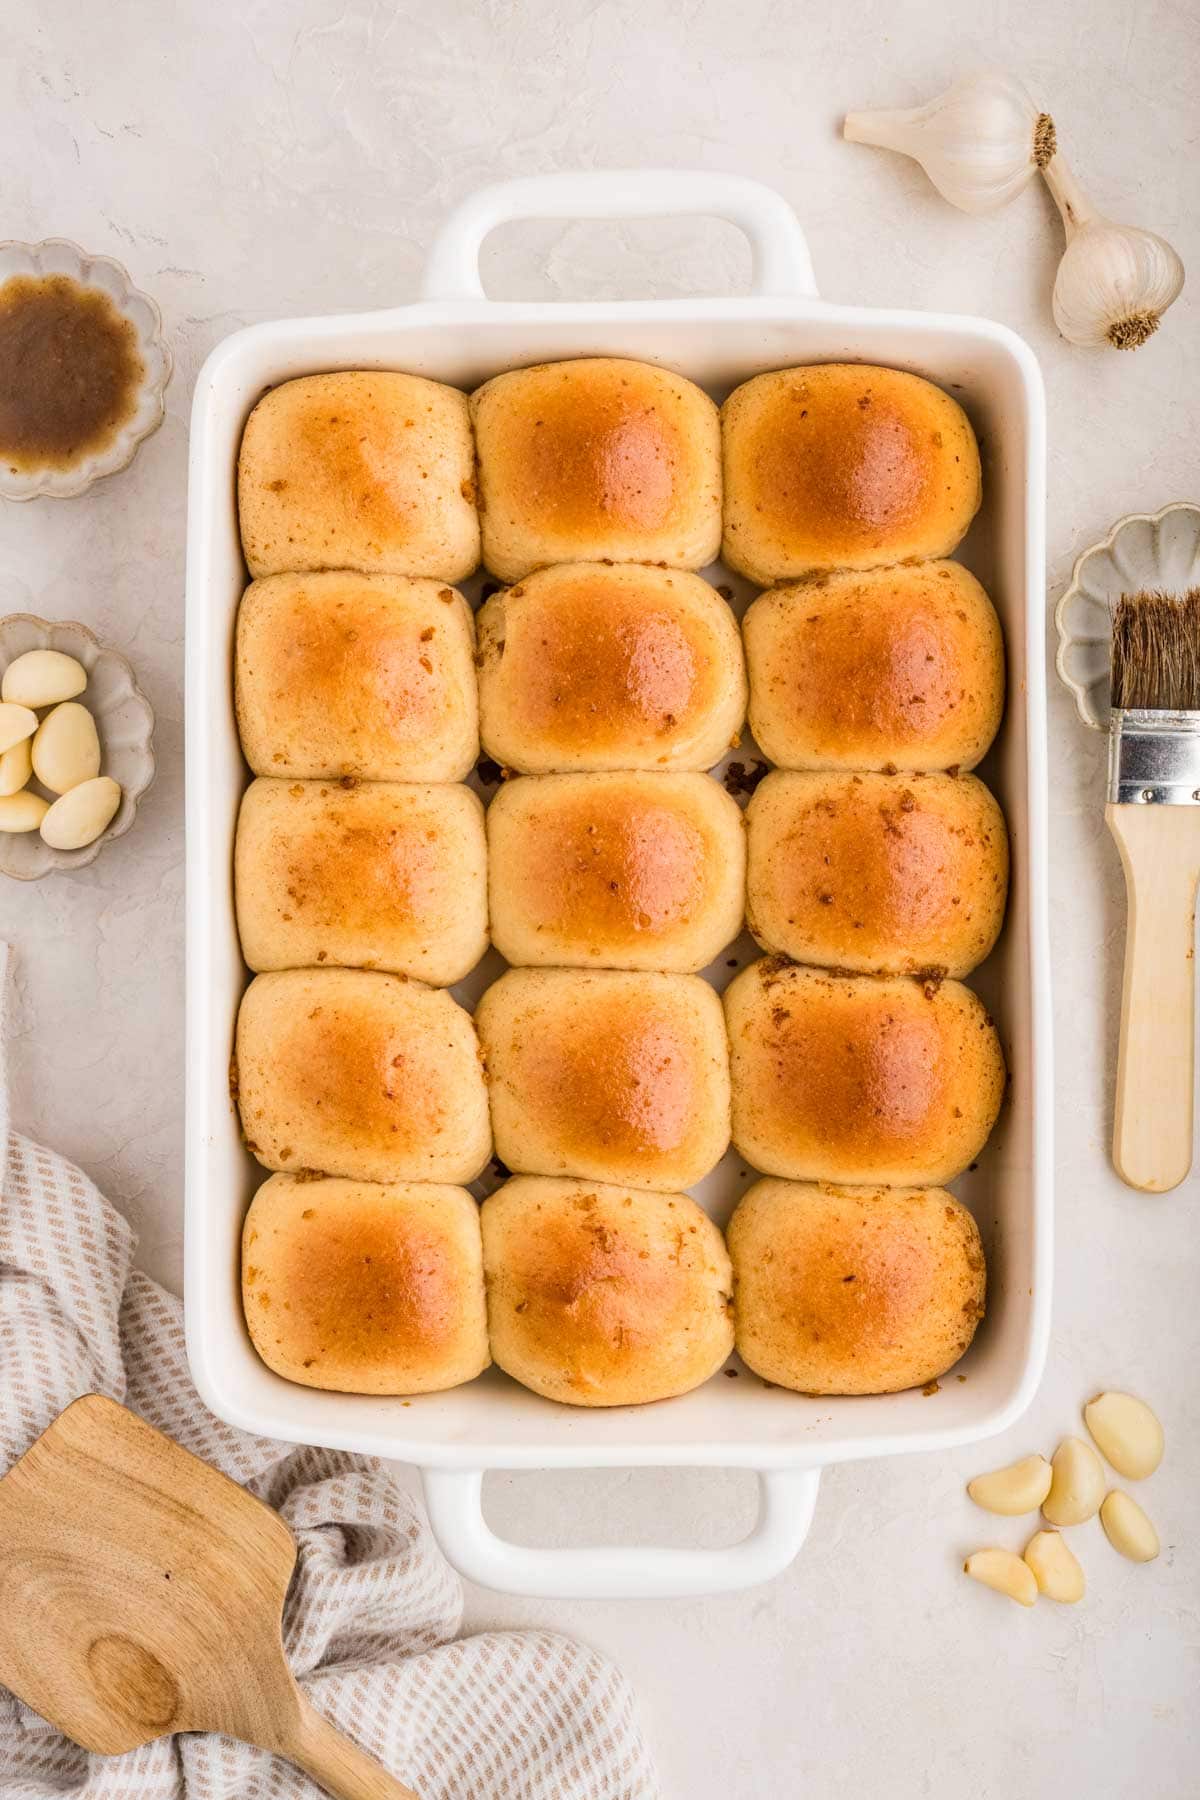
Soft, fluffy homemade dinner rolls are hard to beat. Unless, of course, you add browned butter and a whole lot of garlic.
Butter and garlic are already a pretty great pair. But you know what’s even better? Browning the butter first, then adding garlic while it’s still hot. Ten cloves, to be exact. If you’re a garlic lover, you’re in the right place.
The result is a rich, nutty garlic butter that gets mixed directly into the bread dough. Every bite has that savory garlic flavor, rather than relying on a little garlic butter brushed over the top.
Of course, we’re doing that, too. Because why stop at garlic butter inside the rolls when you can have more on top?
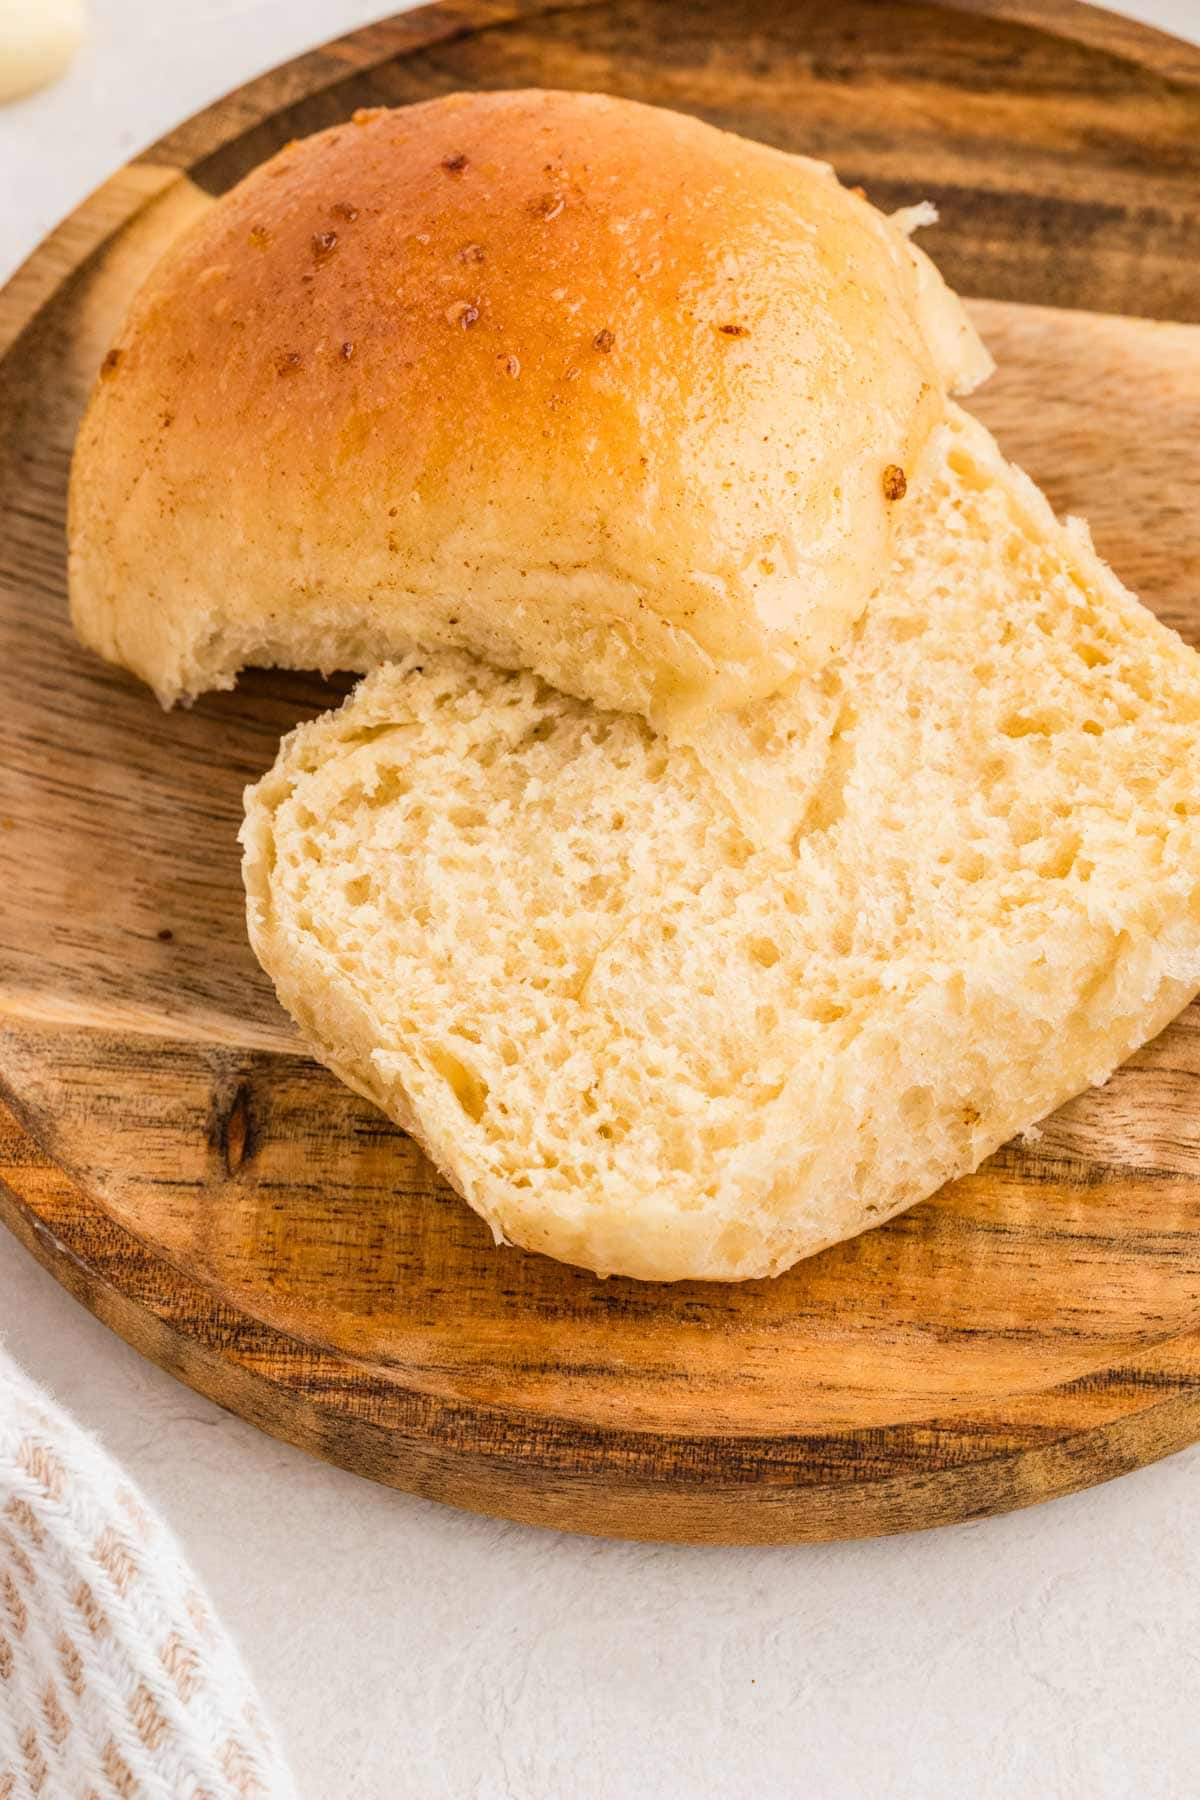
Despite the extra step of browning the butter, these rolls are surprisingly straightforward to make. A stand mixer does most of the kneading, and the dough gets two rises before heading into the oven. You’ll end up with 15 golden-brown rolls that pull apart to reveal a wonderfully soft, airy interior.
They’re right at home alongside a big bowl of soup, a Sunday dinner, or your Thanksgiving turkey. And if you have leftovers, they’re just the right size for little sandwiches.
But fair warning: you might want to make a double batch if you’re counting on having any left!
Ingredients and Substitutions
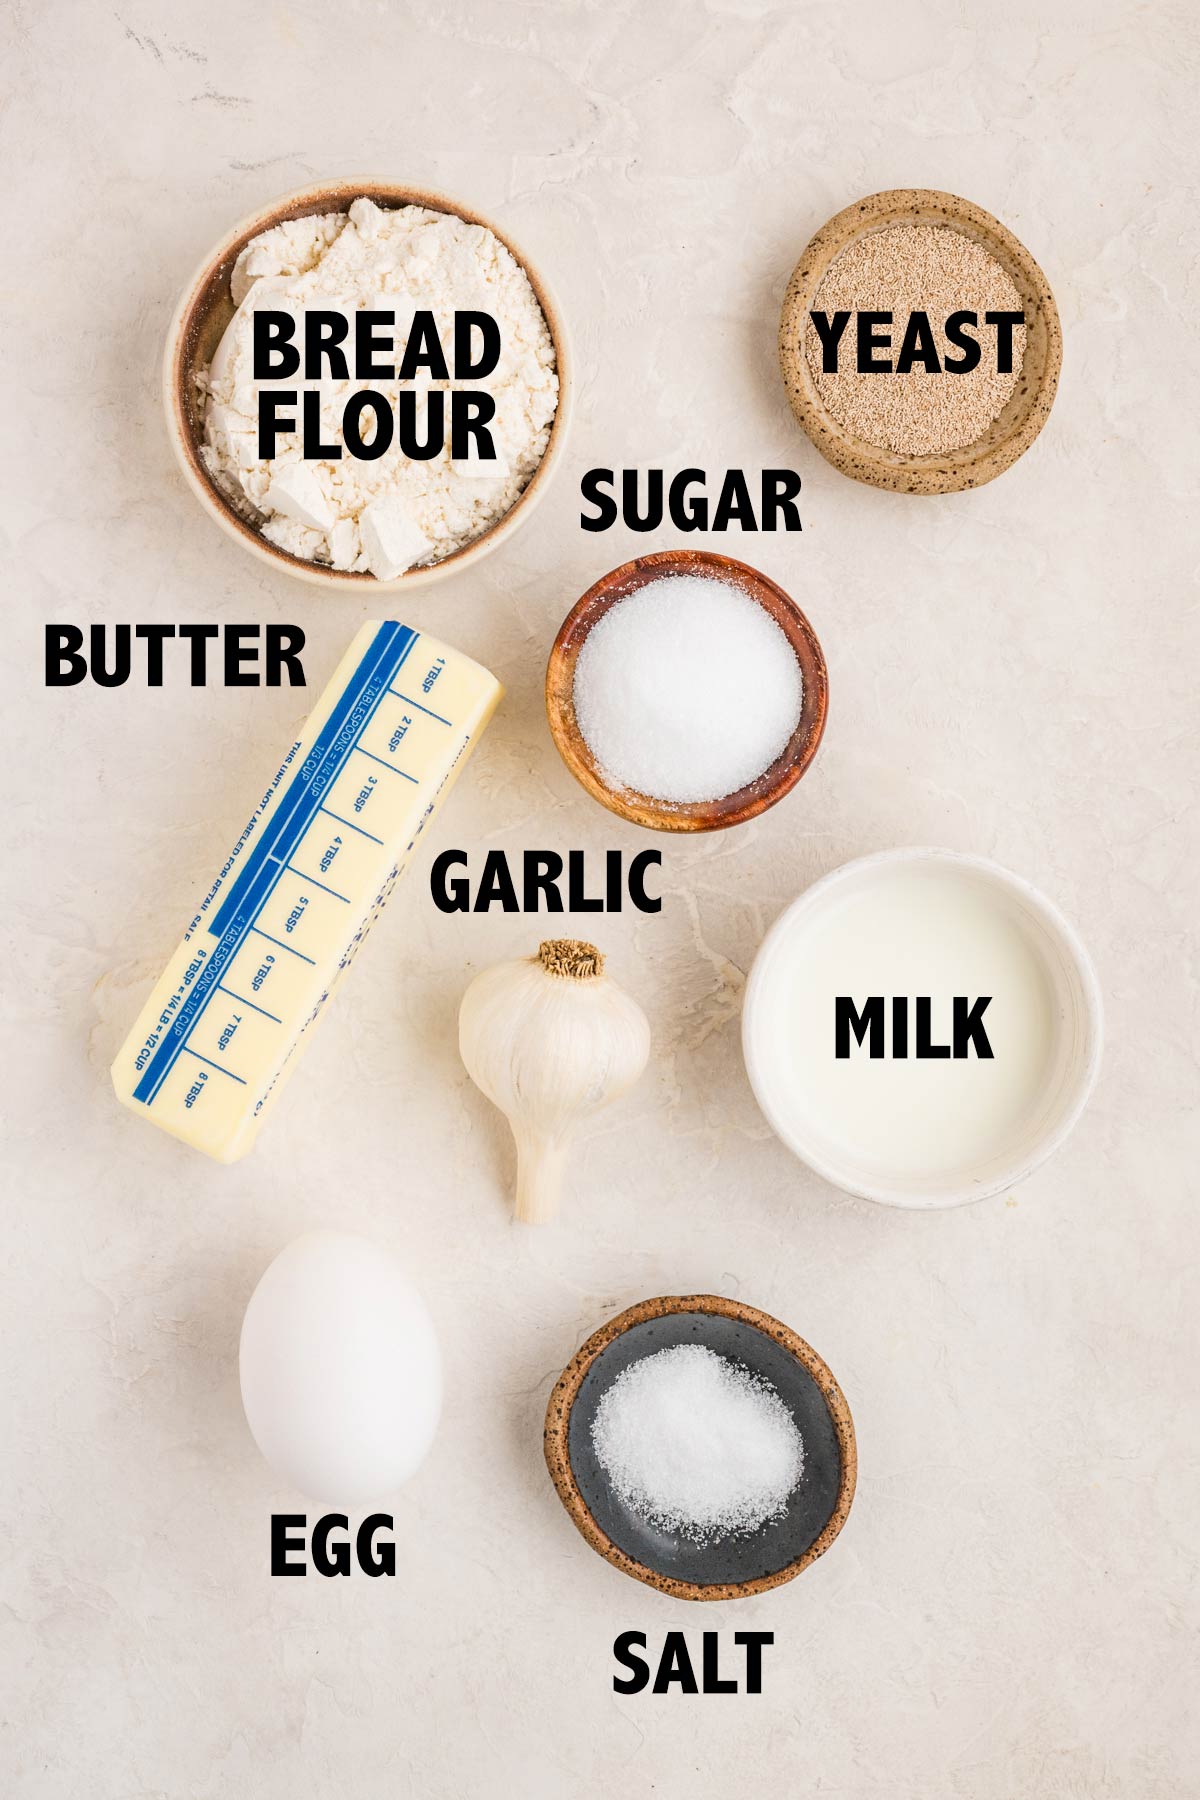
These garlic rolls use an enriched dough, meaning milk, butter, and egg create a softer, more tender bread than a basic flour, water, and yeast dough. Here’s what you need to know about the key ingredients and possible substitutions.
Butter
Salted butter is browned to develop a rich, nutty flavor before the garlic is added. Unsalted butter works just as well; simply add an additional ¼ teaspoon of salt to the browned butter. Make sure to include the browned milk solids at the bottom of the pan, since that’s where much of the flavor comes from.
Garlic
Ten cloves of fresh garlic give these rolls their distinctive flavor. The garlic gently cooks in the residual heat of the browned butter, ensuring the garlic doesn’t burn. Fresh garlic is best for this recipe rather than jarred minced garlic or frozen garlic.
Milk
Whole milk contributes to the soft, fluffy texture. You can substitute 2% milk or an unsweetened, unflavored non-dairy milk with protein, such as soy milk or pea protein milk. The texture and richness may vary slightly depending on the substitution.
Yeast
Instant yeast is used in this recipe, but active dry yeast works too. If using active dry yeast, combine it with the warm milk and sugar and allow it to become foamy before adding the remaining ingredients.
Bread Flour
The higher protein content of bread flour provides structure while keeping the rolls soft and fluffy. All-purpose flour can be substituted, although the rolls may be slightly less chewy. Because flour absorption varies, add only enough to produce a soft, tacky dough that’s manageable to shape.
How to Make Brown Butter Garlic Rolls
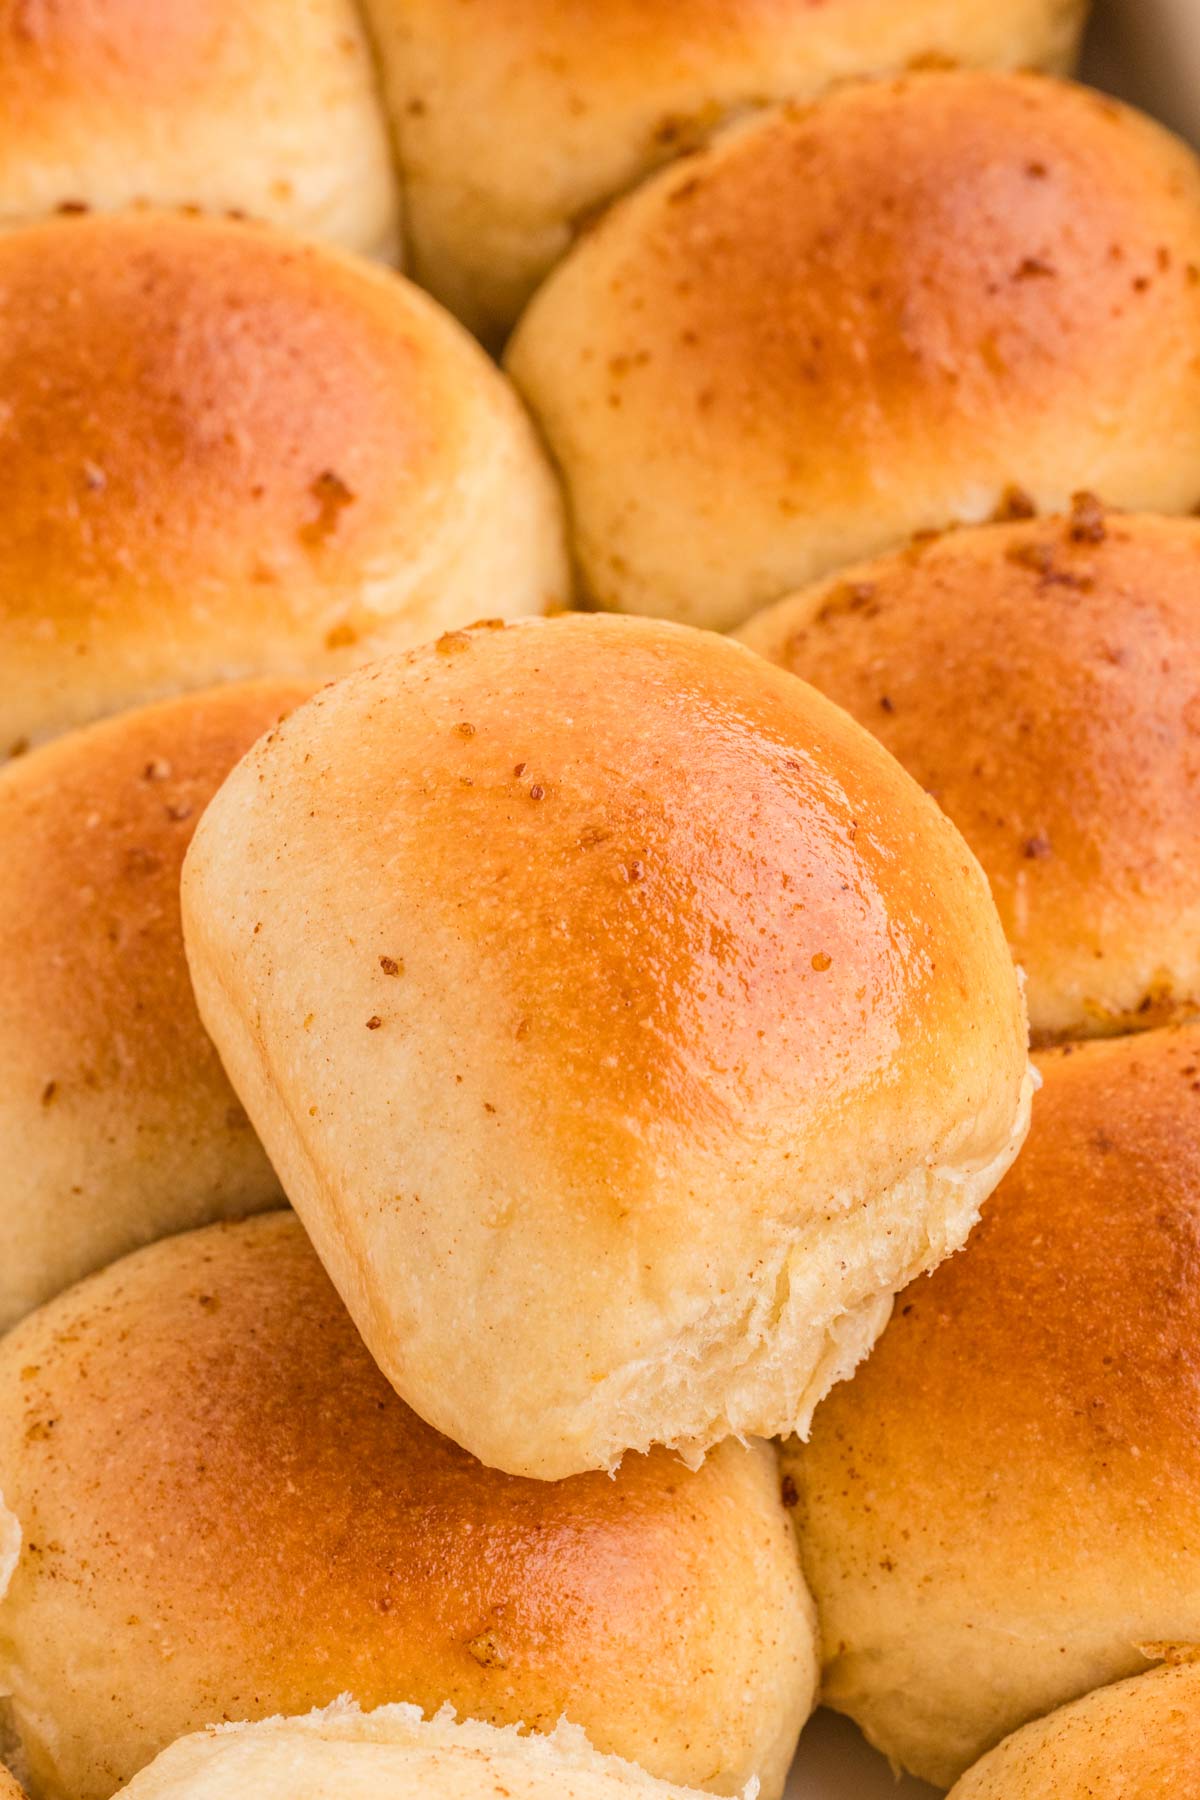
These homemade garlic rolls take a little time because of the two rises, but most of that time is hands-off. A stand mixer makes kneading easy, and the same browned garlic butter is used in both the dough and brushed over the finished rolls.
Step 1: Brown the Butter and Toast the Garlic
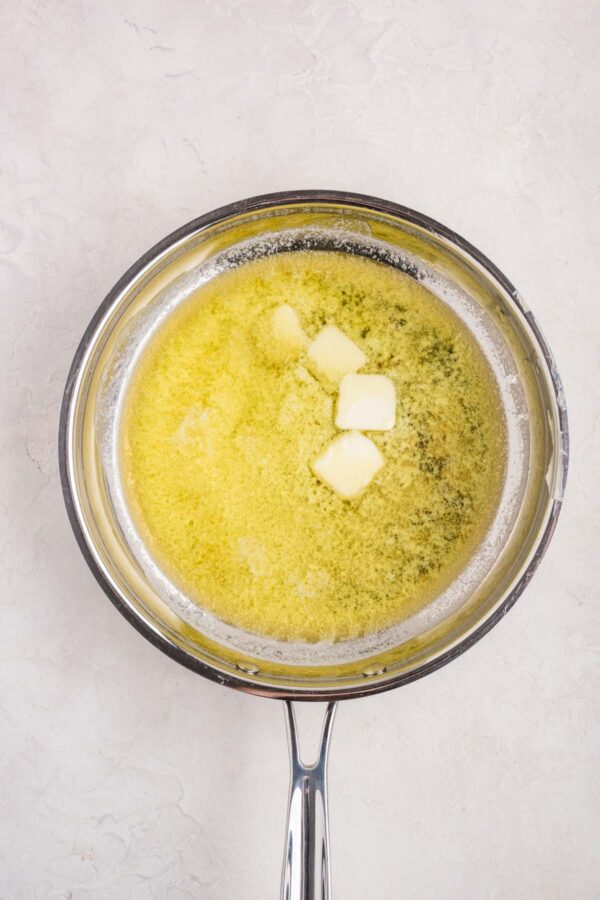
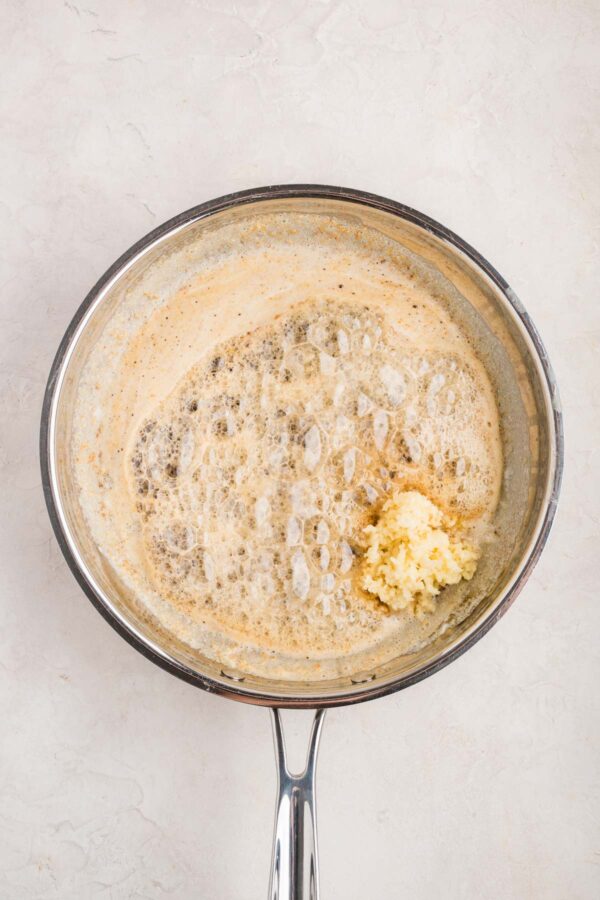
Melt the butter over medium heat until golden-brown bits form at the bottom of the pan. Remove from the heat, stir in the minced garlic, and let it toast for one minute. Transfer to a heatproof bowl and allow to cool slightly.
Tip: Have all ten cloves of garlic minced before you start! Adding them gradually gives the first garlic added too much time to cook, increasing the risk of burning.
Step 2: Mix and Knead the Dough
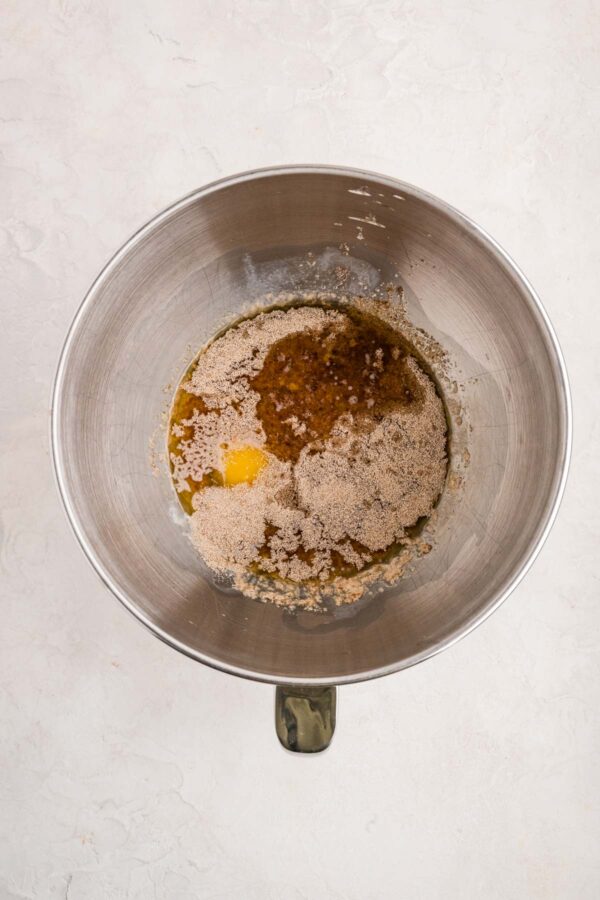
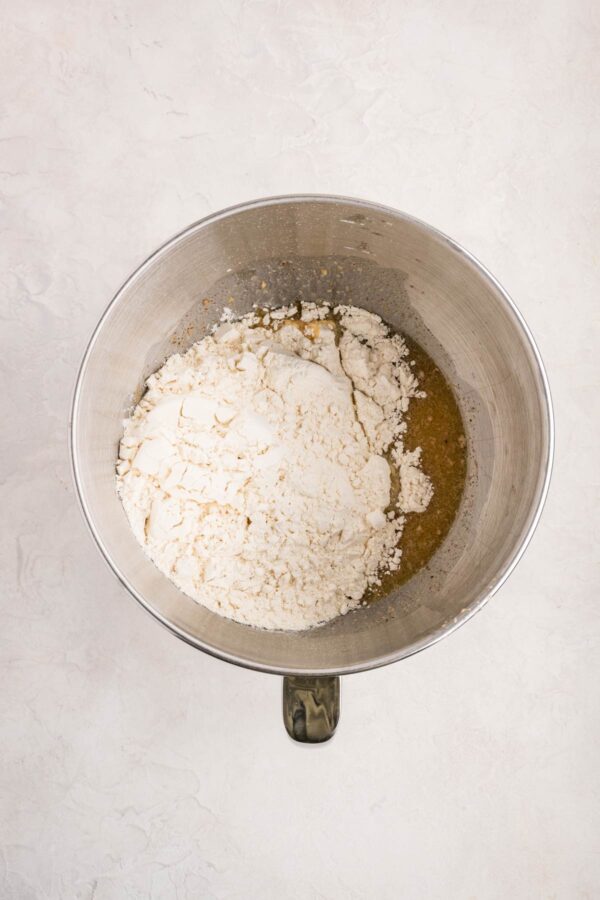
Combine the warm milk, yeast, sugar, egg, and browned garlic butter. Add the flour and salt, then knead until the dough is smooth, elastic, and slightly tacky, but pulls away from the sides of the bowl.
Step 3: Let the Dough Rise
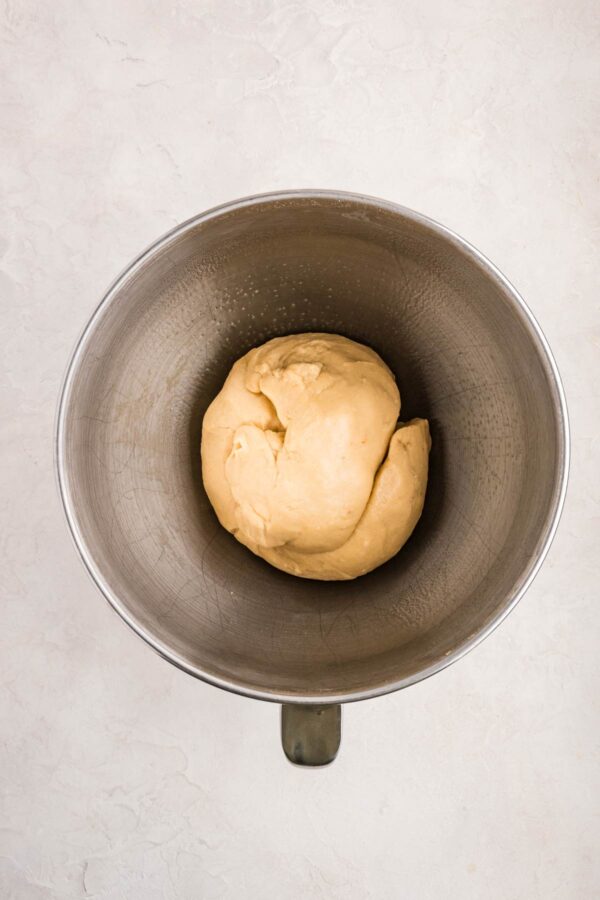
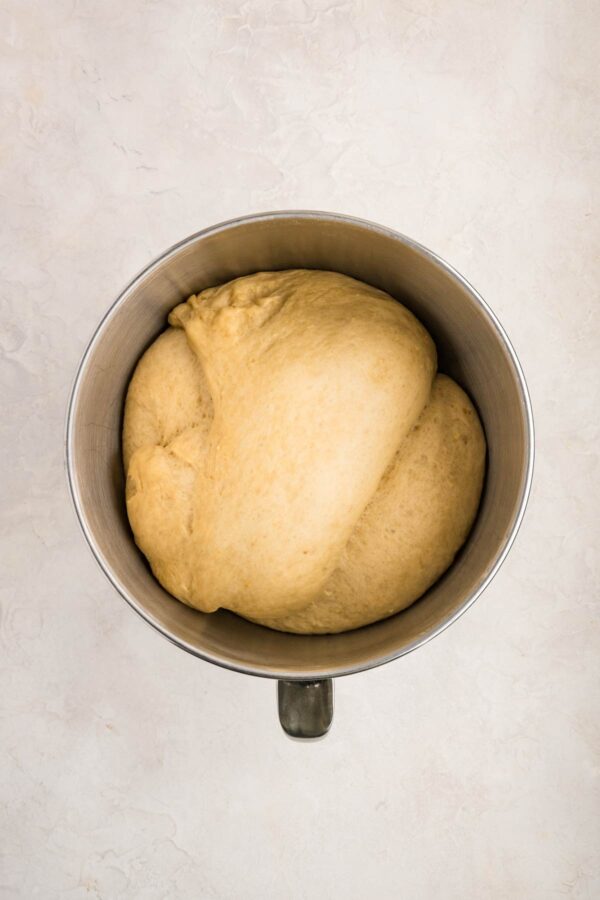
Cover the dough and let it rise in a warm place until doubled in size, about 90 to 120 minutes. The dough should look noticeably larger and feel light and airy.
Step 4: Shape and Rise Again
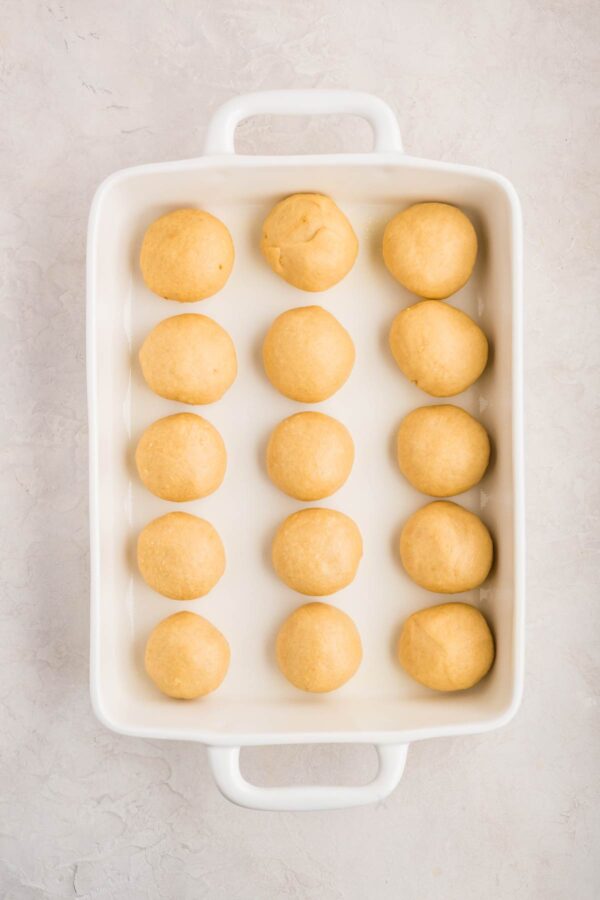
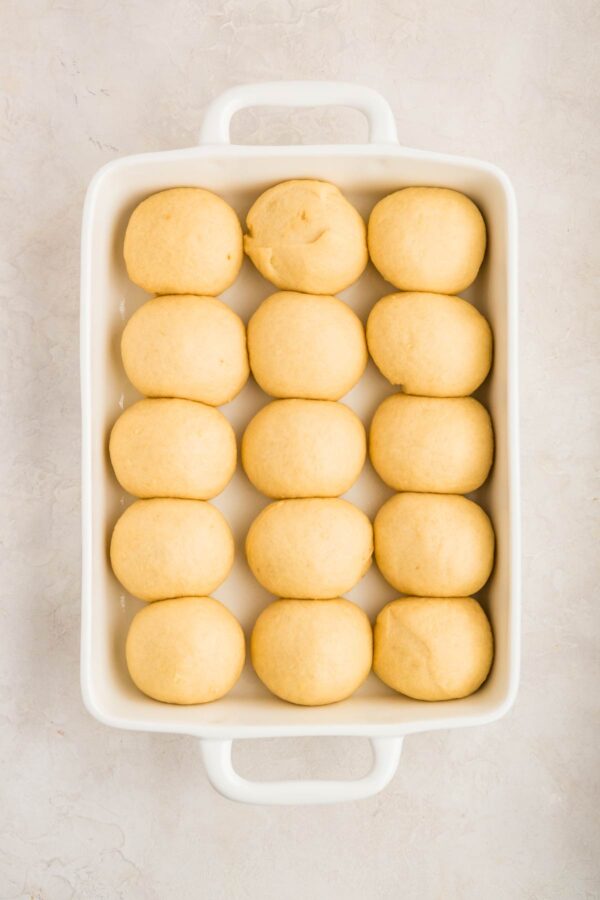
Gently punch down the dough and divide it into 15 equal portions. Roll each piece into a smooth, taut ball and arrange the rolls in a greased 9×13-inch baking dish. Cover the rolls loosely and let them rise for another 45 to 60 minutes. They’re ready for the oven when they’re puffy and touching one another.
Step 5: Bake and Brush with Garlic Butter
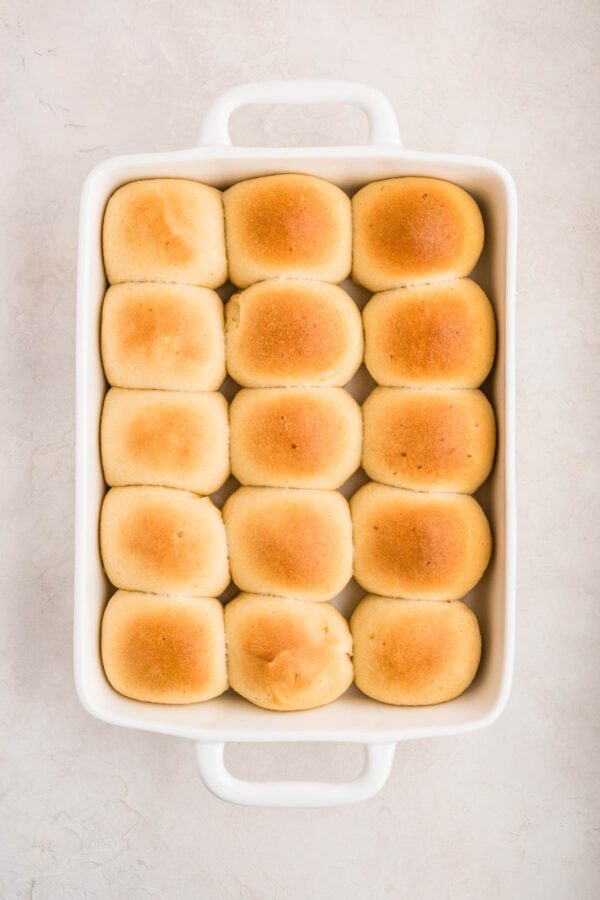
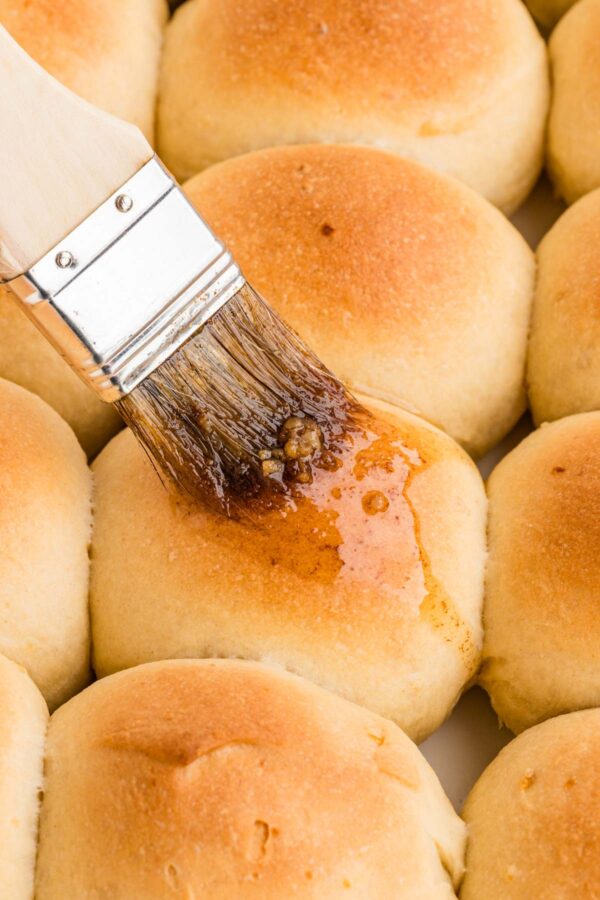
Bake at 350°F for 22 to 26 minutes, until the tops are golden brown. Brush the warm rolls with the reserved browned garlic butter before serving.
Why Does Browned Butter Have So Much More Flavor?
Regular melted butter adds richness to bread, but browning the butter first creates an entirely different flavor profile. Those little golden-brown bits at the bottom of the pan are responsible for the nutty, toasted flavor that makes these garlic rolls special.
Kitchen Chemistry
The Maillard reaction occurs when proteins and sugars react under heat, producing new flavor and aroma compounds. In butter, water must evaporate before the milk solids can reach temperatures high enough for significant browning. This reaction produces compounds responsible for the characteristic nutty aroma and complex flavor of browned butter.
This is the same general chemical reaction responsible for the golden crust on bread and the savory flavor of seared meat. The Maillard reaction creates a variety of new flavor and aroma compounds that aren’t present in ordinary melted butter.
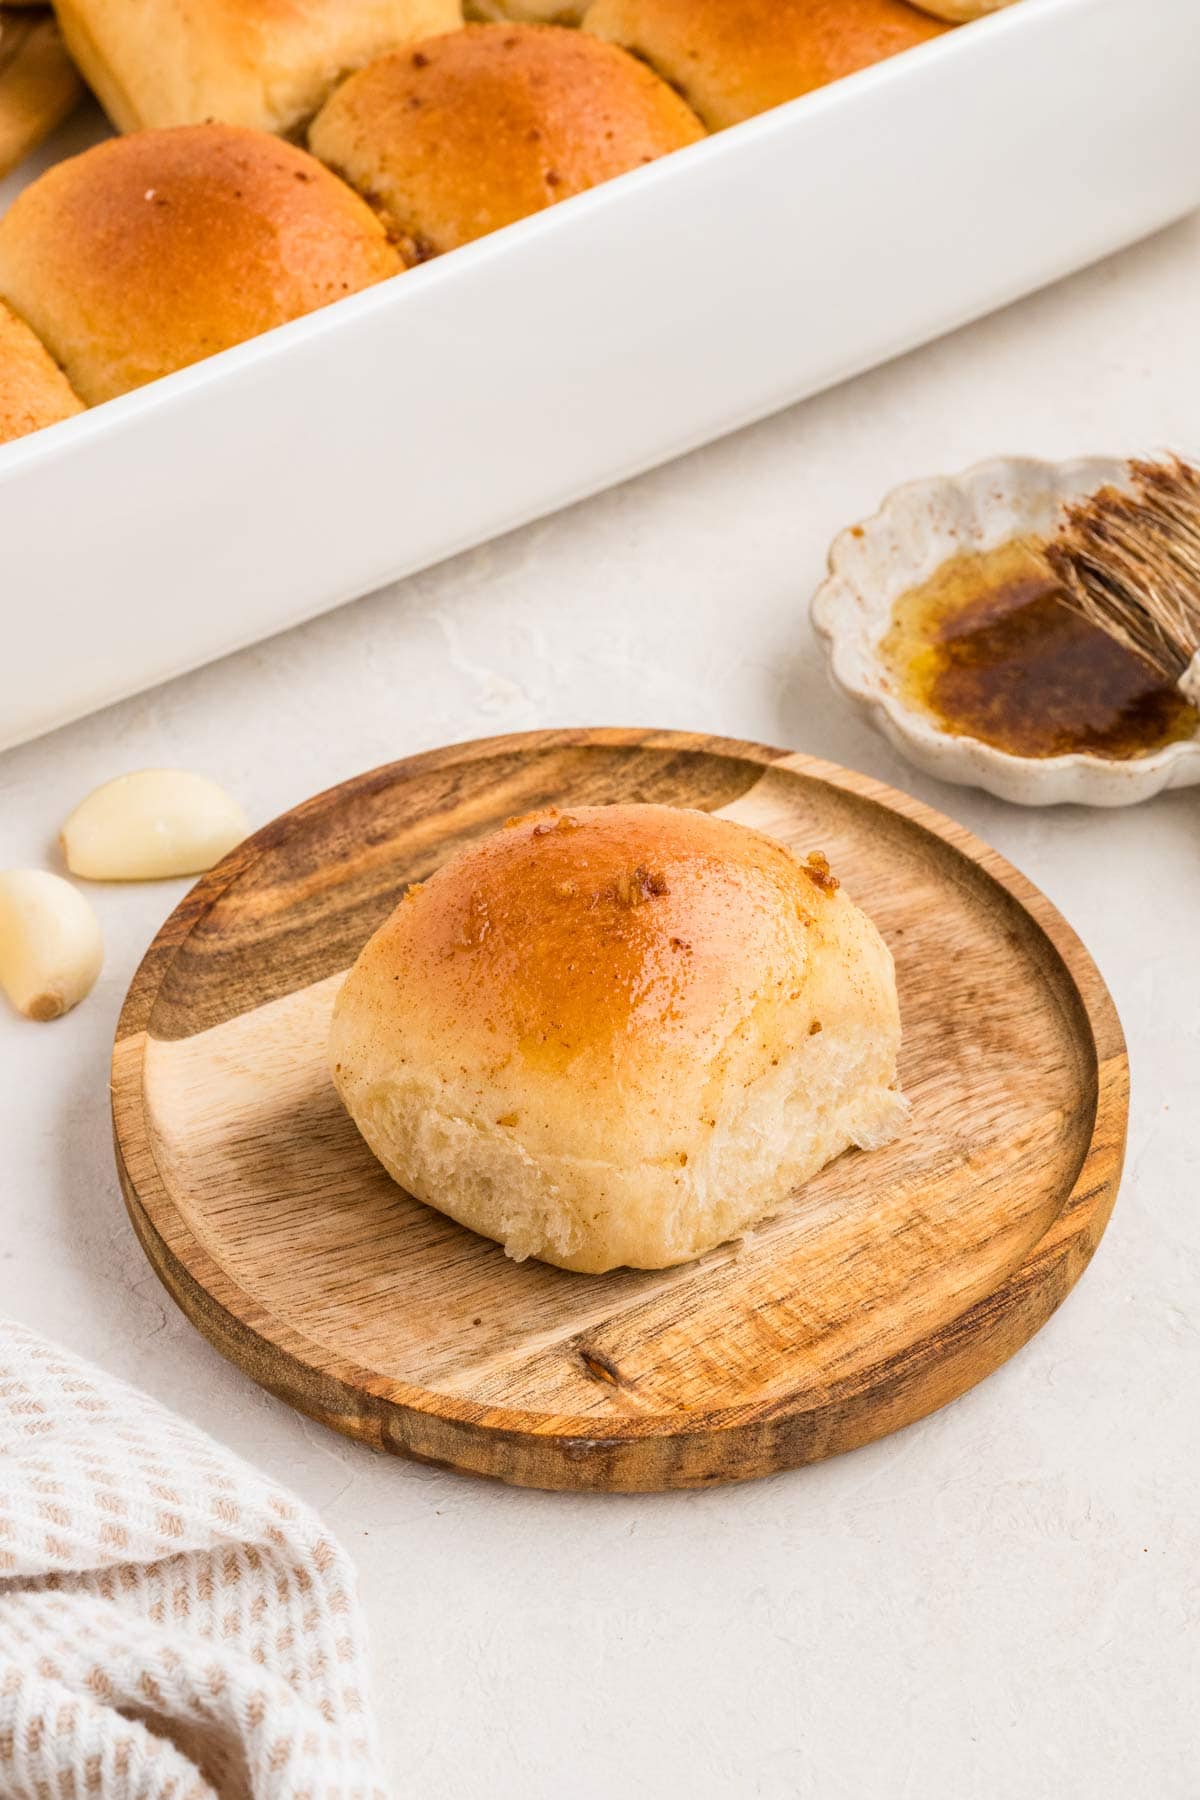
For these rolls, we’re mixing the browned butter directly into the dough, including all those flavorful browned milk solids. This distributes the nutty flavor throughout the bread, while the additional browned garlic butter brushed over the warm rolls reinforces that flavor in every bite.
Frequently Asked Questions
Can I make these garlic rolls ahead of time?
Yes! You can prepare the dough through the first rise, shape the rolls, and arrange them in the baking dish. Cover tightly and refrigerate overnight. The next day, let the rolls sit at room temperature until puffy and touching before baking. This may take 1 to 2 hours, depending on how cold the dough is.
Can I use all-purpose flour instead of bread flour?
Yes, although bread flour provides a little more structure and chewiness. All-purpose flour will produce slightly softer, more tender rolls. Start with the same amount of flour, adding more only as needed to create a smooth, slightly tacky dough.
Why didn’t my garlic rolls rise?
The most common culprits are inactive yeast, liquid that’s too hot, or a kitchen that’s too cold. Make sure the milk and browned butter are warm rather than hot when mixing the dough. If your kitchen is cool, the dough may simply need more time to double in size.
Can I make these rolls without a stand mixer?
Absolutely! Mix the ingredients in a large bowl until a shaggy dough forms, then transfer to a lightly floured surface and knead by hand for approximately 15 minutes. The dough is ready when it’s smooth, elastic, and slightly tacky.
More Savory Yeast Breads
- Traditional Challah Recipe
- Homemade Pizza Rolls
- Everything Bagel Babka
- Pizza Babka
- Garlic Naan
- All Yeast Breads ≫

Brown Butter Garlic Rolls
Soft, fluffy homemade dinner rolls made with nutty browned butter and toasted garlic mixed directly into the dough. Brushed with even more garlic butter after baking, these savory pull-apart rolls are perfect for weeknight dinners and holiday gatherings.
Ingredients
- 9 tablespoons (128 grams) salted butter
- 10 cloves garlic, minced
- ¾ cup (170 grams) whole milk, warmed
- 2 ¼ teaspoons (7 grams) instant yeast
- 3 tablespoons (37 grams) granulated sugar
- 1 large egg, room temperature
- 3 to 3 ½ cups (360–420 grams) bread flour
- 1 teaspoon salt
Instructions
- Brown the butter. Melt the butter in a skillet over medium heat, stirring or whisking occasionally. The butter will melt, foam, and eventually develop golden-brown bits along the bottom of the pan, approximately 7 to 9 minutes. Watch carefully to prevent burning.
- Toast the garlic. Remove the skillet from the heat and immediately add all the minced garlic. Stir for approximately 1 minute, allowing the garlic to cook in the residual heat. Transfer the browned butter and garlic, including all the browned milk solids, to a heatproof bowl. Let cool for approximately 15 minutes.
- Mix the dough. In the bowl of a stand mixer, combine the warm milk, instant yeast, sugar, egg, and 7 tablespoons of the cooled browned garlic butter. Reserve the remaining butter and garlic for brushing over the baked rolls.
- Knead the dough. Attach the dough hook and add 3 cups (360 grams) of bread flour and the salt. Mix on low speed until combined, then increase the speed slightly and knead until the dough begins pulling away from the sides of the bowl. Add additional flour, a tablespoon at a time, if necessary. Once the dough reaches the proper consistency, continue kneading for 5 to 7 minutes, until smooth and elastic. The dough should be soft and tacky but not excessively sticky.
- First rise. Lightly grease the mixing bowl and return the dough to the bowl. Cover with plastic wrap and let rise in a warm location until doubled in size, approximately 90 to 120 minutes.
- Shape the rolls. Lightly grease a 9x13-inch baking dish. Gently punch down the risen dough and divide it into 15 equal portions. For uniformly sized rolls, weigh the dough and divide the total weight by 15. Shape each portion into a smooth, taut ball and arrange in the baking dish in 3 rows of 5.
- Second rise. Cover the baking dish loosely with greased plastic wrap and let the rolls rise until puffy and touching one another, approximately 45 to 60 minutes. During the final 20 to 30 minutes of rising, preheat the oven to 350°F (175°C).
- Bake. Remove the plastic wrap and bake for 22 to 26 minutes, until the tops are golden brown.
- Brush with garlic butter. Remove the rolls from the oven and immediately brush with the reserved browned garlic butter. If the butter has solidified, microwave for 10 to 15 seconds until melted. Serve warm.
Notes
- Prep the garlic in advance: Mince or press all ten cloves before browning the butter. The garlic needs to be added all at once so it cooks evenly in the residual heat without burning.
- Using unsalted butter: Substitute an equal amount of unsalted butter and add ¼ teaspoon of salt to the browned butter after removing it from the heat.
- Butter and milk temperature: Allow the browned butter to cool before adding it to the yeast mixture. Butter that is too hot can damage the yeast, while cold milk can cause the butter to solidify.
- Active dry yeast: Substitute an equal amount of active dry yeast for instant yeast. Combine the yeast with the warm milk and sugar and let stand for approximately 5 minutes, until foamy, before adding the remaining ingredients.
- Kneading by hand: If you don't have a stand mixer, combine the ingredients in a large bowl, then transfer the dough to a lightly floured work surface. Knead by hand for approximately 15 minutes, until smooth and elastic.
- Make ahead: Shape the rolls after the first rise, arrange in the prepared baking dish, and cover tightly. Refrigerate overnight. Before baking, allow the rolls to sit at room temperature until puffy and touching, generally 1 to 2 hours, depending on the temperature of the dough and kitchen.
- Storage: Store cooled rolls in an airtight container or zip-top bag at room temperature for up to 3 to 4 days. For longer storage, freeze completely cooled rolls in an airtight freezer bag for up to 3 months. Thaw at room temperature and reheat, loosely covered with foil, in a 300°F oven until warmed through.
- Recommended Tools: Stand Mixer | Garlic Press | 9x13-inch Baking Dish | Pastry Brush | Kitchen Scale
Recommended Products
As an Amazon Associate and member of other affiliate programs, I earn from qualifying purchases.