Easy No-Bake Oreo Truffles
Made with only three ingredients, these incredibly easy No-Bake Oreo Truffles are as easy to make as they are addicting to eat! A must for your next party or holiday gathering – and easy enough for kids to make, too!
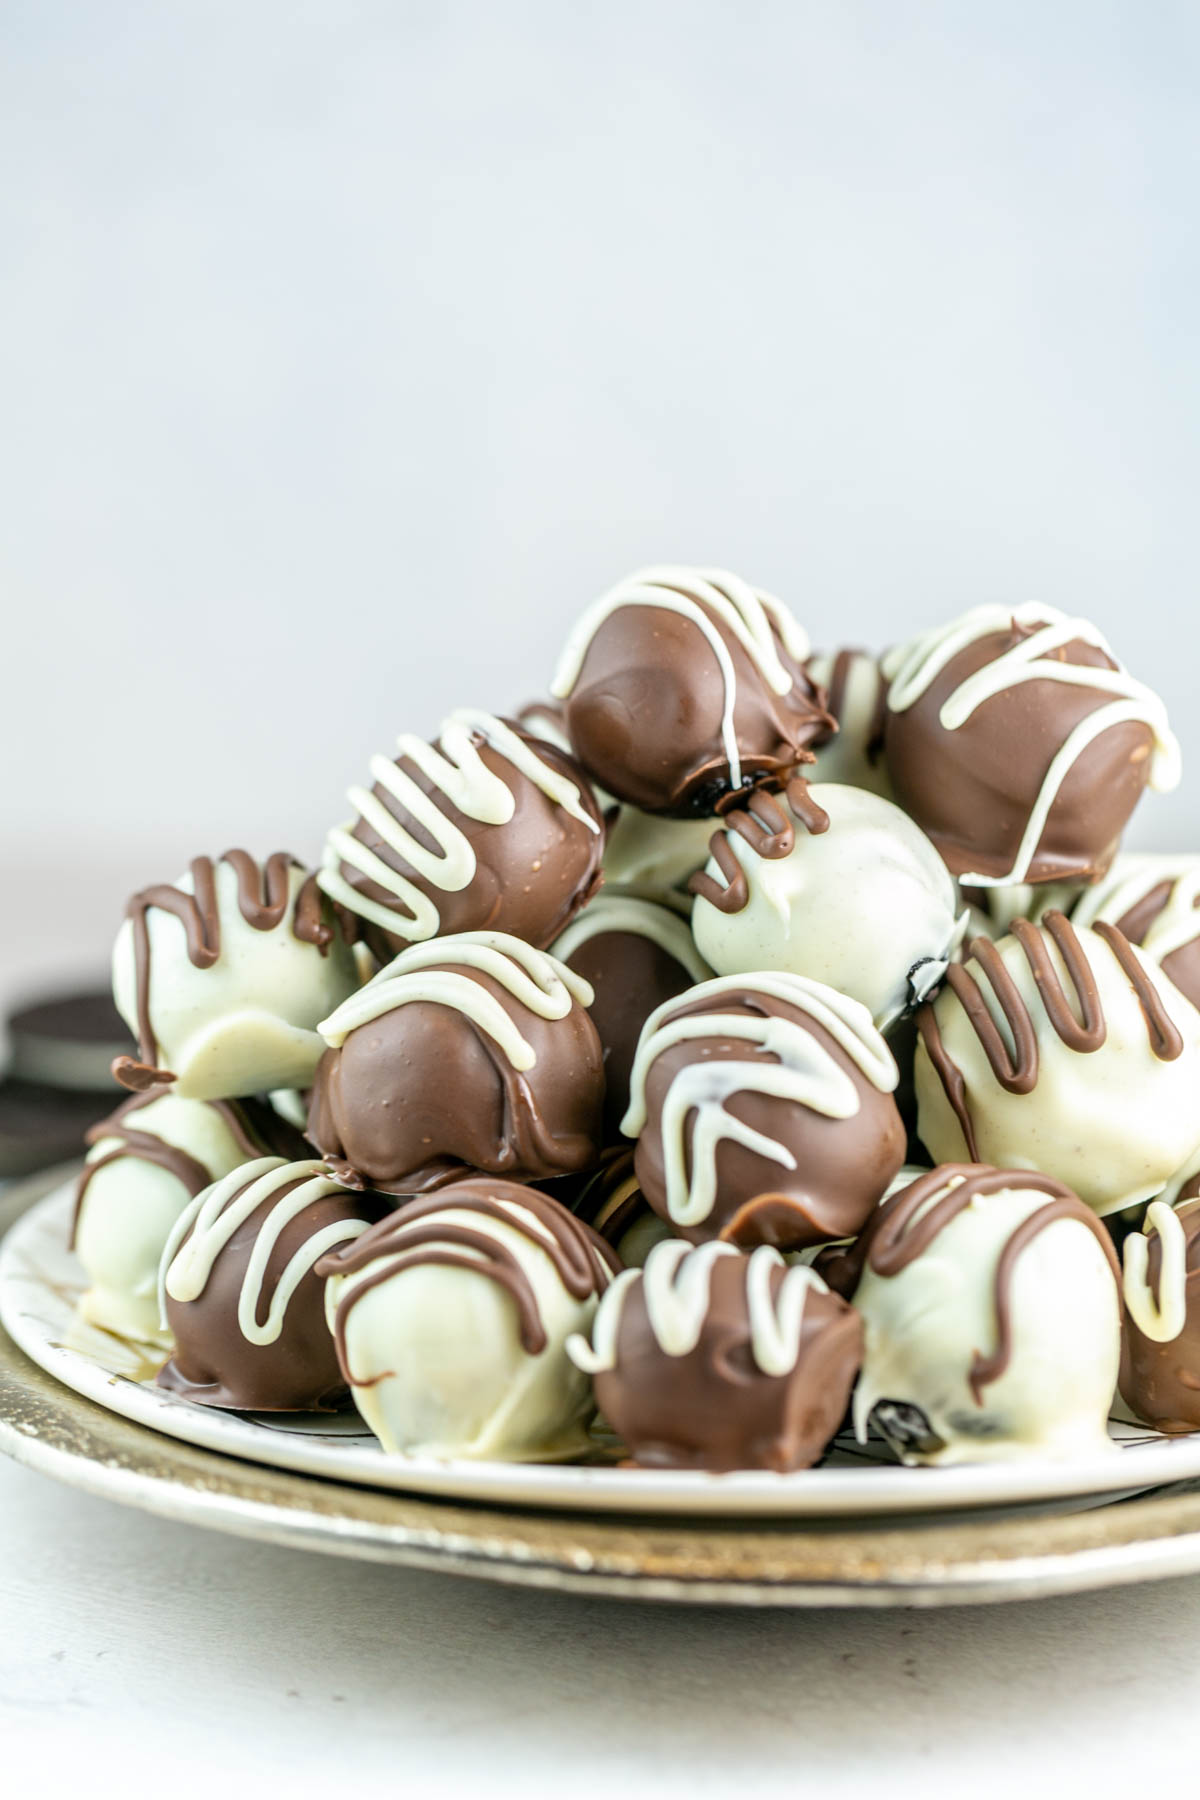
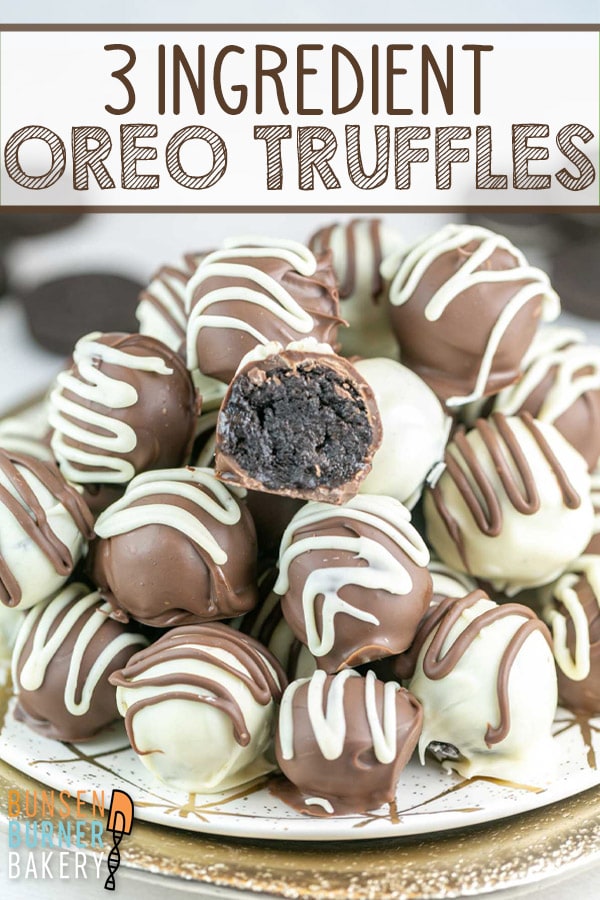
Oreo balls. Oreo truffles. Whatever you call them, it truly does not get any easier than these three-ingredient no-bake treats! (Fine, four ingredients if you choose to drizzle them with white chocolate, but that part is optional!)
I’ve been making these for at least a decade now, and they are hands-down, my most requested treat at parties.
We have friends who joke they won’t come to visit us in DC if I don’t make the truffles — good thing they’re so easy to make, I can always oblige!
All you need are Oreos (any variety, but plain is a classic!), cream cheese (the full-fat kind), and chocolate for melting.
That’s IT. So let’s get rolling and make some Oreo truffles!
Creamy Oreo Filling
To make the filling, all you need to do is mix together finely crushed Oreos and room-temperature cream cheese.
I always like to use a food processor for this, because tiny cookie crumbles yield the best texture. You want to use the whole Oreo – both the cookies and the cream filling! If you don’t have a food processor, place the Oreo cookies in a zip-top plastic bag and crush them with a rolling pin or frying pan until you have a fine, sand-like mixture.
Add the cookie crumbs and the cream cheese to a bowl and mix thoroughly to combine. While a spoon is certainly tidier, I always like to use my hands for this – I feel like getting in there and squishing everything together really combines the cream cheese and Oreos into a super-smooth mixture.
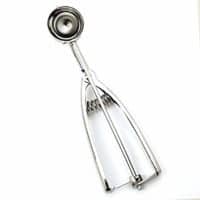
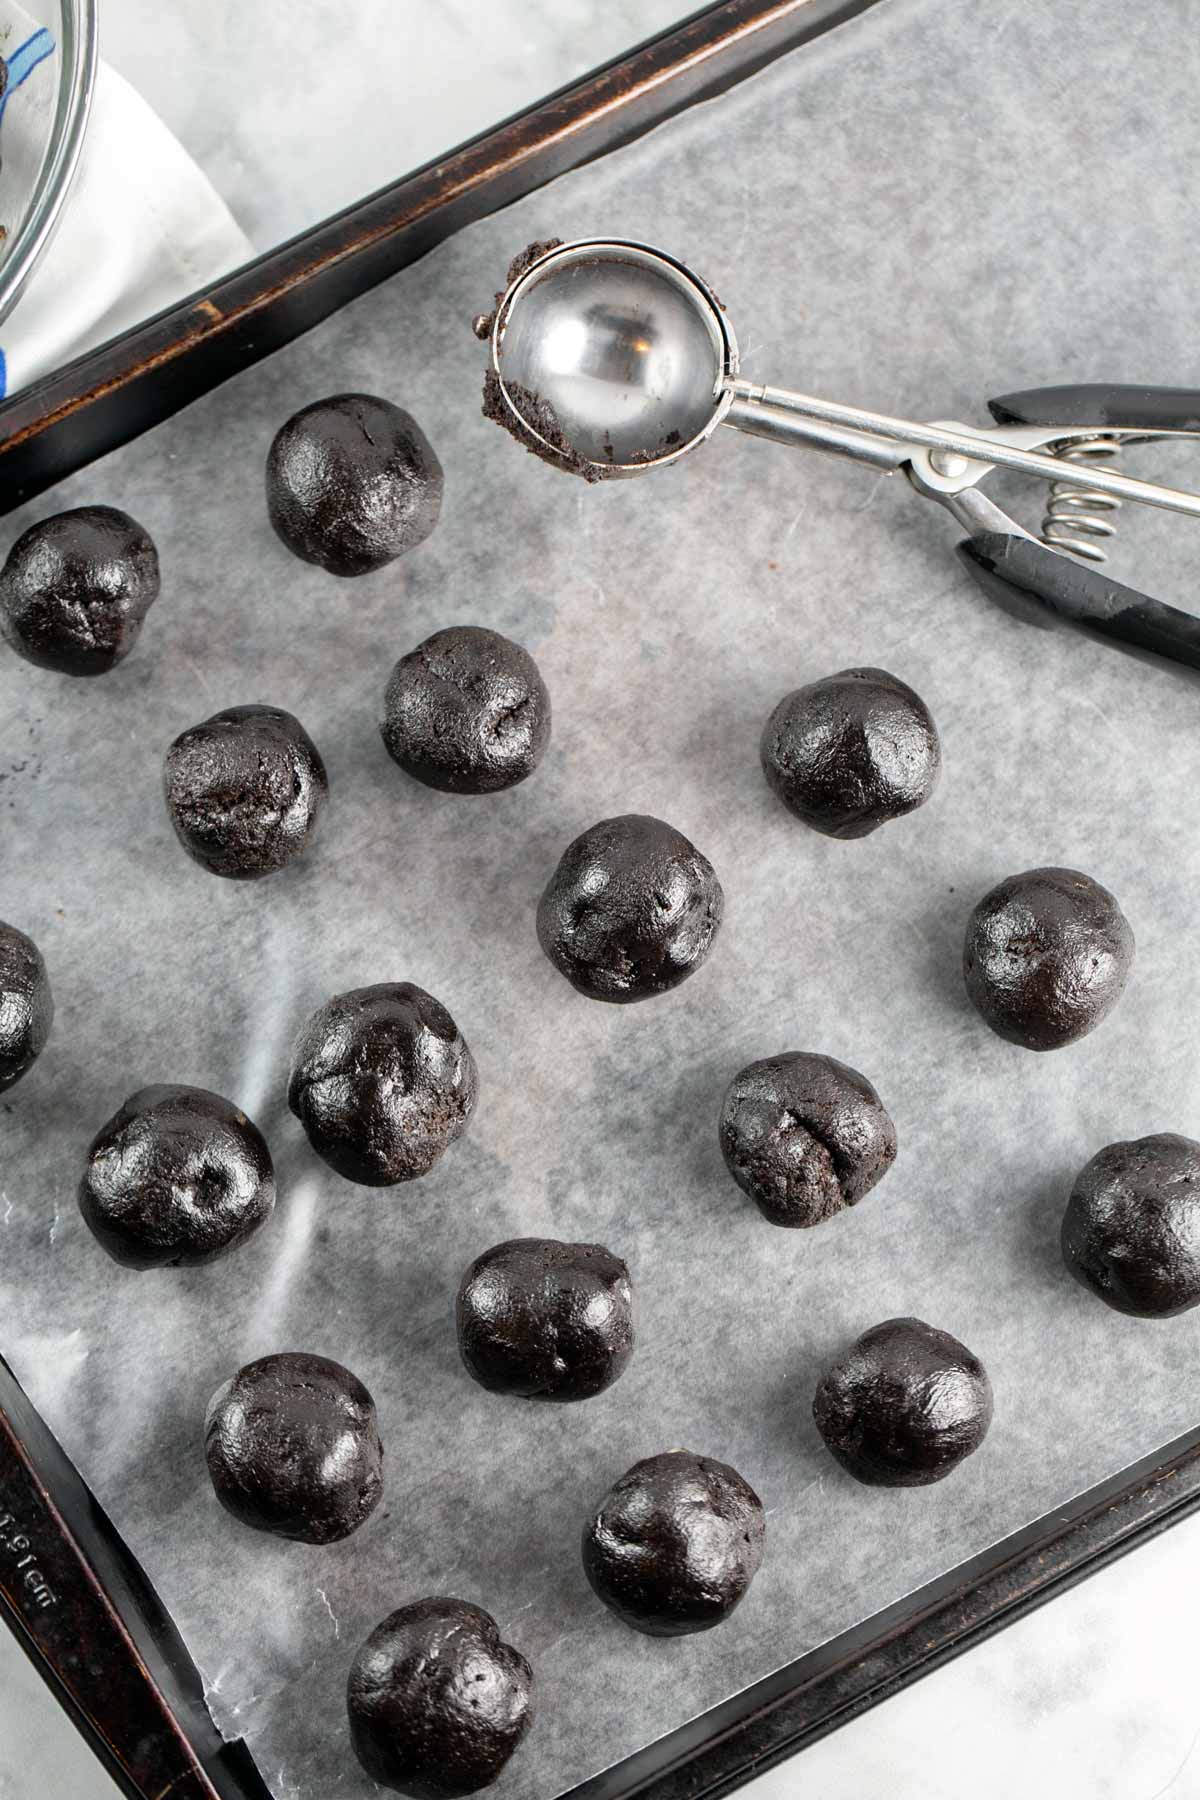
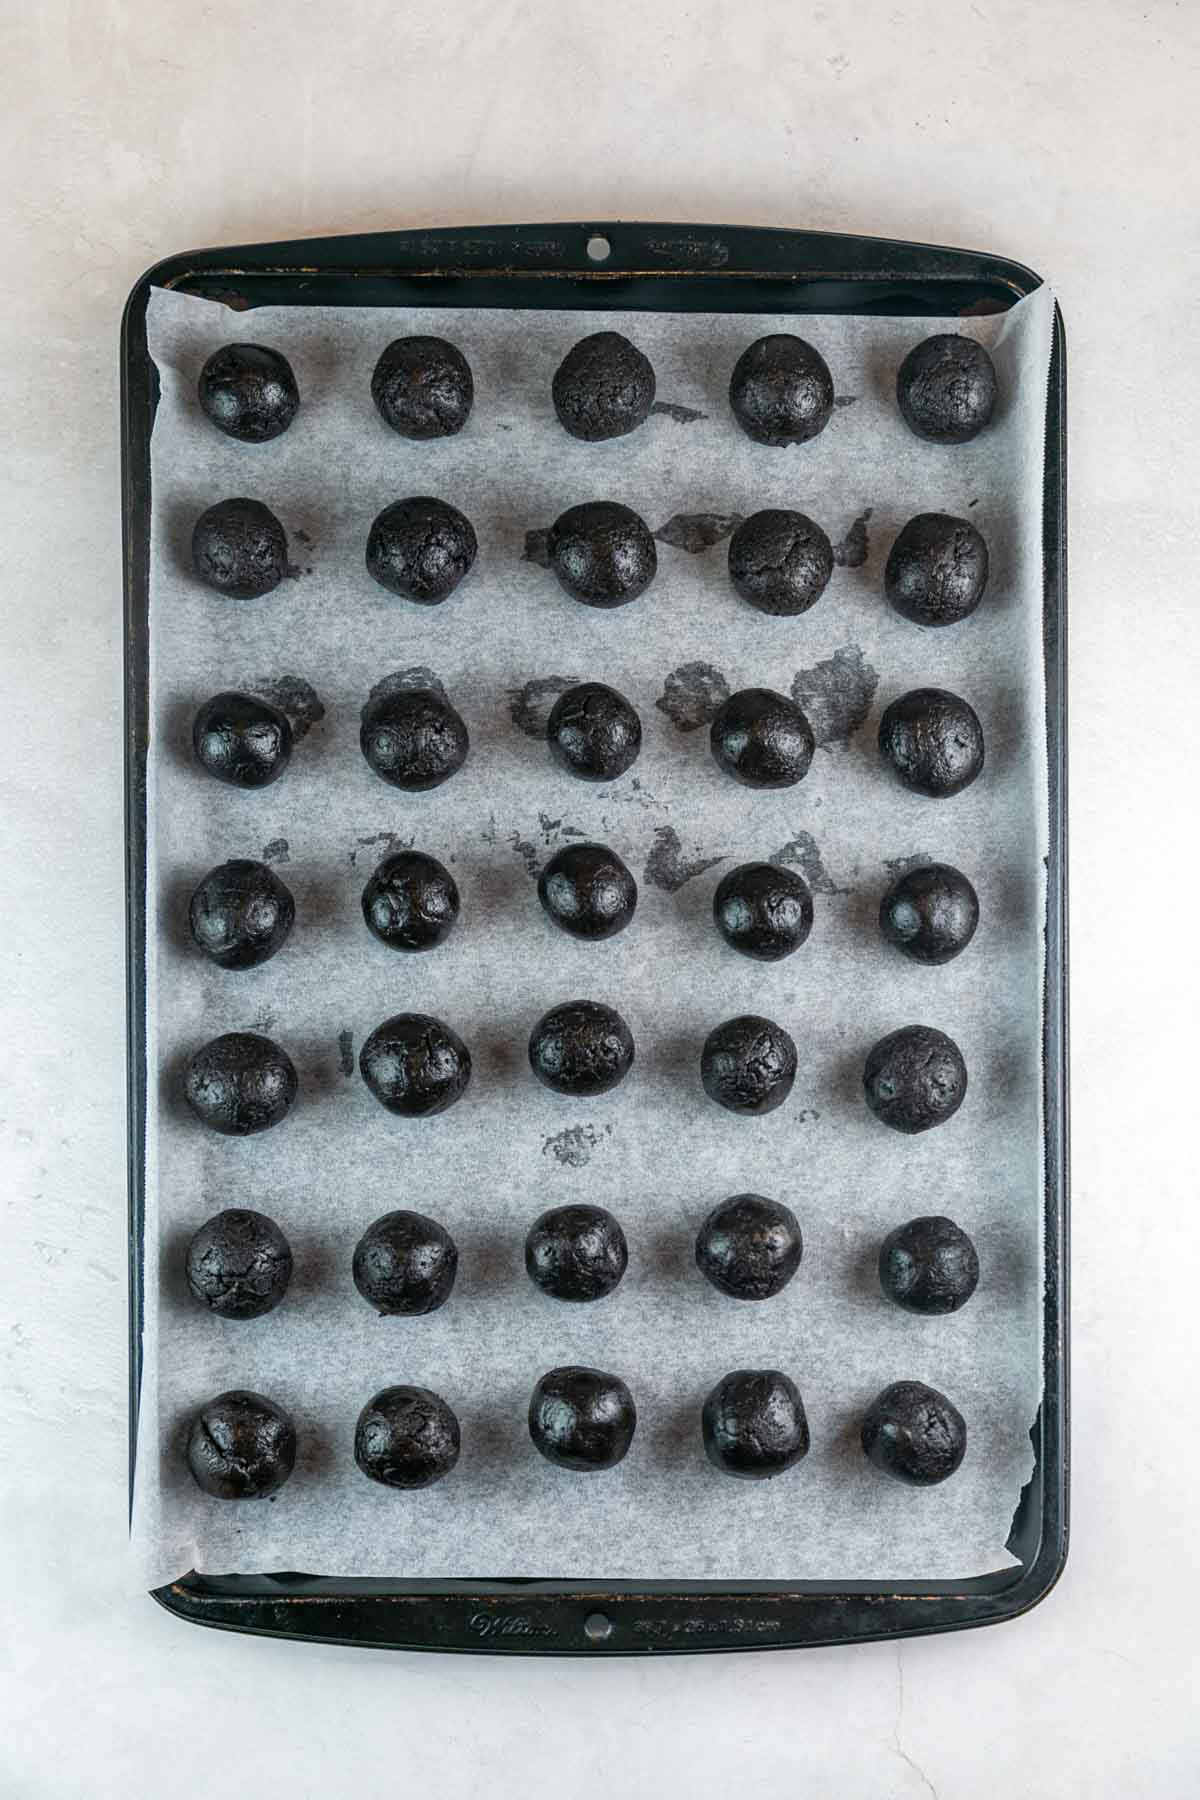
Once combined, roll the mixture into small balls and place on a wax or parchment paper-lined cookie sheet. Use a cookie scoop to ensure you’re getting the same amount of Oreo filling for each ball. A 1-tablespoon cookie scoop works well, or if you’d like them a little smaller, use a 2-teaspoon scoop.
At this point, we need to chill the Oreo balls. If you have a little more time, place the cookie sheet in the refrigerator for at least 1 hour, or up to 2 days. If you want to move things along a little faster, pop the tray in the freezer for 10-15 minutes (but no longer).
Melted Chocolate Shell
Once the Oreo mixture has been rolled into balls and chilled, it’s time to dip it in chocolate!
You’ll want to use either a baking chocolate bar or chocolate or candy melting wafers, rather than chocolate chips. Chocolate chips contain additional stabilizers to remain in chip form, which prevents them from melting smoothly.
There are two major tricks for melting chocolate smoothly:
- Make sure everything is perfectly dry – no moisture!
- Melt over low heat, stirring frequently.
Heating too fast or in the presence of adding moisture can cause chocolate or candy melts to seize. Why does this happen? It’s time for my favorite subject… kitchen chemistry!
Kitchen Chemistry
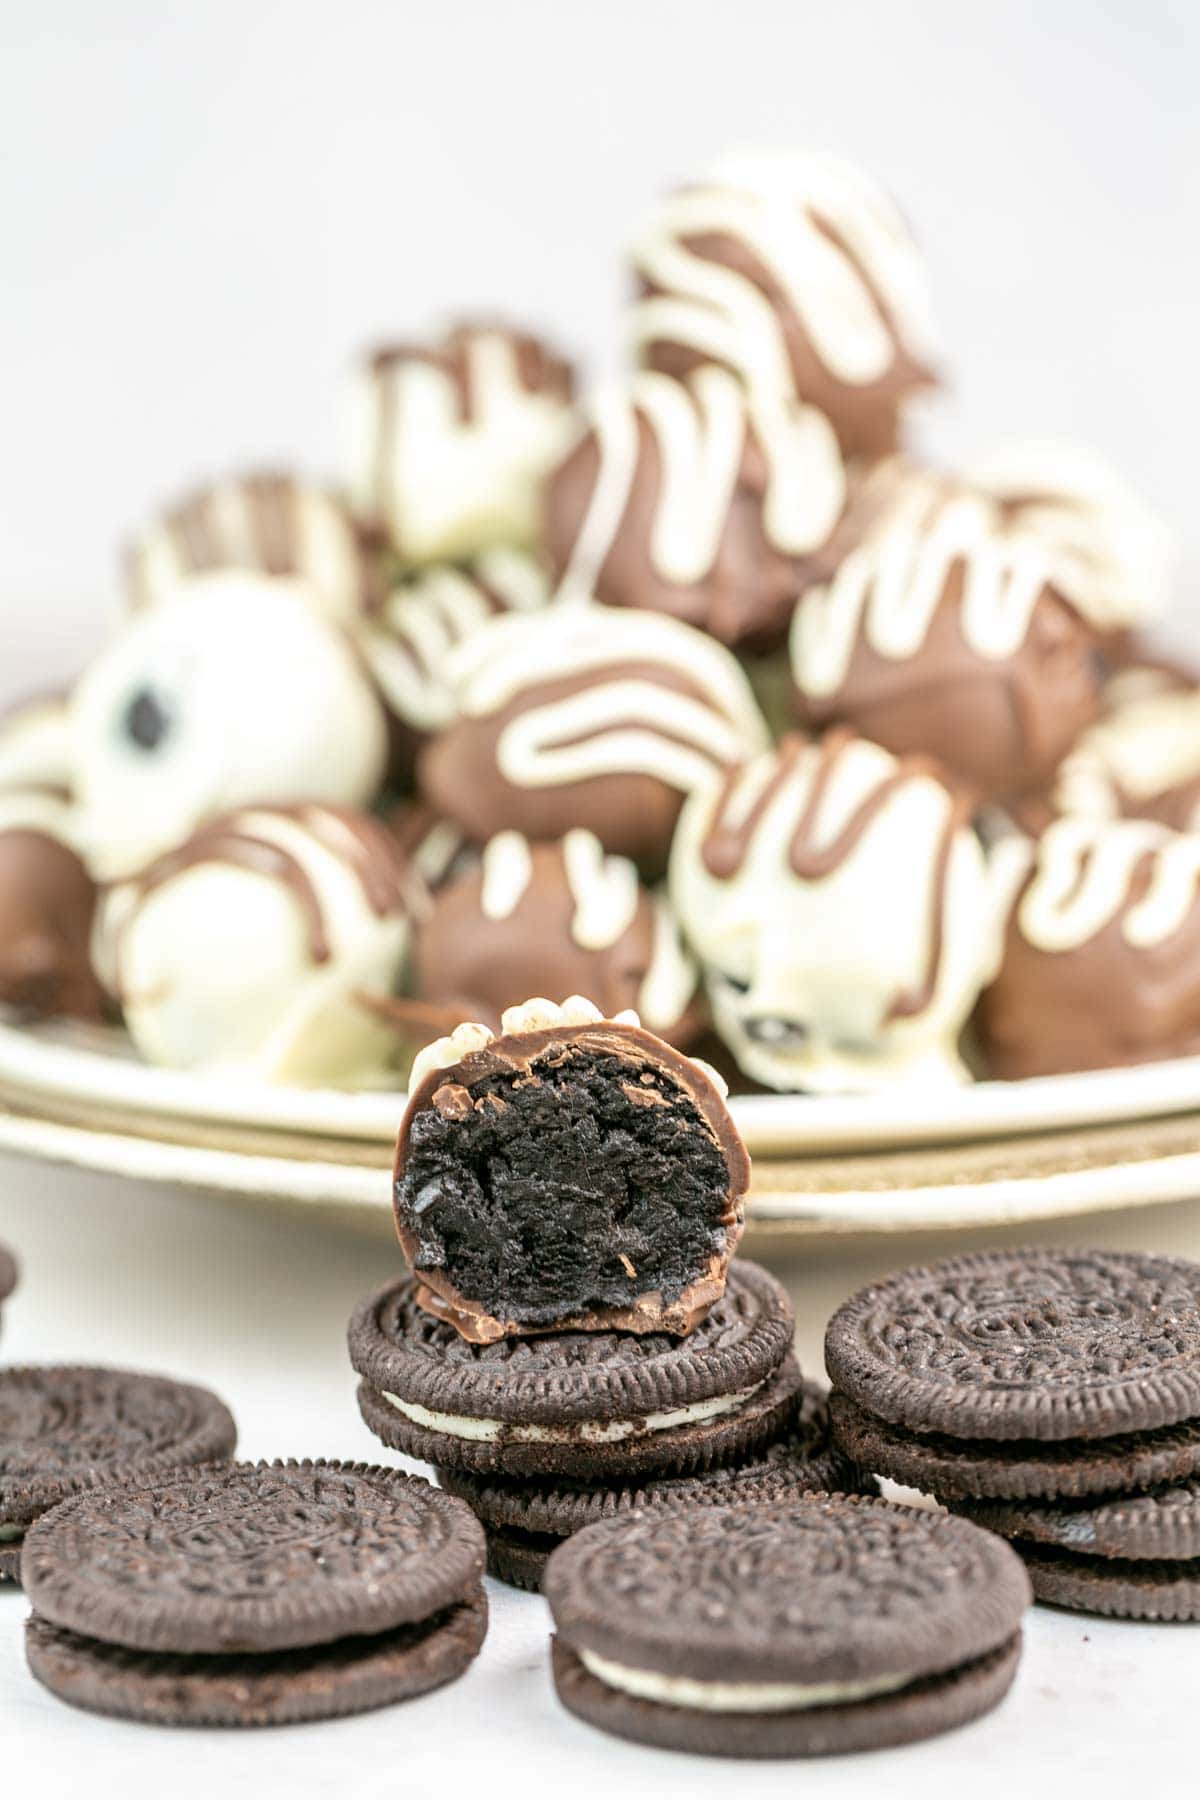
Chocolate is made from a combination of fat (cocoa butter) and dry ingredients (sugar, added milk solids). Even when melted into a liquid state, chocolate is still considered a dry ingredient, because no liquid has been added. The addition of any drops of moisture cause chocolate to seize into a grainy lump.
When melting chocolate or candy wafers, be sure everything is completely try and melt slowly! I like to use the microwave at 50% power, heating for 30 seconds and stirring well. Continue to heat for 30 seconds at a time at 50% power, stirring well, until fully melted and smooth.
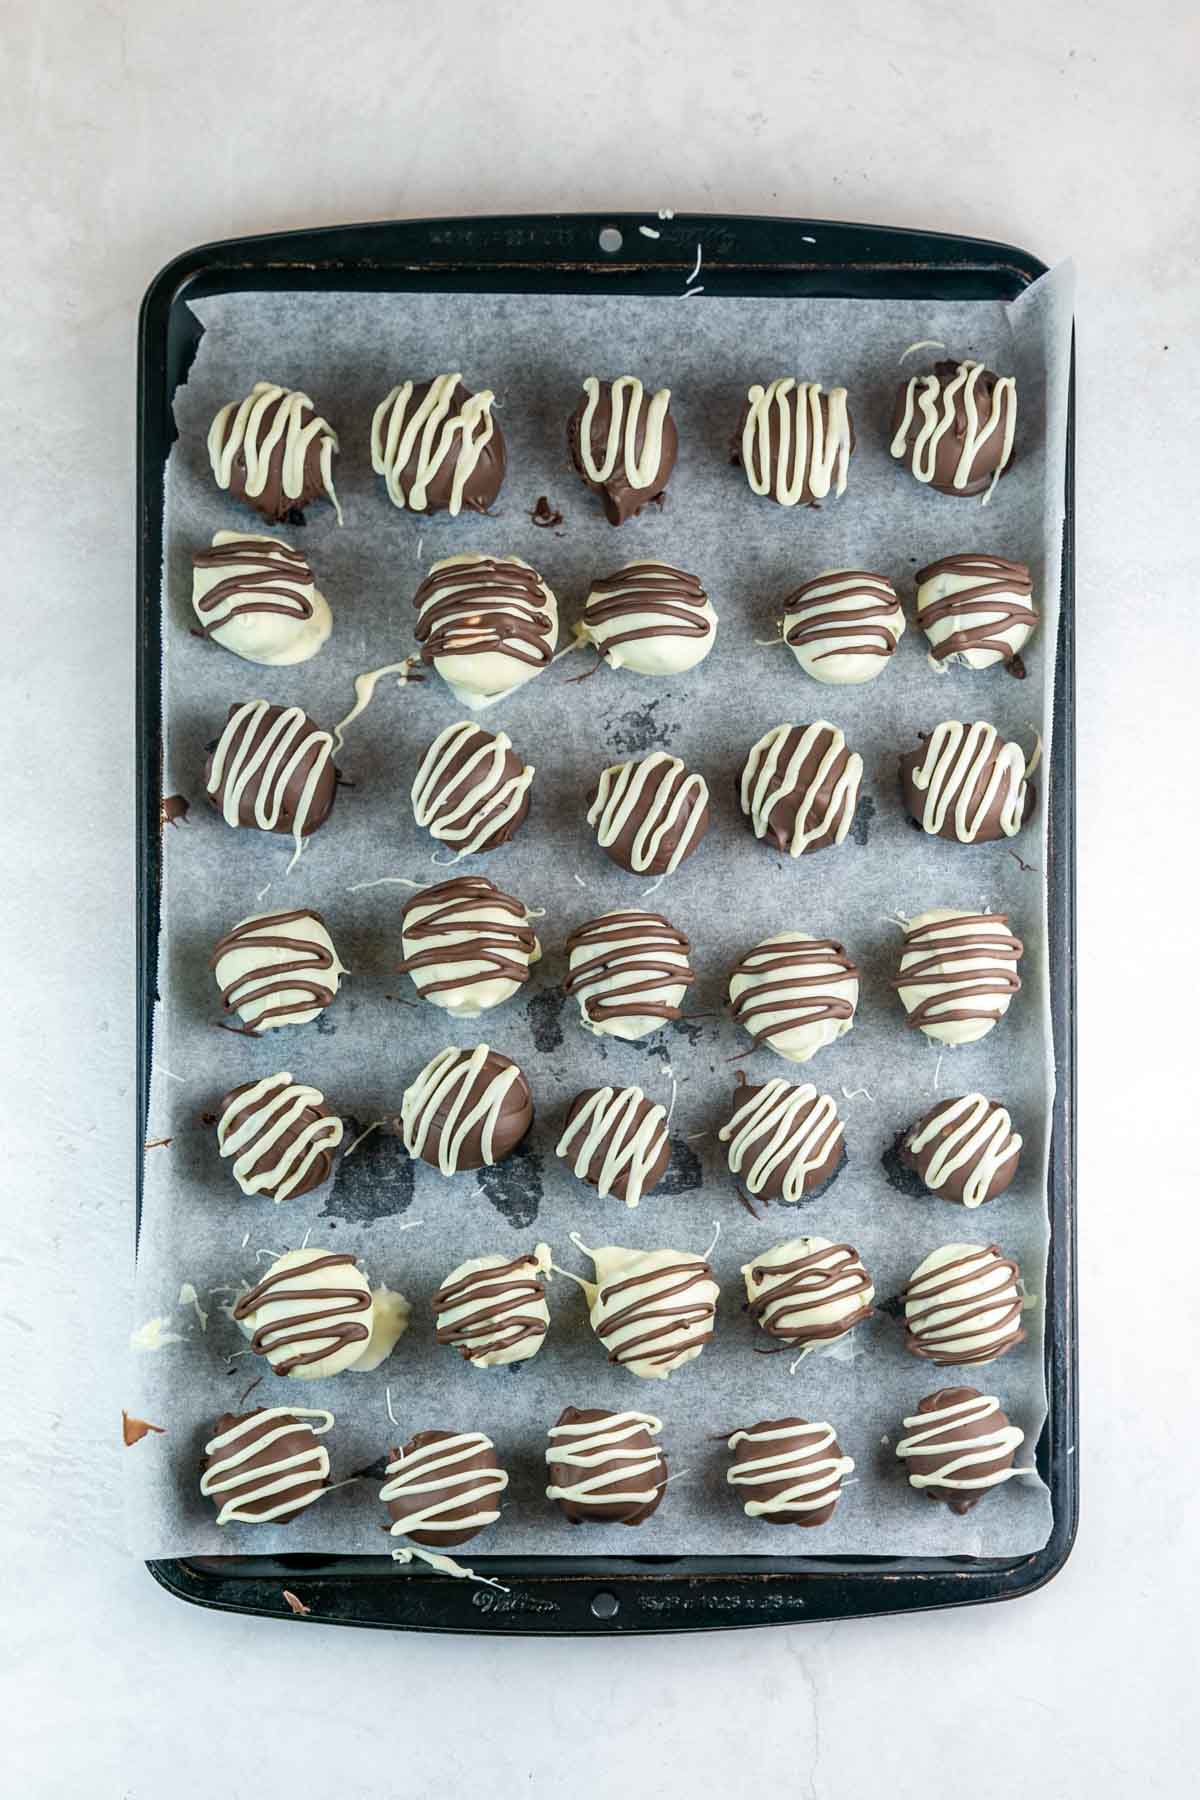
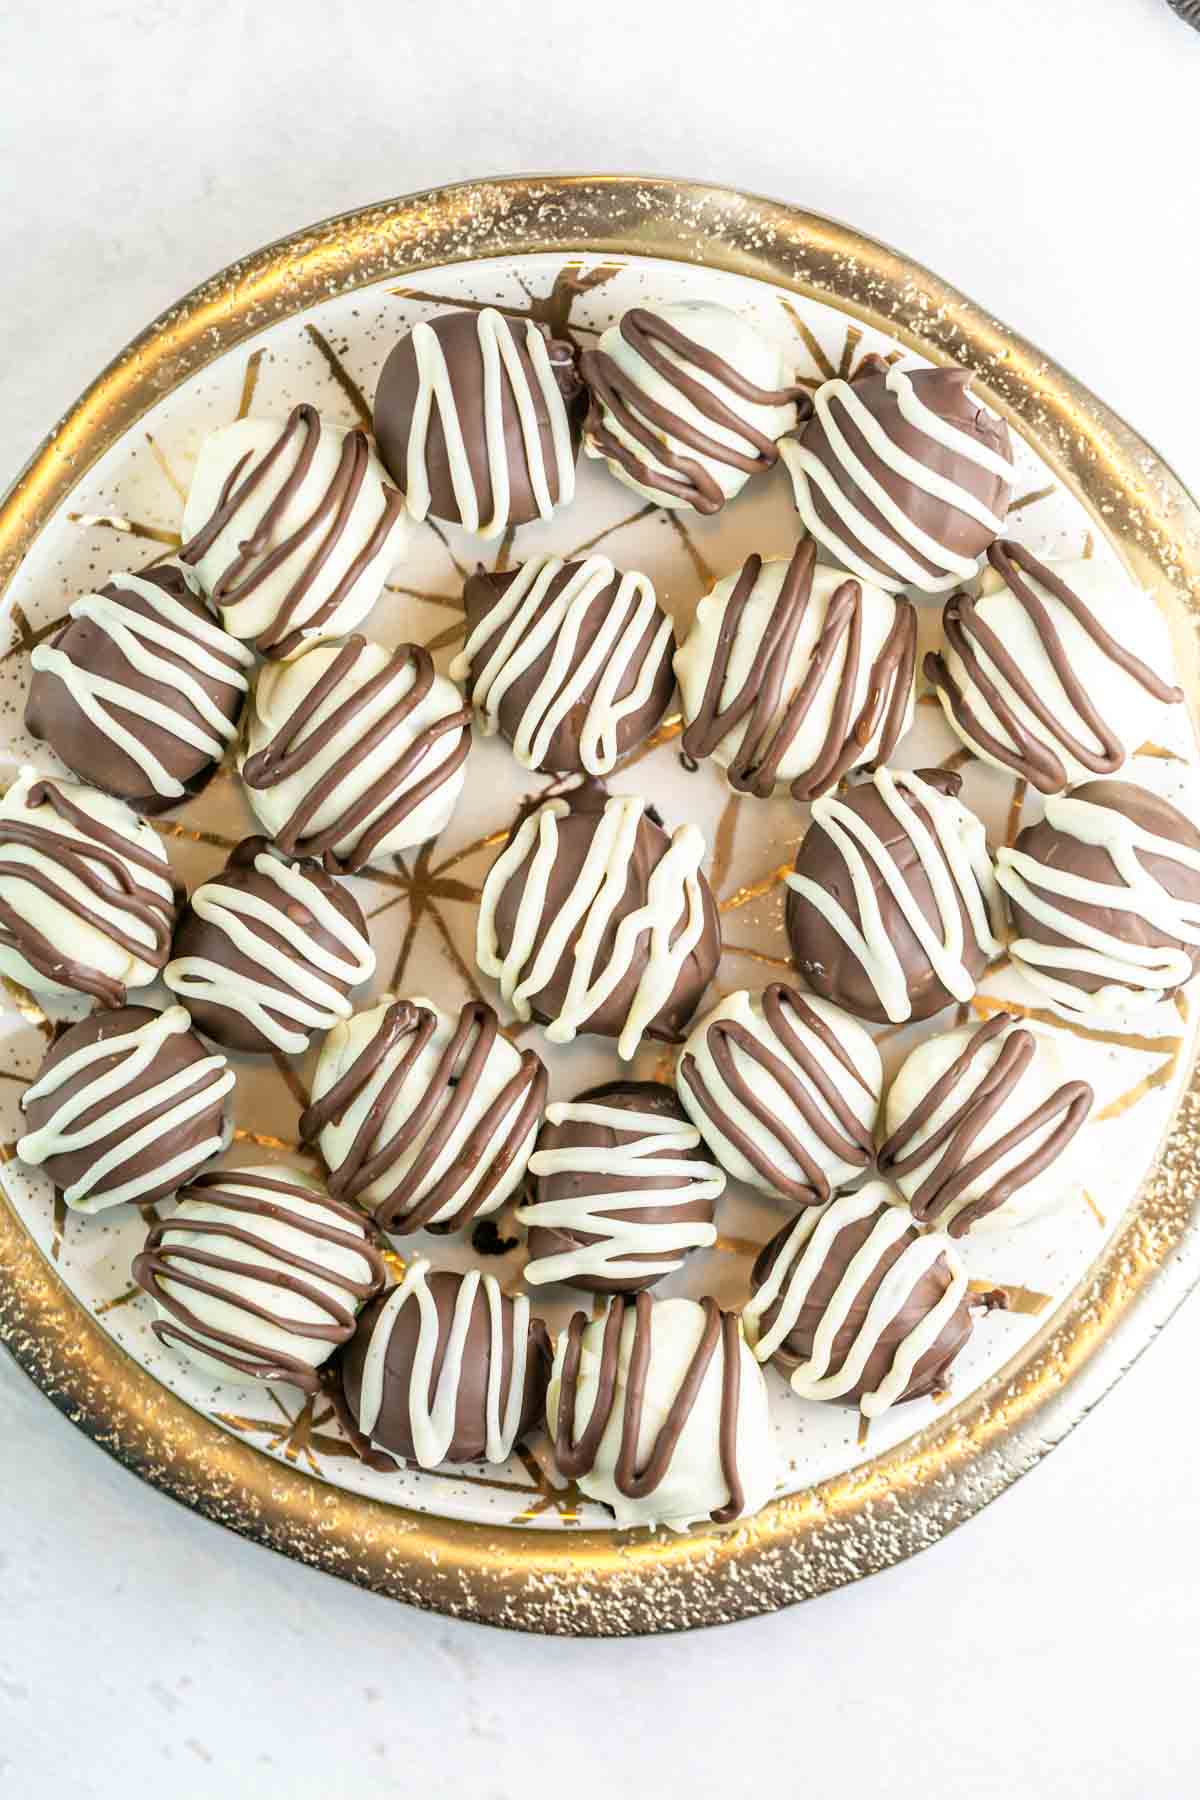
Once the chocolate is fully melted, add an Oreo truffle, one at a time, into the bowl. Use two forks to roll the ball back and forth in the chocolate until it is evenly coated. Scoop up the truffle with a fork, letting any excess chocolate drip back into the bowl, and transfer the truffle back to the baking sheet.
Flavor Variations
While Oreo truffles made with regular Oreos and plain cream cheese are delicious, sometimes it’s fun to mix things up! There is no shortage of ways you can do this – I’ve always thought it would be fun to have a party with an “Oreo Truffle Bar” and serve a whole bunch of these varieties at once!
- Oreo Flavors: There are SO many different flavors of Oreos out there! Try using birthday cake, peanut butter, mint, or chocolate hazelnut paired with a melted chocolate shell. Or use vanilla-flavored candy melted instead and use Golden Oreo or lemon Oreos!
- Extracts: Add your favorite extract to the crushed Oreo and cream cheese mixture – think almond extract, mint extract, or lemon extract!
- Crunchy Add-Ins: With just crushed Oreos and cream cheese, the inside is silky smooth. If you love texture, add in something a little crunchy, like mixed nuts, crushed M&Ms or Reeces Pieces, or sprinkles! Rainbow sprinkles are so fun and festive!
- Cream Cheese Alternatives: Substitute some of the cream chees for nut butter. Instead of 8 ounces, use 6 ounces of cream cheese and 2 ounces of peanut butter or chocolate hazelnut spread.
- Boozy Oreo Truffles: Add 2-3 tablespoons of your favorite liquor to the cream cheese mixture for an adult twist! Think whiskey, kaklua, or Irish cream.
- Colored Candy Melts: Okay, this one isn’t really a flavor variation, but using colored candy melts instead of chocolate is a great way to make Oreo truffles match any occasion or holiday. Dip them orange and black candy melts for Halloween, pink for Valentine’s Day, green for St. Patrick’s Day, etc.
Perfect Make-Ahead Treat
Not only do these require only three ingredients and not turning on the oven, you can make Oreo truffles ahead of time, making them truly the perfect party dessert!
Because of the cream cheese, you’ll want to refrigerate the truffles – but the chocolate coating prevents the Oreo center from drying out and becoming stale in the refrigerator! Oreo truffles can be stored in the refrigerator for up to one week before serving.
Made too many Oreo truffles and can’t finish them all? (We have never had this problem – I’ve never had a single ball left over after a party!) Want to make a big batch now and save some for down the road? Great news – you can even freeze Oreo truffles!
Freeze them spaced out on a cookie sheet until frozen solid, then transfer to a zip-top storage bag or an airtight container and freeze for up to 3 months. Thaw overnight in the refrigerator before serving.
Tips and Tricks for the Best Oreo Truffles
- To ensure the balls are an even size and not too large, use a cookie scoop to divide the dough. A one-tablespoon scoop is a great size!
- After rolling the Oreo balls, refrigerate for at least one hour or freeze for 10 minutes before rolling in the melted chocolate. Otherwise, the balls are too soft and the Oreo mixture will start to crumble into the chocolate.
- Use a bar of baking chocolate or candy wafers, not chocolate chips, for the melted chocolate. Chocolate chips contain additional stabilizers which prevent a smooth consistency.
- Melt the chocolate slowly, stirring frequently, to prevent seizing (especially important for white chocolate!).
- Dip the balls into the melted chocolate using a fork. The excess chocolate will run down the sides and through the tines of the fork, back into the bowl.
- If your melted chocolate is a little too clumpy or thick, add a teaspoon of coconut oil or vegetable oil. This makes the chocolate smoother and easier to handle.
More Easy No-Bake Desserts:
- Chocolate Chip Cookie Dough Dip
- Chocolate Covered Oreos
- Oreo Peanut Butter Pie
- Sprinkle Rice Krispie Treats
- Peanut Butter Oatmeal Bars
- All No-Bake Dessert Recipes »

Easy No-Bake Oreo Truffles
With only 3 ingredients and no-bake, these oreo truffles are insanely easy and incredibly addicting!
Ingredients
- 36 Oreo cookies (1 14.3-ounce package)
- 8 ounces cream cheese, softened
- 16 ounces semi-sweet chocolate bars, baking chocolate, or candy melts
- 4 ounces white chocolate bars or candy melts (optional)
Instructions
- Finely crush Oreos, either using a food processor or rolling pin and a freezer bag. Mix cookie crumbs with cream cheese in a large bowl until well blended.
- Line a cookie sheet with parchment or wax paper. Use a small scoop to roll cookies into one-inch balls. Place the cookie sheet in the refrigerator for at least 1 hour or freezer for 10 minutes to firm up.
- Melt the semisweet chocolate using either a glass or metal bowl placed over a pot of simmering water or melting in the microwave at 50% power, stirring after each 30 seconds. Once completely melted, dip the Oreo truffles into the melted chocolate using two forks to roll the balls in the chocolate. Place the chocolate-covered Oreo balls back onto the wax paper-covered cookie sheet.
- If desired, melt the white chocolate and drizzle it over the truffles.
- Refrigerate the truffles for at least one hour, until the chocolate is set; then transfer them into an airtight container.
Notes
- For even-sized balls, use a cookie scoop to divide the dough.
- Use a bar of baking chocolate or candy wafers for the melted chocolate, not chocolate chips, which do not melt as smoothly
- If the melted chocolate is too clumpy or thick, add a teaspoon of coconut oil or vegetable oil.
- Oreo truffles can be stored in the refrigerator for up to 5 days or frozen for up to 3 months. Thaw overnight in the refrigerator before enjoying.
Recommended Products
As an Amazon Associate and member of other affiliate programs, I earn from qualifying purchases.