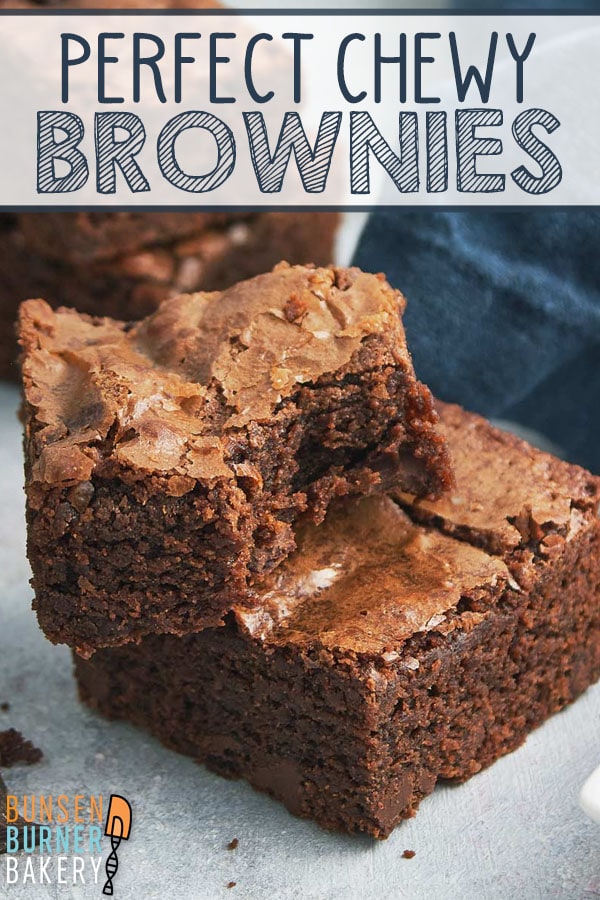
Perfect Chewy Brownies
Looking for the BEST brownie recipe? Look no further than these Perfect Chewy Brownies – the ideal balance between fudgy and cakey with a rich, deep chocolate flavor guaranteed to please everyone!
These are, hands down, my favorite brownies. It’s hard to believe that Bunsen Burner Bakery has been around for over eight years and I am just sharing my favorite brownie recipe.
But in reality, a big part of why I haven’t shared these is because I can’t figure out the best way to describe them.
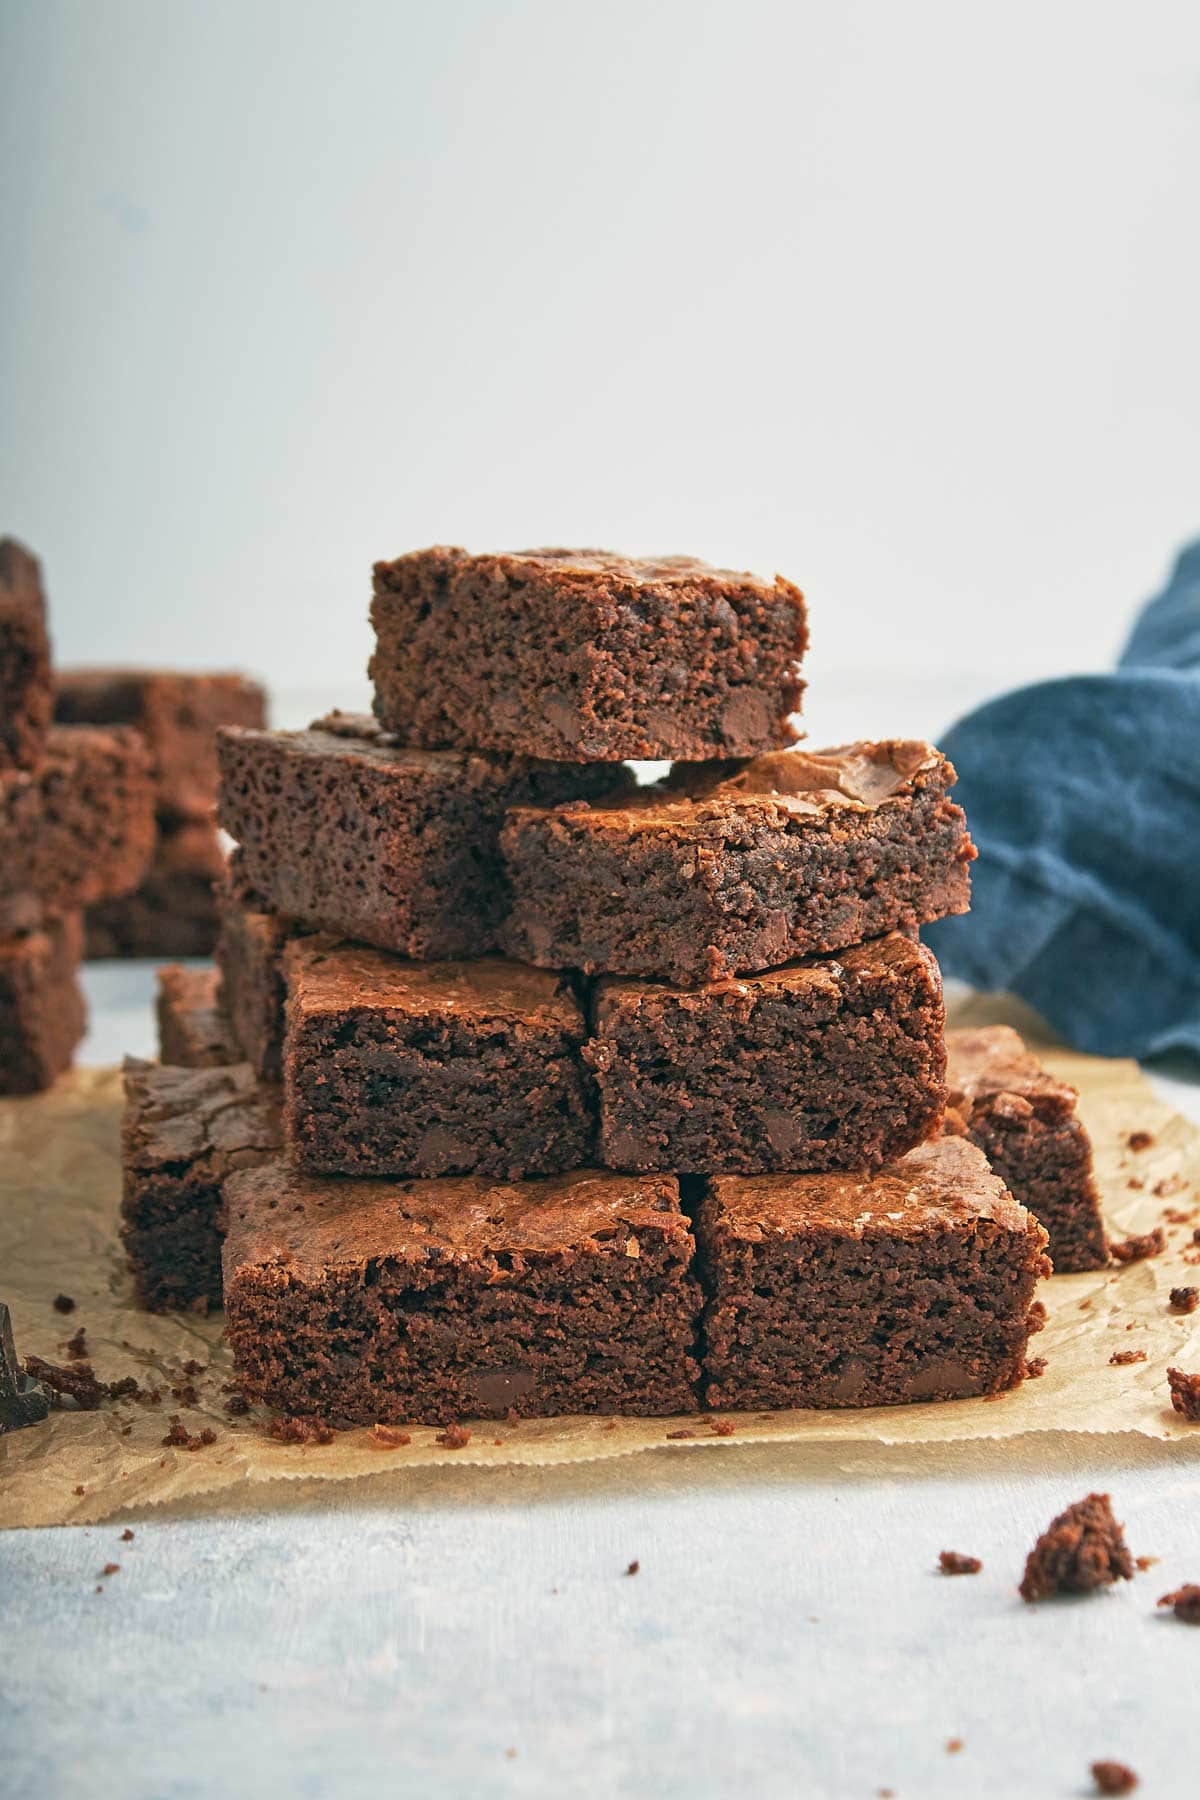
Brownies usually fall into two camps: fudgy or cakey. These brownies aren’t fudgy – thin and dense, with a rich, gooey center. But they also aren’t cakey, dry and tall, crumbly, like a richer version of a chocolate sheet cake.
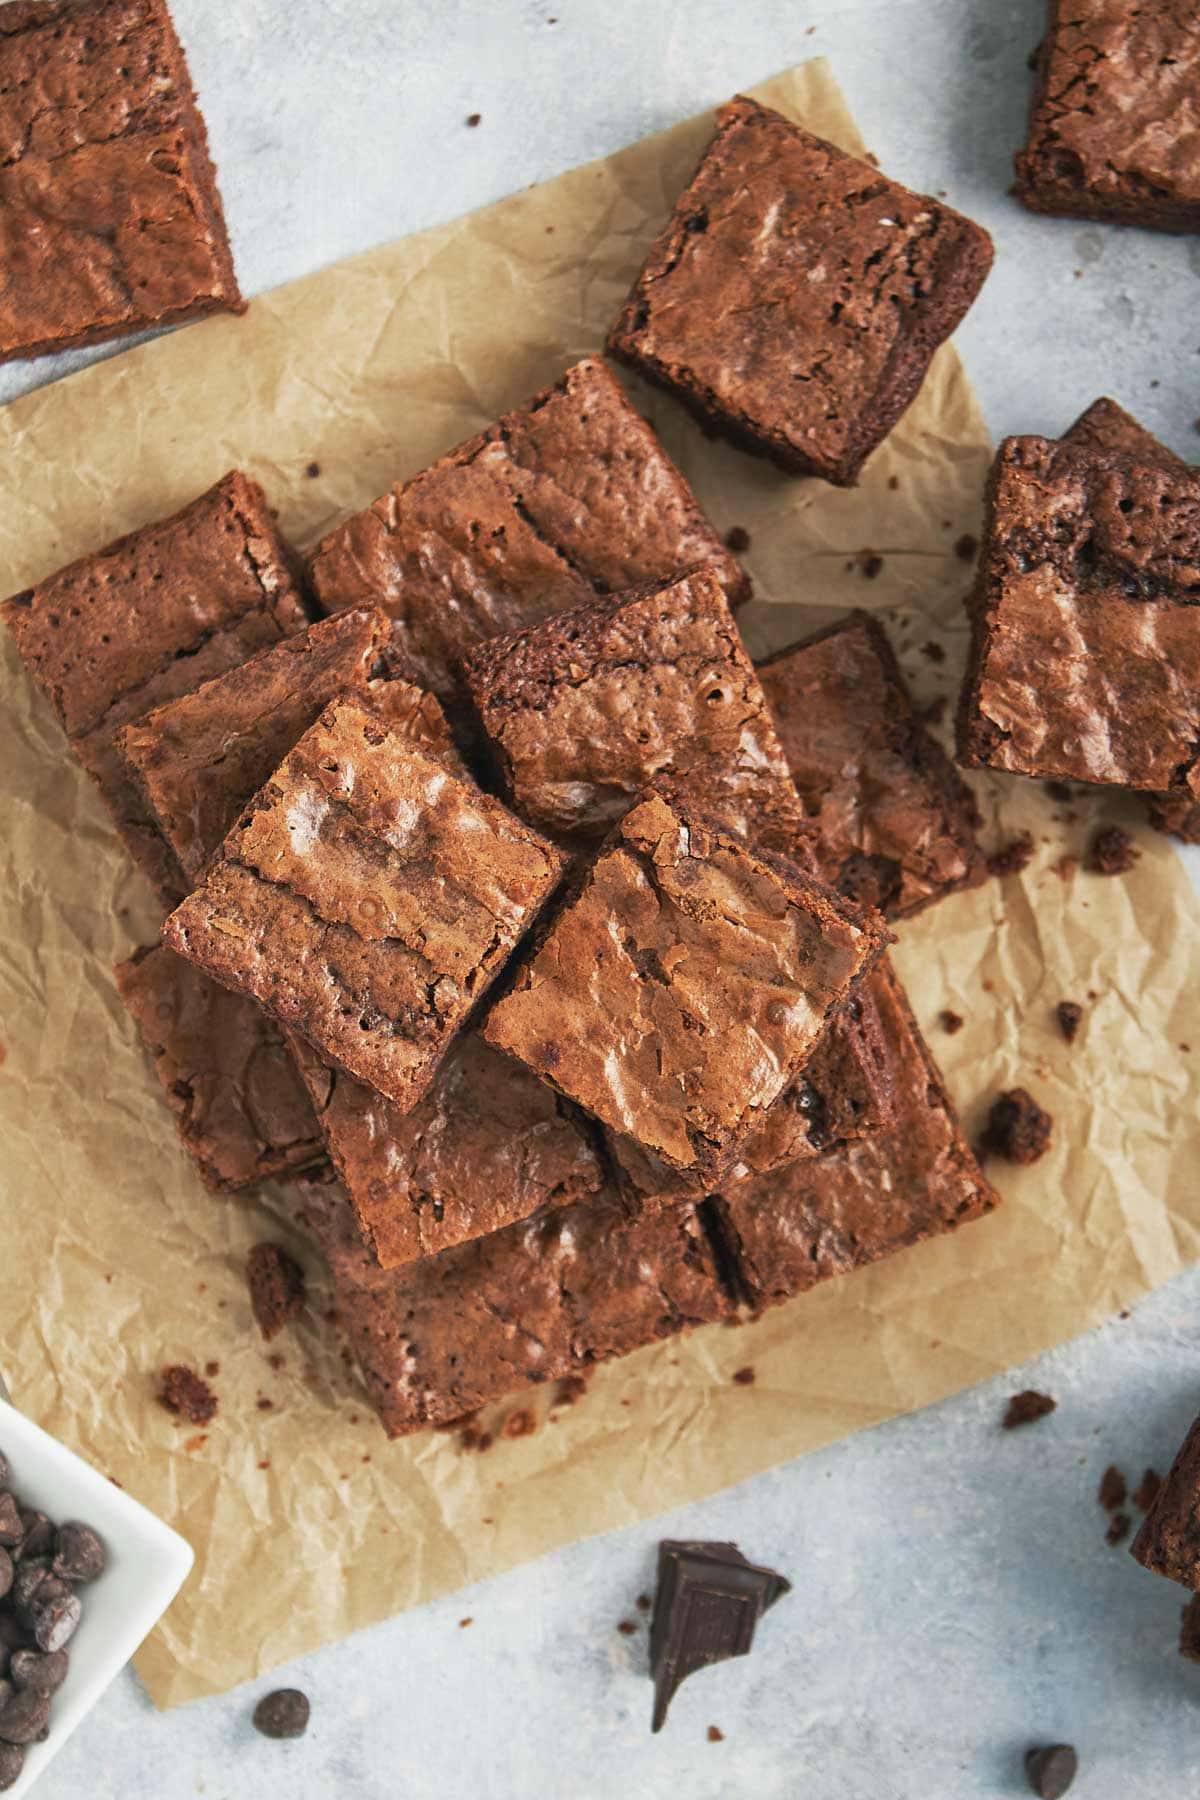
What they are is like a perfect mix of the two. A little crumbly and cakey, but perfectly moist and rich. Super chocolatey.
So when I asked my most recent taste-testing panel for descriptions, I received helpful gems such as “chocolatey,” “delicious,” and “really fantastic brownies.”
So we’re going with chewy, because that’s the best descriptor that I have.
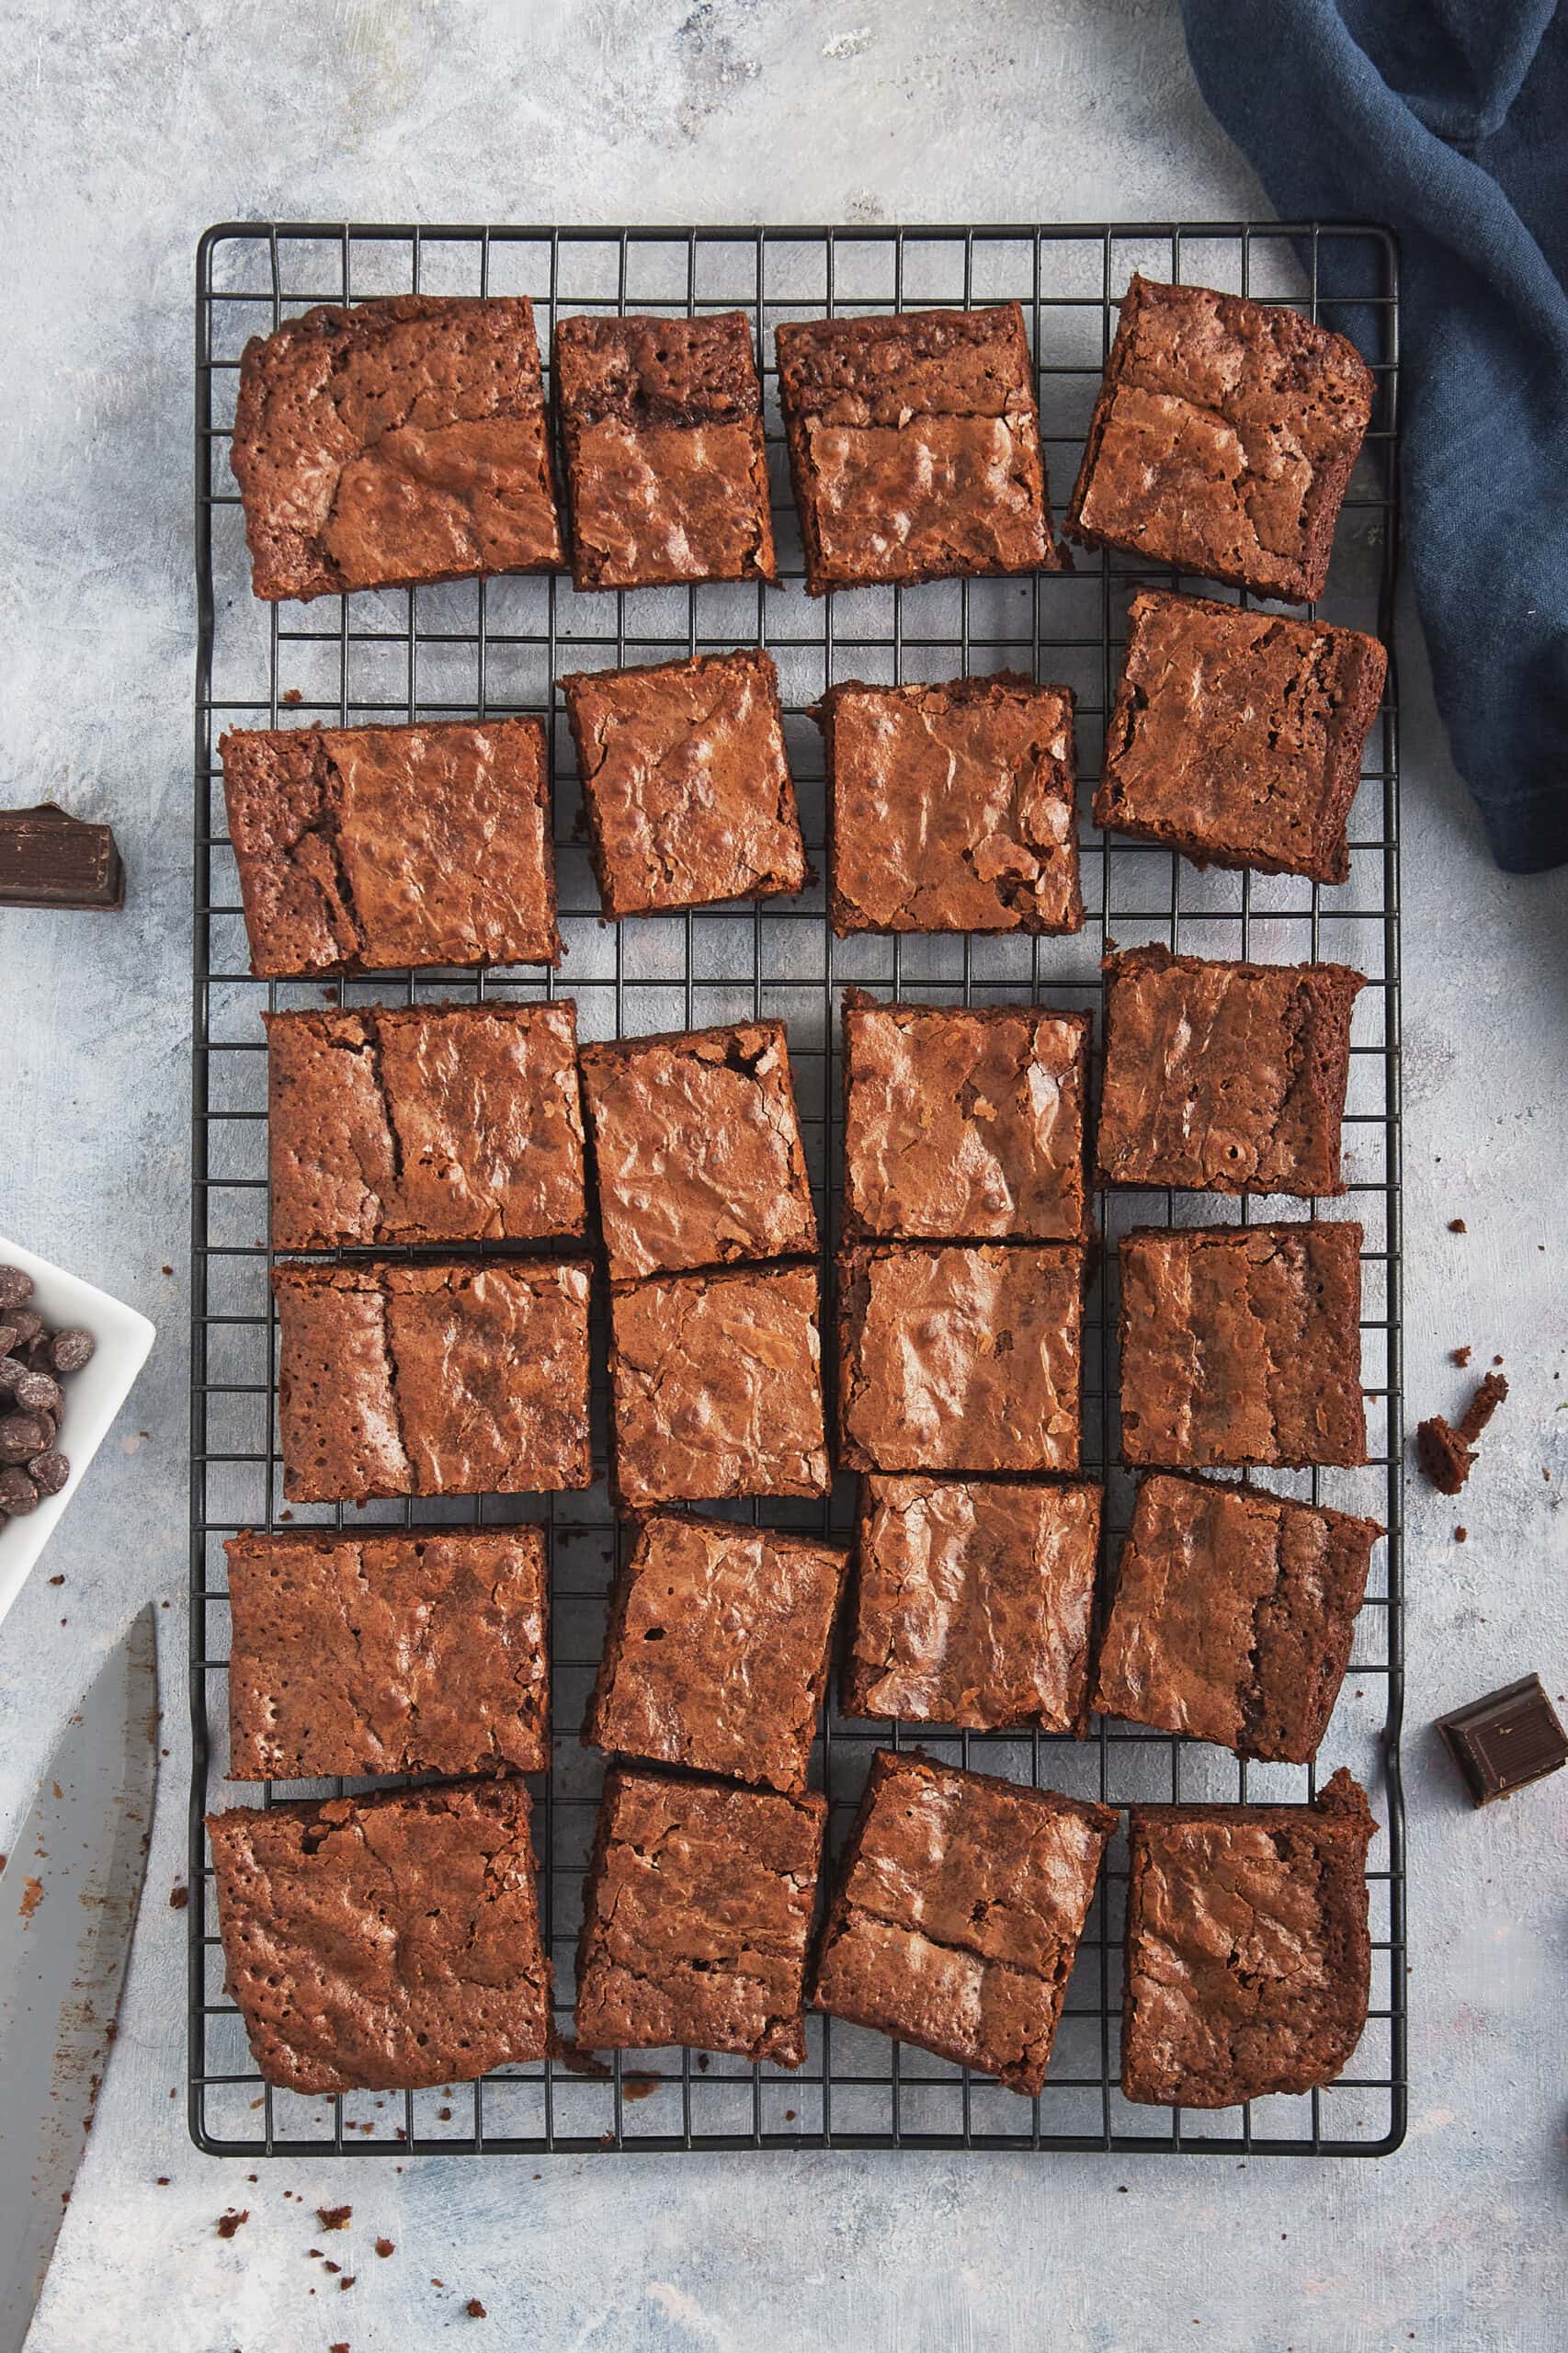
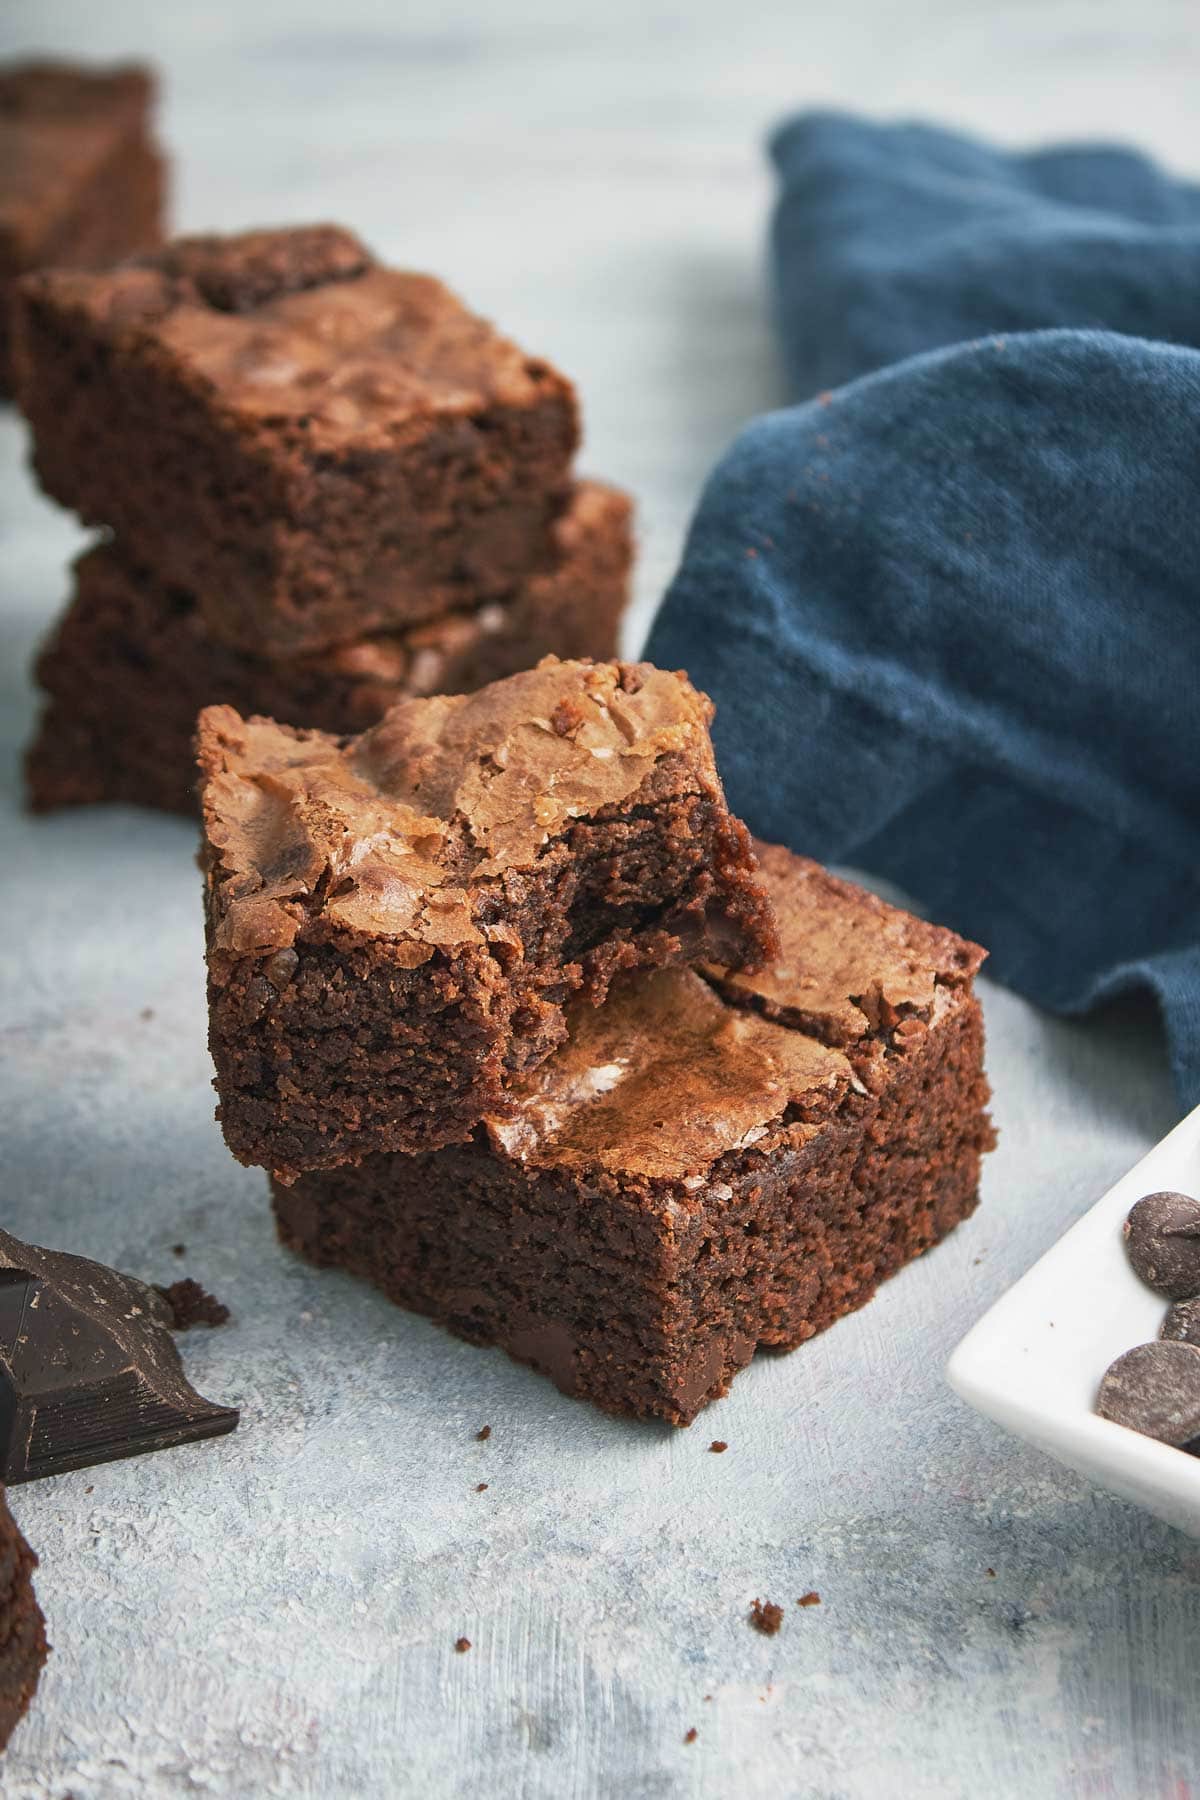
These are the kind of brownies that you can really sink your teeth into – they’re not gooey, but they’re not dry and crumbly, either. The edges don’t get super crispy, and the top doesn’t get super duper crackly.
It’s the perfect combination brownie that seems to win over both fudgy and cakey brownie lovers – and even people who don’t like chocolate desserts, like me.
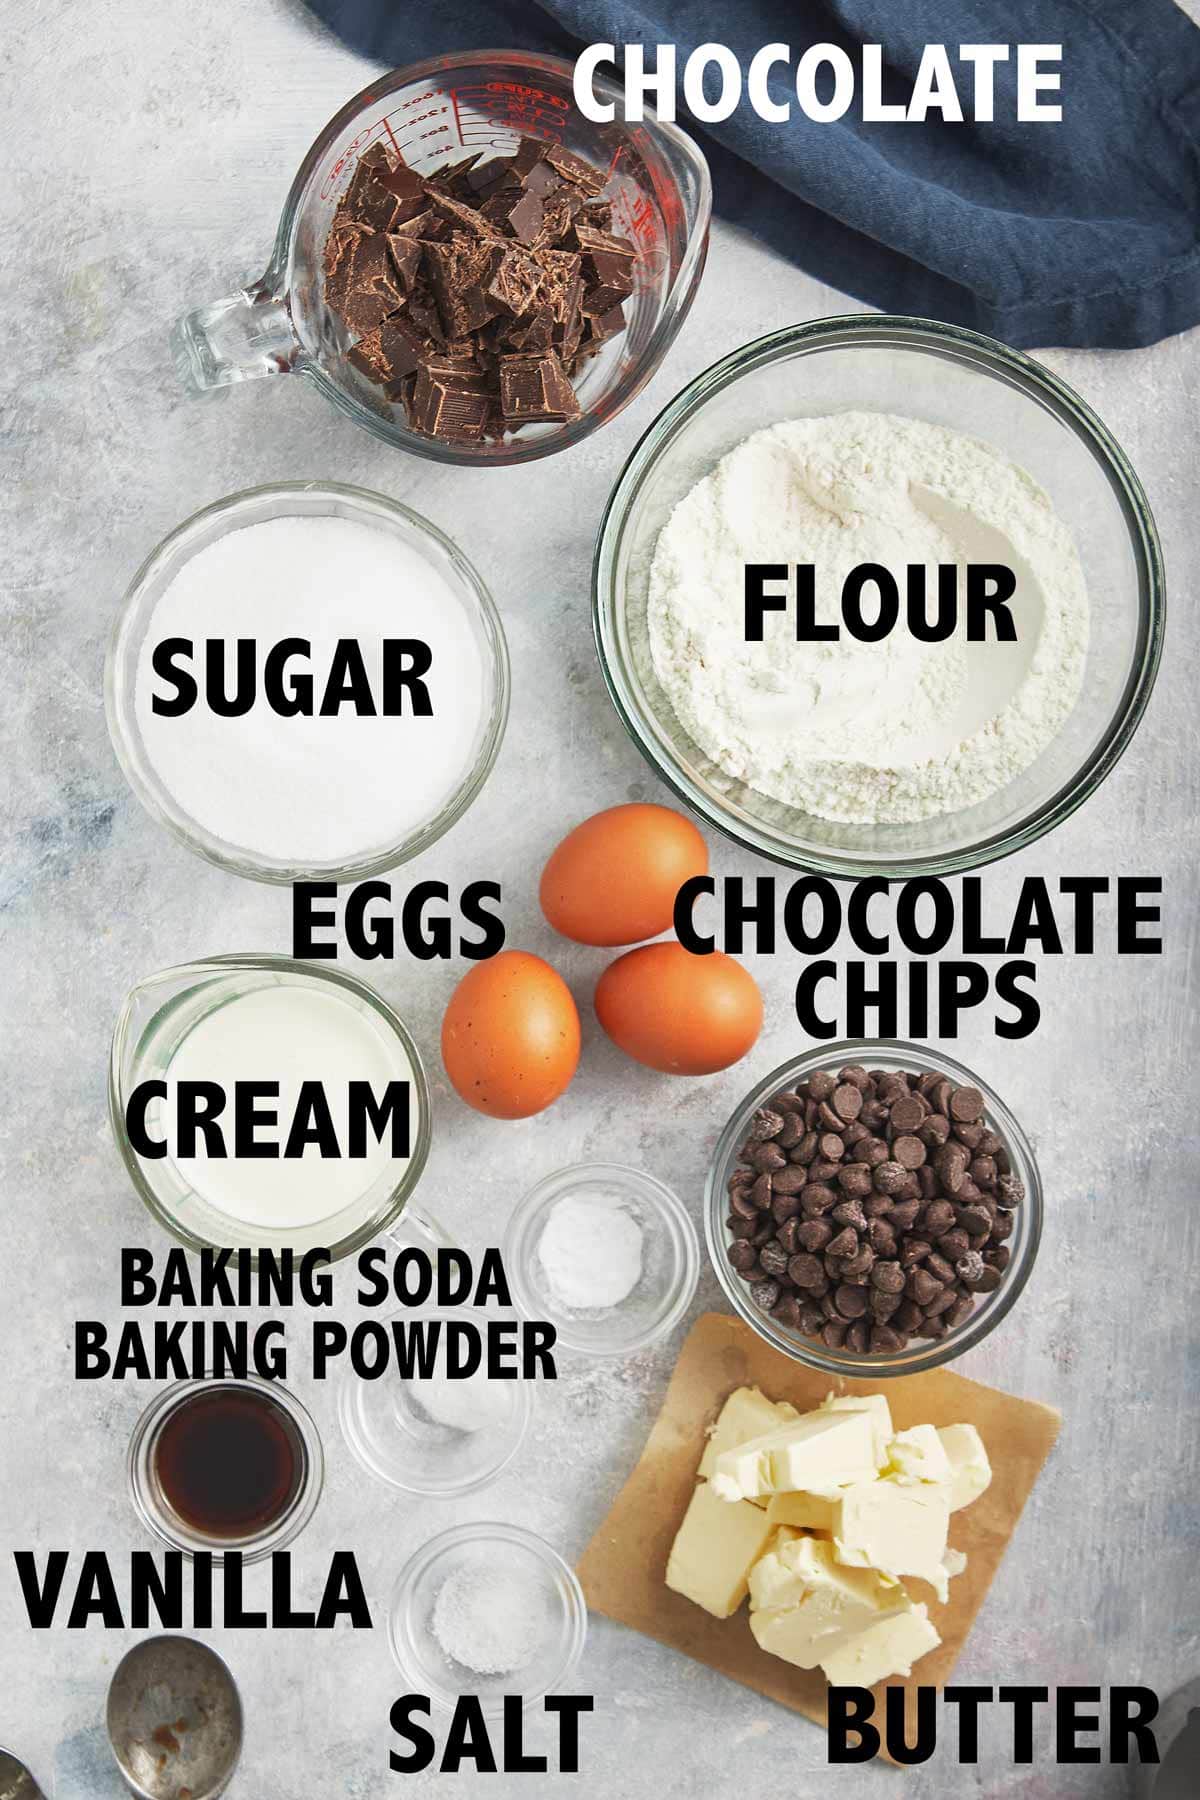
Ingredients and Substitutions
- Chocolate: Use either bittersweet or semisweet baking chocolate. The baking chocolate is the important part – you want to use a chocolate bar, not chocolate chips!
- Butter: I always use unsalted butter. If you bake with salted, adjust down the amount of salt added to the recipe.
- Heavy Cream: This is one ingredient you don’t want to substitute – making the brownies with milk or half-and-half just won’t yield the same chewy texture!
- Sugar
- Eggs
- Vanilla Extract
- Flour: The recipe calls for all-purpose flour, but to keep the brownies gluten-free, you can use a 1:1 gluten-free baking flour mix that includes xanthan gum.
- Baking Soda
- Baking Powder
- Salt
- Chocolate Chips: You can also use chopped chocolate chunks instead of chocolate chips (or substitute in nuts, if you love nuts in your brownies!).
Fat Content in Brownies
I talk a lot about kitchen chemistry around here, and brownies are kind of the ultimate example of kitchen chemistry. Using almost the exact same ingredients but changing the ratios can change the texture from thin, dense, and fudge-like to thick, airy, and cake-like.
For fudgy brownies, increase the fat content of the brownies — i.e., more butter and chocolate. For cakier brownies, increase the dry ingredients — i.e., more flour and switch from melted chocolate to cocoa powder.
So it’s probably not surprising that we’re using characteristics of both fudgy and cakey brownies in these perfect middle-of-the-road rich chocolatey all-people-pleasing brownies.
Like fudgy brownies, these perfect chewy brownies start with melted butter and chopped chocolate. But like their cakey counterparts, we’ll include some chemical leaveners (baking soda and baking powder) for a little bit of lift, which keeps these from getting too dense and heavy.
Let’s also talk about another non-traditional ingredient. These brownies contain heavy cream. It’s not a usual ingredient in brownies, and it’s the secret to getting the perfect chewy texture. Why are we adding heavy cream? It’s time for my favorite subject… kitchen chemistry!
Kitchen Chemistry
To make a chewy brownie, we need to add leaving agents to provide some thickness. This can, however, result in a drier, cakier brownie. Heavy cream adds additional moisture and fat to the brownies. While the heavy cream won’t affect the leavening properties of the baking powder and baking soda, it does influence the overall texture and ensures the brownies do not turn out dry and cakey.
Easy Mix-By-Hand Brownies
Because these brownies use melted butter, everything can be whisked by hand — my favorite kind of baking!
I always prefer to melt the butter, chocolate, and heavy cream together over the stove for better control, so this is actually a two-bowl recipe, but still – it’s easy, it comes together quickly, and it’s even better than boxed mix. (And if you prefer, you can use a microwave to melt together the butter and chocolate – just use a low power and stop frequently to stir!)
While the melted chocolate and butter mixture cools, start by beating the eggs, sugar, and vanilla extract with a wooden spoon. You can do this with a mixer if you want to, but I find it’s easy to do by hand and I have fewer things to wash in the end!

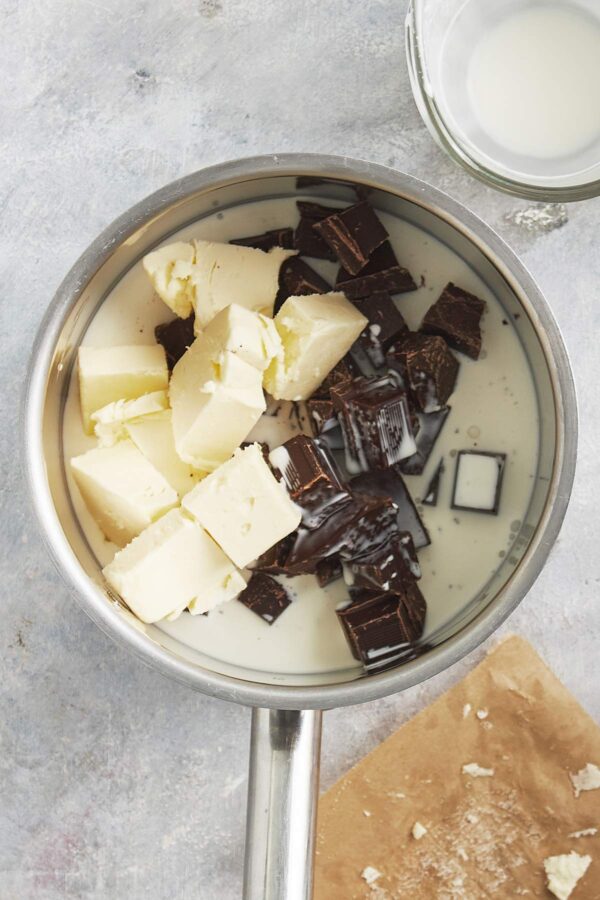
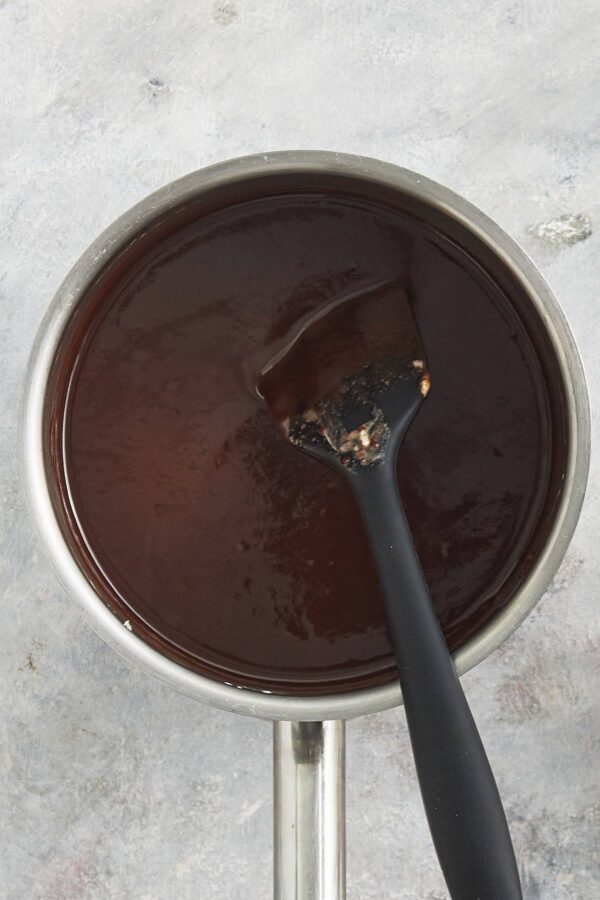
Combine butter, chocolate, and heavy cream in a small saucepan. Melt while stirring until smooth.
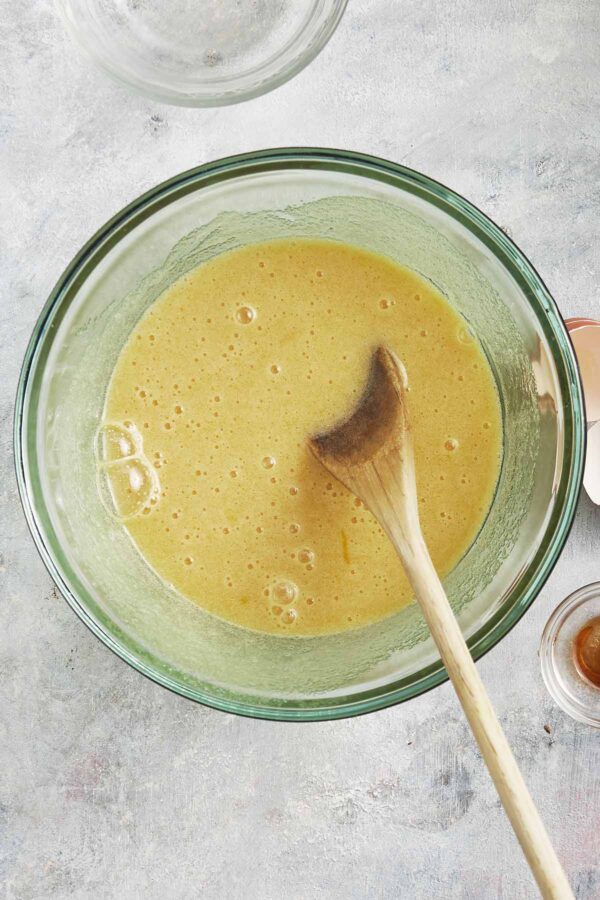
You’ll want to beat the eggs until they’re thick and foamy. Look for the color to lighten significantly and the mixture should be thick enough to coat the back of a spoon. The more air that is beaten into the eggs at this point, the more crackly the tops of the brownies will be!
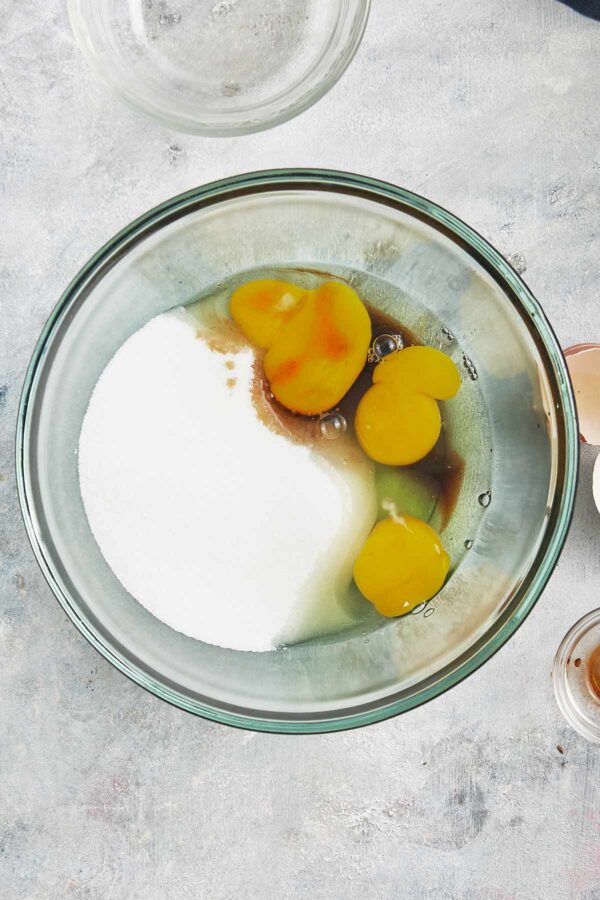
Combine sugar, eggs, and vanilla extract in a large mixing bowl. Beat with a wooden spoon for several minutes until the mixture is thickened and foamy.
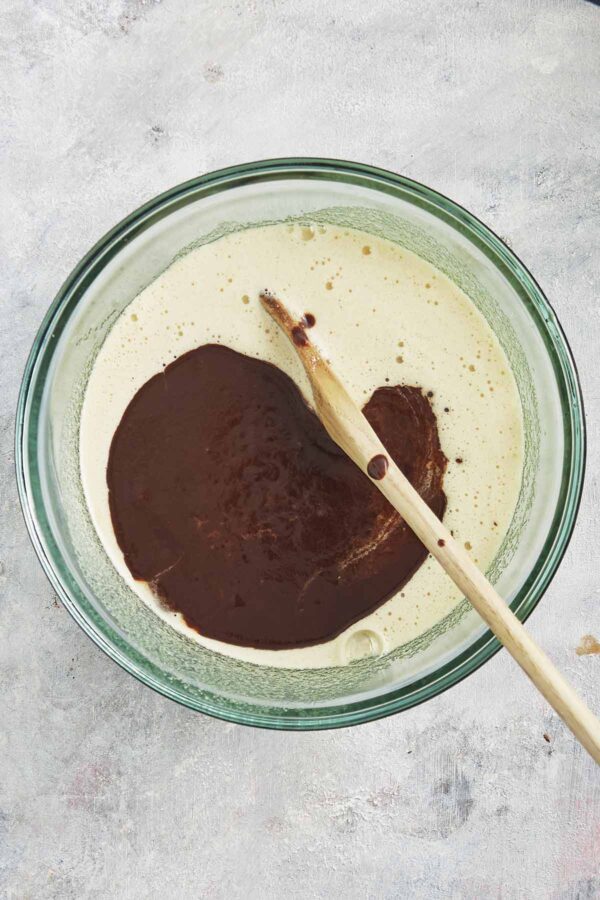
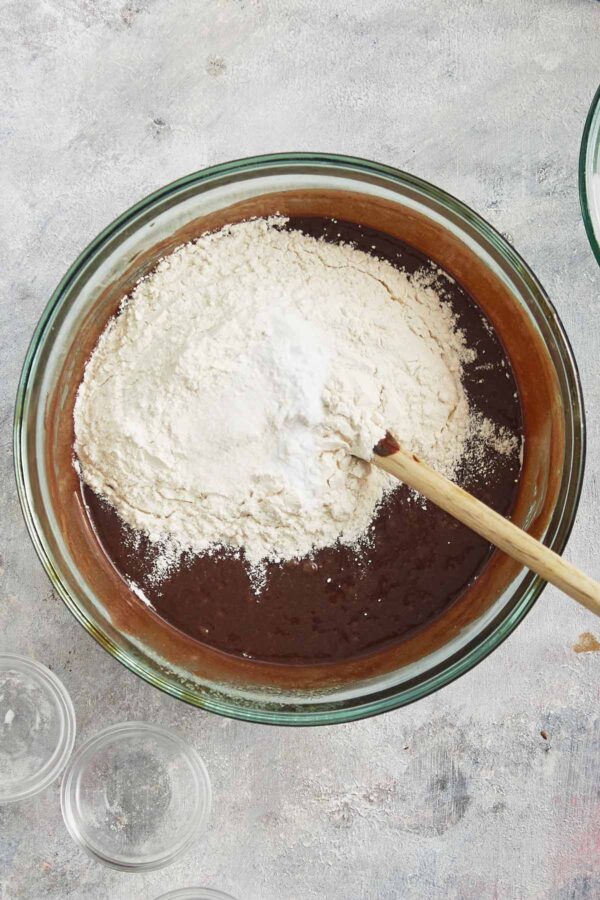
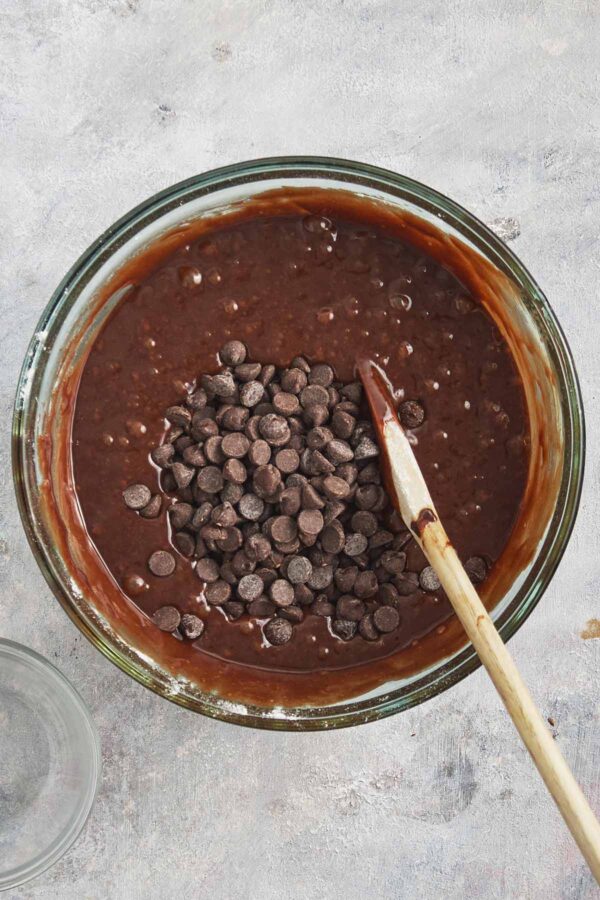
After achieving this, beat in the chocolate mixture, followed by the rest of the dry ingredients, mixing just until no streaks of flour remain. It’s better to err on the side of under-mixing than over-mixing to keep the brownies from getting too cakey! Lastly, fold in the chocolate chips.
Add the melted chocolate mixture into the beaten egg and sugar mixture. Once combined, add the dry ingredients and stir together. Fold in the chocolate chips.
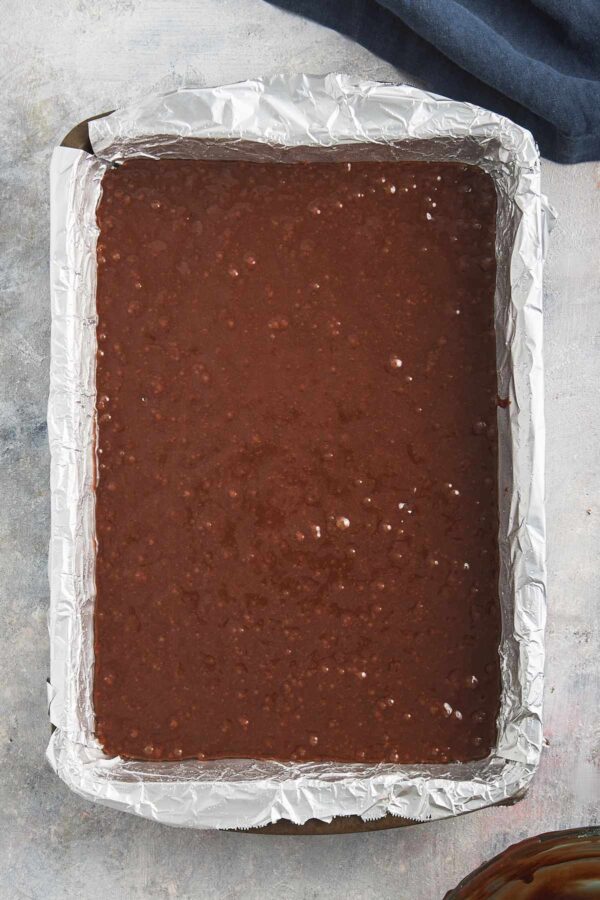
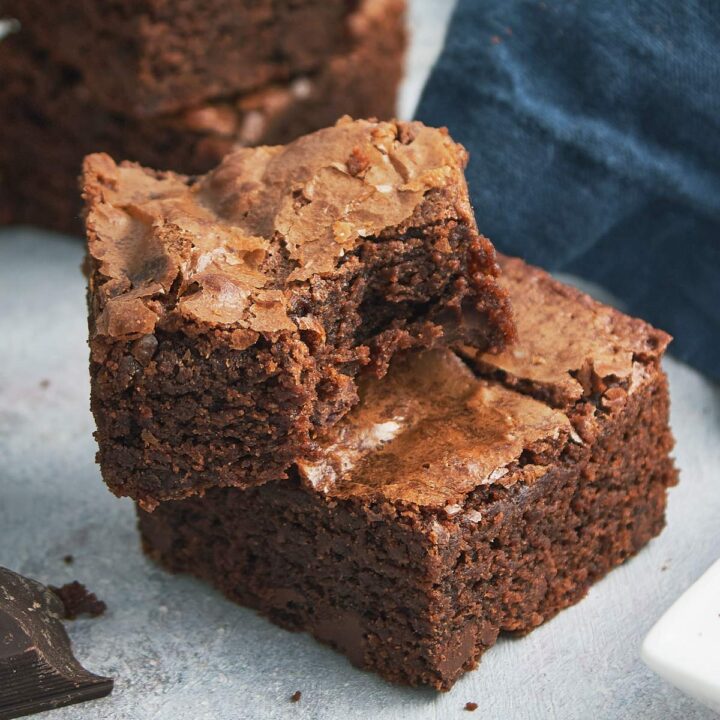
At this point, you can bake the brownies immediately. Orrrr… if you have a little patience, you can pour the brownies into the pan and let them rest in the refrigerator. You can let them rest in the refrigerator anywhere from 30 minutes to 2 days, and the result is a glossier top and a crackly crust.
(The brownies are also delicious if you skip this – I baked them straight after mixing for years. But for a prettier appearance and slightly fudgier texture, try refrigerating! Just add a few extra minutes to the baking time to account for the colder temperature of the pan and batter going into the oven).
Adjusting Brownie Recipe Size
This recipe is baked in a 9×13-inch pan. If you don’t need this many brownies at once, I still always recommend baking the full recipe and either passing on half to friends or neighbors or freezing half for later.
For a smaller size, this recipe can be scaled down to two-thirds of the original recipe and baked in a 9×9-inch square pan.
To scale appropriately, multiply each ingredient by 2/3 (0.66) to determine the appropriate amount to use. For example, 8 ounces of chopped chocolate x (2/3) = 5.3 ounces of chopped chocolate. 9 tablespoons butter x (2/3) = 6 tablespoons butter.
Bake for 25 minutes and check for doneness.
Recommended Tools to Make Chewy Brownies
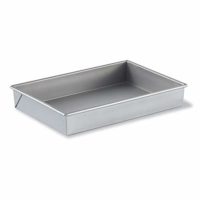
- Baking Pan: Use a light-colored metal baking pan for the best heat transfer. Lighter-colored pans will prevent the outside edges of the brownies from getting too crispy.
- Parchment Paper: Line the pan with parchment paper for easy removal of the brownies.
- Sauce Pan: A heavy-bottomed saucepan is ideal for melting together the butter, sugar, and heavy cream.
- Mixing Bowls: This mixing bowl set includes all the sizes you need for baking.
- High-Quality Chocolate: Better chocolate always equals better brownies, and this is my go-to bittersweet chocolate for these brownies.
Tips and Tricks for the Best Chewy Brownies
- Use high-quality baking chocolate – chocolate chips contain extra stabilizers that prevent them from melting smoothly, so use a baking chocolate bar to melt with the butter.
- Melt the chocolate and butter together slowly over low heat – this helps everything melt smoothly and makes sure the chocolate won’t overheat and start to seize. Stir often while melting!
- Beat in the eggs hard by hand. Using a wooden spoon, beat in the eggs – as hard as possible! This encourages the shiny, crackly brownie tops.
- Chill your brownie batter! This step is a little optional – I’ve made these brownies plenty of times without doing this, but popping the prepared batter in the fridge for 30-60 minutes before baking makes the brownies taste extra rich and decadent after they bake.
- Don’t overbake the brownies! Our brownies will stay in the pan to cool, so they’ll continue to cook for a little after they come out of the oven. As a result, we want them to be just slightly underbaked when we pull them out of the oven — look for moist crumbs stuck to your tester, but not raw blobs of batter.
- Store leftovers properly: These brownies can be stored in an air-tight container at either room temperature (for softer brownies) or in the refrigerator (for fudgier brownies) for 4 to 5 days. The brownies can also be frozen for up to 3 months, either in the pan as a full tray of brownies or as individual cut brownies, wrapped tightly in plastic wrap or foil and stored in a freezer-safe zip-top bag.
More Brownie Recipes:
- Caramel Pecan Turtle Brownies
- Peanut Butter Oreo Brownies
- Pumpkin Swirl Brownies
- Cookie Dough Brownies
- Ultimate Nutella Brownies
- Frosted Sprinkle Brownies
- All Brownie Recipes »
Perfect Chewy Brownies
Looking for the best brownie recipe? Look no further than these perfect chewy brownies – the ideal balance between fudgy and cakey with a rich, deep chocolate flavor guaranteed to please everyone!
Ingredients
- 8 ounces (227 grams) bittersweet or semisweet baking chocolate, coarsely chopped
- 9 tablespoons (127 grams) unsalted butter, coarsely chopped
- 1/2 cup (113 grams) heavy cream
- 1 1/4 cup (248 grams) granulated sugar
- 3 large eggs, room temperature
- 1 tablespoon vanilla extract
- 1 1/4 cups (150 grams) all-purpose flour
- 1/4 teaspoon baking soda
- 1/4 teaspoon baking powder
- 1/4 teaspoon salt
- 6 ounces (170 grams) chocolate chips
Instructions
- Preheat oven to 350 °F. Line a 9x13-inch metal baking pan with parchment paper. Extend the parchment paper over the edges of the pan to create a handle to lift the brownies out of the pan after cooling. Spray the foil with nonstick cooking spray.
- Melt the chocolate and butter. Combine the 8 ounces of chopped chocolate, butter, and heavy cream in a small, heavy-bottom sauce pan over medium heat. Stir continuously until melted and smooth. Set aside and cool until lukewarm, about 10 minutes.
- Mix the brownie batter. In a large mixing bowl, beat together the sugar, eggs, and vanilla extract for 2 to 3 minutes using a wooden spoon until the mixture is lightened in color, foamy, and thick. Add in the chocolate mixture, beating for another 1 to 2 minutes. Stir in the flour, baking powder, baking soda, and salt, stirring until no streaks of flour remain. Stir in the chocolate chips. Refrigerate the batter for 30-60 minutes, up to 24 hours.
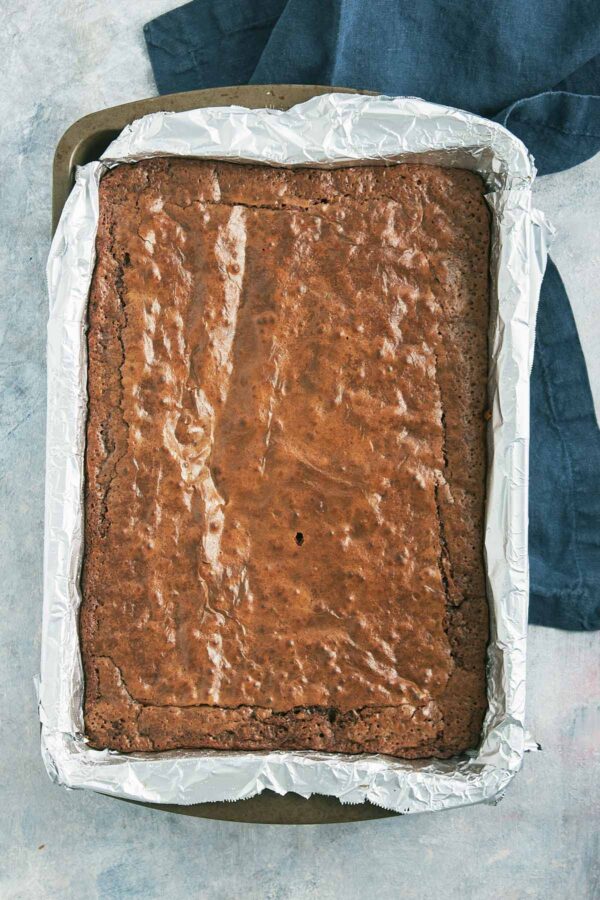
- Bake the brownies. Spread the brownie batter evenly into the prepared pan. Bake until brownies are puffed and just start to look dry on top, 28 to 30 minutes, and a toothpick inserted into the center comes out with a moist crumb. Cool the brownies in the pan. Once cool, use the foil handles to remove the brownies and aluminum foil from the pan and cut into 24 squares with a serrated knife.
Notes
- Use high quality baking chocolate – chocolate chips contain extra stabilizers which prevent them from melting smoothly, so use a baking chocolate bar to melt with the butter.
- Melt the chocolate and butter together slowly over low heat – this helps everything melt smoothly and makes sure the chocolate won’t overheat and start to seize.
- Chill your brownie batter. Popping the prepared batter in the fridge for 30-60 minutes before baking makes the brownies taste extra rich and decadent after they bake.
- Don’t overbake the brownies! Brownies will stay in the pan to cool, so they’ll continue to cook for a little after they come out of the oven. As a result, you want them to be just slightly underbaked when we pull them out of the oven.
- Brownies can be stored at room temperature for 4 to 5 days in an airtight container at room temperature, or frozen for up to 3 months.
- For a smaller size, this recipe can be scaled down to two-thirds of the original recipe and baked in a 9×9-inch square pan. Check brownies for doneness starting at 25 minutes.
Recommended Products
As an Amazon Associate and member of other affiliate programs, I earn from qualifying purchases.
Nutrition Information:
Yield: 24 Serving Size: 1 brownieAmount Per Serving: Calories: 215Total Fat: 11.7gCarbohydrates: 24.9gProtein: 2.5g