Cookie Dough Brownies
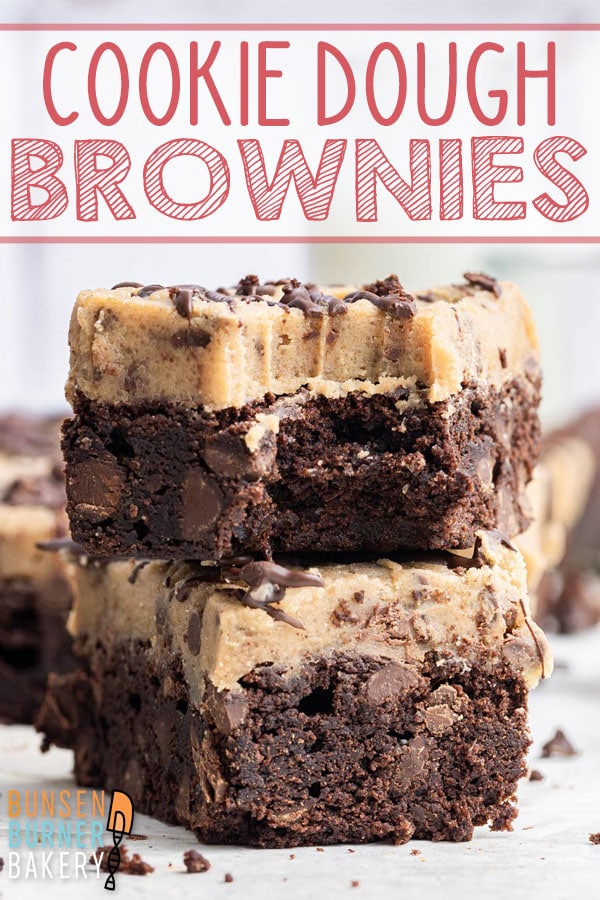
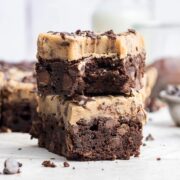
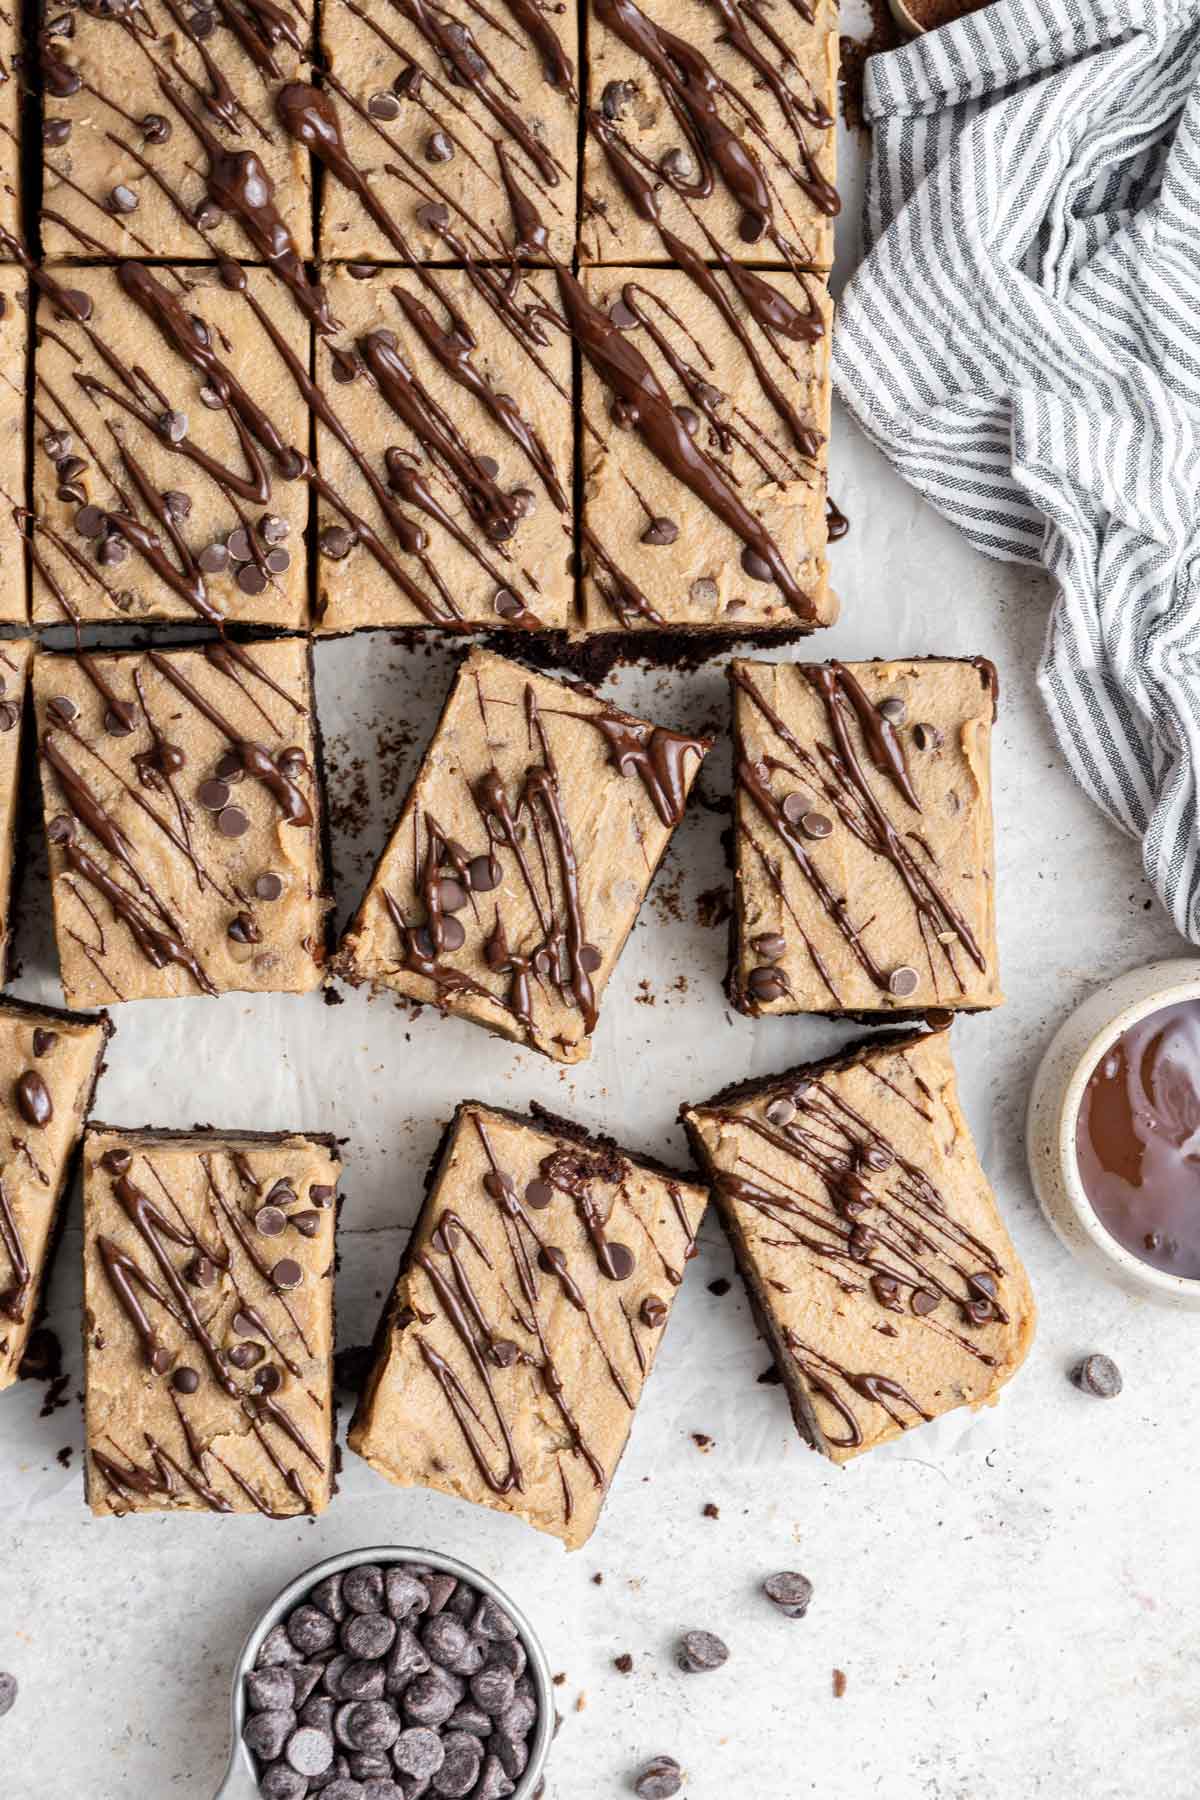
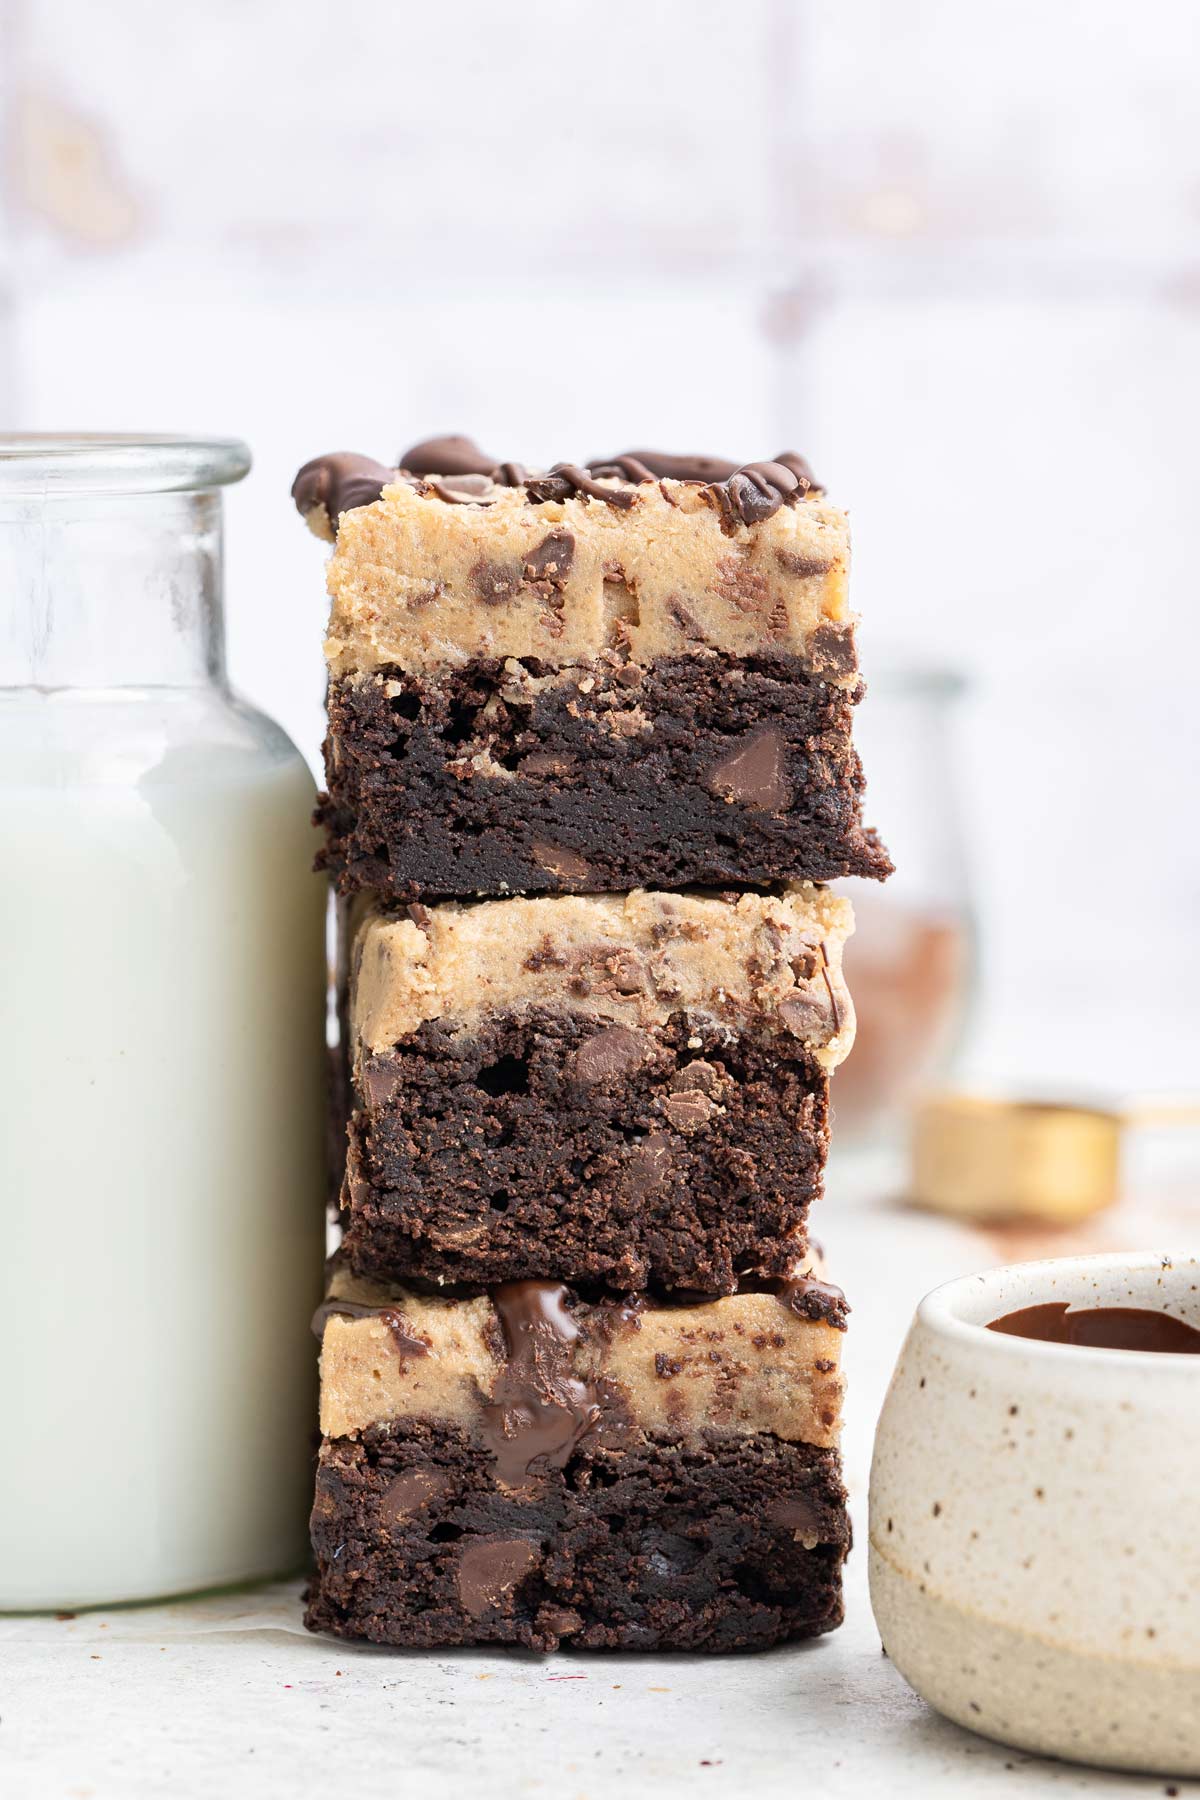
These chocolate chip Cookie Dough Brownies have it all – thick, fudgy brownies, creamy, soft cookie dough full of chocolate chips, and a drizzle of melted chocolate on top. If you love chocolate and (safe to eat) cookie dough, put these on your must-make list!
This post may include affiliate links. As an Amazon Associate I earn a fee from qualifying purchases.
Chocolate chip cookie dough. Homemade brownies. Separate, both are delicious. Together… well, it’s a match made in decadent dessert heaven.
Do you love cookie dough? I’m assuming everyone is nodding their heads because really, who doesn’t love cookie dough?
(Also, why is it that raw cookie dough is so much better than a cookie? There must be a scientific explanation…)
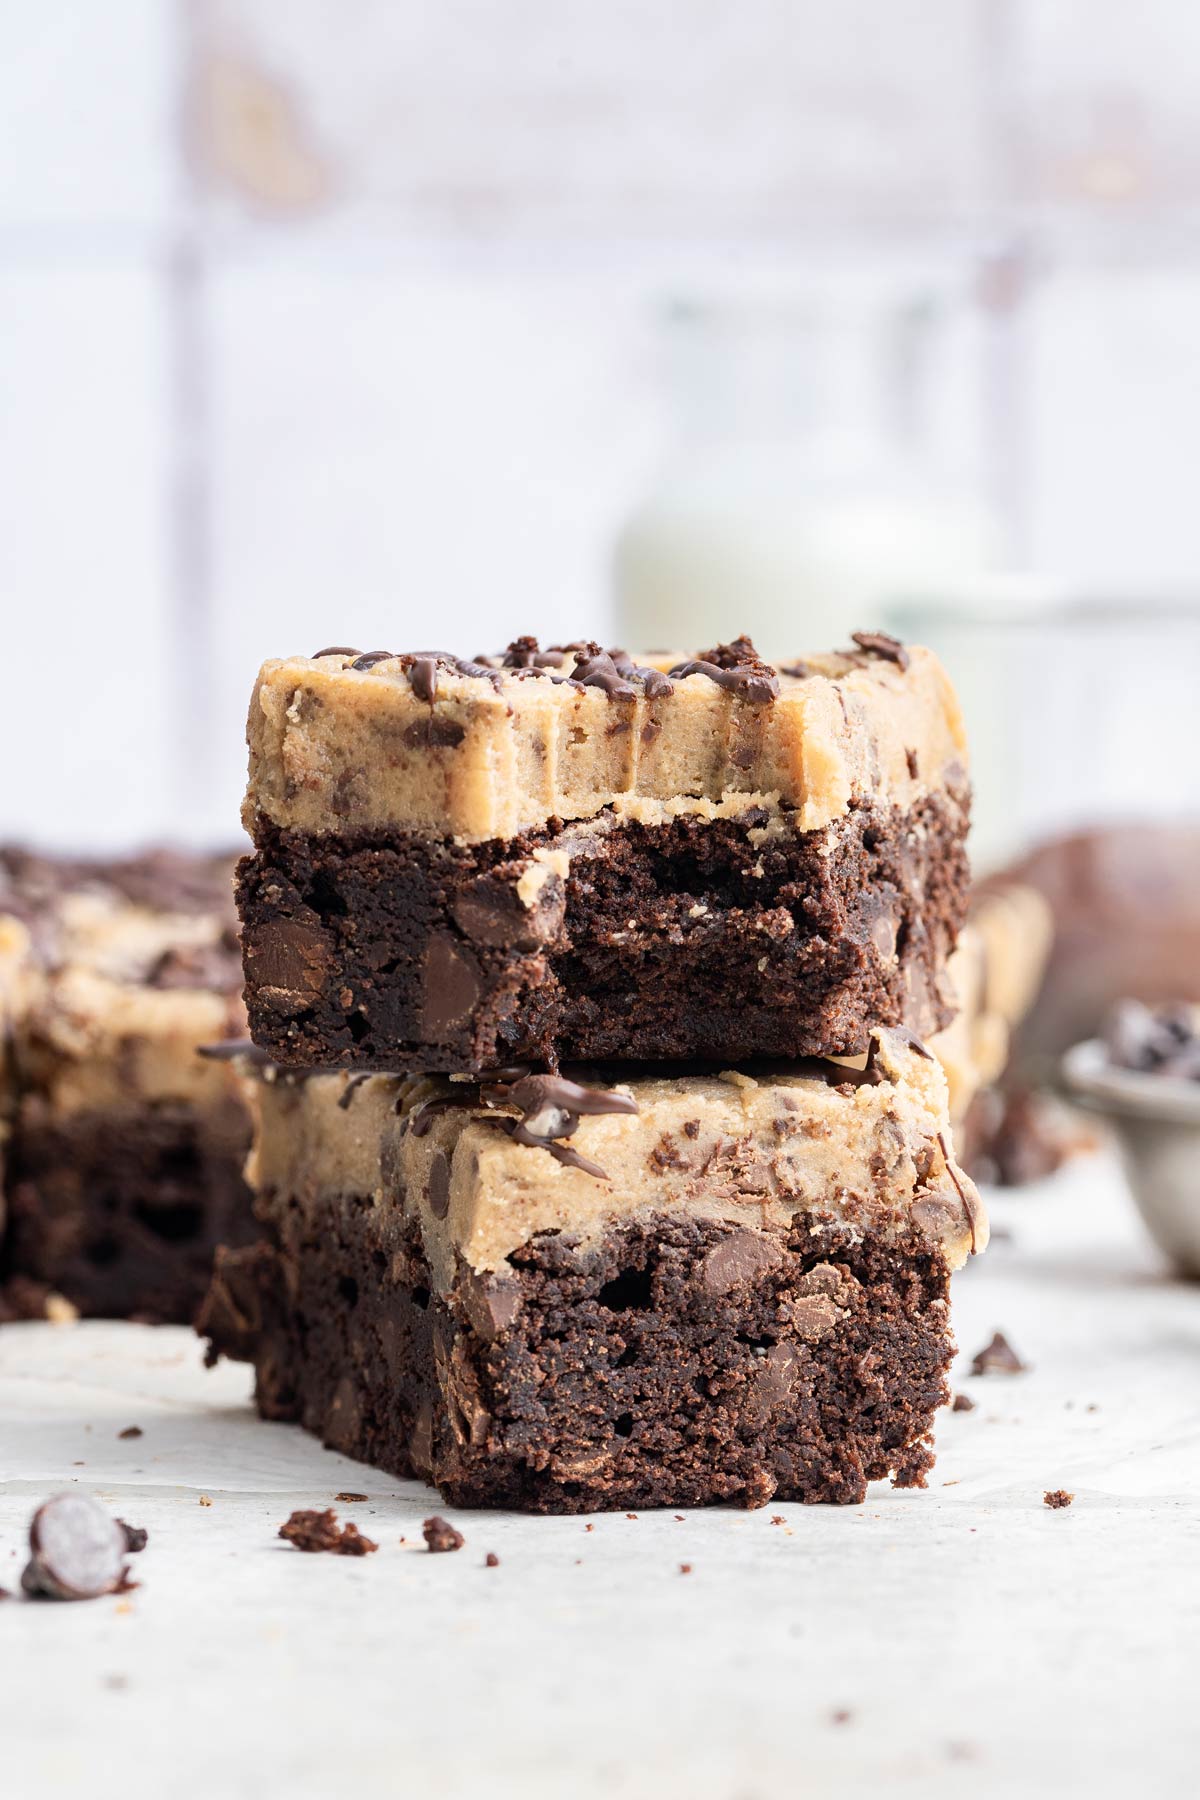
These cookie dough brownies are the best of all worlds. A thick, chocolatey brownie — topped with safe-to-eat cookie dough.
I mean, if it wasn’t for the whole salmonella in raw egg and E. coli in raw flour risk, I’d never really bother with actually baking my cookie dough.
But this time, we can enjoy the delicious flavors of raw cookie dough, without the risk. And it’s served to us on a brownie, instead of having to lick the spoon or dip our fingers into the mixing bowl.
I’m not sure about you, but this is JUST what I need right now. And tomorrow. And every day after that, because brownies + cookie dough = eternal happiness.
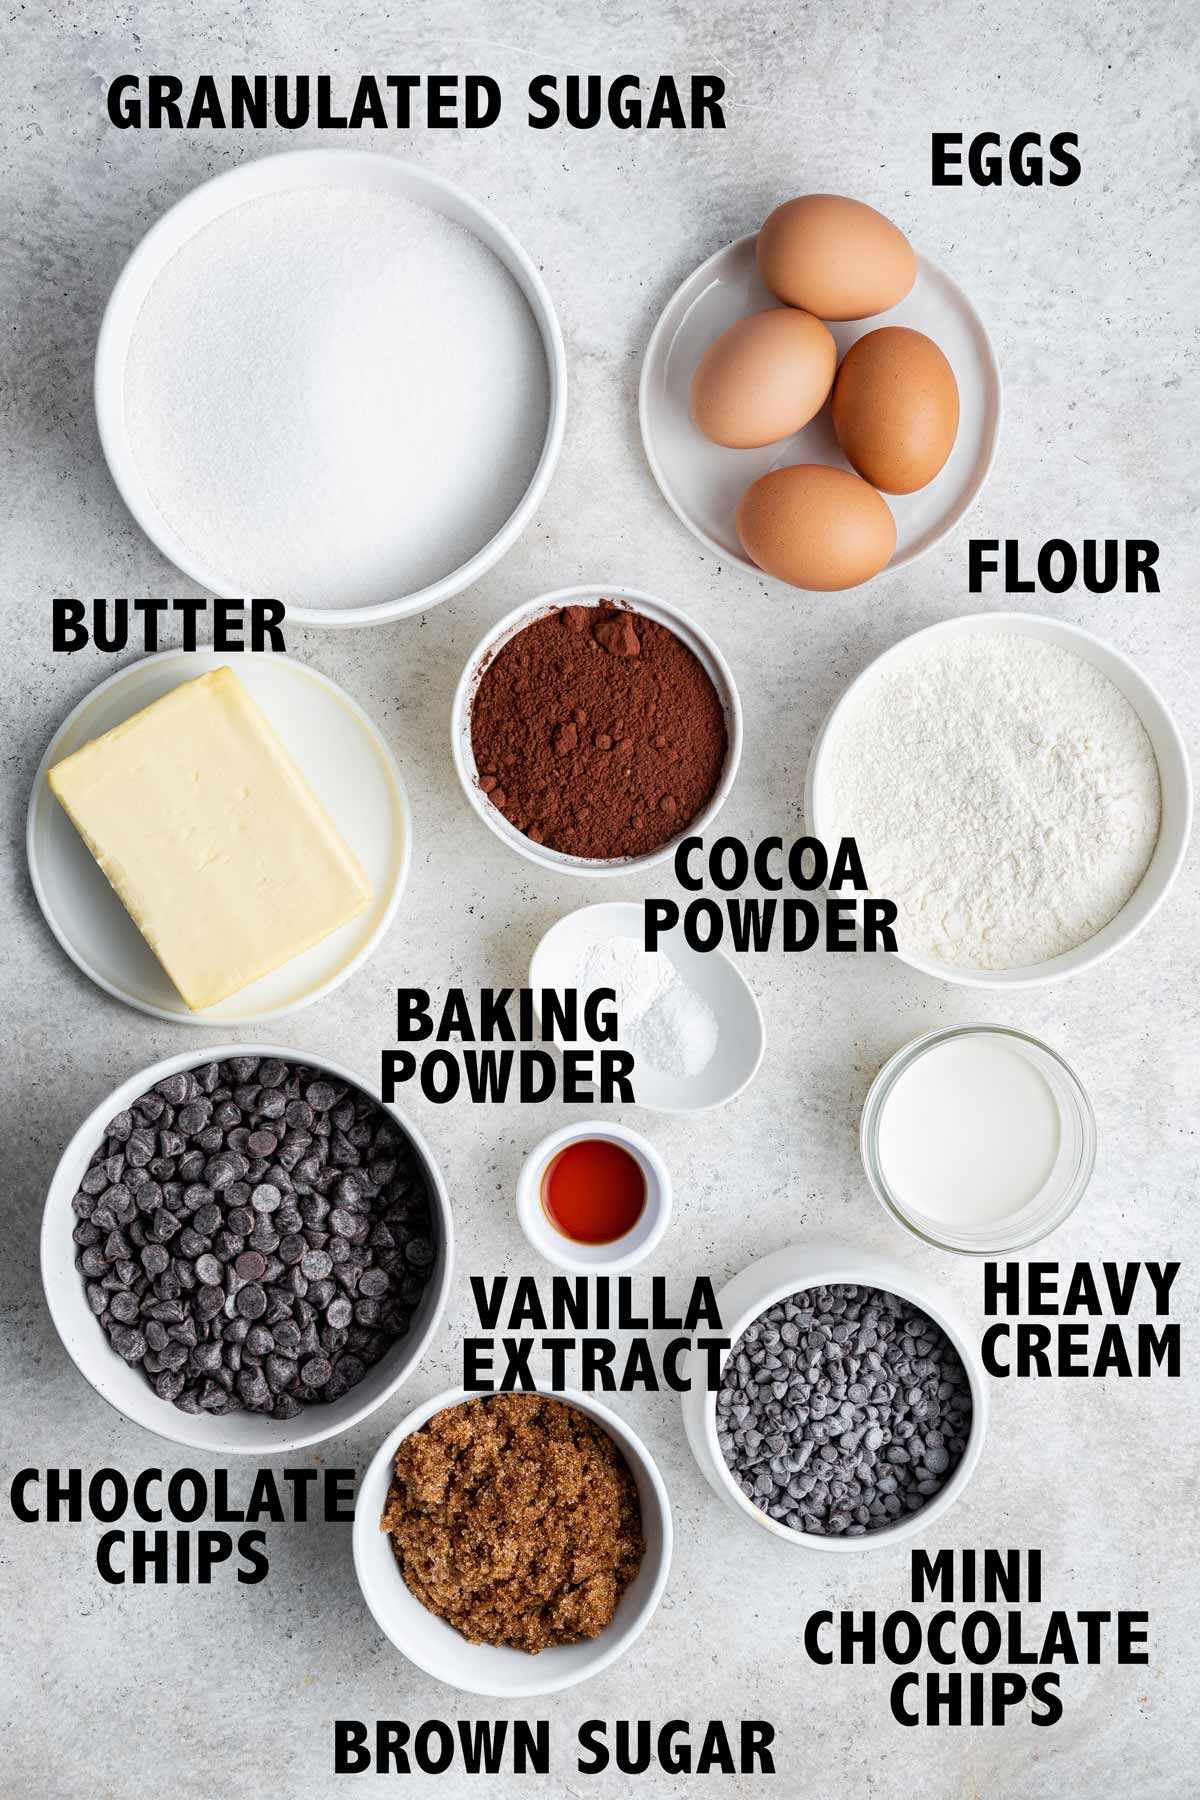
Ingredients and Substitutions
For the Brownies:
- Eggs: Large eggs, room temperature. (Room temperature ingredients mix together better.)
- Dutch Processed Cocoa Powder: Use Dutch process cocoa powder, not natural unsweetened cocoa powder, for the best flavor and texture in these brownies.
- Salt: The recipe is designed to use either table salt, sea salt, or Morton kosher salt – if you use Diamond Crystal salt, adjust the volume as necessary.
- Baking Powder: While we don’t want to use too much baking powder, which will result in a cakier texture, we need just a little to ensure the brownies have enough structure to support the cookie dough layer!
- Vanilla Extract: Vanilla really enhances the chocolate flavor in these brownies.
- Butter: I always bake with unsalted butter. If you’re using salted butter, decrease the amount of salt in the recipe to taste.
- Sugar: Plain old granulated sugar for the brownie batter.
- Flour: This recipe uses all-purpose flour, which should be weighed or fluffed and scooped into a measuring cup – too much flour will result in cakey brownies. You can use a 1:1 gluten free baking mix to keep the brownies gluten-free.
- Chocolate Chips: I always love to add chocolate chips to my brownies for a little extra texture! The recipe uses full-size chocolate chips but feel free to use miniature chocolate chips or chopped chocolate, or omit alotgether.
For the Cookie Dough Layer:
- Butter: More unsalted butter will go into the cookie dough.
- Brown Sugar: I love adding brown sugar to the cookie dough because the molasses provides some of the caramel-ish taste that cookies take on once they’ve been baked. If you don’t have brown sugar (either light or dark work fine), you can use all granulated sugar.
- Heavy Cream: Heavy cream is whipped into the cookie dough to lighten the texture. You can use either heavy cream or whipping cream, but don’t substitute in half-and-half or whole milk.
- Vanilla Extract: Vanilla extract provides the classic cookie dough flavor, but if you love almond, try adding 1/4 teaspoon of almond extract in addition to or instead of the vanilla extract.
- Salt: Same as above – sea salt, table salt, or Morton kosher salt.
- Flour: You’ll want to heat treat your flour (more on this below!) before using it in the cookie dough to ensure it is safe to eat. If you’re making a gluten-free version of these brownies, there’s no need to swap in a 1:1 baking mix because we don’t need to worry about the structure after baking. Instead, sub in almond flour or sweet rice flour instead!
- Miniature Chocolate Chips: The smaller size of miniature chocolate chips are easier to mix into the cookie dough, but you can use chopped chocolate instead.
The Best Easy Homemade Brownies
We’re starting this cookie dough brownie journey with the best, easiest homemade brownies. My Simple Fudgy Brownies recipe is the first brownie recipe I shared on here, and it’s my go-to for an easy, mix by hand, better-than-boxed brownies.
It’s quick and easy, has a rich chocolate flavor, an ever-so-slightly chewy texture, and is fudgy without being so gooey in the middle that it collapses under the weight of the cookie dough.
I always prefer to mix brownies by hand – there’s something I find so calming and relaxing about it. Rather use a stand mixer? Feel free! These brownies can handle the increased mixing force; just be sure to stop once all the ingredients are evenly incorporated without overmixing.
They also taste even fudgier and chocolate-ier in the refrigerator. This is perfect, because I recommend keeping these brownies chilled for the cookie dough layer.
Really though, you can use any brownie recipe you want. (Boxed mix more your style? Ghirardelli brownie mixes are my favorite.)
Just make sure the recipe calls for baking in a 9×13-inch pan; otherwise, you’ll need to halve the cookie dough topping if you’re baking in an 8×8 or 9×9-inch pan.
Cookie Dough Layer
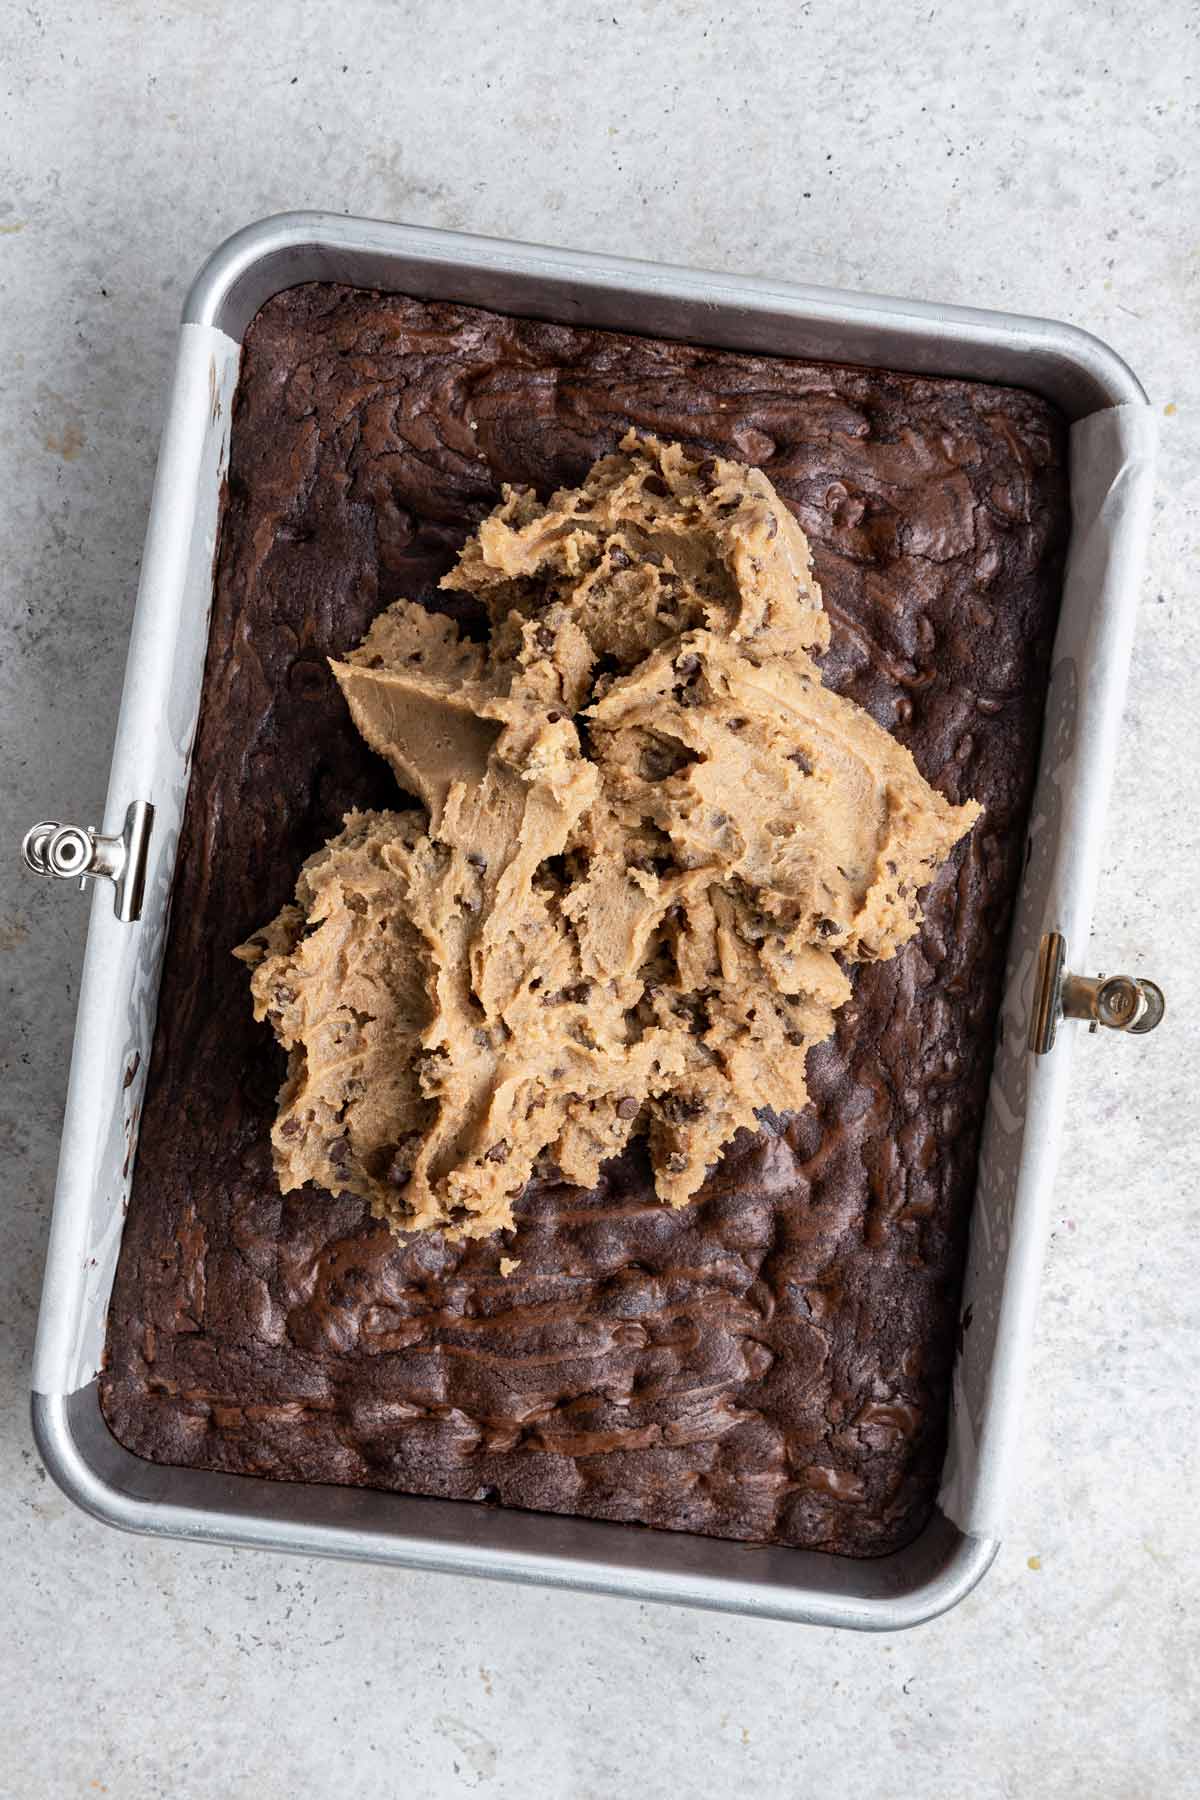
Next, let’s talk about the cookie dough layer, which we’re going to spread on top of the cooled brownies.
The recipe is very similar to my Chocolate Chip Cookie Dough Dip, except instead of whipping the cream first, we’re just going to mix it all together.
The cookie dough dip has to be light and fluffy enough to scoop up with a graham cracker. This time, we want a slightly denser cookie dough. One that we can slice with a knife and really bite into.
Notably missing from the ingredient list for the cookie dough are eggs (removed to eliminate the chance of salmonella poisoning) and baking powder (because we don’t need the dough to rise).

But what about the flour? We’re still including flour in the recipe, and we know raw flour isn’t considered safe to eat.
To make the cookie dough raw-appropriate, we’re going to pasteurize the flour ourselves at home! It takes 5 minutes and eliminates any worry about dangerous organisms hiding in your cookie dough brownies.
But first, what is pasteurization and how does it work? It’s time for my favorite subject… kitchen chemistry!
Kitchen Chemistry
Pasteurization was developed by the French biologist, Louis Pasteur, while exploring what made food spoil. The process of pasteurization involves heating food products to kill off harmful bacteria, making them safe for consumption. As the temperature increases, enzymes in the bacteria are denatured and unfold, deactivating the enzymes and killing the bacterial cells.
When it comes to heat treating your flour at home, we can do this either with an oven or a microwave.
To use the oven, spread your flour in a thin layer on a baking sheet and bake for 5 minutes at 350 °F.
For the microwave, scoop your flour into a bowl and microwave on high for 30 seconds. Stir well to disperse hot spots, then repeat. Use an instant-read thermometer to check the temperature of the flour — all areas must reach 160 °F to be safe.
Recommended Tools to Make Cookie Dough Brownies
- Mixing Bowls: These mixing bowls have all the sizes you need if you’re going to make the brownies by hand; plus, they’re microwave safe, so you can melt the butter right in the bowl.
- 9 x 13-inch Baking Pan: Use a metal baking pan, which transfers heat better than glass.
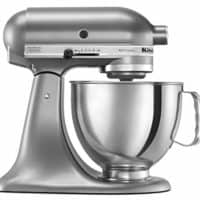
- Stand Mixer: An electric mixer is necessary to mix the heavy cookie dough (and can be used to make the brownie batter as well, if you’d like).
- Beater Blade: I always use a Beater Blade with my stand mixer, so I don’t have to stop and scrape down the sides of the bowl!
- Chef’s Knife: A heavy, sharp knife will help get clean cuts through the thick brownies and cookie dough layer.
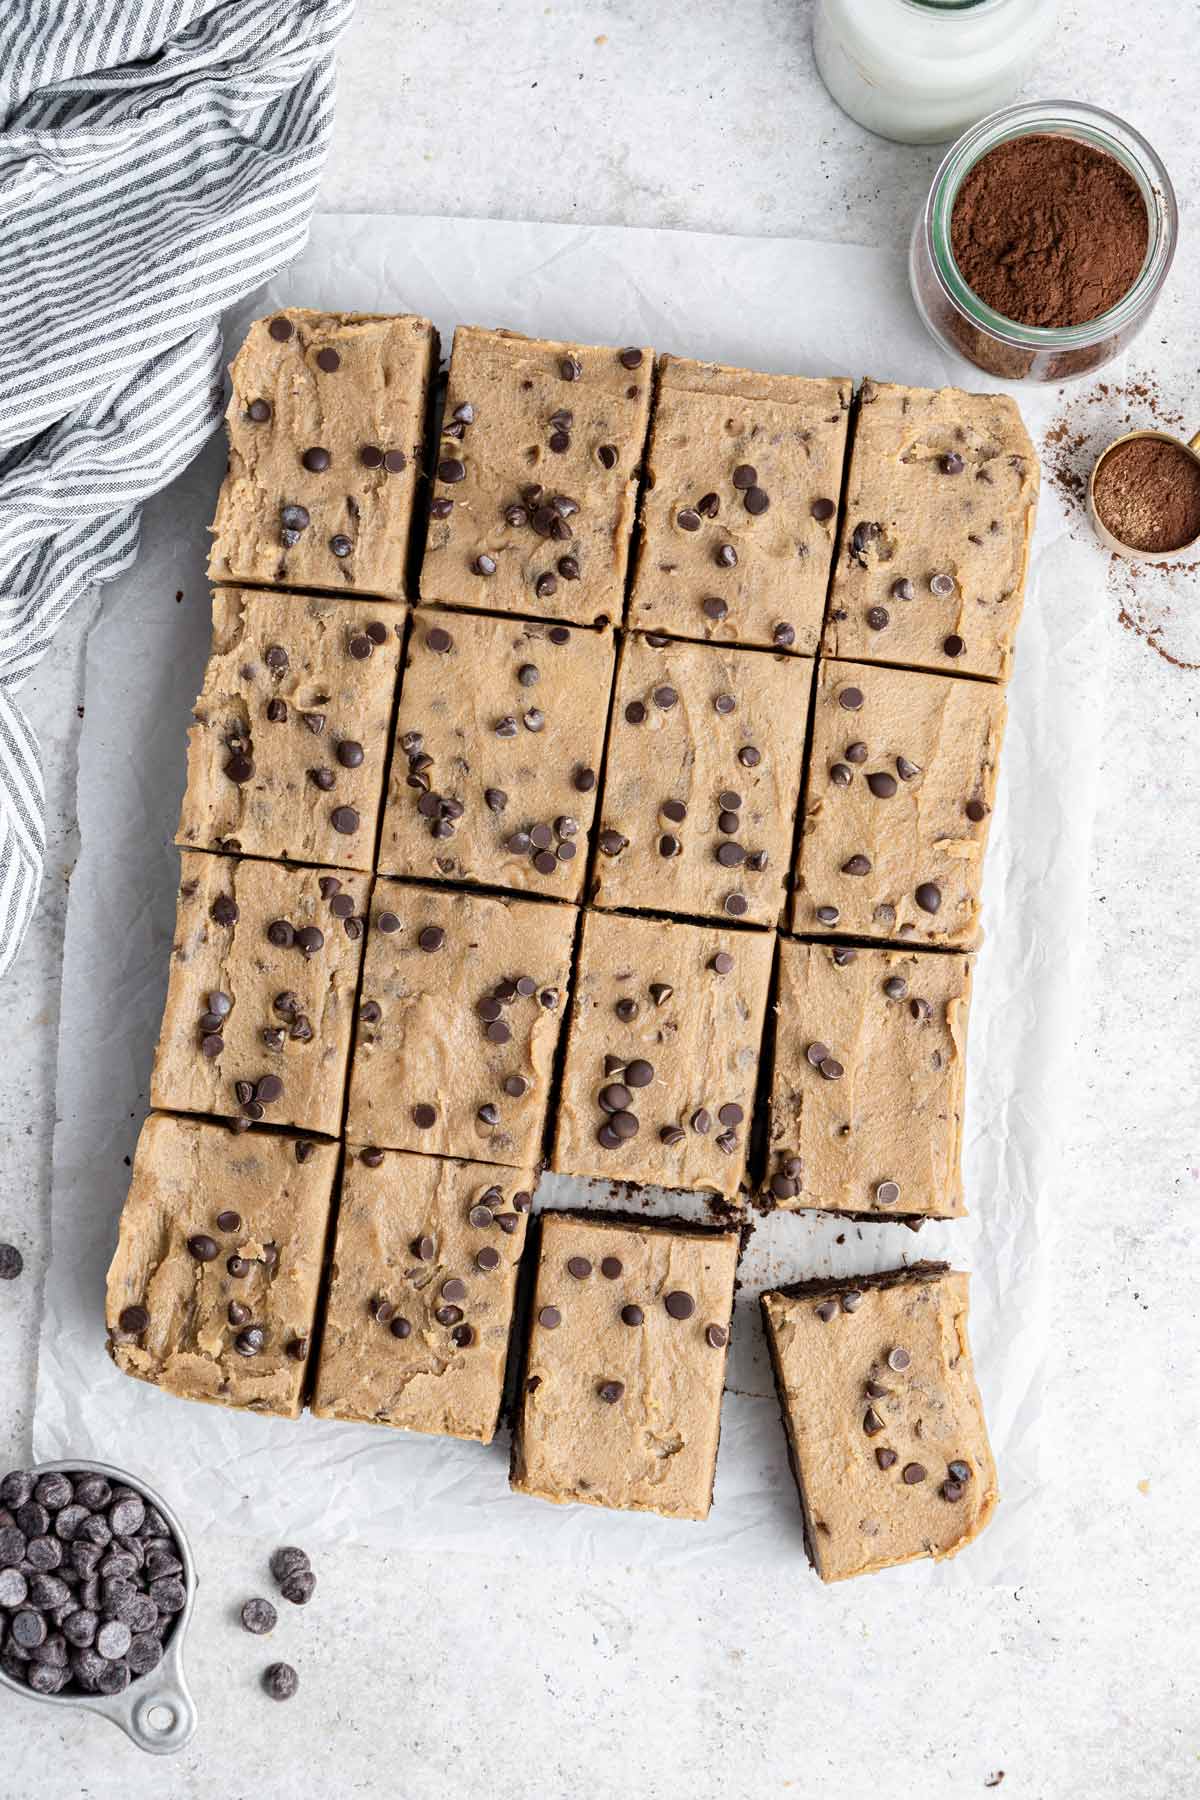
Tips and Tricks for the Best Cookie Dough Brownies
- Use miniature chocolate chips in the cookie dough layer. Full sized chocolate chips are too large and take away from the texture of the cookie dough.
- While chocolate brownies with chocolate chips is a classic, substituting peanut butter chips makes a delicious peanut butter cookie dough brownie!
- Use heat treated flour to make the cookie dough. Make sure the flour reaches 160 °F for at least 15 seconds by either baking at a 350 °F oven or microwaving until the necessary temperature is achieved.
- The cookie dough layer will be soft and sticky at room temperature. To make it easier to spread, chill for 15-20 minutes first, then spread onto the brownies. Use well-greased hands or a sheet of wax paper to press the cookie dough into a flat layer covering the brownies.
- For neatly cut squares, trim off the edges of the brownies and cut the chilled brownies with a sharp knife, wiping the knife on a towel between cuts.
- Cookie dough brownies can be stored in an airtight container at room temperature or in the refrigerator for up to 5 days, or frozen for up to 3 months. Our personal preference is to store in the refrigerator for a better texture.
More Chocolate Chip Recipes
- Chocolate Chip Cookie Dough Dip
- Chocolate Chip Pumpkin Pie Bars
- Giant Chocolate Chip Cookie
- Chocolate Chip Streusel Muffins
- Chocolate Chip Cookie Cake
- All Chocolate Recipes »
2020 Brownie of the Month Series
- Frosted Sprinkle Brownies
- Ultimate Nutella Brownies
- Cookie Dough Brownies
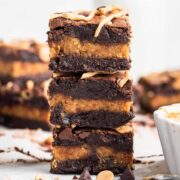
- Peanut Butter Stuffed Brownies
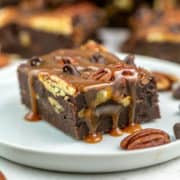
- Caramel Pecan Turtle Brownies
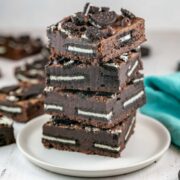
- Fudgy Oreo Brownies
- Frosted Zucchini Brownies
- S’mores Brownies
- Fudgy Banana Brownies
- Samoa Brownies
- Flourless Brownie Pie
- Cranberry Brownies

Cookie Dough Brownies
These chocolate chip cookie dough brownies have it all – thick, fudgy brownie, creamy, soft cookie dough full of chocolate chips, and a drizzle of melted chocolate on top.
Ingredients
For the Brownies:
- 4 large eggs, room temperature
- 1 ¼ cups (105 grams) Dutch processed cocoa powder
- 1 teaspoon salt
- 1 teaspoon baking powder
- 2 teaspoons vanilla extract
- 1 cup (226 grams) unsalted butter
- 2 ¼ cups (445 grams) granulated sugar
- 1 ½ cups (180 grams) all purpose flour
- 2 cups (340 grams) chocolate chips
For the Cookie Dough:
- 1 cup (226 grams) unsalted butter, melted
- 1 cup (213 grams) brown sugar
- ½ cup (99 grams) granulated sugar
- ¼ cup (56 grams) heavy cream
- 1 teaspoon vanilla extract
- ½ teaspoon salt
- 1 ½ cups (180 grams) all-purpose flour, heat treated
- 1 cup (177 grams) miniature chocolate chips
For the Chocolate Drizzle:
- 1 cup (170 grams) chocolate chips, melted
Instructions
- Preheat the oven to 350 F. Line a 9x13-inch baking pan with aluminum foil, leaving enough foil hanging over the edges to use as handles to remove the brownies.
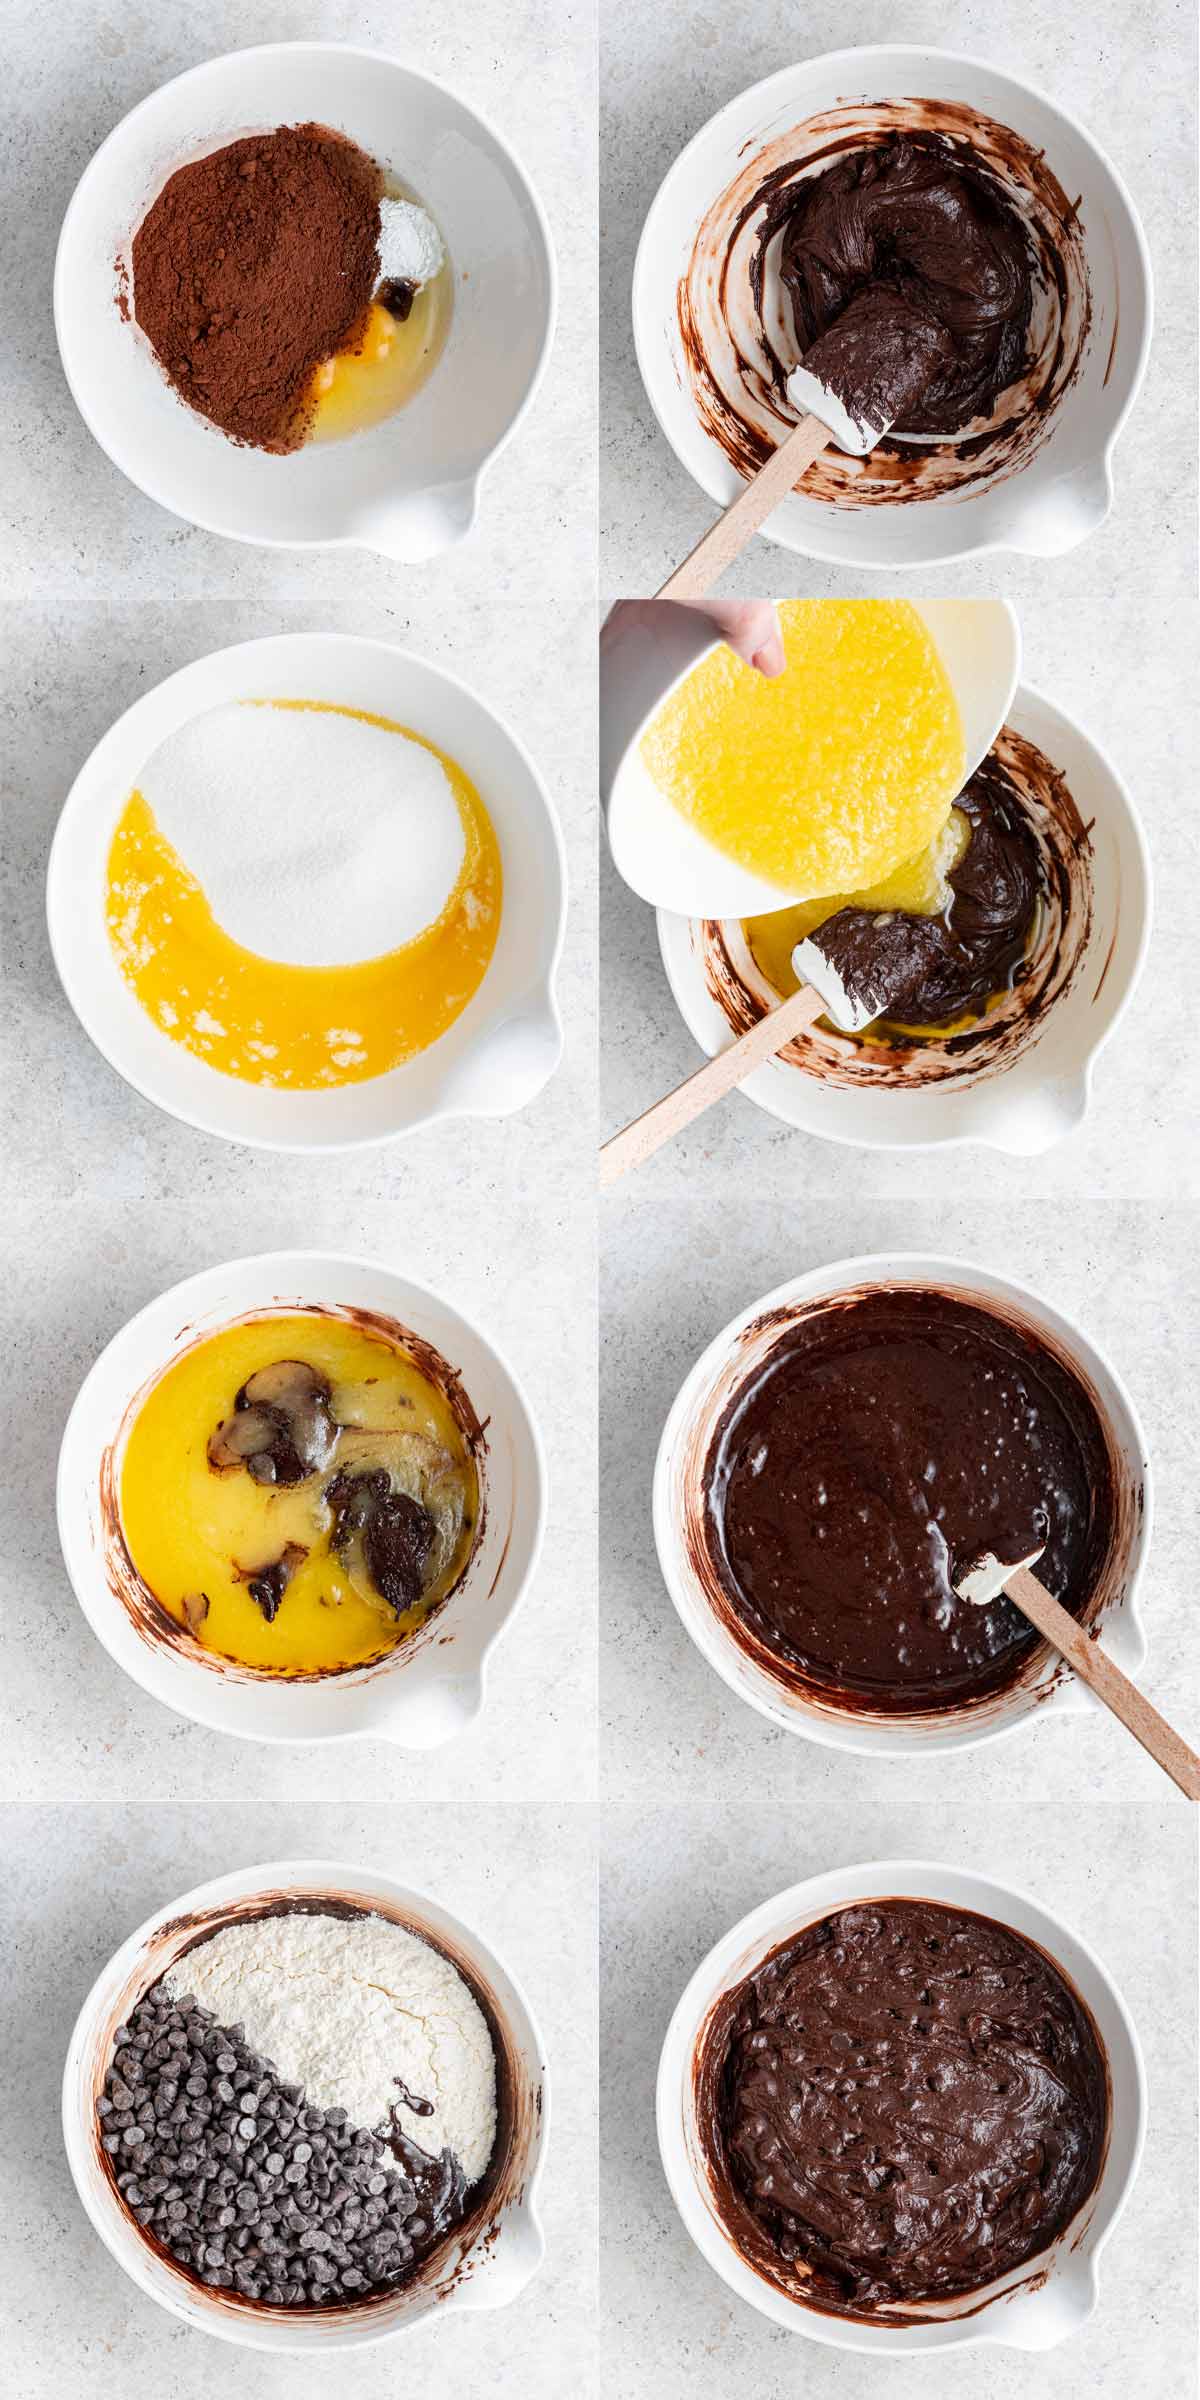
- Make the brownie batter. Whisk together the eggs, cocoa powder, salt, baking powder and vanilla extract in a medium bowl. Beat the mixture with a wooden spoon for 5 minutes, combining as well as possible. The mixture will be thick!
- In a medium-sized microwave-safe bowl, melt the butter. Add the sugar and whisk to combine, mixing for 3 to 4 minutes, or until shiny.
- Pour the melted butter and sugar into the cocoa powder mixture, stirring with a wooden spoon until smooth. Stir in the flour and the chocolate chips, just until no streaks of flour remain.
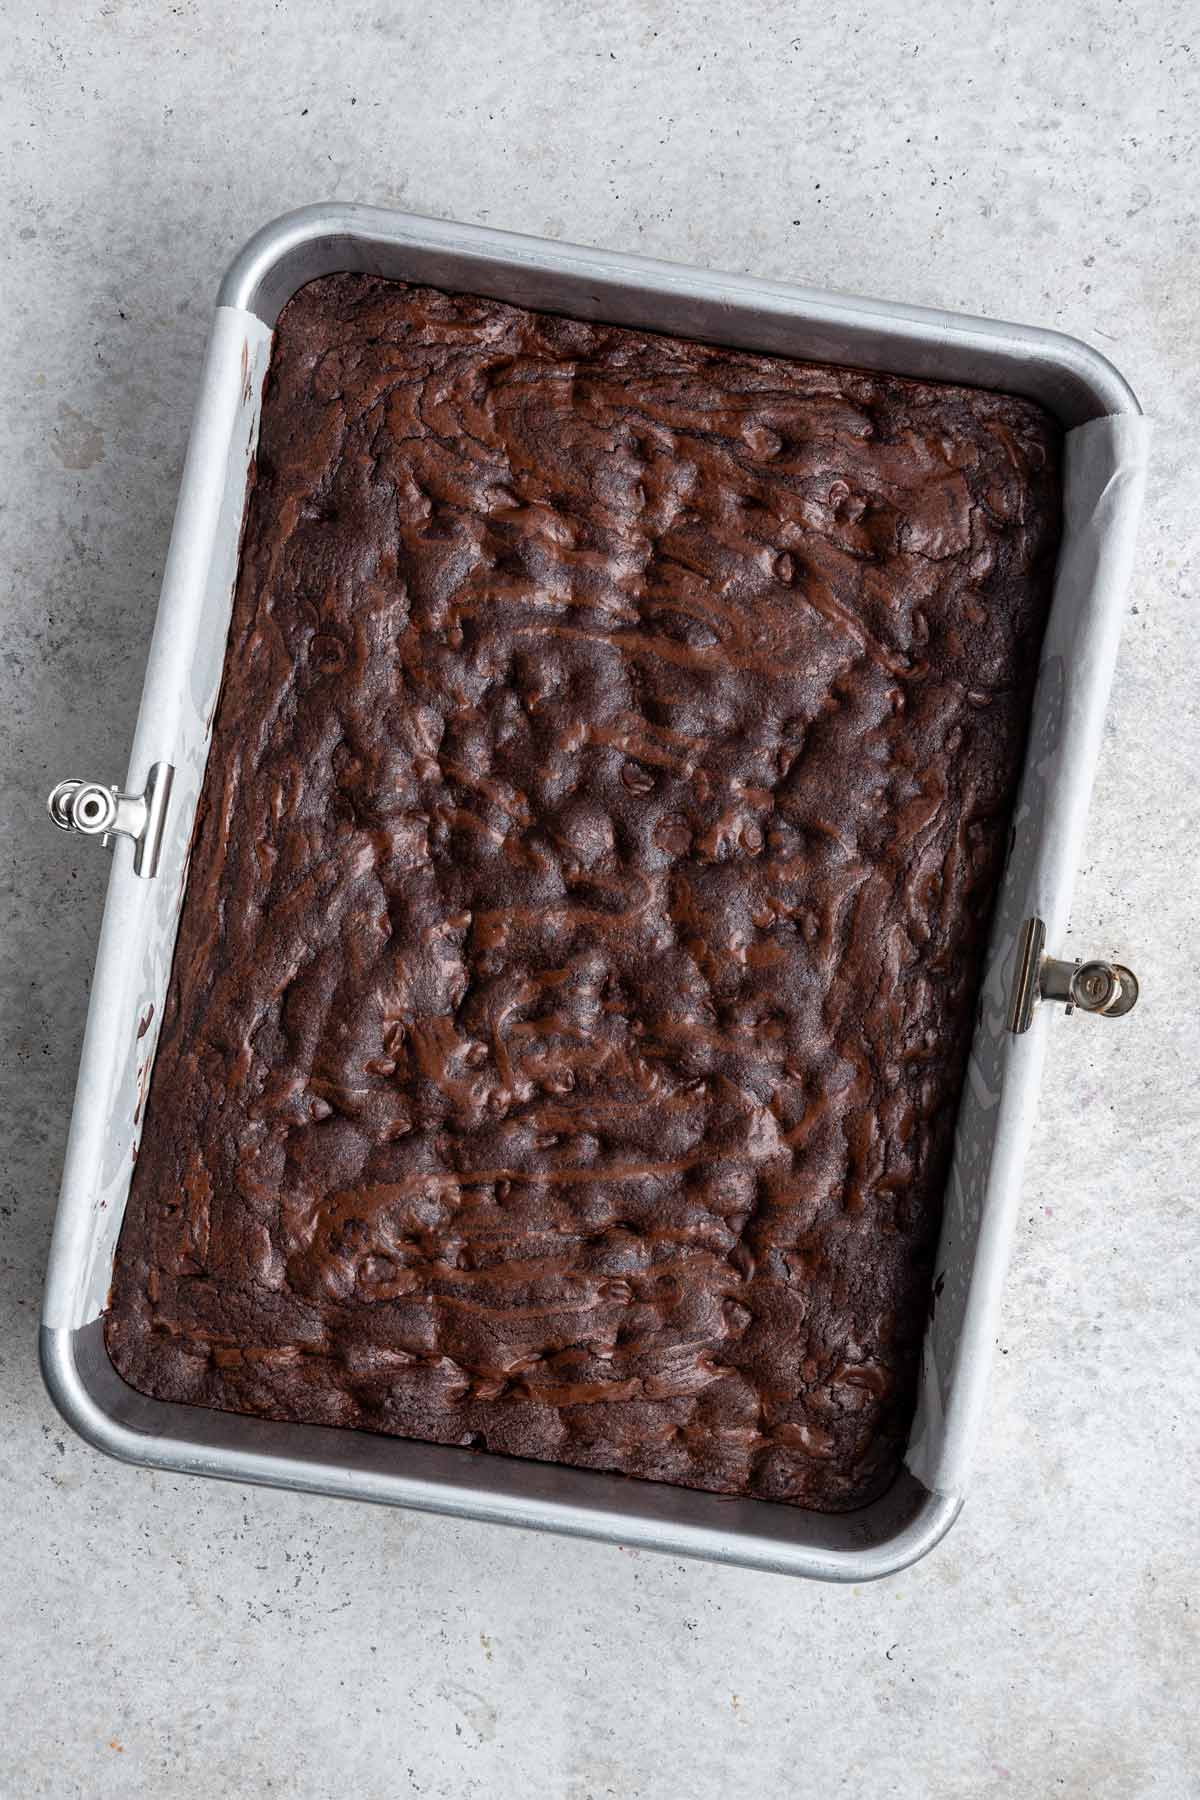
- Bake the brownies. Spoon the batter into the prepared pan and bake for 30 minutes, or until a tester inserted into the center comes out with just a few moist crumbs. Remove from the oven and cool completely. Once cool, refrigerate for 30 minutes.
- Make the cookie dough layer. While the brownies are chilling, make the cookie dough. Using an electric mixer or a whisk to mix by hand, mix together the melted butter, brown sugar, and granulated sugar. Beat on medium speed until well combined and the sugar no longer looks grainy, 2 to 3 minutes. Pour in the heavy cream, vanilla extract, and salt, and mix for an additional minute. Turn down the mixer to low and add in the heat-treated flour, mixing just until incorporated. Pour in the miniature chocolate chips and mix until combined. Refrigerate the cookie dough for 15-20 minutes, until more firm and not as sticky. Spread the cookie dough evenly over the chilled brownies, pressing the dough into place with well-greased hands or by placing a sheet of wax paper on top of the cookie dough and pushing into place. Refrigerate until the cookie dough is firm about 1 hour.
- Cut the brownies and drizzle with chocolate. Transfer the brownies to a cutting board and cut with a sharp knife, wiping the knife off after each cut. Melt the chocolate in a microwave-safe bowl at 50% power for 30 second increments, stirring well after each heat cycle. Once melted, transfer the chocolate to a piping bag or a Ziploc bag with the corner snipped off and drizzle melted chocolate on each cut brownie.
Notes
- Use heat treated flour to make the cookie dough. Make sure the flour reaches 160 °F for at least 15 seconds by either baking at a 350 °F oven or microwaving until the necessary temperature is achieved.
- While chocolate brownies with chocolate chips is a classic, substituting peanut butter chips makes a delicious peanut butter cookie dough brownie!
- Cookie dough brownies can be stored in an airtight container at room temperature or in the refrigerator for up to 5 days, or frozen for up to 3 months. Our personal preference is to store in the refrigerator for a better texture.
Recommended Products
As an Amazon Associate and member of other affiliate programs, I earn from qualifying purchases.
Nutrition Information:
Yield: 24 Serving Size: 1 brownieAmount Per Serving: Calories: 503Total Fat: 26.5gCarbohydrates: 64.4gProtein: 5.11g
