Chocolate Chip Pumpkin Pie Bars
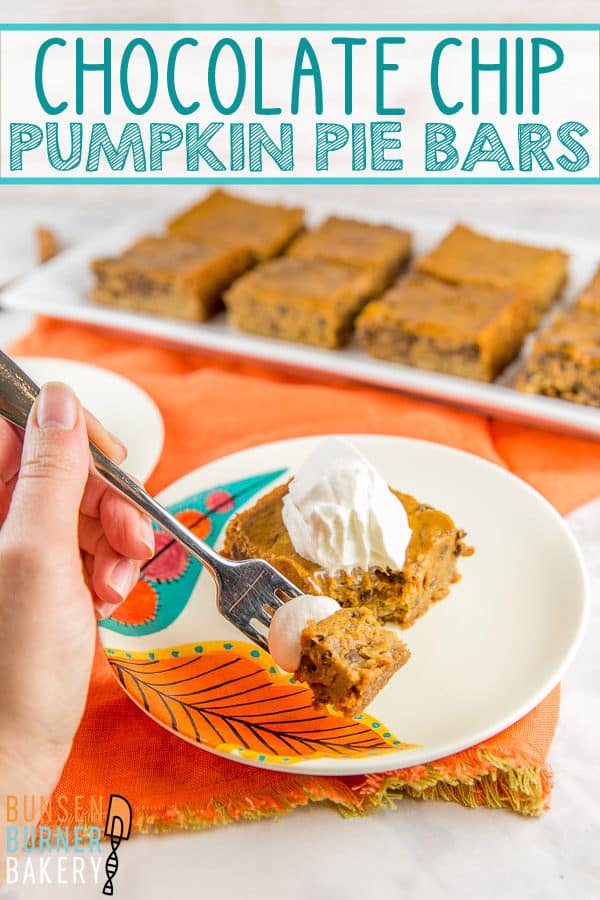
Make your pumpkin pie handheld and easy to share with these creamy Chocolate Chip Pumpkin Pie Bars with a graham cracker crust. Perfect for holiday parties and potlucks — and since they freeze well, you can even make them ahead of time!
This post may include affiliate links. As an Amazon Associate I earn a small fee from qualifying purchases.
Remember a few weeks ago, when I shared those pumpkin chocolate chip cookie bars? I mentioned how previous years’ attempts came out more like cake bars than cookie bars.
Well, somewhere along the way, I became so frustrated with the cookie bars that I veered into pie bar territory. Except while baking the pie bars, I forgot to take the chocolate chips from the chocolate chip cookie bar attempts out.
And you know what? They were really, really good. So I decided to keep them in.
Non-traditional? Yes. Delicious? Also yes.
Now really, this has me questioning why we don’t always put some sort of chocolate in our pumpkin pies. After all, my nutella swirled pumpkin pie is amazing. And these chocolate chip pumpkin pie bars are A++ too.
Silky smooth, creamy pumpkin filling with a graham cracker crust that you can eat with your hands. Plus, chocolate chips. Sounds like a winner in my book!
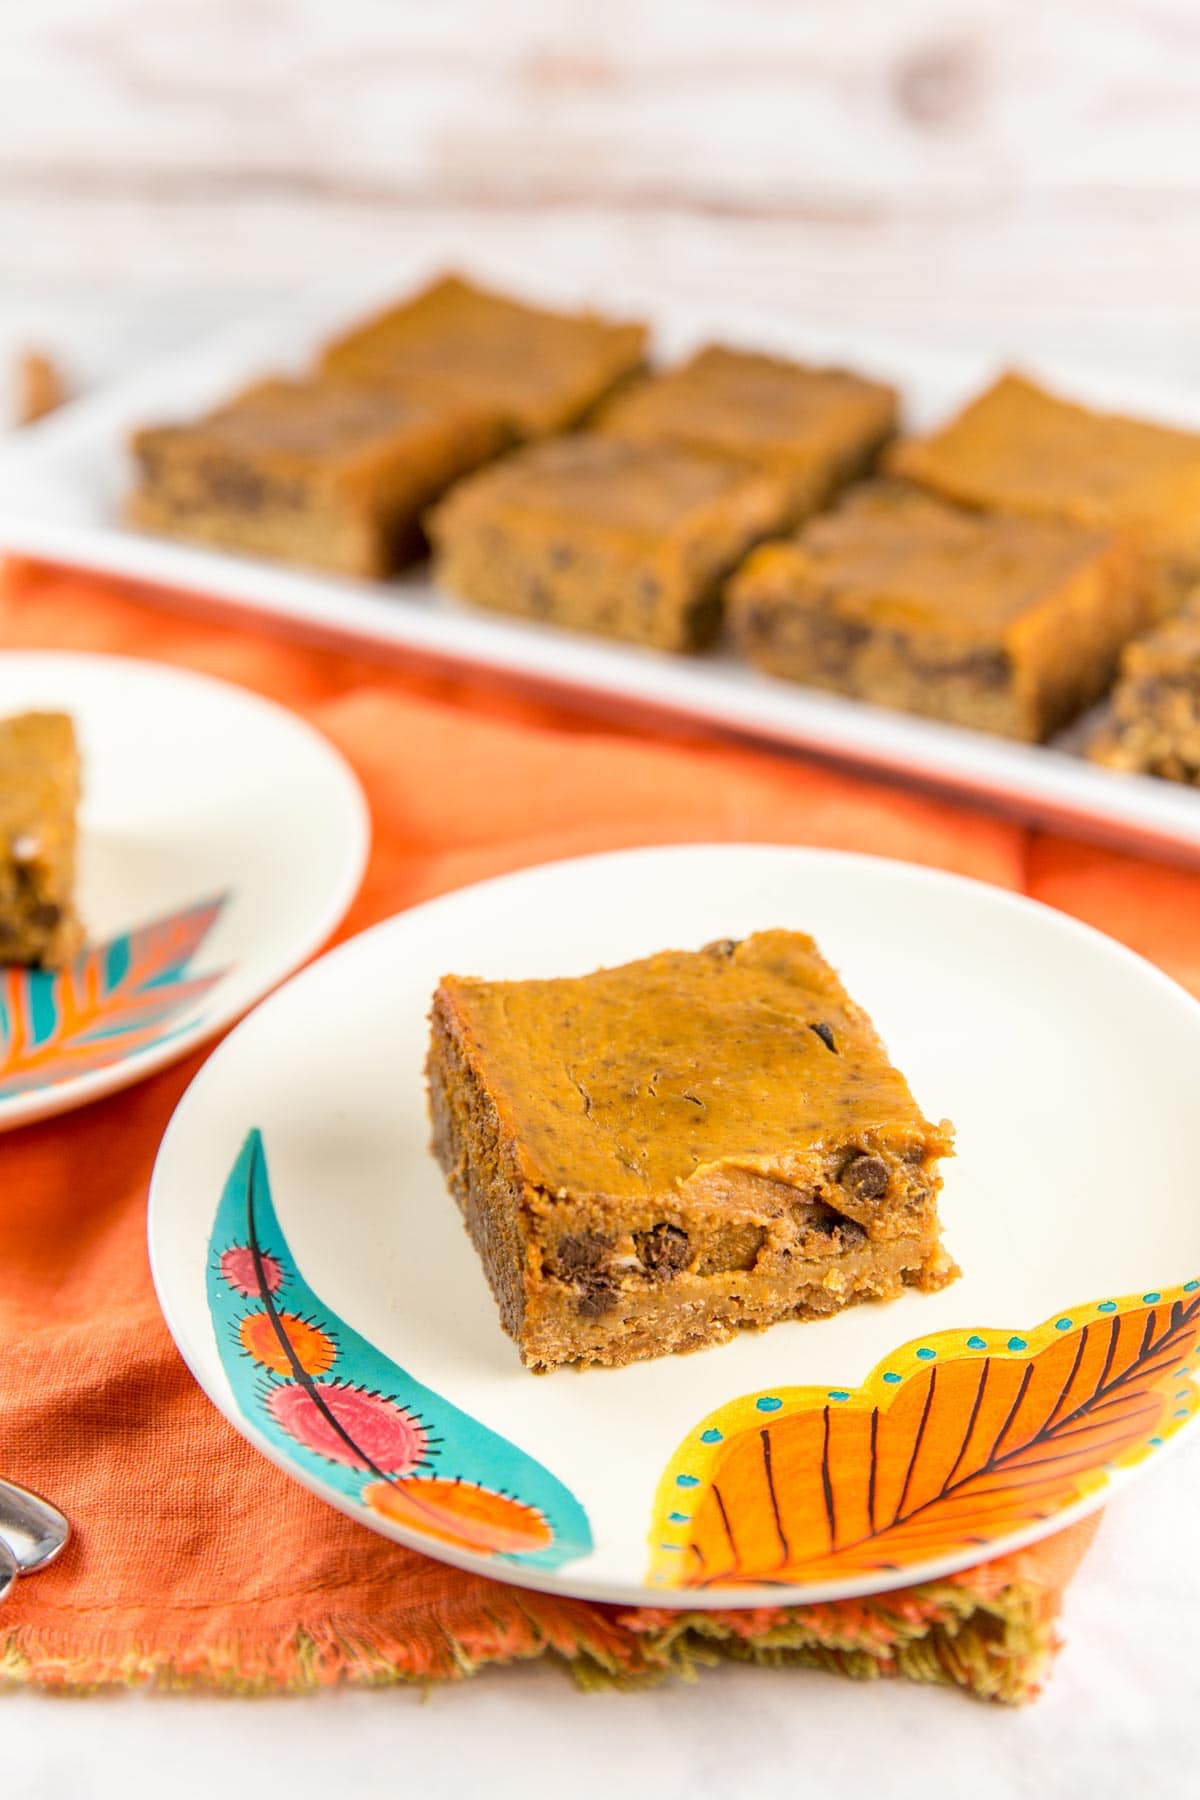
Pumpkin Pie Bars with Evaporated Milk
To keep these pumpkin pie bars extra creamy, we’re making them with evaporated milk.
Why evaporated milk rather than regular milk? Or if we want an extra creamy texture, why not just use heavy cream?
The answer to this, friends, can, as always, be found in my favorite subject… kitchen chemistry.
First up, let’s talk about evaporated milk and what exactly it is.
Kitchen Chemistry
Evaporated milk undergoes a vacuum process to remove approximately 60% of the water content. This leaves behind a super-concentrated milk solution high in nutrients and flavor, which is extra creamy. This solution is then heat sterilized to prevent spoilage, which caramelizes the milk sugars and gives the characteristics caramel-ish cooked taste.
Now, why would we want to use evaporated milk — with 60% of the water removed — versus just using some heavy cream to get the creamy consistency for our pumpkin pie bars? Because pumpkin is already 90% water!
And while yes, canned pumpkin has already been strained, the liquid content is still quite high, so the less water we can add to our pumpkin pie, the less time we have to cook it, and the better the final texture.
Using evaporated milk maximizes flavor and texture while minimizing the amount of time necessary to cook off all that excess water.
Pumpkin pie bar perfection!
Easy Graham Cracker Crust
We’re making these chocolate chip pumpkin pie bars with a graham cracker crust. If you’re a traditionalist, you can press in a normal pie crust (or a shortbread crust!) but graham cracker crusts are my favorite, and this is my food blog, so… ahem.
Also, the graham crackers and pumpkin pie spices go together really well, even though we usually don’t see them together, since pumpkin pies usually go in traditional pie crusts. Again – why?
More pumpkin pies with chocolate, and more pumpkin pies with graham cracker crusts. It’s time to start a pumpkin pie revolution!
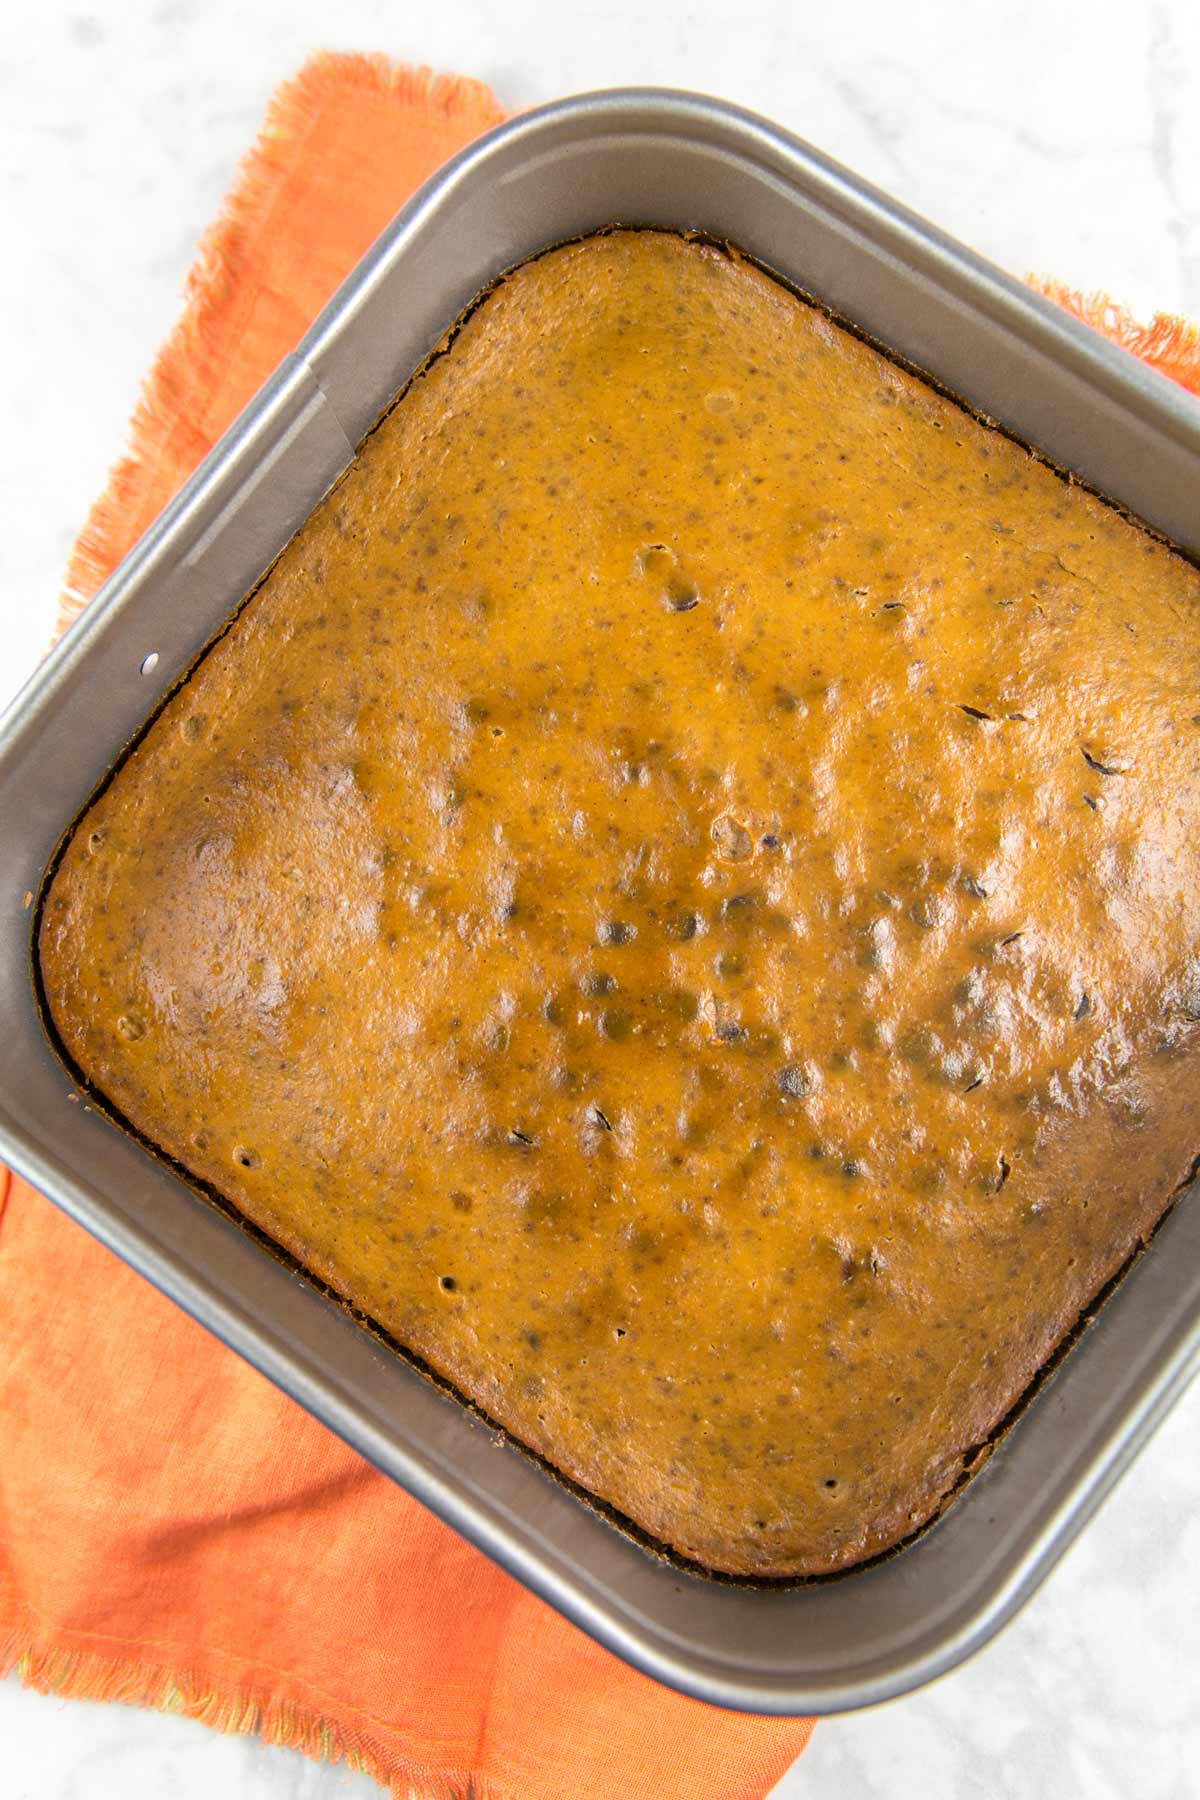
Making these pumpkin pie bars is really a snap. The crust comes together in a food processor (or use a rolling pin to smash graham crackers by hand), mix in sugar and melted butter, and blind bake for 5 minutes.
Graham cracker crusts are pretty easy, but if you’d like to read up on all my tricks for the BEST graham cracker crust, check out this Perfect Graham Cracker Pie Crust post!
Creamy Pumpkin Pie Filling
The pumpkin pie filling can be whisked by hand in one bowl – so easy! Or if you used a food processor for the crust, wipe it out with a damp towel and use it to make the filling.
Whisk together eggs, brown sugar, granulated sugar, some spices, and salt until well combined and no sugar lumps remain. Then whisk in the pumpkin puree and the evaporated milk. Finally, fold in miniature chocolate chips.
Bake until the filling is set and cool completely before serving.
I prefer to bake these pumpkin pie bars in a 9-inch square springform pan, which allows for easy removal of the sides. This is one of my most used baking dishes and I highly recommend one for all bakers.
If you don’t have one, line a 9×9-inch baking dish with parchment paper, allowing the parchment to hang over the edge to use as handles to lift the pie bars out of the pan after cooling.
Serving Ideas for Pumpkin Pie Bars
I love these chocolate chip pumpkin pie bars because they’re perfect for all the upcoming holiday parties and events. Halloween parties, Thanksgiving potlucks, winter holiday parties. Unlike a pie, you can eat them with one hand, and they’re easy to stack on top of each other.
For easy transportation, keep the serving simple: decorate with a melted chocolate drizzle.
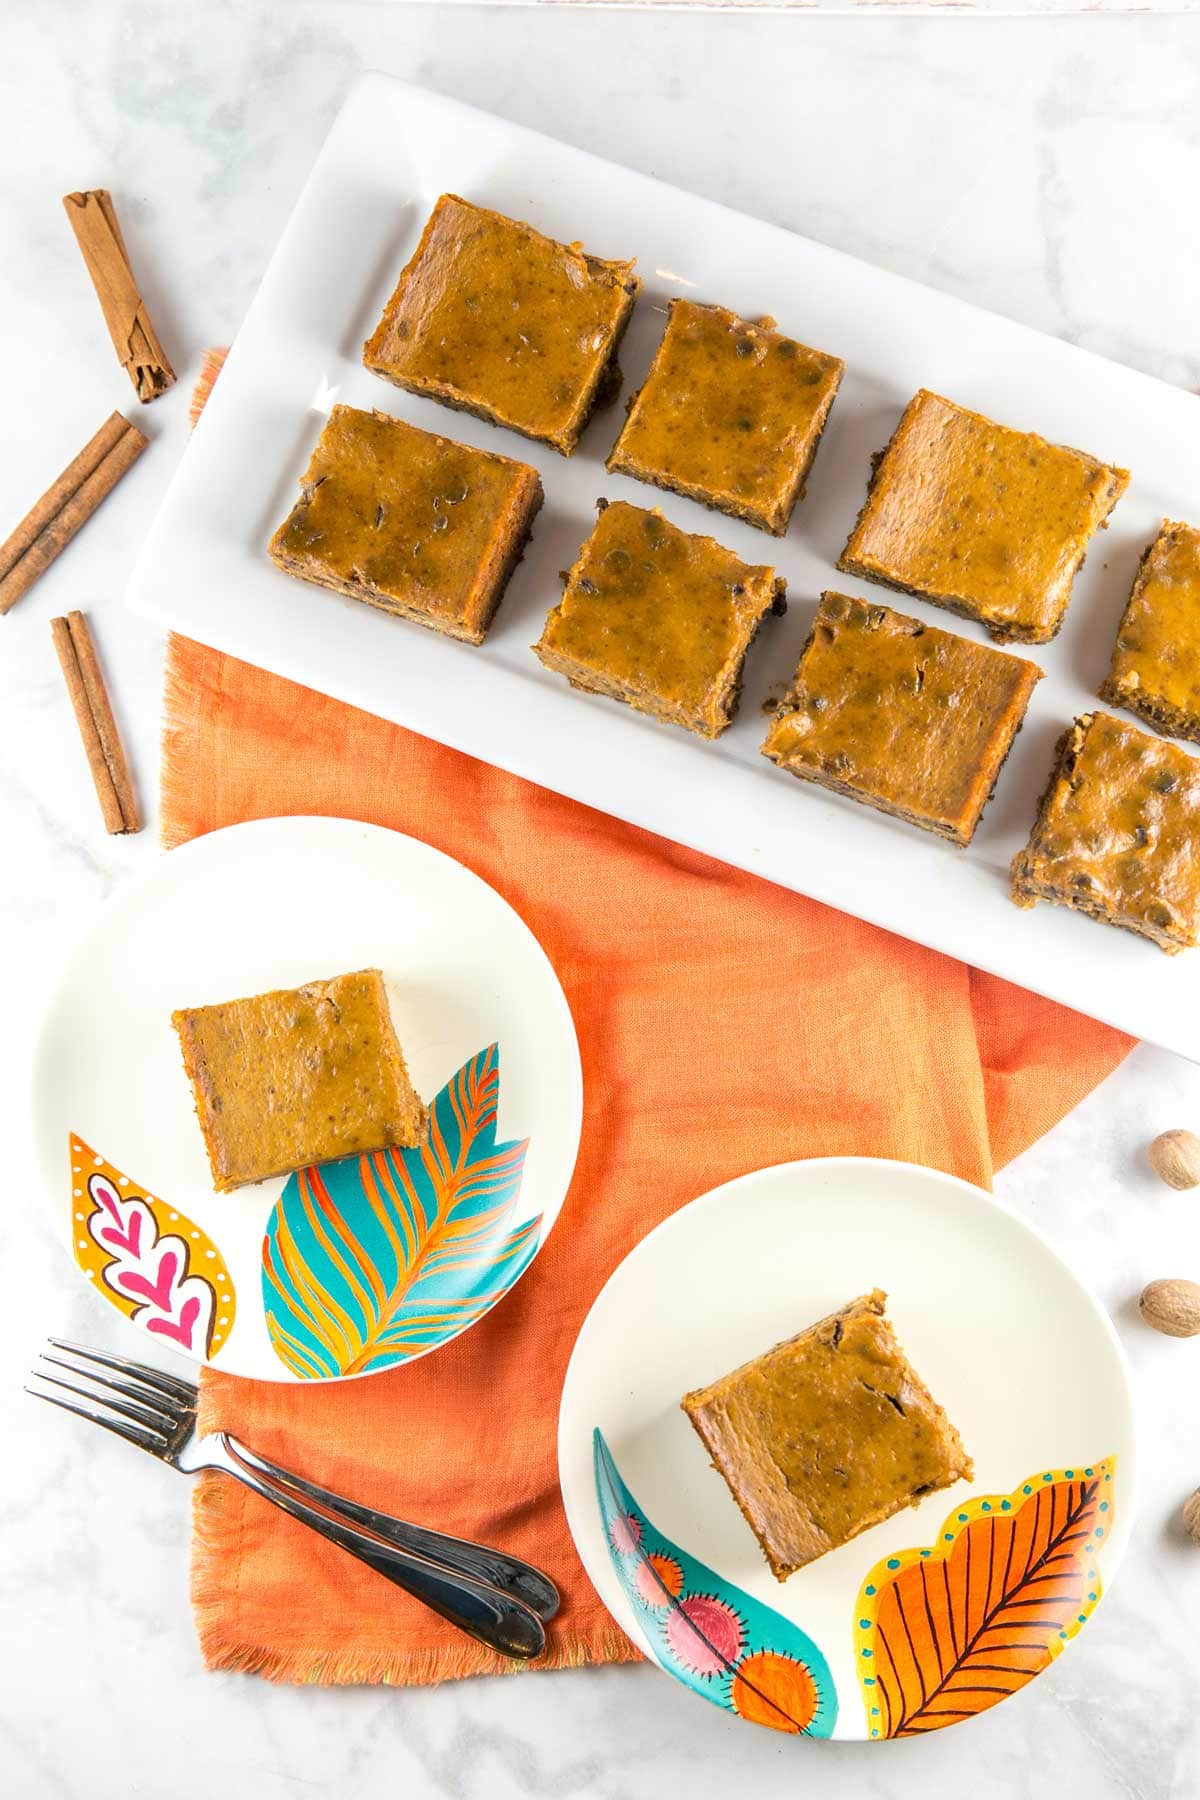
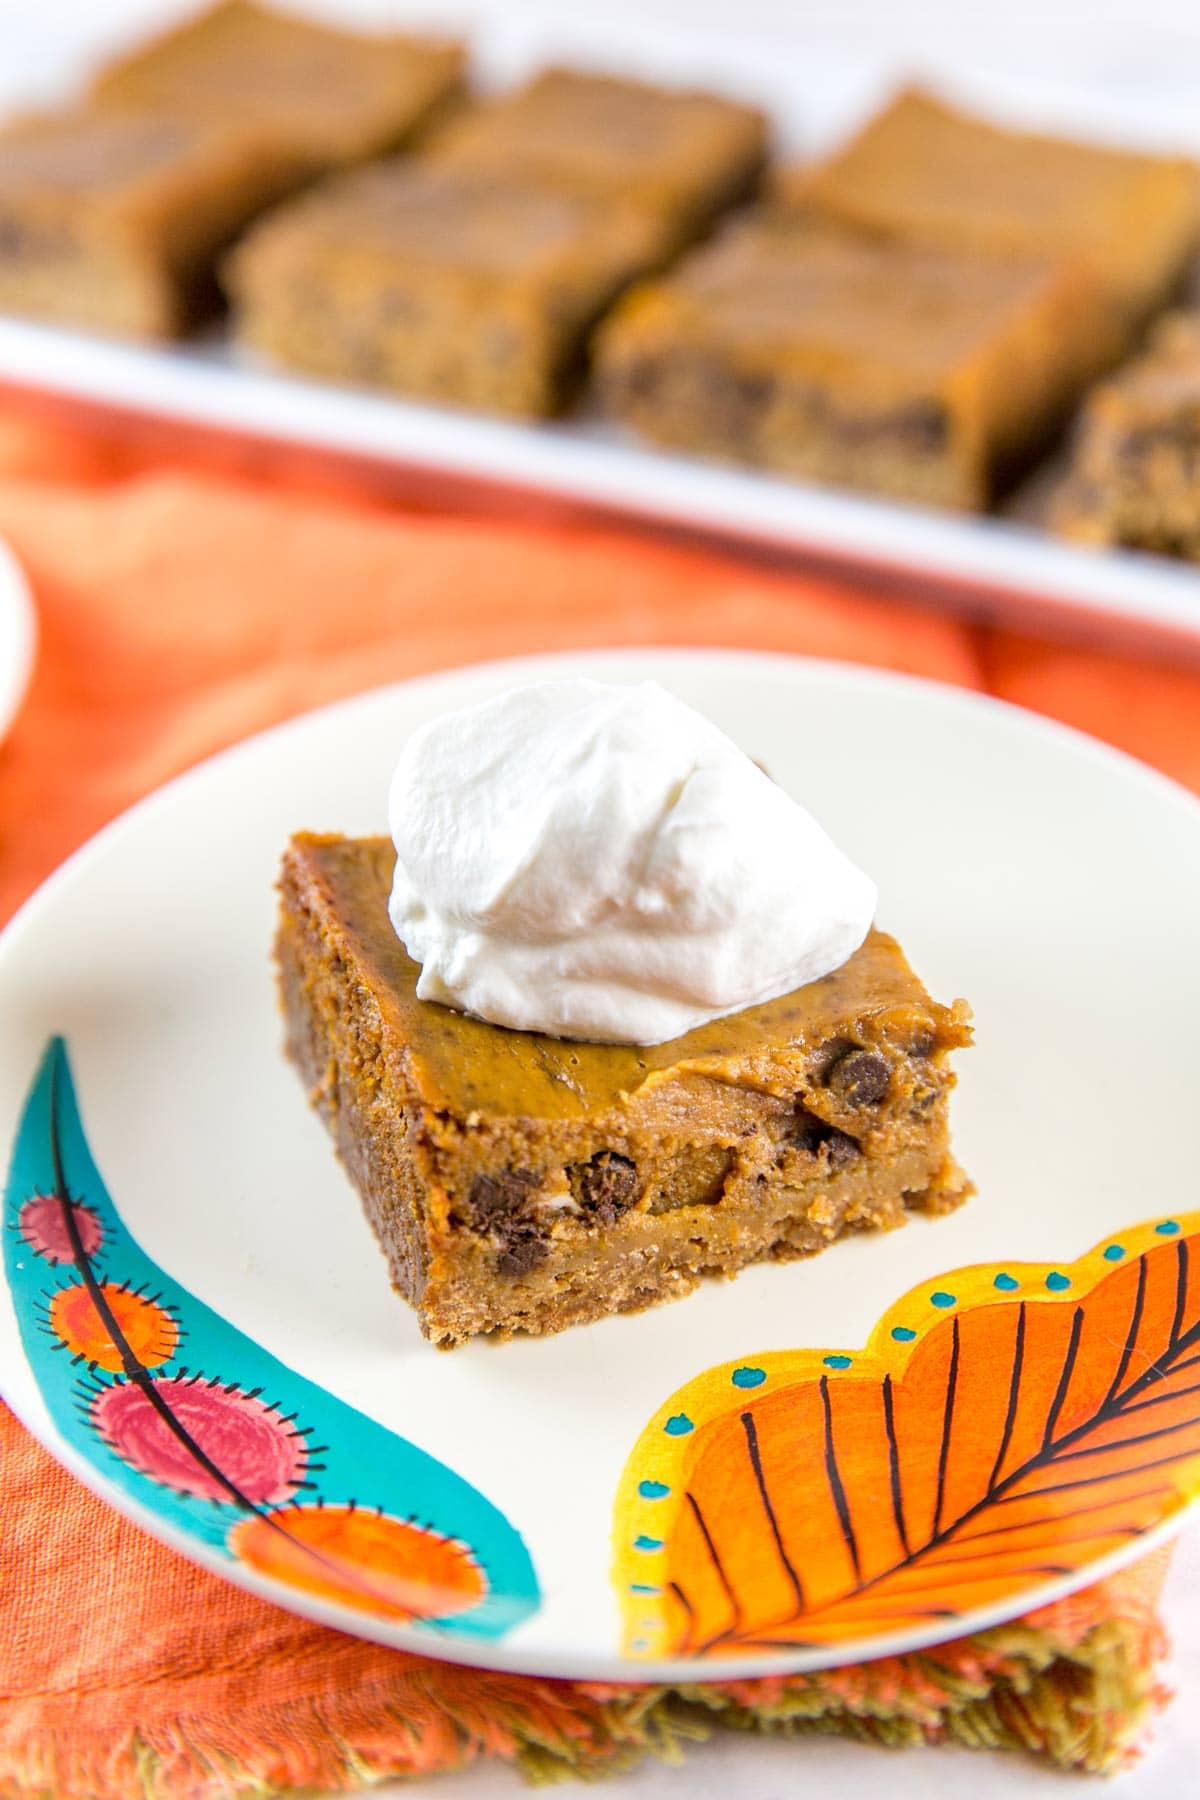
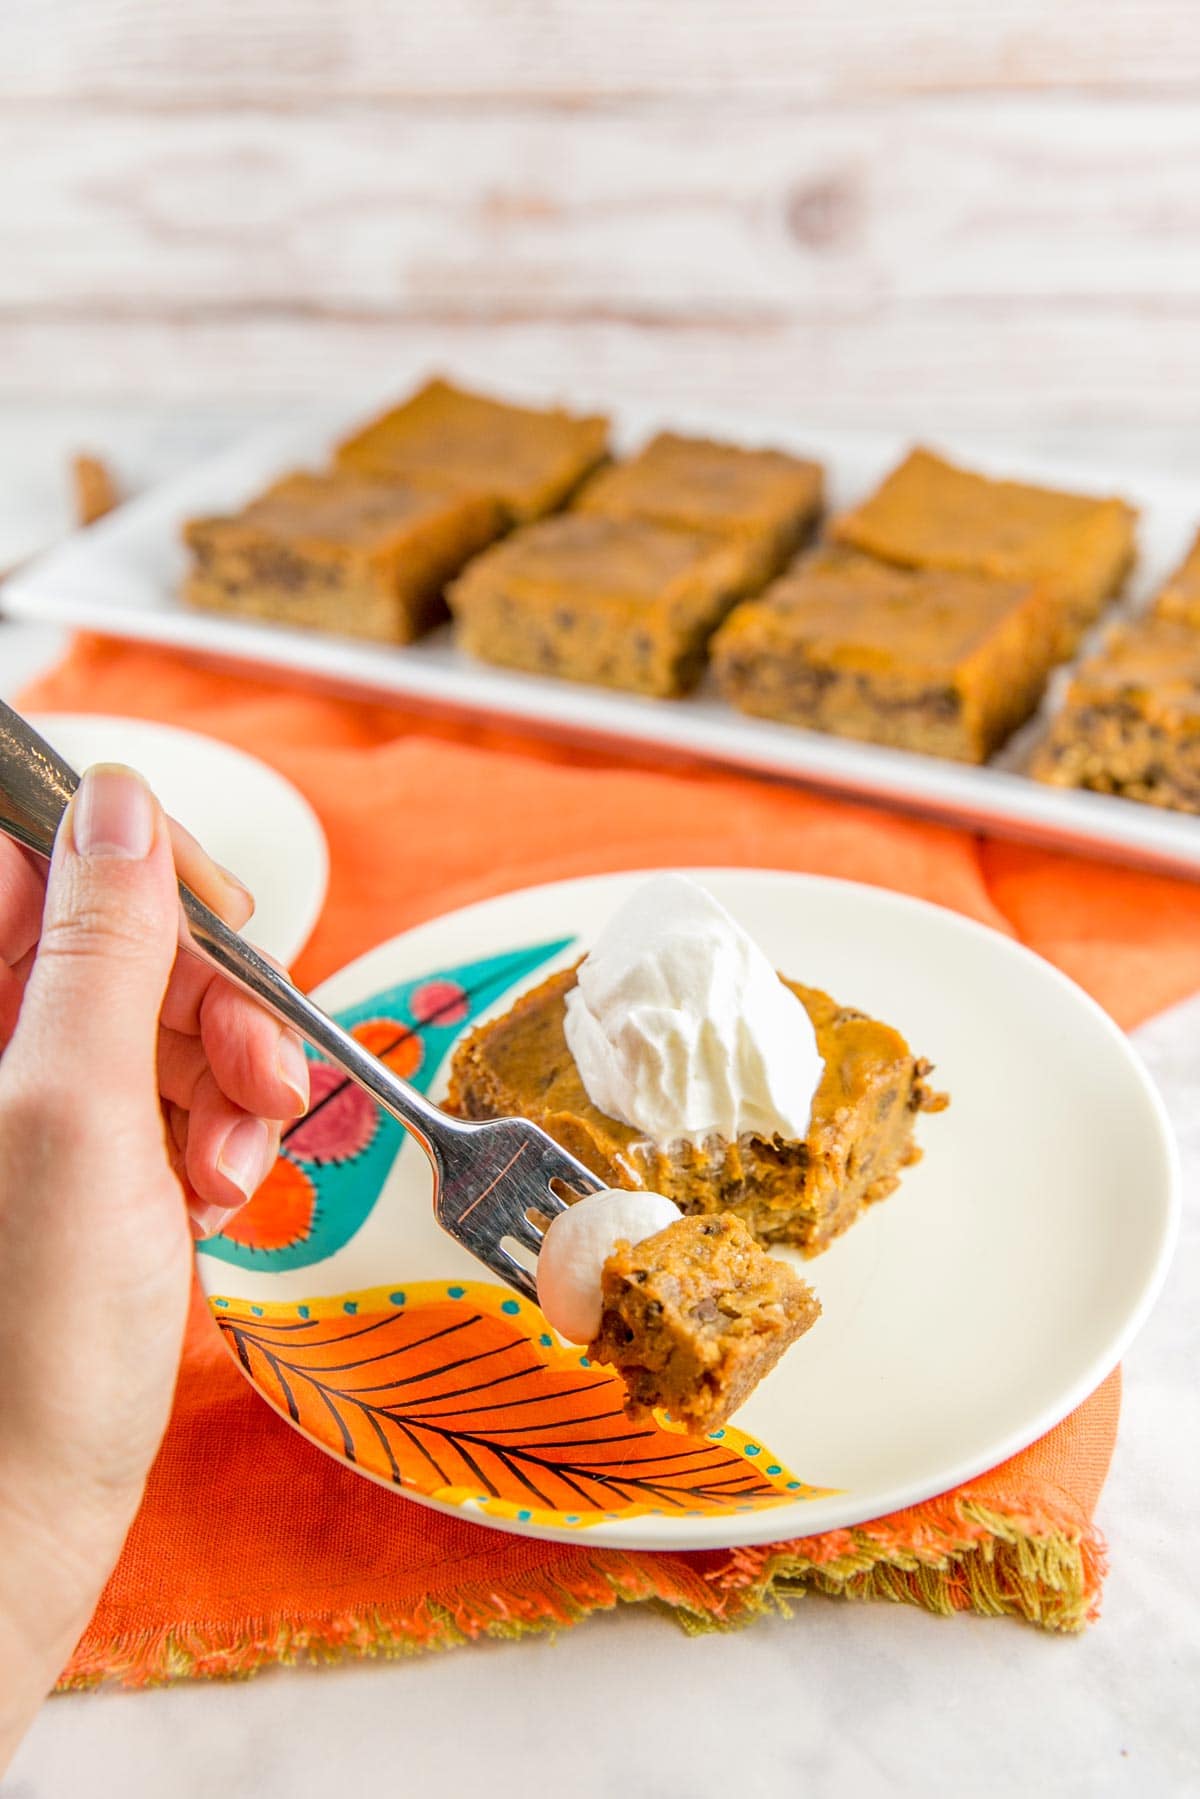
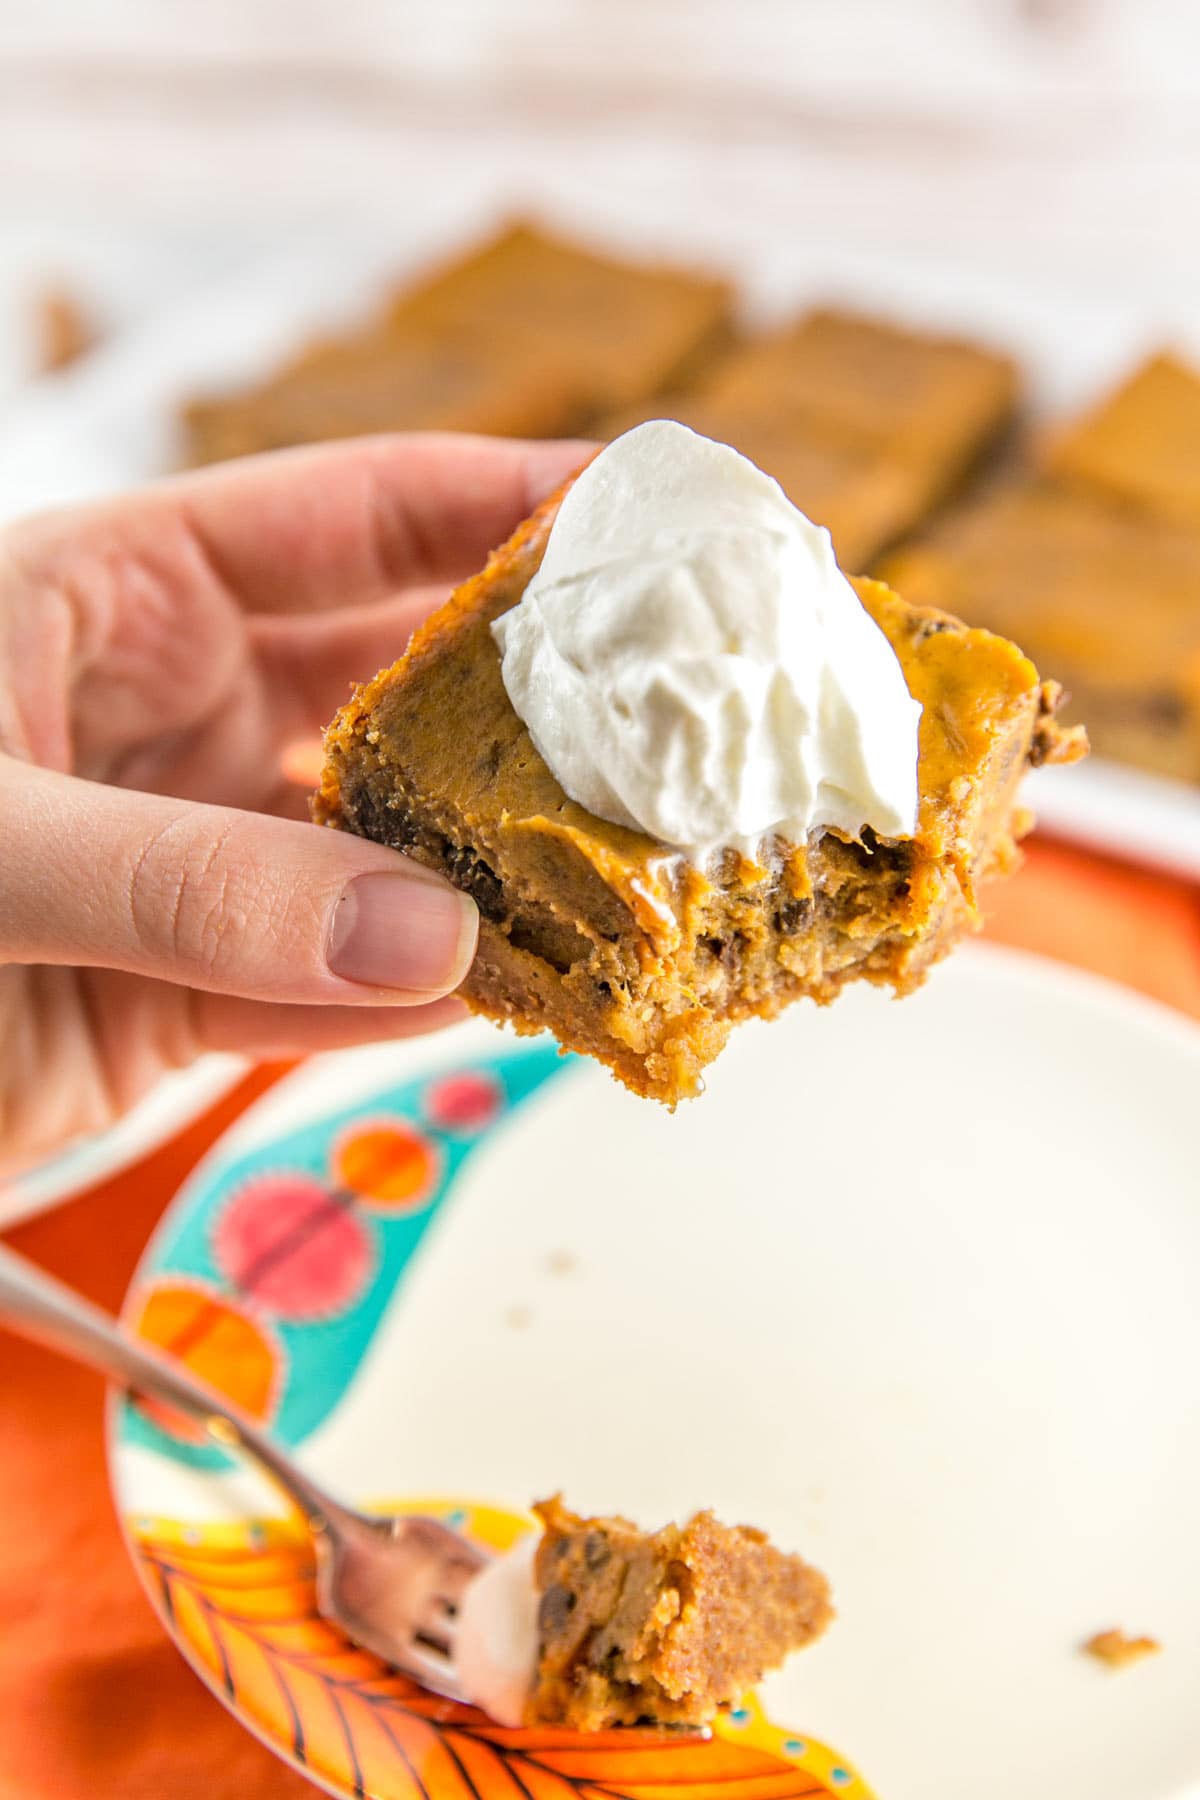
If you’re hosting a holiday party in your own home, serve them as I do in these photos: with a dollop of freshly whipped cream.
For a dinner party with utensils, I think they’d be amazing with a scoop of ice cream: vanilla, chocolate, cinnamon, or pumpkin!
Pumpkin pie bars are delicious served either chilled or at room temperature.
Refrigerate or Freeze Leftovers
Once cooled to room temperature, chocolate chip pumpkin pie bars will keep best stored in the refrigerator for up to 5 days.
Want to make these pumpkin pie bars ahead of time? Bake the bars, cool them to room temperature, and store them in the freezer for up to 3 months. Thaw overnight in the refrigerator.
For transporting pumpkin pie bars, store them with a layer of wax paper or parchment paper in between vertical layers to prevent the bars from sticking to each other.
Tips and Tricks for the Best Chocolate Chip Pumpkin Pie Bars
- Use pumpkin puree and not pumpkin pie filling! Pumpkin will be the only ingredient listed for pumpkin puree.
- Make sure to use evaporated milk and not sweetened condensed milk. The cans look similar – evaporated milk has a thinner, pourable consistency.
- Blind bake the crust. This helps prevent the crust from getting too soggy – the pumpkin pie filling is very wet, so just the 5 extra minutes at high temperature will give the crust a head start to stay crispy.
- For super smooth pumpkin pie bars, mix ingredients in a food processor. This step is optional; you can use a whisk just fine. But if you want the smoothest, pumpkin pie bars give everything a whirl in the food processor.
- Take the temperature of your pumpkin pie bars to determine doneness. Don’t mess around with a knife inserted one inch from the edge, or the amount of jiggle. Just trust science: an instant-read thermometer inserted into the center of the pie should read 175 °F.
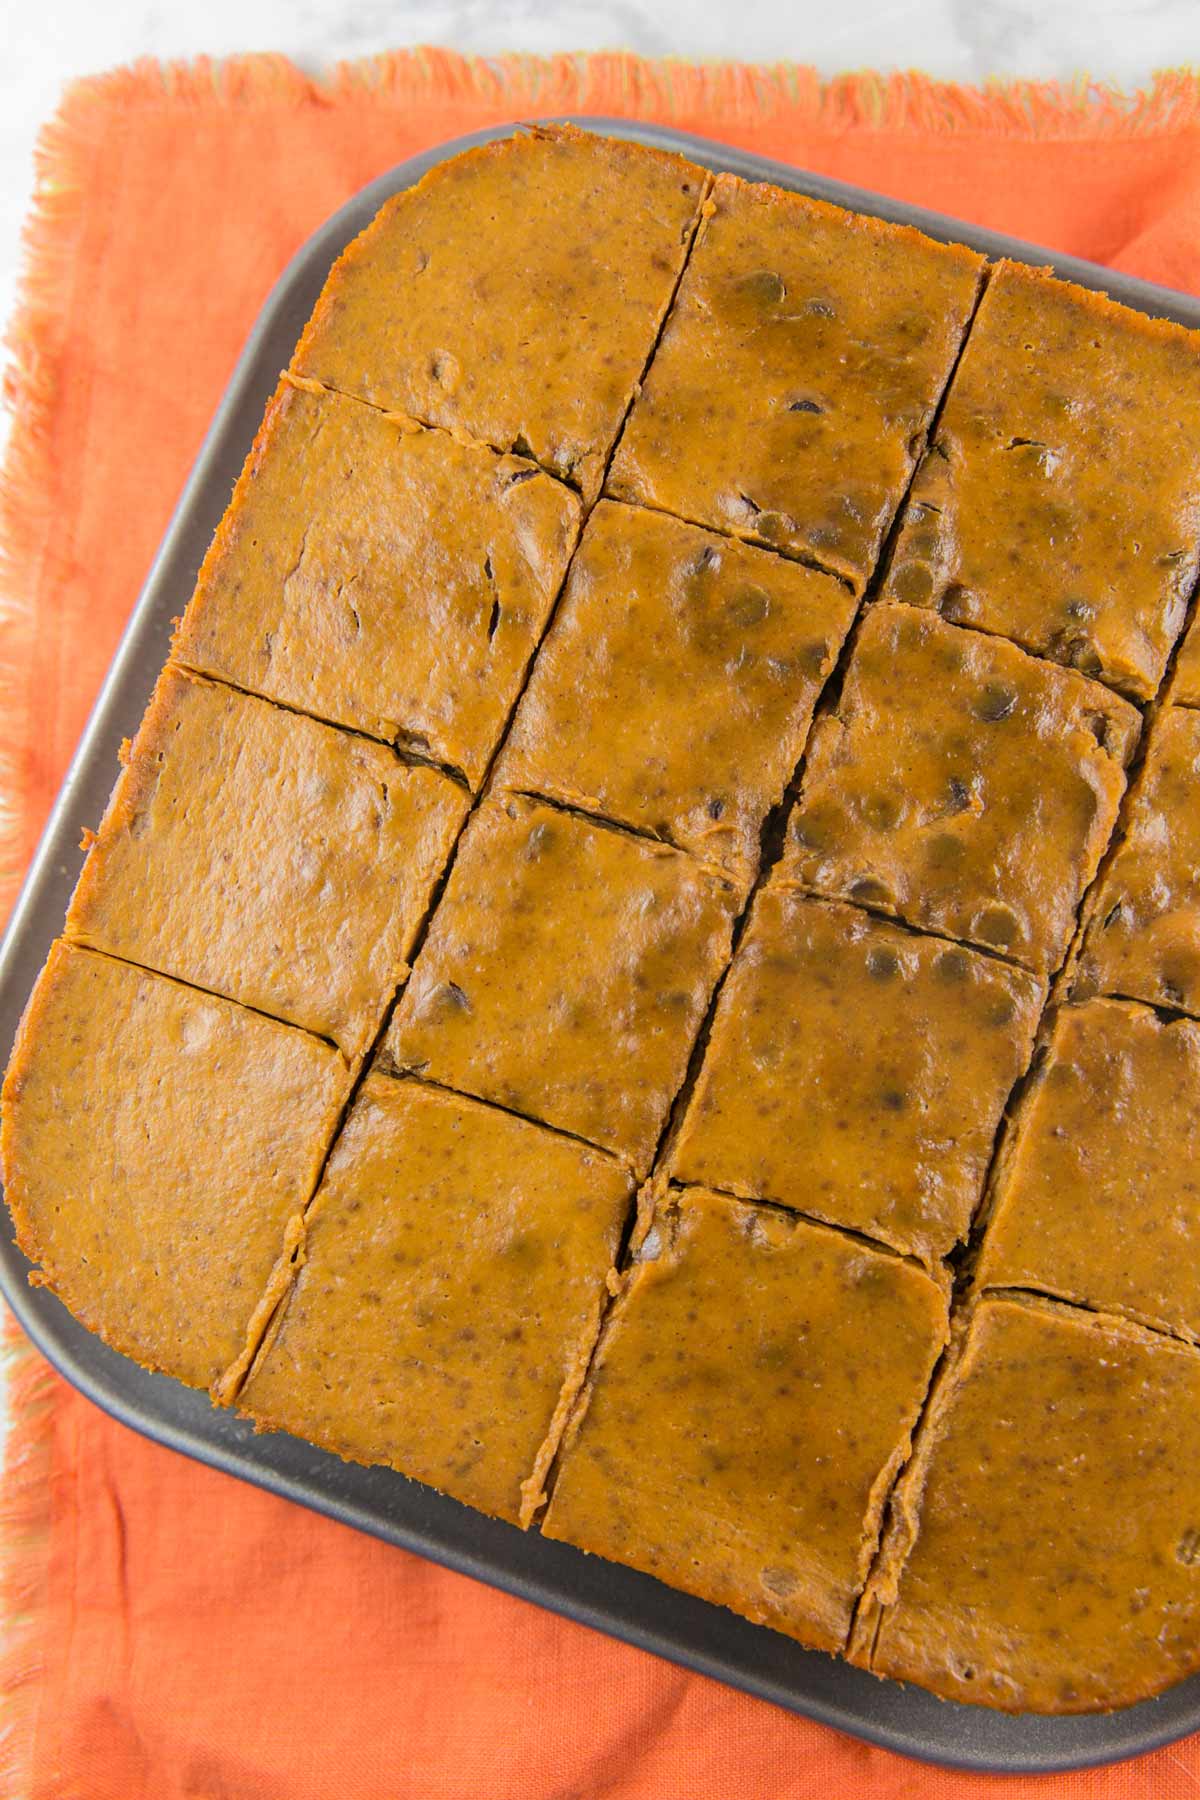
- Wait until the pumpkin pie bars are fully cooled before cutting. For even neater slices, chill first and wipe the knife in between each slice (as pictured above, I cut mine at room temperature and without wiping the knife).
More Delicious Pumpkin Recipes:
- Salted Caramel Pumpkin Bread
- Pumpkin Chocolate Chip Babka
- Pumpkin Swirl Brownies
- Cream Cheese Swirl Pumpkin Bundt Cake
- Pumpkin Cheesecake Brownies
- Nutella Pumpkin Bread
Chocolate Chip Pumpkin Pie Bars
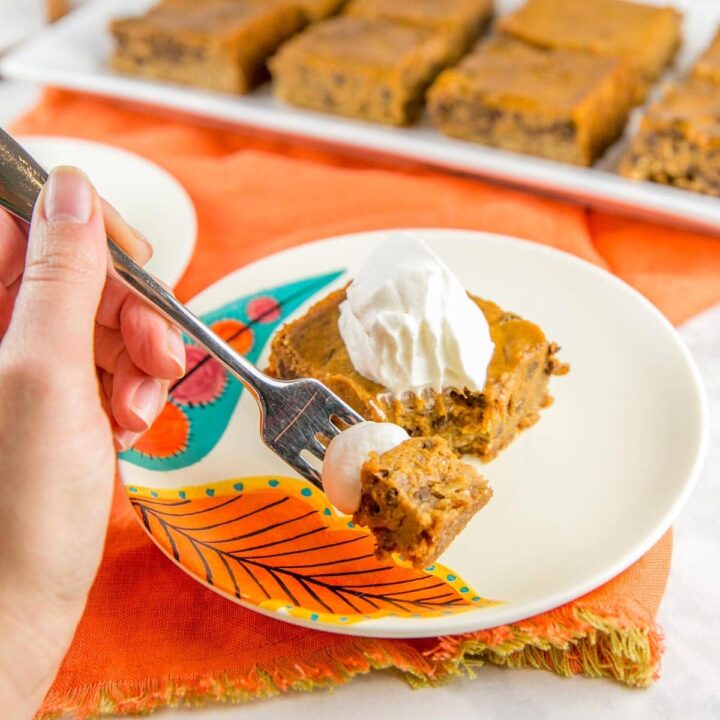
Make your pumpkin pie handheld and easy to share with these creamy chocolate chip pumpkin pie bars with a graham cracker crust.
Ingredients
For the crust:
- 1 1/2 cups (180 grams) graham cracker crumbs (approximately 12 full size sheets, finely crushed)
- 1/3 cup (66 grams) granulated sugar
- 6 tablespoons (85 grams) unsalted butter, melted
For the pumpkin pie filling:
- 2 large eggs, room temperature
- 1/4 cup (53 grams) brown sugar
- 1/2 cup (99 grams) granulated sugar
- 1 teaspoon cinnamon
- 1/2 teaspoon cardamom
- 1/4 teaspoon ground ginger
- 1/4 teaspoon ground nutmeg
- 1/4 teaspoon salt
- 1 (15-ounce) can pumpkin puree
- 1 (12-ounce) can evaporated milk
- 1 cup (177 grams) miniature chocolate chips
Instructions
- Preheat the oven to 425 °F. Spray a 9x9-inch springform pan with cooking spray or line a 9x9-inch baking pan with foil, leaving excess foil hanging over the edge of the pan, and spray the foil with cooking spray.
- Using a food processor or a rolling pin, crush the graham crackers into fine crumbs. Combine the graham cracker crumbs, sugar, and melted butter and stir to combine. Press the mixture into the prepared pan. Bake in the preheated oven for 5 minutes and set aside to cool.
- Wipe out the inside of the food processor and add in all the ingredients for the pumpkin pie filling, excluding the chocolate chips, processing until smooth. Fold in the chocolate chips by hand. Alternatively, whisk together the eggs until smooth, followed by the brown sugar, granulated sugar, spices, and salt, whisking until no clumps of the sugar remain. Whisk in the pumpkin puree and the evaporated milk until the mixture is smooth. Fold in the chocolate chips. Pour the mixture into the parbaked graham cracker crust.
- Bake for 10 minutes at 425 °F, then without opening the oven door, turn the temperature dow to 350 °F, and bake for an additional 35 to 40 minutes, or until the filling is set and an instant read thermometer inserted into the center of the filling reads 175 °F. Transfer the pan to a cooling rack and cool completely before slicing.
Notes
- For the smoothest texture, puree pie mixture using a food processor or blender.
- Wait until the pumpkin pie bars are fully cooled before cutting.
- Pumpkin pie bars can be stored in the refrigerator for up to 5 days. To store in layers, place a sheet of wax paper or parchment paper between stacks of pie bars.
- To make ahead, freeze pumpkin pie bars wrapped in aluminum foil and stored in a freezer-safe bag for up to 3 months. Thaw in the refrigerator overnight.
- Serve either chilled or at room temperature. Topping suggestions: drizzles of melted chocolate, whipped cream, or a scoop of ice cream.
Recommended Products
As an Amazon Associate and member of other affiliate programs, I earn from qualifying purchases.
Nutrition Information:
Yield: 16 Serving Size: 1 pie barAmount Per Serving: Calories: 223Total Fat: 9.2gCarbohydrates: 31.7gProtein: 4g
