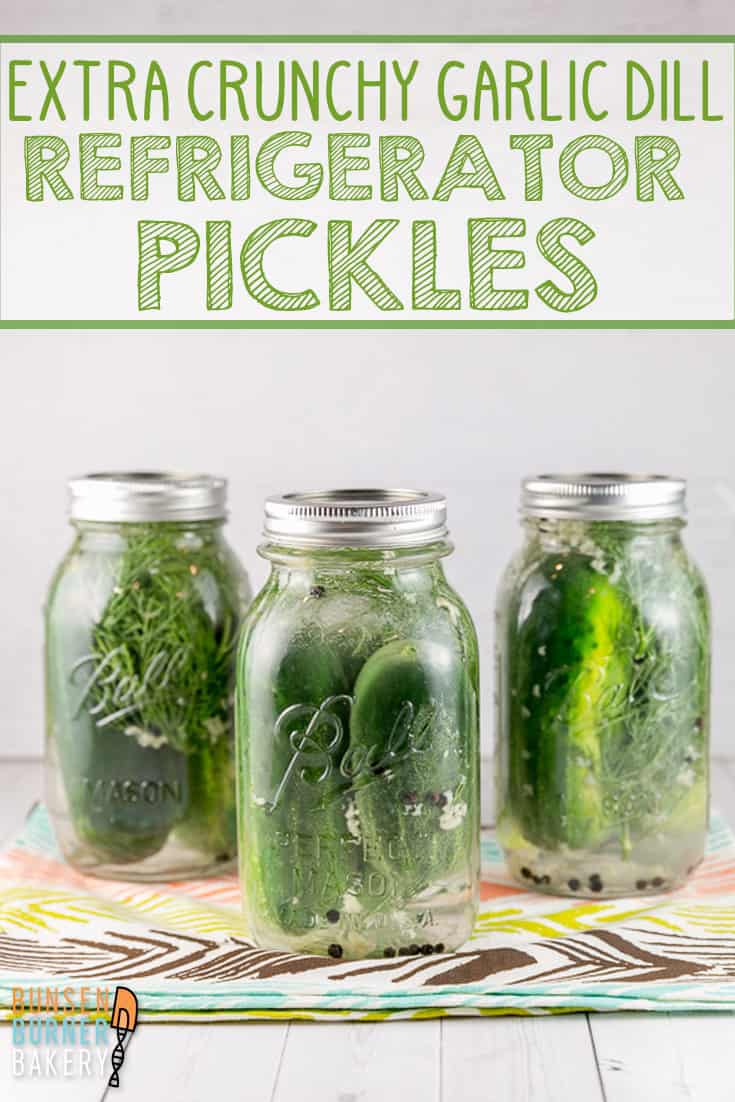
Garlicky Dill Refrigerator Pickles
Everything you need to know to make extra crunchy, super easy Garlicky Dill Refrigerator Pickles. No canning equipment necessary – these pickles take 10 minutes of prep work and stay crunchy for weeks!
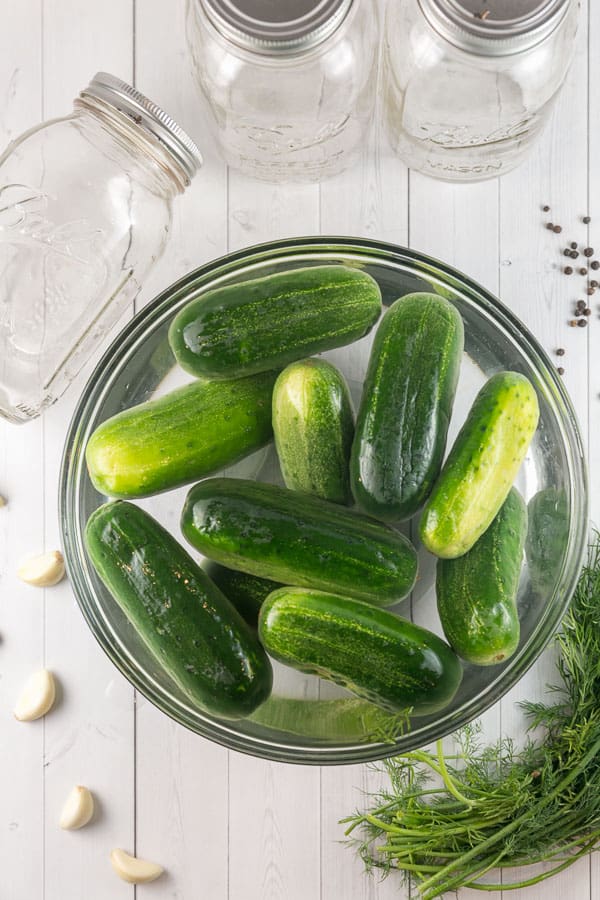
We received a batch of Kirby pickles from our CSA. Then, we received a bunch of dill.
Really, it’s like Lancaster Farm Fresh begged us to make pickles, and who am I to say no to a pickle that practically falls into my lap?
Here’s the thing about pickles. That perfect crunch and snap when you bite into a pickle is the best part, right? Right. But so often, pickles are soft and soggy and not satisfying.
What causes this, and how do we remedy it? Keep reading for everything you need to know to make perfectly crunchy pickles!
Refrigerator Pickles are Extra Crunchy
Standard canned pickles go through a heat pasteurization process to destroy any bacteria. While this makes them safe for long-term room temperature storage, it’s also the main culprit for soggy pickles! Why is this the case? It’s time for my favorite subject… kitchen chemistry!
Kitchen Chemistry
Canning is a method which involves treating food in jars with high heat to kill microorganisms as a method of preservation. This high heat, however, ruptures the cell walls of vegetables. These cells are typically full of water, resulting in the crisp, firm texture. Once the cell walls break open and the water is released, pickled vegetables become soft and flexible.
How do we remedy this problem? By using a refrigerator pickling method!
Because these pickles are not heat treated, they should remain in the refrigerator to prevent bacterial growth. They also will not keep indefinitely, like properly canned pickles — but personally, I’ve had a batch in my refrigerator for nearly a year with no contamination. (Although for the crunchiest pickles, consume within the first 2 to 3 months!)
Six Easy Ingredients
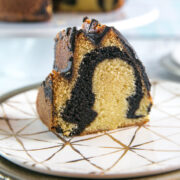
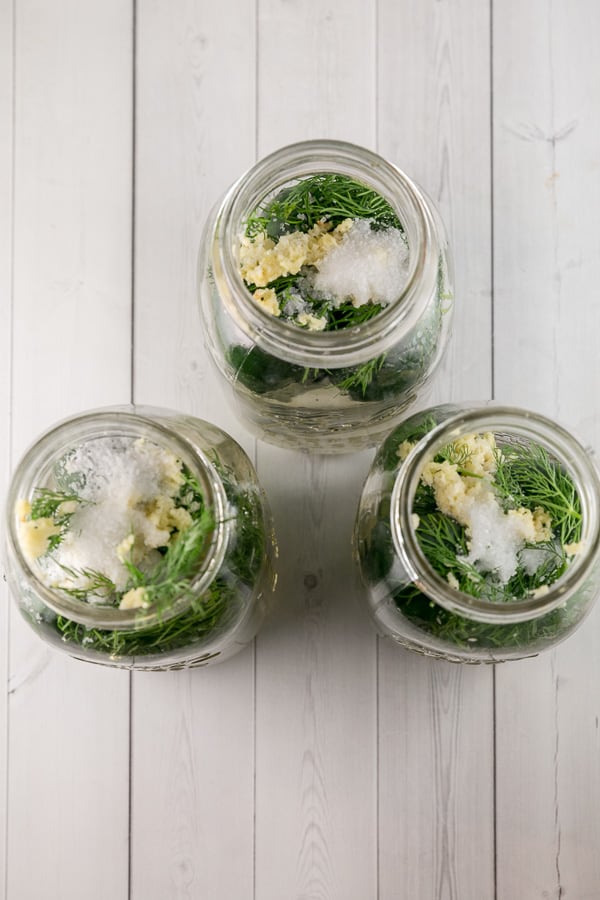
When I say making refrigerator pickles is easy, I mean EASY. To make refrigerator pickles, all you need is a canning jar, pickling cucumbers, vinegar, and salt. Because these are garlicky dill pickles, we’ll add some fresh dill, crushed garlic, and whole peppercorns.
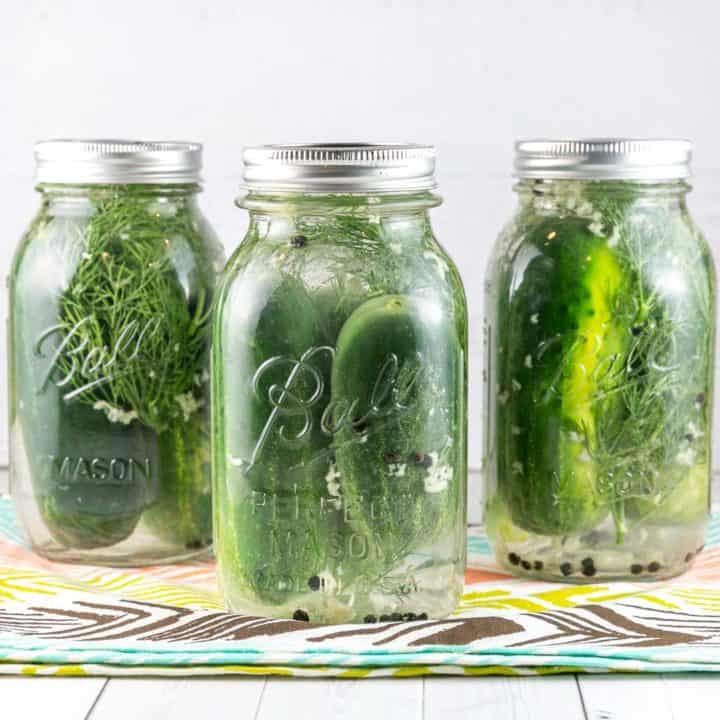
Combine all ingredients in a clean jar. Tighten the top and refrigerate. Flip the jar upside-down every day or so for the first 10-14 days. Enjoy pickles.
So easy, and perfect to customize! Make them more garlicky or less. Add red pepper flakes for spice. Just keep the water, vinegar, and salt levels the same!
Tips and Tricks for the Crunchiest Refrigerator Pickles
- Use the right kind of pickles. Standard English pickles won’t cut it. You’re looking for… drumroll please.. pickling cucumbers! (Pickling cucumbers may also be called “kirby” or “liberty” cucumbers.)
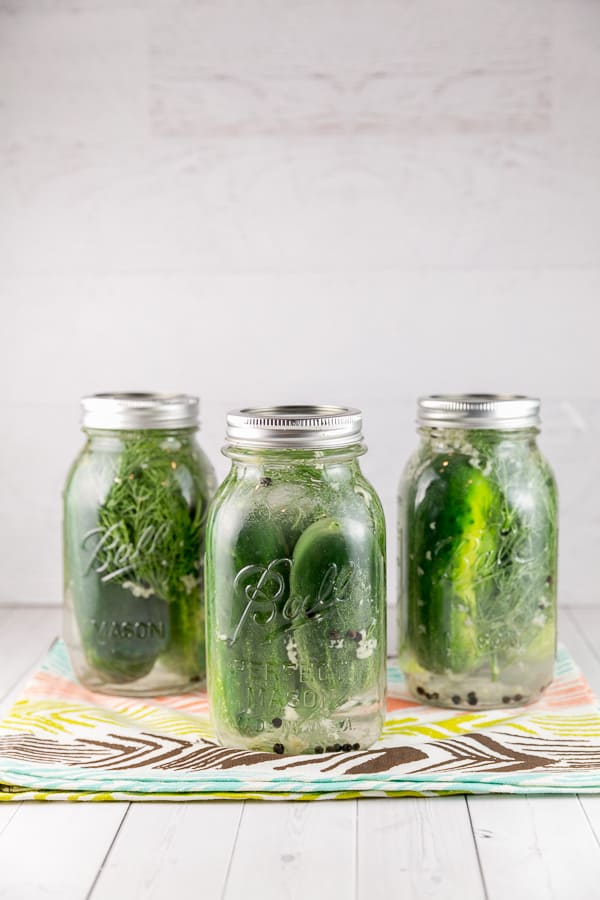
- Choose small, firm cucumbers. The firmer the cucumber, the crunchier the pickle.
- Use the freshest pickles possible. Cucumbers start to dehydrate shortly after they are picked, losing their crunch. The sooner after picking that you make pickles, the crunchier they will be.
- Soak the cucumbers in ice-cold water for 30 minutes before pickling. Soaking the cucumbers will help replenish any water the cucumber lost through dehydration.
- Measure your ingredients! Not adding enough salt and vinegar results in an un-pickled cucumber, while adding too much vinegar will break down the cell walls, resulting in a mushy pickle.
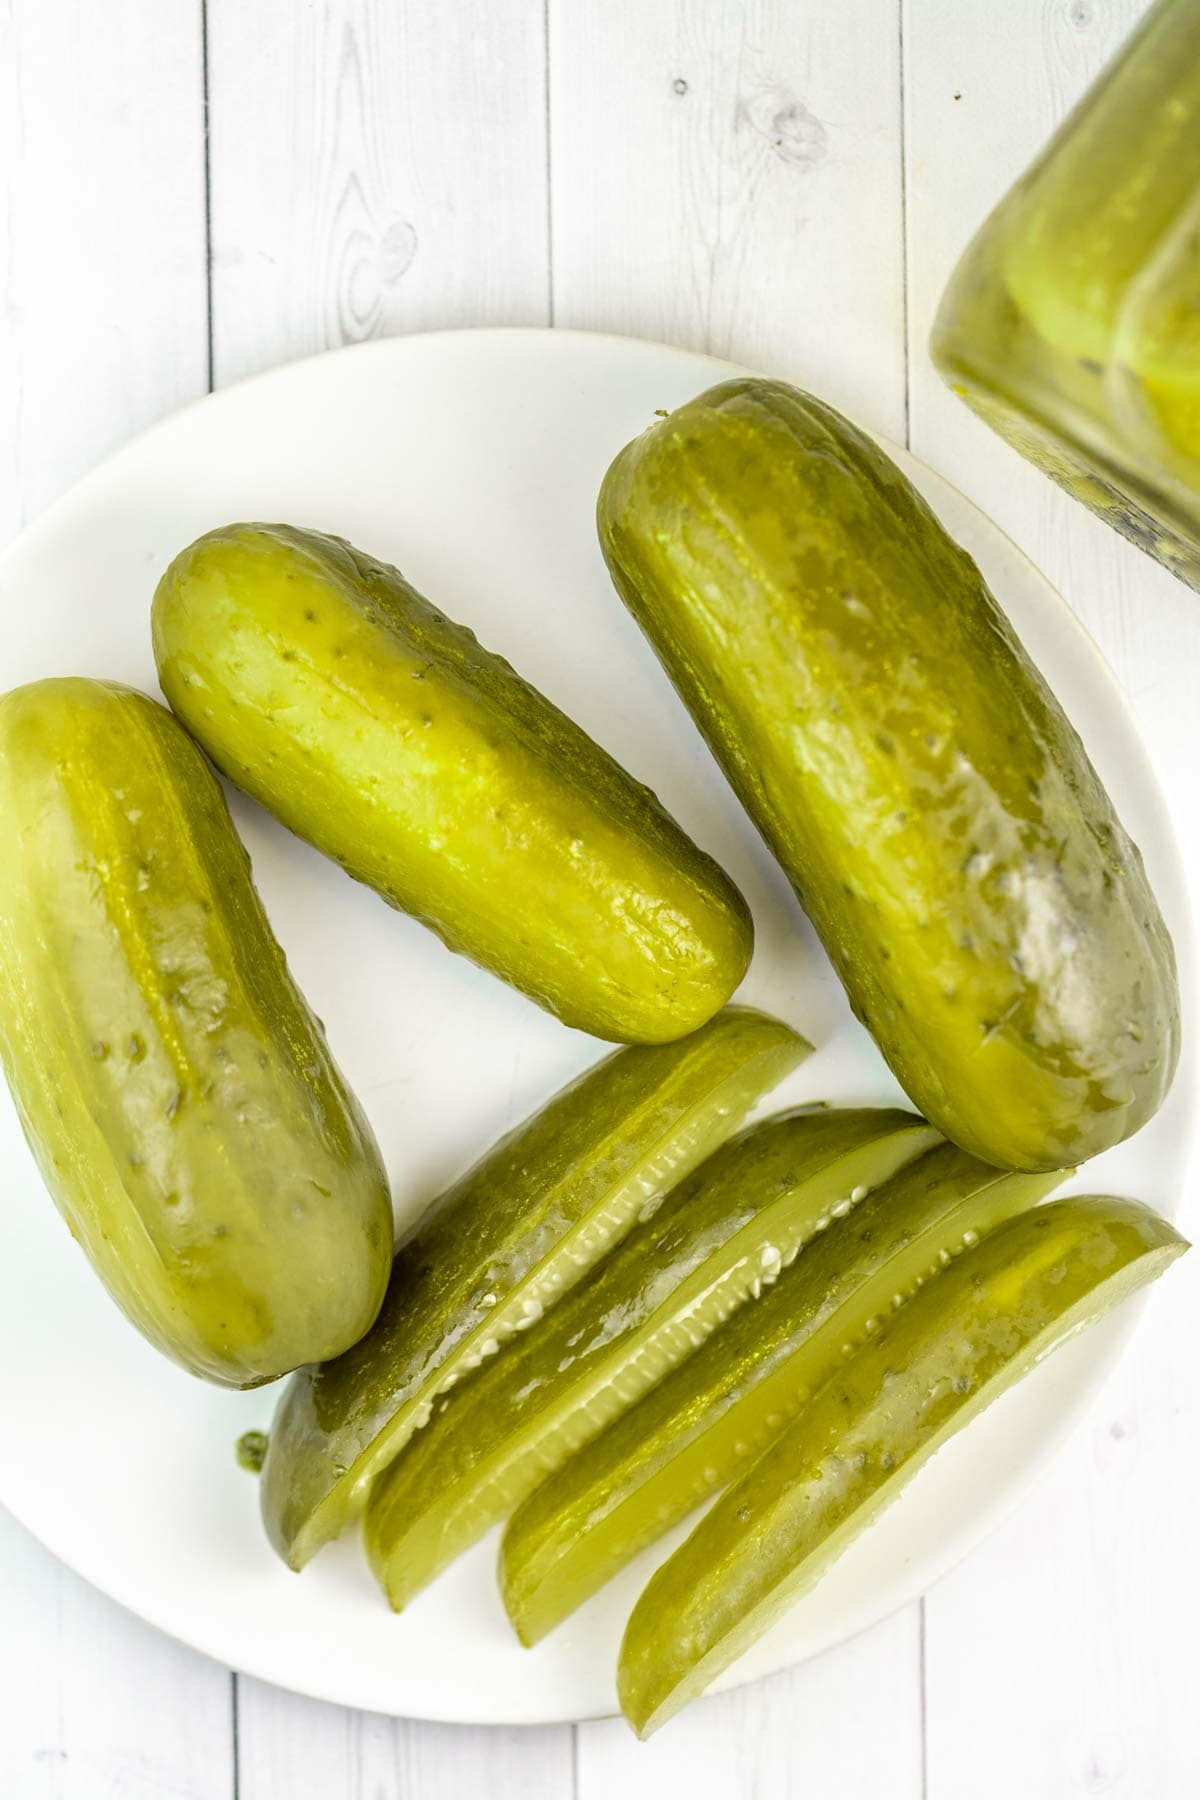
- Brine the cucumbers whole. Slicing into spears or cutting into round chips results in a soggier pickle — if you don’t want to eat the pickle whole, use whole cucumbers and slice before serving.
More Easy Vegetable Recipes
- Honey Glazed Moroccan Eggplant
- Spicy Grilled Okra
- Extra Crunchy Broccoli Salad
- Grilled Asparagus and Feta Salad
- Horseradish Dill Coleslaw
Garlicky Dill Refrigerator Pickles
Everything you need to know to make extra crunchy, super easy garlicky dill refrigerator pickles. No canning equipment necessary – these pickles take 10 minutes of prep work and stay crunchy for weeks!
Ingredients
- 1 L (32 ounce) sized wide mouth jar with watertight lid, thoroughly cleaned
- 3-4 pickling cucumbers (as many as you can fit in a jar)
- 5-6 sprigs of fresh dill
- 5 cloves of garlic, crushed
- 3 tablespoons white vinegar
- 1 tablespoon kosher salt
- pinch of whole black peppercorns
Instructions
- Fill a bowl with ice-cold water. Soak the pickles in the cold water for 30 minutes.
- Remove the pickles from the cold water and place them in the 1 L jar. Add the rest of the ingredients, then add filtered water filling to the top of the jar.
- Allow the jar to sit in the refrigerator for 24 hours. After 24 hours, flip upside down. the next day, turn right-side up. Repeat flipping daily for 10 days.
- Open the jar and enjoy the pickles, or keep them in the refrigerator for up to 2 months.
Notes
- Use small, firm pickling cucumbers for the crunchiest pickle.
- Cucumbers should be as fresh as possible; add to the pickling brine as soon as possible.
- Measure the ingredients carefully -- changing the ratio of salt or vinegar to water will result in soft, mushy pickles.
- Brine the cucumbers whole and slice just before serving.
Recommended Products
As an Amazon Associate and member of other affiliate programs, I earn from qualifying purchases.