Dark Chocolate Cheesecake
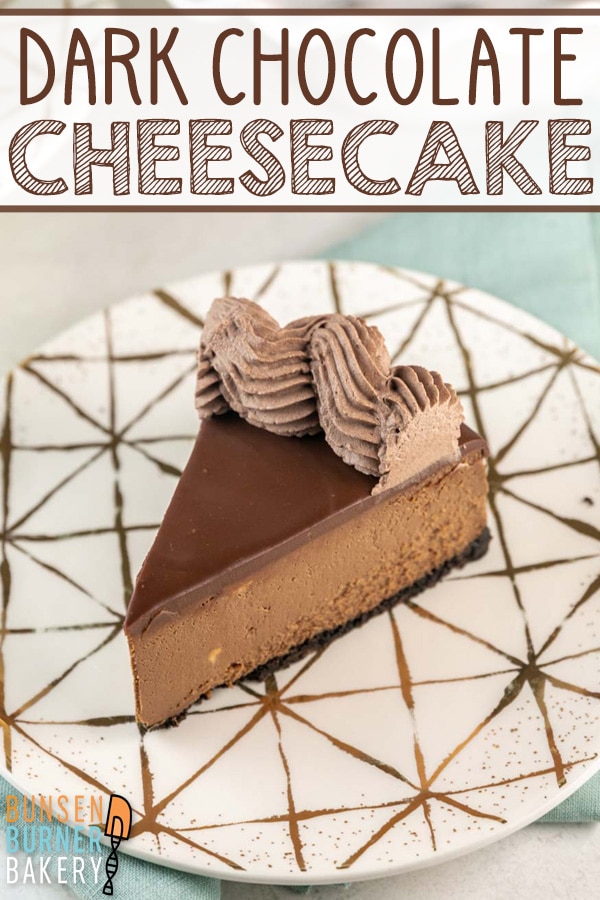
Rich, decadent, silky smooth dark chocolate cheesecake with a chocolate cookie crust, covered in chocolate ganache. The BEST Dark Chocolate Cheesecake, with all the tips and tricks you need for the smoothest texture!
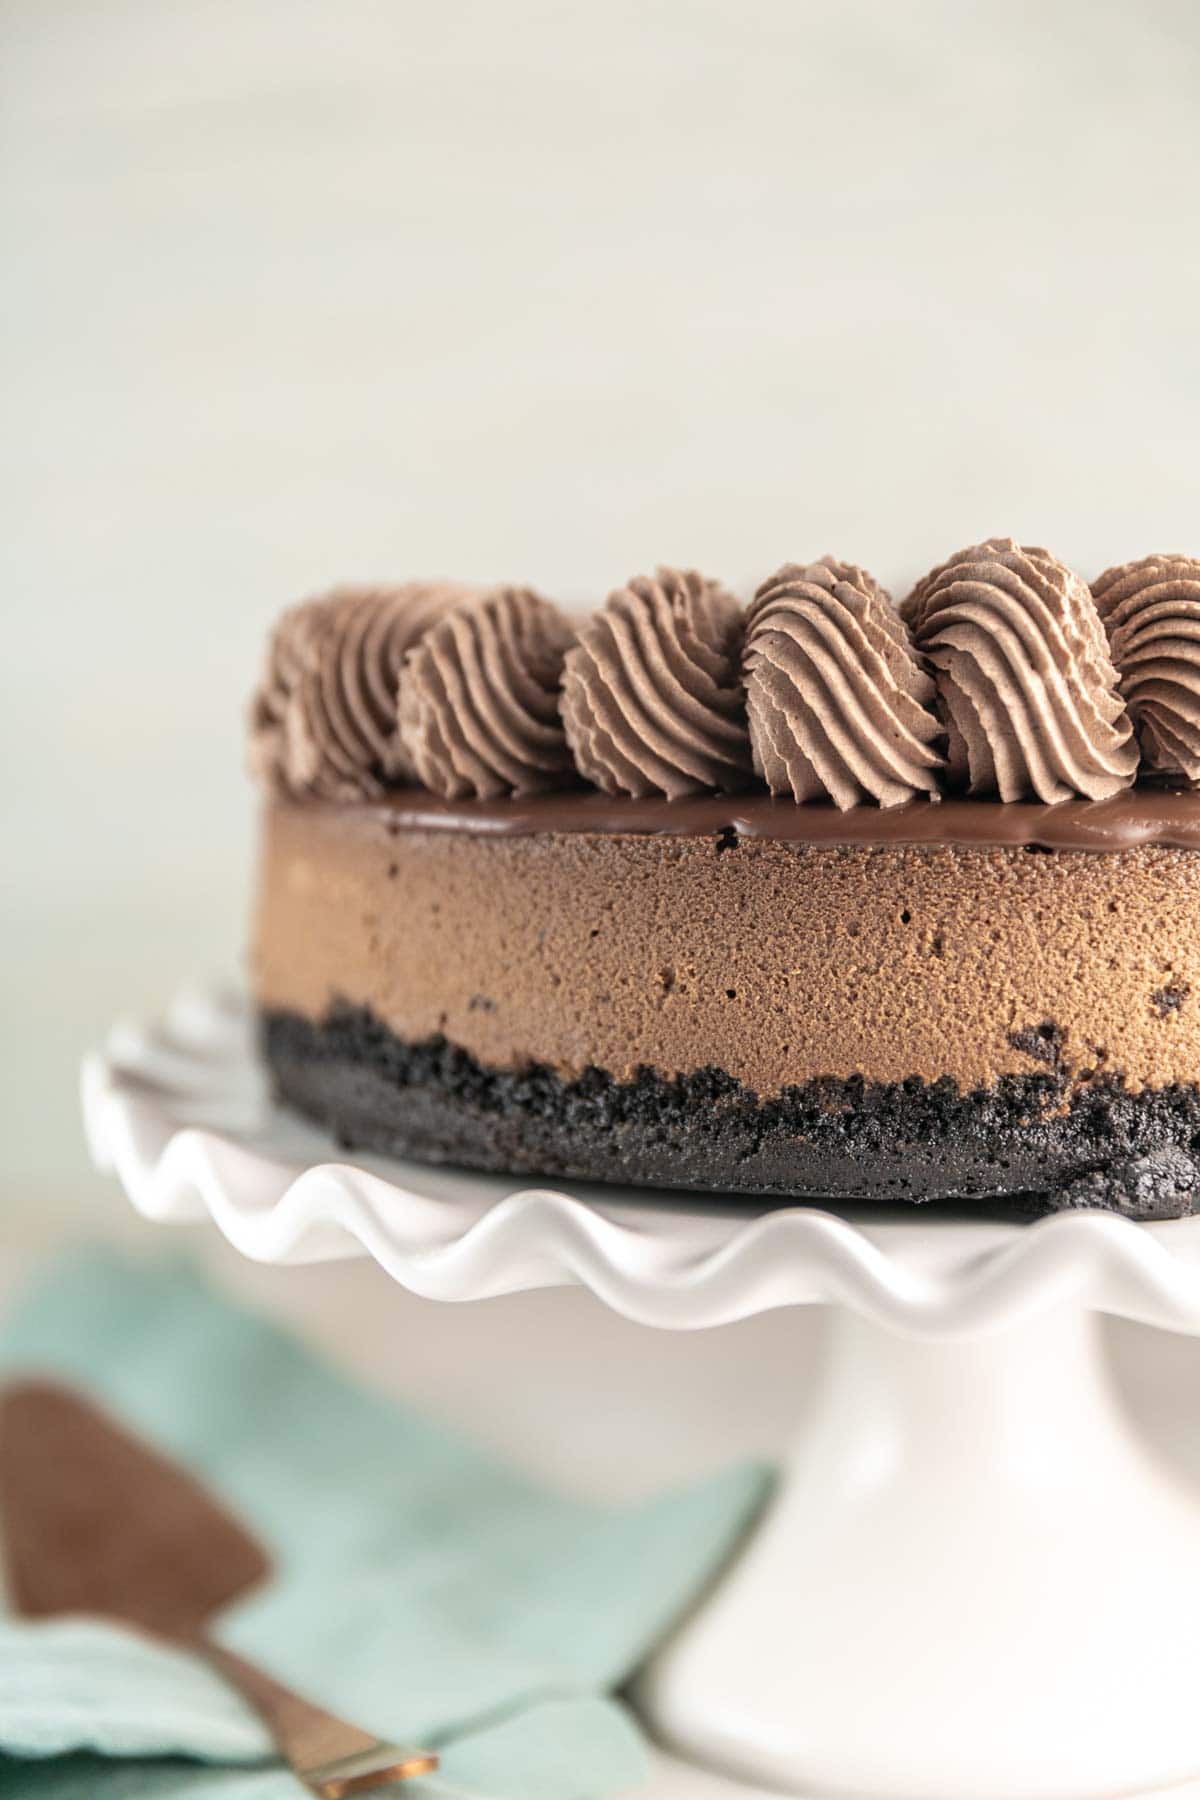
It only seemed fitting that I start this new food blogging journey with a tribute to my mother.
My mother cooked dinner most nights rather than eating out or bringing home takeout. My father made breakfast on weekends, instead of going out to brunch or eating a plain bowl of cereal.
Birthdays and anniversaries were celebrated with a homemade cake, not a trip to the bakery.
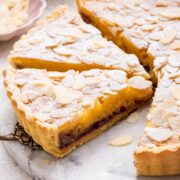
Thus, it should come as no surprise that when my mother came to visit for my 28th birthday, she brought along a homemade dark chocolate cheesecake and my most favorite almond crumble blueberry pie.
My husband loved the chocolate cheesecake, so I’ve adapted her recipe to be my own, and I’m ready to share it with my favorite tips! (True fact: I actually hate cheesecake, which makes it even funnier that the first post on my food blog is for a cheesecake recipe!)
If you love silky smooth cheesecakes with a crunchy crust, full of dark chocolate flavor, you’re in for a treat!
Ingredients and Substitutions
- Chocolate Sandwich Cookies: Oreos, or some other similar brand. To keep this cheesecake gluten-free, use gluten-free Oreos!
- Sugar
- Butter: I always bake with unsalted butter, but you can use salted butter for the crust as well.
- Dark Chocolate: Use a bar of baking chocolate for the cheesecake, not chocolate chips which contain additional stabilizers and don’t melt as smoothly. If you don’t love dark chocolate, feel free to use semi-sweet or milk chocolate, instead!
- Cream Cheese: Use full-fat cream cheese for the best texture and flavor.
- Cocoa Powder: Natural unsweetened, preferably with a higher fat content.
- Eggs
- Heavy Cream: You can use either heavy cream or whipping cream, but the ganache requires the fat content of cream (substituting milk will not work!).
Easy Chocolate Cheesecake
The best thing about this cheesecake? You can make everything in a food processor! (A stand mixer or hand mixer works too, but since I’m using a food processor for the crust, it’s already out.)
Grind the chocolate cookies for the crust in the food processor. (No food processor? Crush them by hand with a heavy rolling pin or the bottom of a frying pan.) Wipe out the crumbs, and then make the cheesecake right in the food processor. Fewer dishes? Such a win!
Here’s the big tip though: don’t overmix the cheesecake! Whether you’re using a mixer or a food processor, scrape down the sides of the bowl frequently to ensure all ingredients are incorporated. Mix just for the minimum amount of time it takes to incorporate the ingredients.
Cheesecake Water Bath
One of the areas where my mother’s recipe and mine differ is how we bake the cheesecake. She just places it right in the oven. Her cheesecake is always delicious, and if you’re looking for the easiest possible option, go for it.
But! I’ve tried a side-by-side comparison of this cheesecake baked with and without a water bath, and the cheesecake baked with the water bath is even creamier.
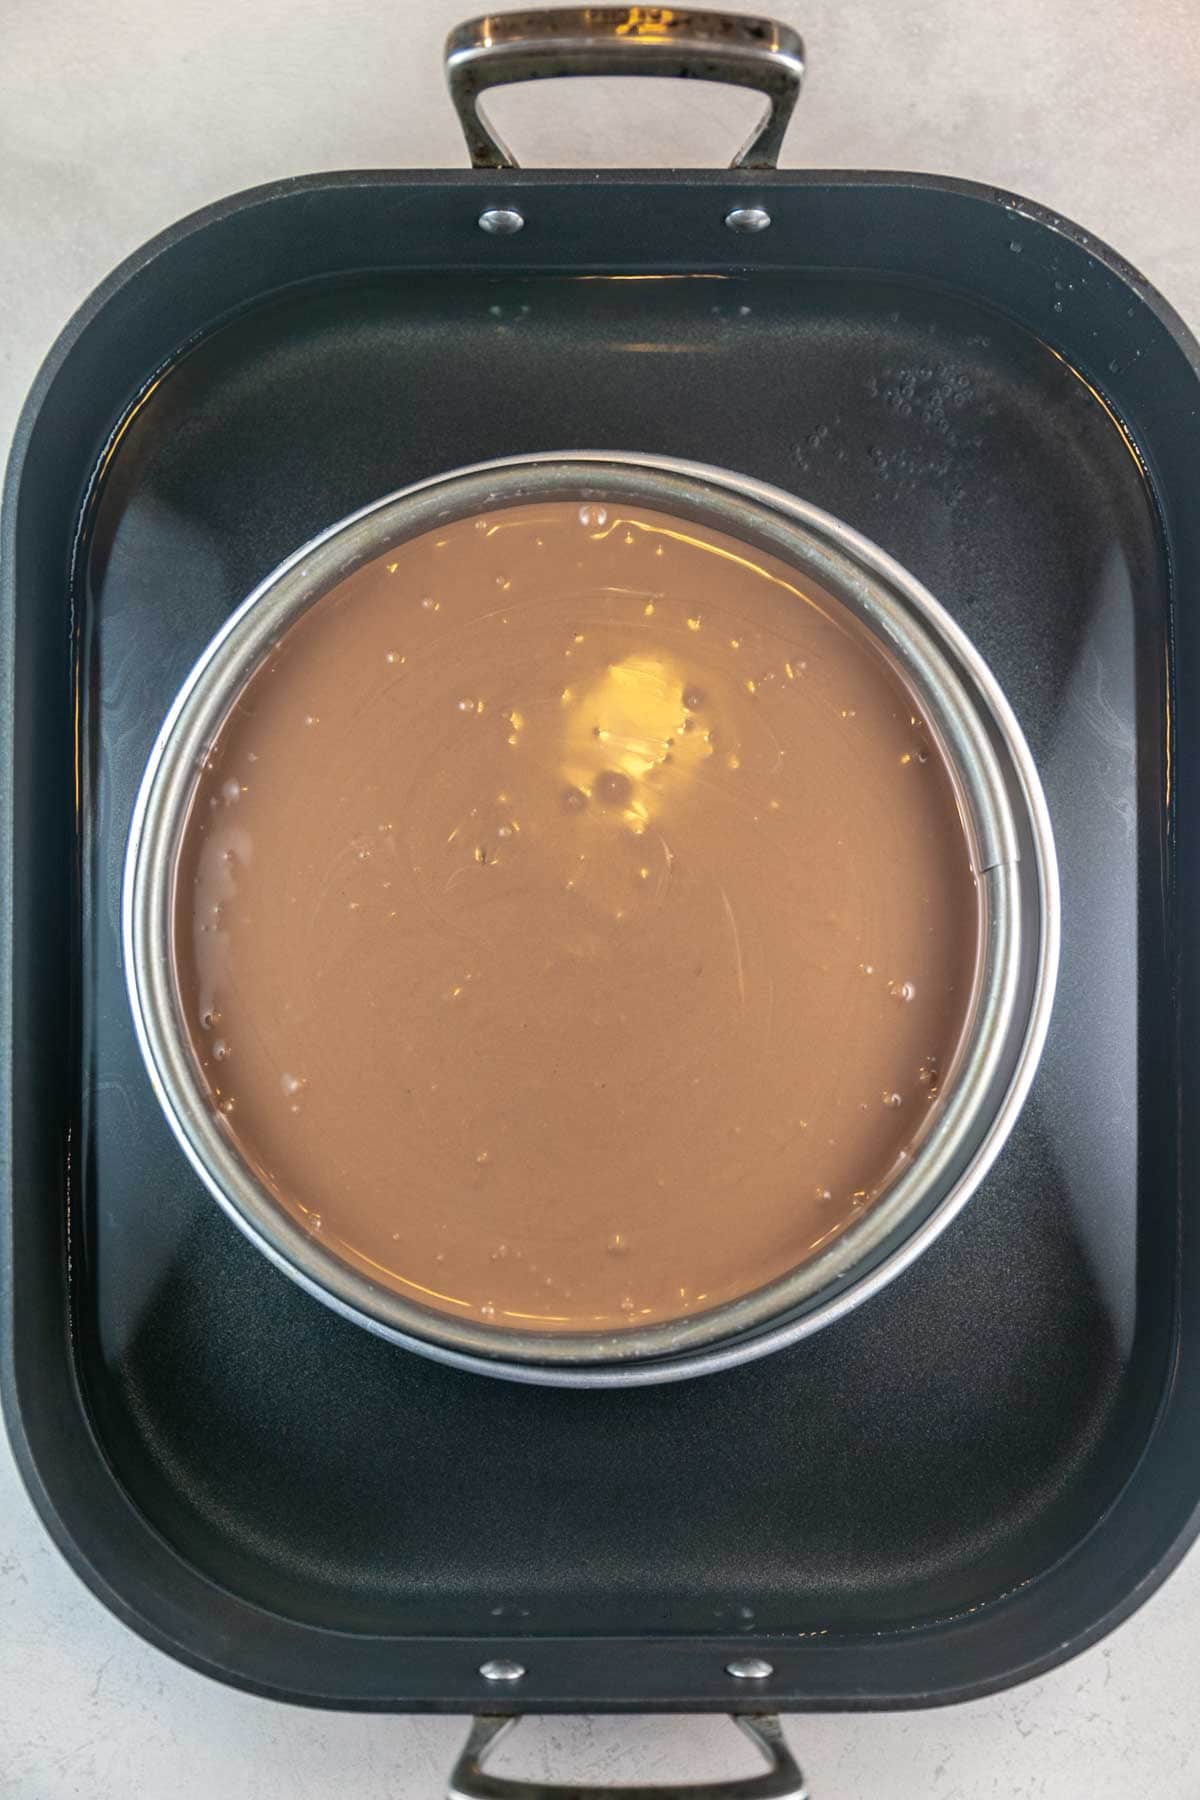
To bake in a water bath, there are two options. First, you can wrap the bottom and outside of the springform pan in multiple layers of aluminum foil and place the springform pan directly in a pan of hot water. This is the traditional way to bake a cheesecake in a water bath. Sometimes, however, water can still leak in, and the crust gets soggy.
A second option is to place your 9″ springform pan in a 10″ round cake pan, and then place this cake pan in the water bath. The water doesn’t directly touch the outside of the springform pan, meaning no water can leak in. If you use a 10″ cake pan, there’s so little room between the two pans that you’ll still get the gentle heating benefit of the water bath.
Another option is to just increase the humidity around the cheesecake, without actually placing the springform pan in water. Just fill a large pot or pan with hot water, place it in your oven on the rack underneath the cheesecake, and bake as normal. This is barely any more work than baking without a water bath at all, but still results in an improved cheesecake texture.
How to Tell When Cheesecake is Done
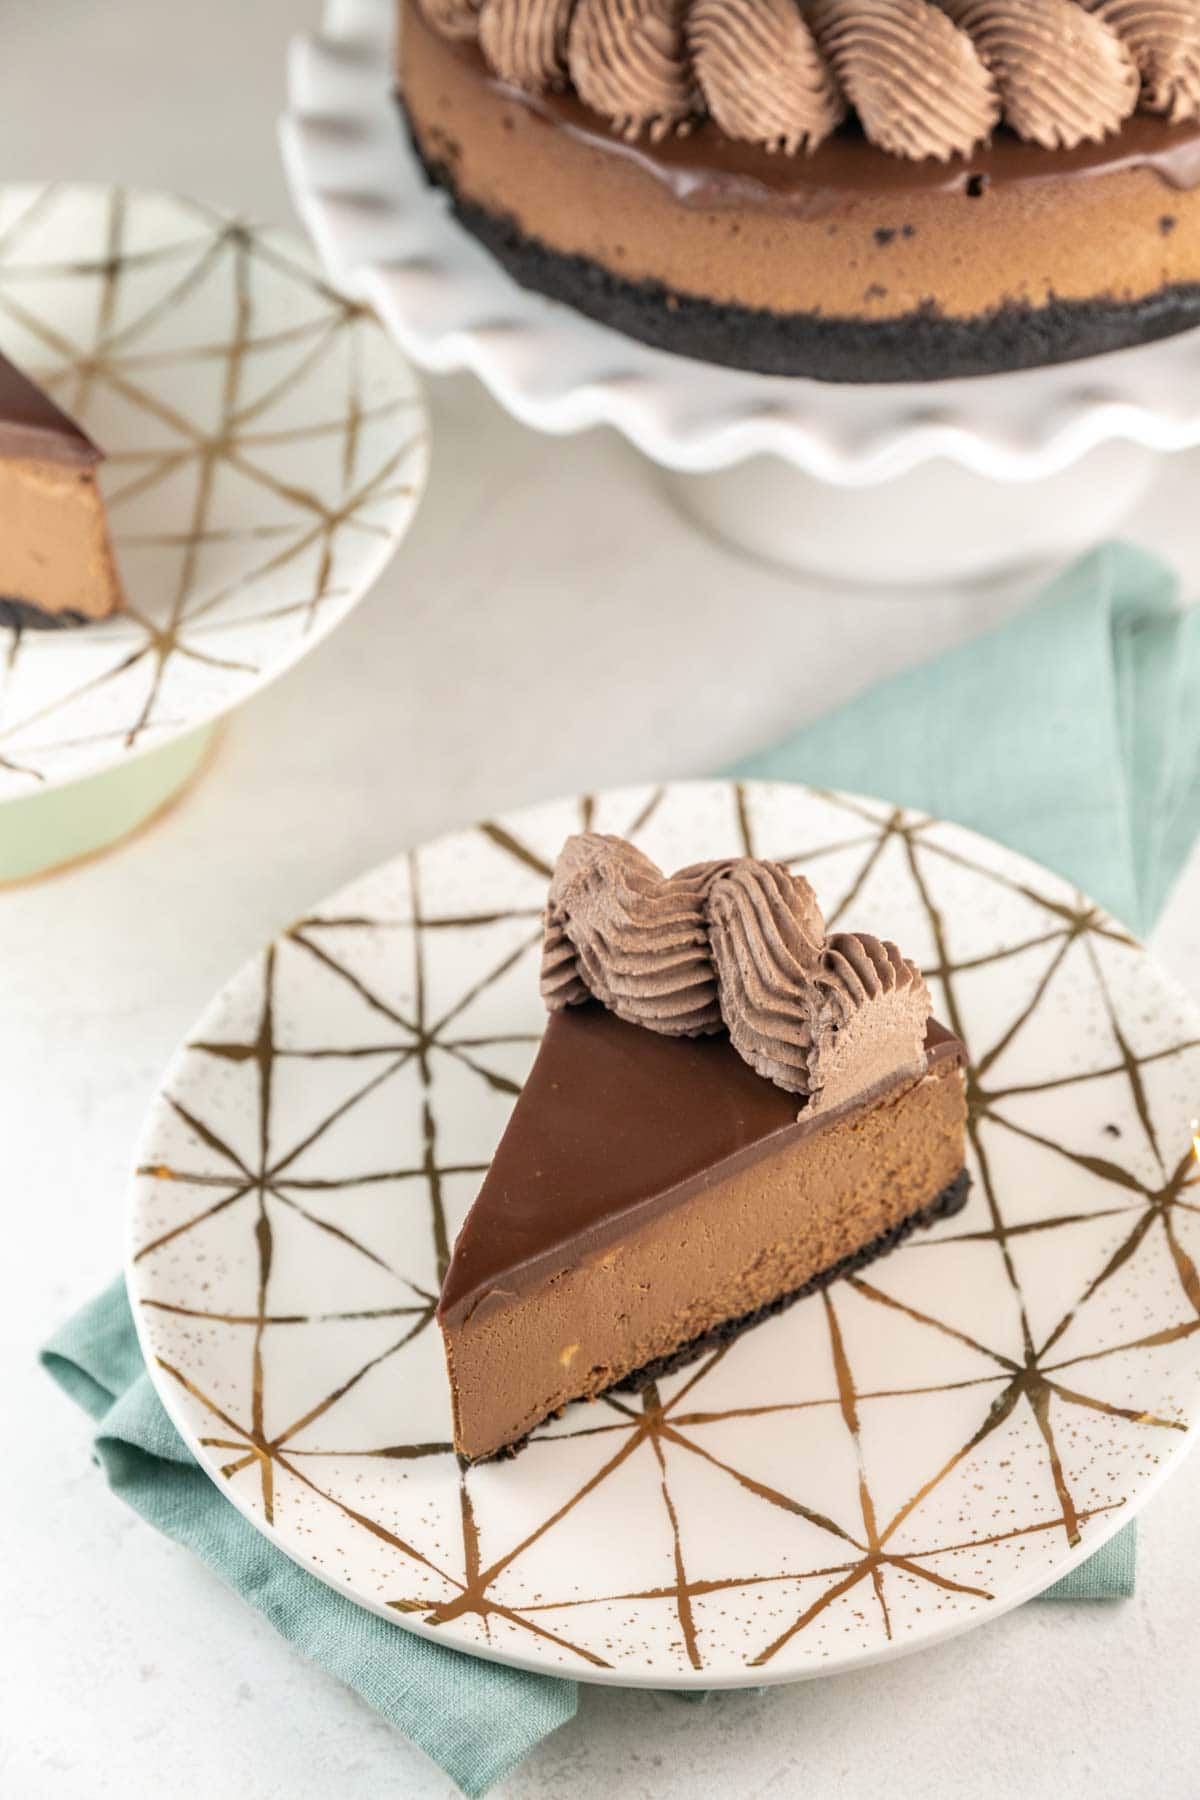
The hardest part about making this chocolate cheesecake is knowing when to pull it out. Cheesecakes continue to cook and set as they cool, so if you wait until the cheesecake is almost done jiggling, you’ve waited too long! You want to pull it out when it still jiggles a lot — you’re looking for a 3 to 4-inch diameter circle in the center that really wobbles.
But there’s an even easier way to tell when a cheesecake is done, and it involves my favorite subject.. kitchen chemistry! Are you ready?
Kitchen Chemistry
Take all the guesswork out of when a cheesecake is done. Using an instant-read thermometer, take the cheesecake out of the oven when the center reaches 150 °F. At 150 °F, egg yolks transition from runny to soft yet solid enough to hold their shape. This is the precise moment when a cheesecake is perfect cooked.
Science: it works!
Chocolate Ganache Topping
This is optional, although is more chocolate on a chocolate cheesecake ever really optional?
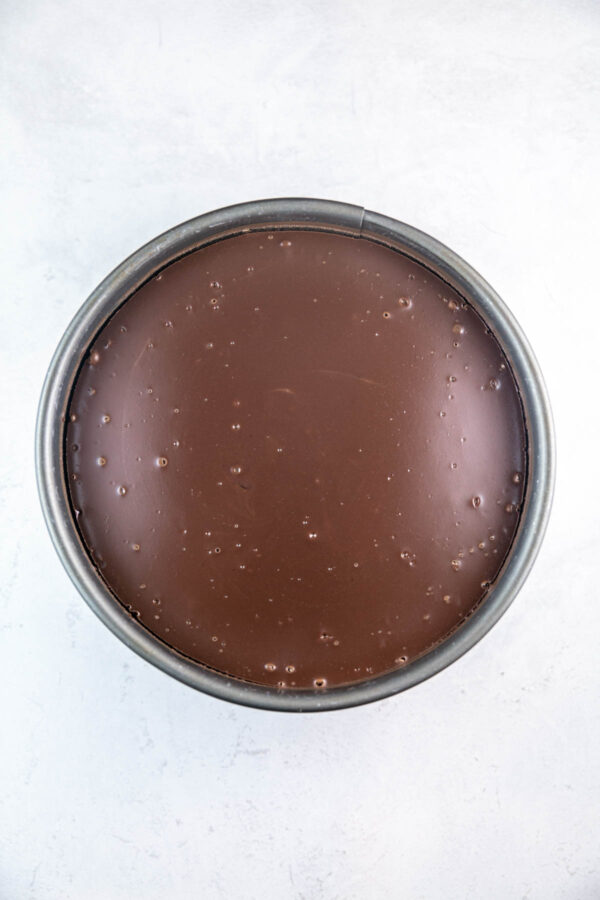
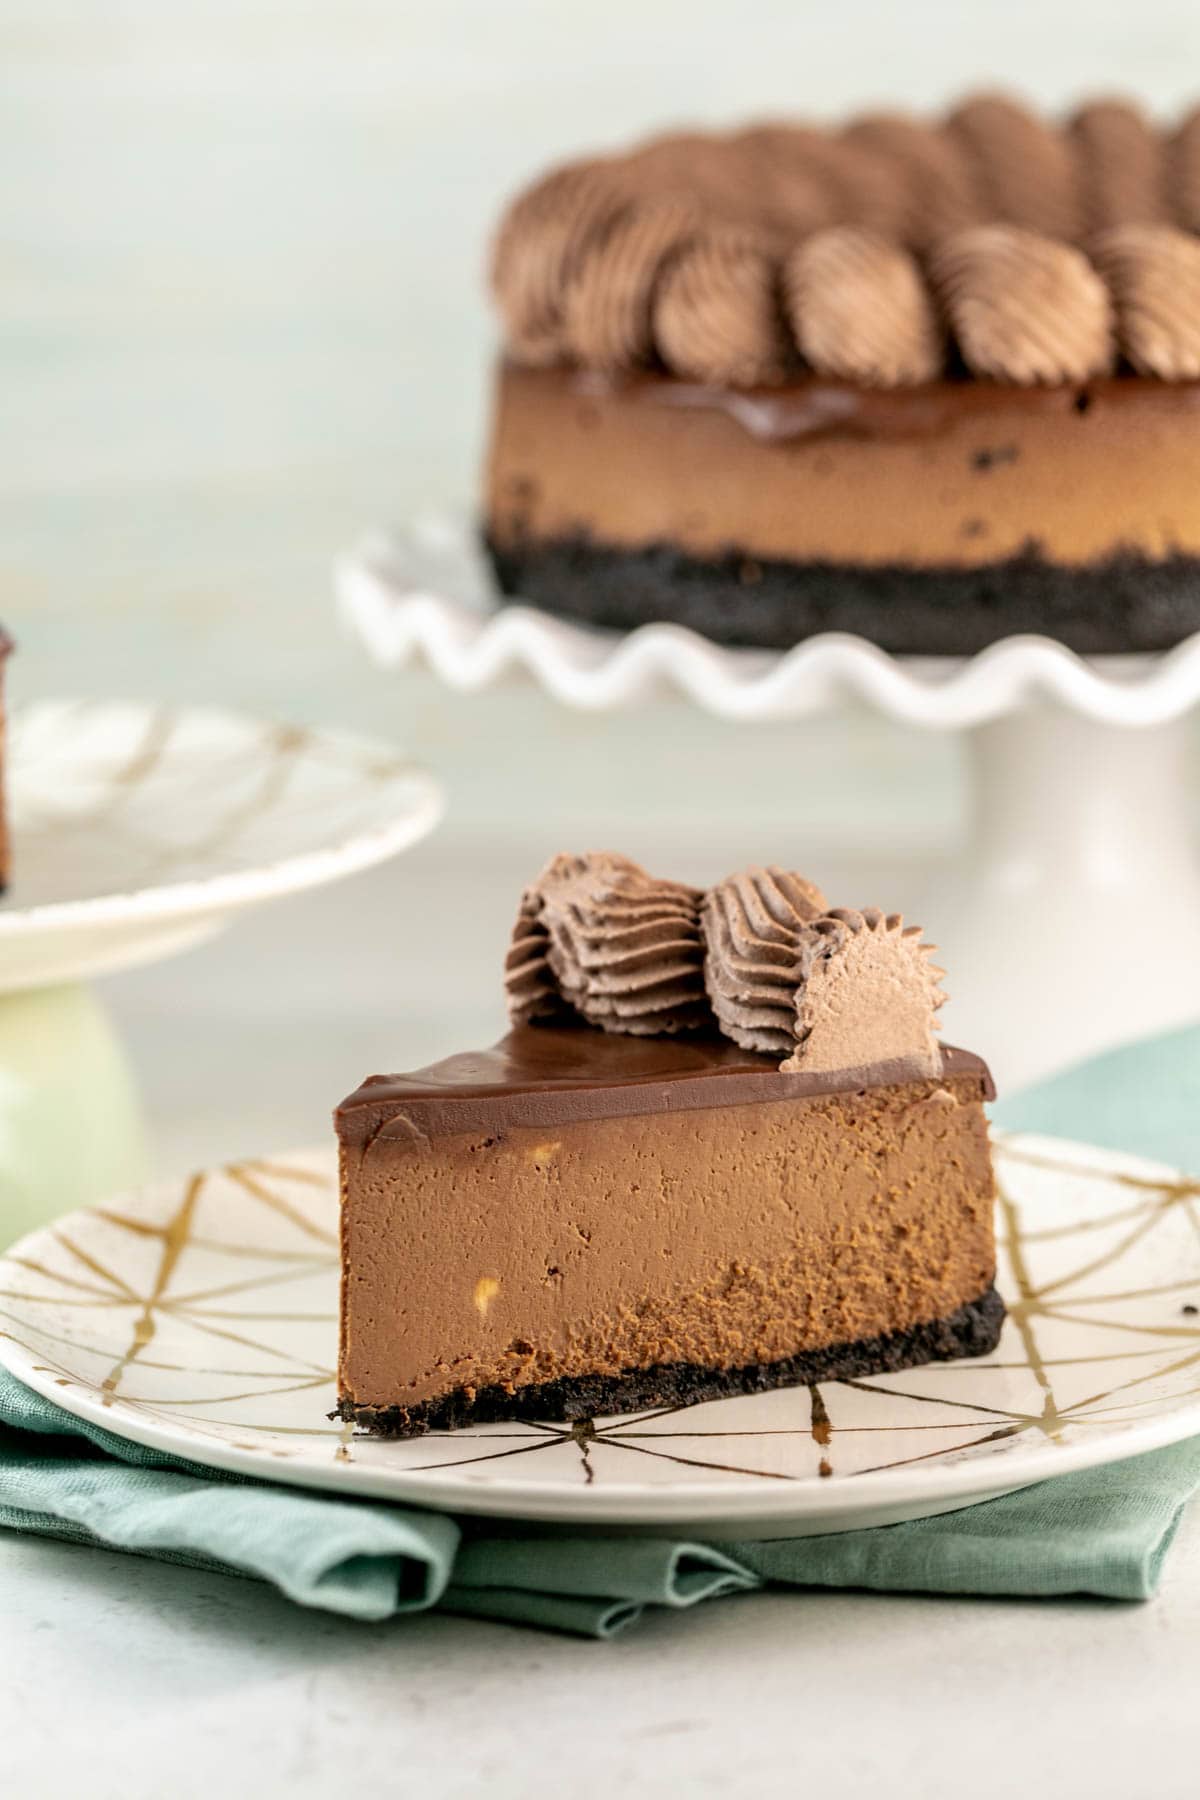
Once your cheesecake is fully cooled, make a chocolate ganache to spread on top of the cheesecake. If any moisture has accumulated on the surface, use a paper towel to blot it off. Use a double boiler or a microwave on 50% power to melt together chocolate and heavy cream.
Once your ganache is smooth and cools slightly, spread it to the edge of the cheesecake.
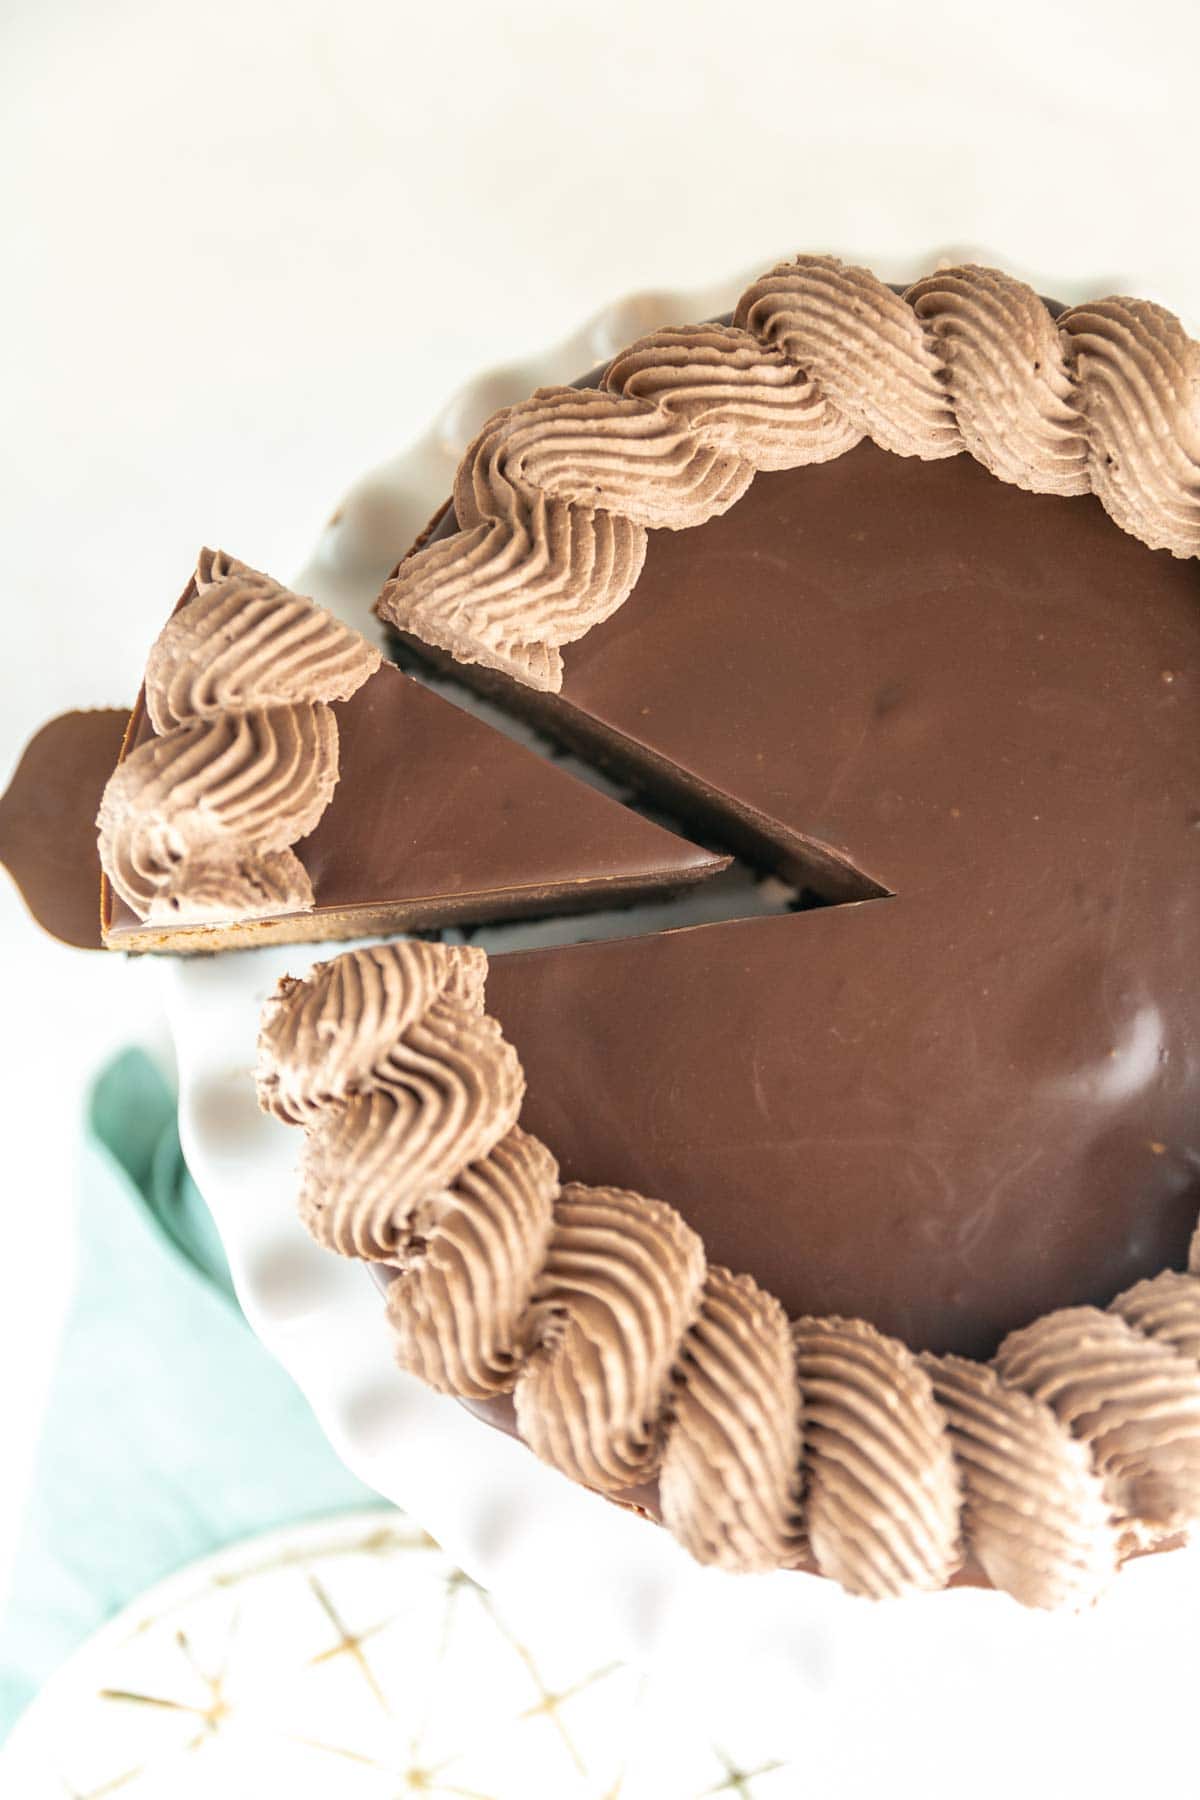
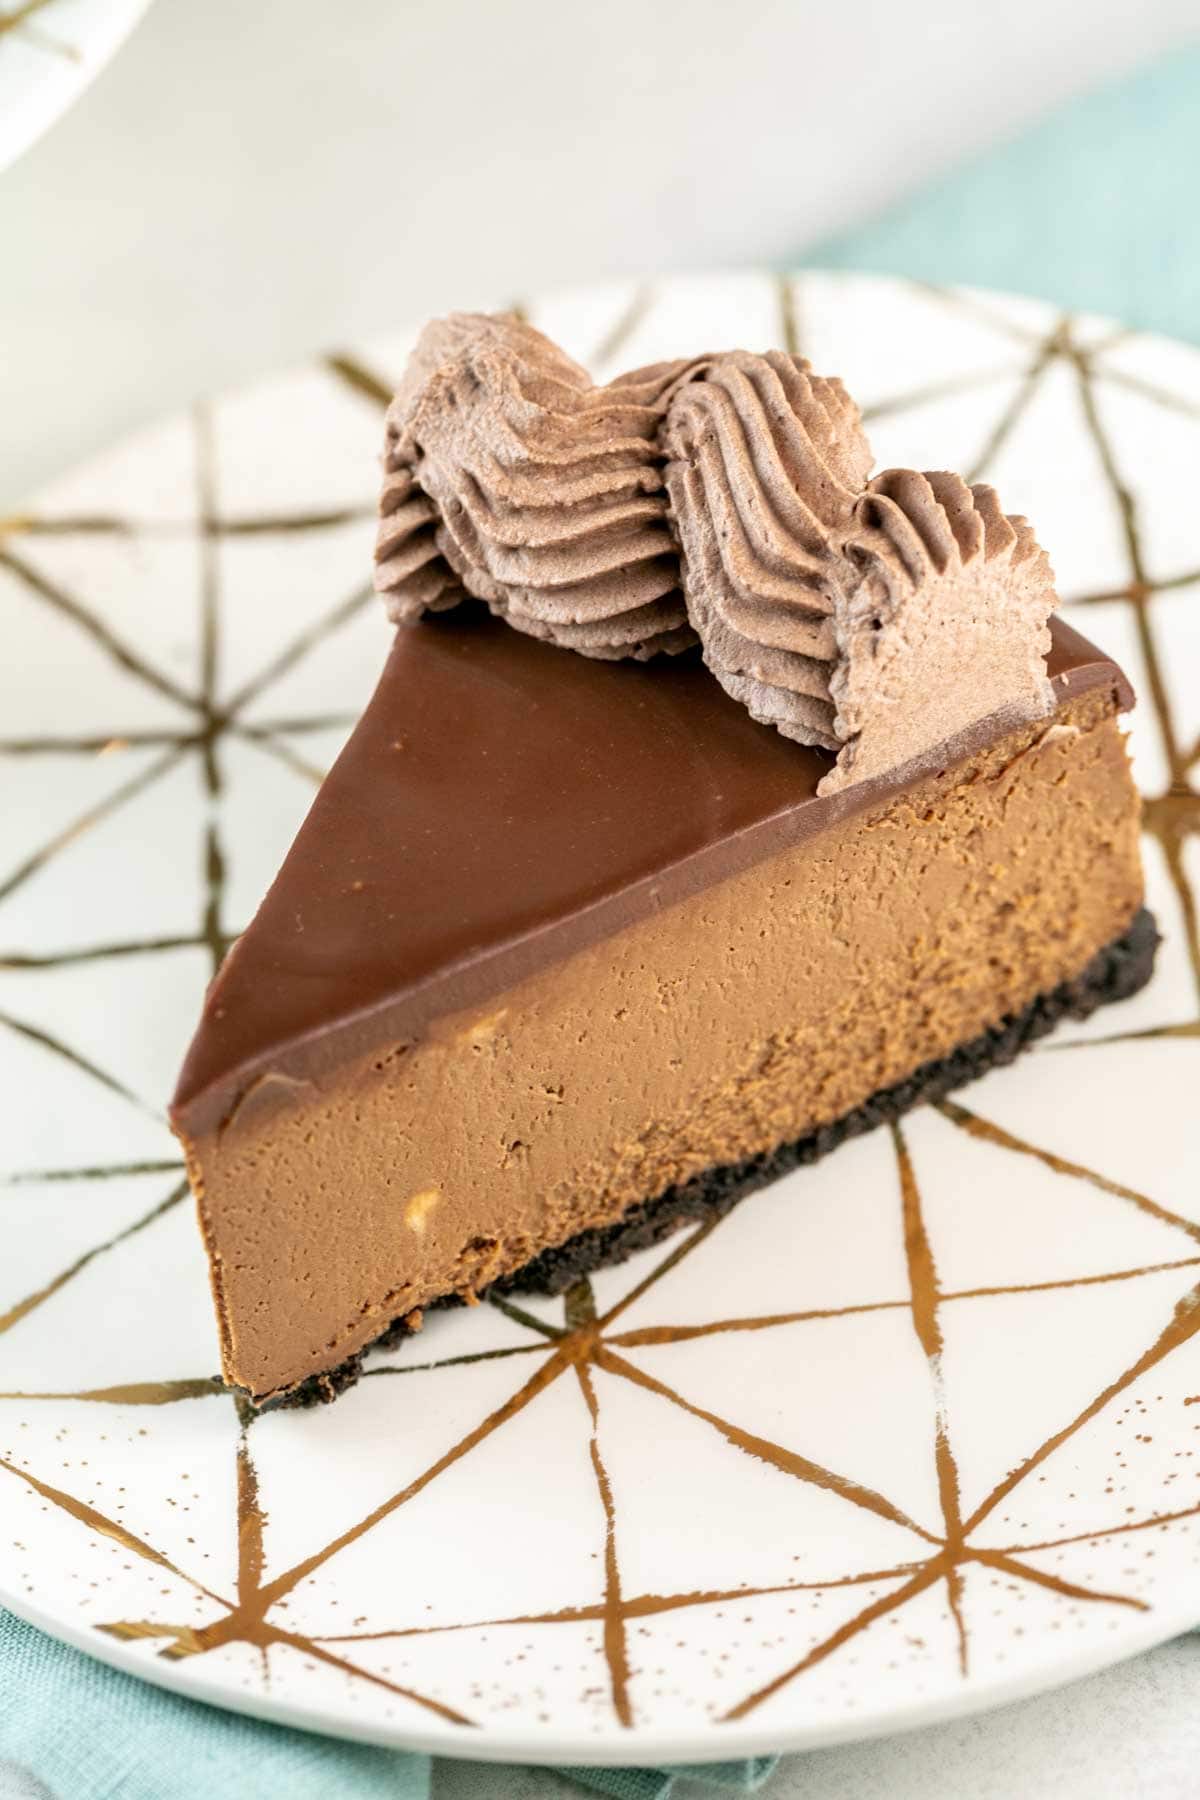
For even more decoration, I love to make extra ganache, whip it with an electric mixer, and use this whipped ganache as a frosting to pipe along the edge of the cheesecake! The spiral frosting border on the cheesecake in my pictures? It’s just the same ganache, with air whipped into it!
Recommended Tools to Make Dark Chocolate Cheesecake
- Springform Pan: This is my favorite 9″ metal springform pan.
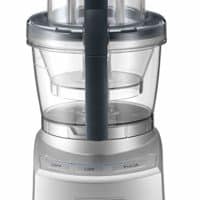
- Food Processor: I’ve had this food processor for over 10 years and it’s still going strong!
- Mixing Bowls: This set of stackable glass mixing bowls is perfect for melting chocolate and making the ganache.
- 10″ Cake Pan: The perfect size pan to use for a water bath.
- Roasting Pan: A large roasting pan is perfect to hold the 10″ cake pan for the water bath.
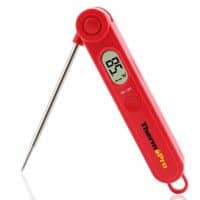
- Instant Read Thermometer: An instant-read thermometer is the best way to determine if your cheesecake is done.
Tips and Tricks for The Best Chocolate Cheesecake
- Use room temperature ingredients. Cold cream cheese and eggs are harder to mix smoothly, which often leads to overmixing and adds excess air into the batter. Make sure to set your ingredients out ahead of time to bring them to room temperature first!
- Avoid excess overmixing. Even if your ingredients are room temperature, you can still mix too much! Do you sometimes turn on your mixer and stop to wash some dishes or do something else and get distracted? (Just me?) Overbeating the batter adds too much air, which causes the cheesecake to puff up while baking and sink while cooling, leading to cracks.
- Grease the sides of the pan. If the crust stops halfway up the pan, grease the sides above the crust. A cheesecake shrinks as it cools, so you want it to pull away from the edges and shrink inwards. If the cheesecake sticks to the sides, cracks will form in the center as it shrinks.
- Use an instant-read thermometer to determine when the cheesecake is done. Take the cheesecake out of the oven when the temperature of the center of the cheesecake reaches 150 °F — no need to jiggle and shake and hope it’s done.
- Chill overnight before serving. I know, I know – you want to dig in right away. But an overnight chill will really help the cheesecake set and give you that perfectly cool, creamy texture!
More Cheesecake Recipes:
- Mint Chocolate Cheesecake
- Funfetti Cheesecake
- Ultimate Peanut Butter Cheesecake
- Chocolate Cherry Cheesecake
- Cookie Dough Cheesecake
- All Cheesecake Recipes »
Dark Chocolate Cheesecake
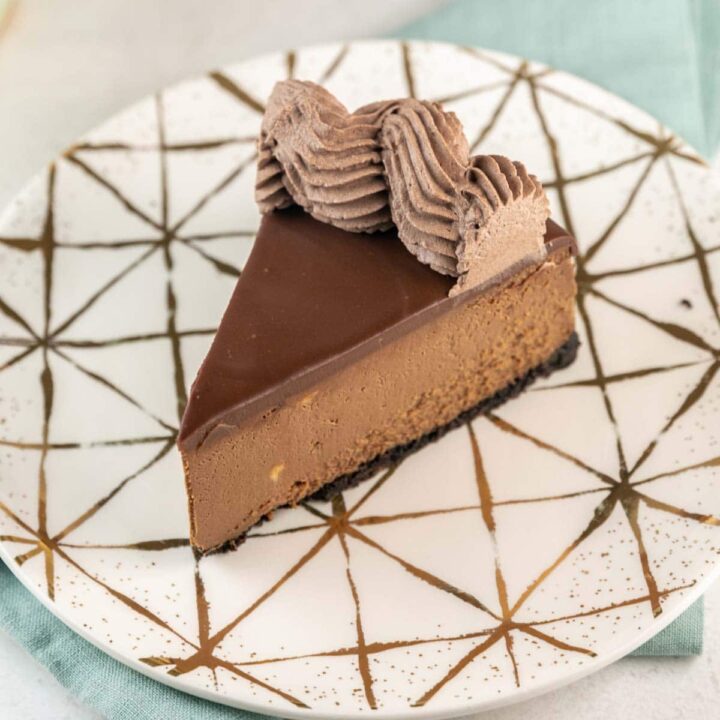
Rich, decadent deep chocolate cheesecake covered in rich chocolate ganache.
Ingredients
For the Crust:
- 30 Oreo cookies (340 grams)
- 1/4 cup (56.5 grams) unsalted butter, melted
For the Cheesecake:
- 9 ounces (255 grams) 60% dark chocolate, chopped
- 32 ounces (908 grams) cream cheese, room temperature
- 1 1/2 cup (297 grams) granulated sugar
- 1/4 cup (21 grams) natural unsweetened cocoa powder
- 4 large eggs, room temperature
For the Ganache:
- 6 ounces (170 grams) 60% dark chocolate, chopped
- 3/4 cup (170 grams) heavy cream
Instructions
- Preheat the oven to 350°F. Grease a 9-inch springform pan.
- Make the crust. Chop the cookies in a food processor until finely ground. Add in the melted butter and process until well blended. Press the crumbs evenly onto the bottom of the springform pan. Bake for 8-10 minutes, until just set. Allow crust to cool. Reduce the oven temperature to 325 °F.
- Make the cheesecake. Roughly chop 9 ounces of dark chocolate. Stir in a metal bowl set over a saucepan of simmering water until melted and smooth. Remove bowl from water and cool the chocolate until lukewarm but still liquid.
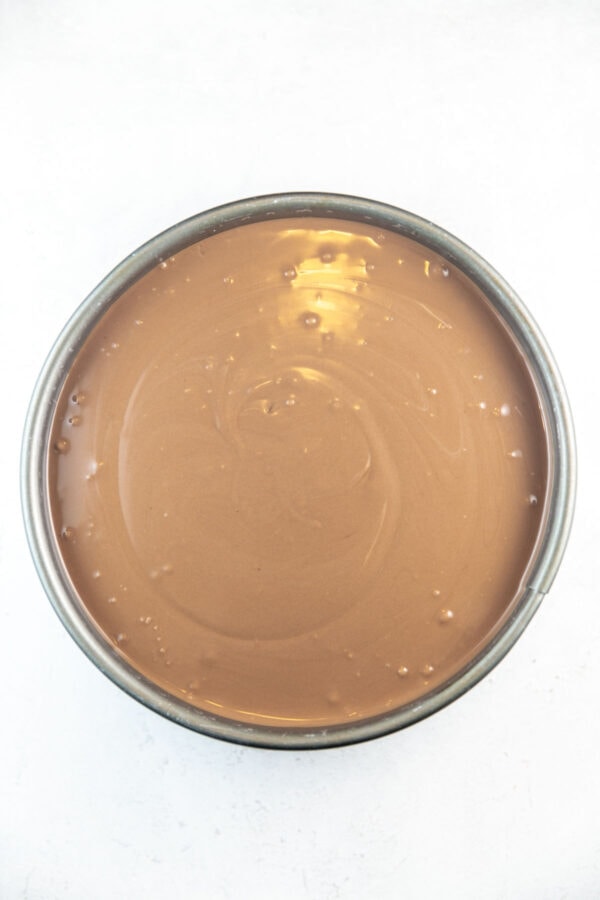
- Using the food processor or a mixer, beat together the cream cheese, sugar, and cocoa powder in a food processor or mixer until smooth. Blend in the eggs, one at a time. Mix in the melted chocolate.
- Prepare the springform pan. Wrap the springform pan in 3 layers of aluminum foil, or create a pan-in-pan water bath by placing the 9-inch springform pan inside a 10-inch cake pan (both pans together will be placed inside the water bath). Pour the cheesecake batter into the oreo cookie crust.
- Bake the cheesecake. Place the springform pan inside a larger pan and add hot water until the water level comes approximately halfway up the sides of the springform pan (or the outer cake pan). Bake at 325 °F for 75 minutes, or until the edges have set but a 3 to 4-inch diameter circle in the center of the cheesecake still jiggles. Turn off the oven and open the door slightly; cool in the warm oven for 30 minutes. After 30 minutes, remove the cheesecake from the oven and let it sit at room temperature for 1 hour before placing it in the refrigerator to chill for at least 4 hours, preferably overnight.
- Make the ganache. Stir together the heavy cream and dark chocolate in a heavy-bottomed saucepan over low heat until smooth (alternatively, heat together using a microwave). Cool slightly before pouring over the center of the cheesecake, spreading to within 1/2 inch of the edge. Chill until the topping is set, about one hour.
Notes
- Make sure all ingredients re room temperature to avoid excess overmixing.
- Use an instant-read thermometer to determine when the cheesecake is done - the center should reach 150 °F.
- Cool the cheesecake slowly, first in the oven and then on the counter.
- The cheesecake can be made without a water bath, but will always be creamier when using one.
- Cheesecake can be stored in the refrigerator for up to 5 days or frozen for up to 3 months.
Recommended Products
As an Amazon Associate and member of other affiliate programs, I earn from qualifying purchases.
