Ultimate Peanut Butter Cheesecake
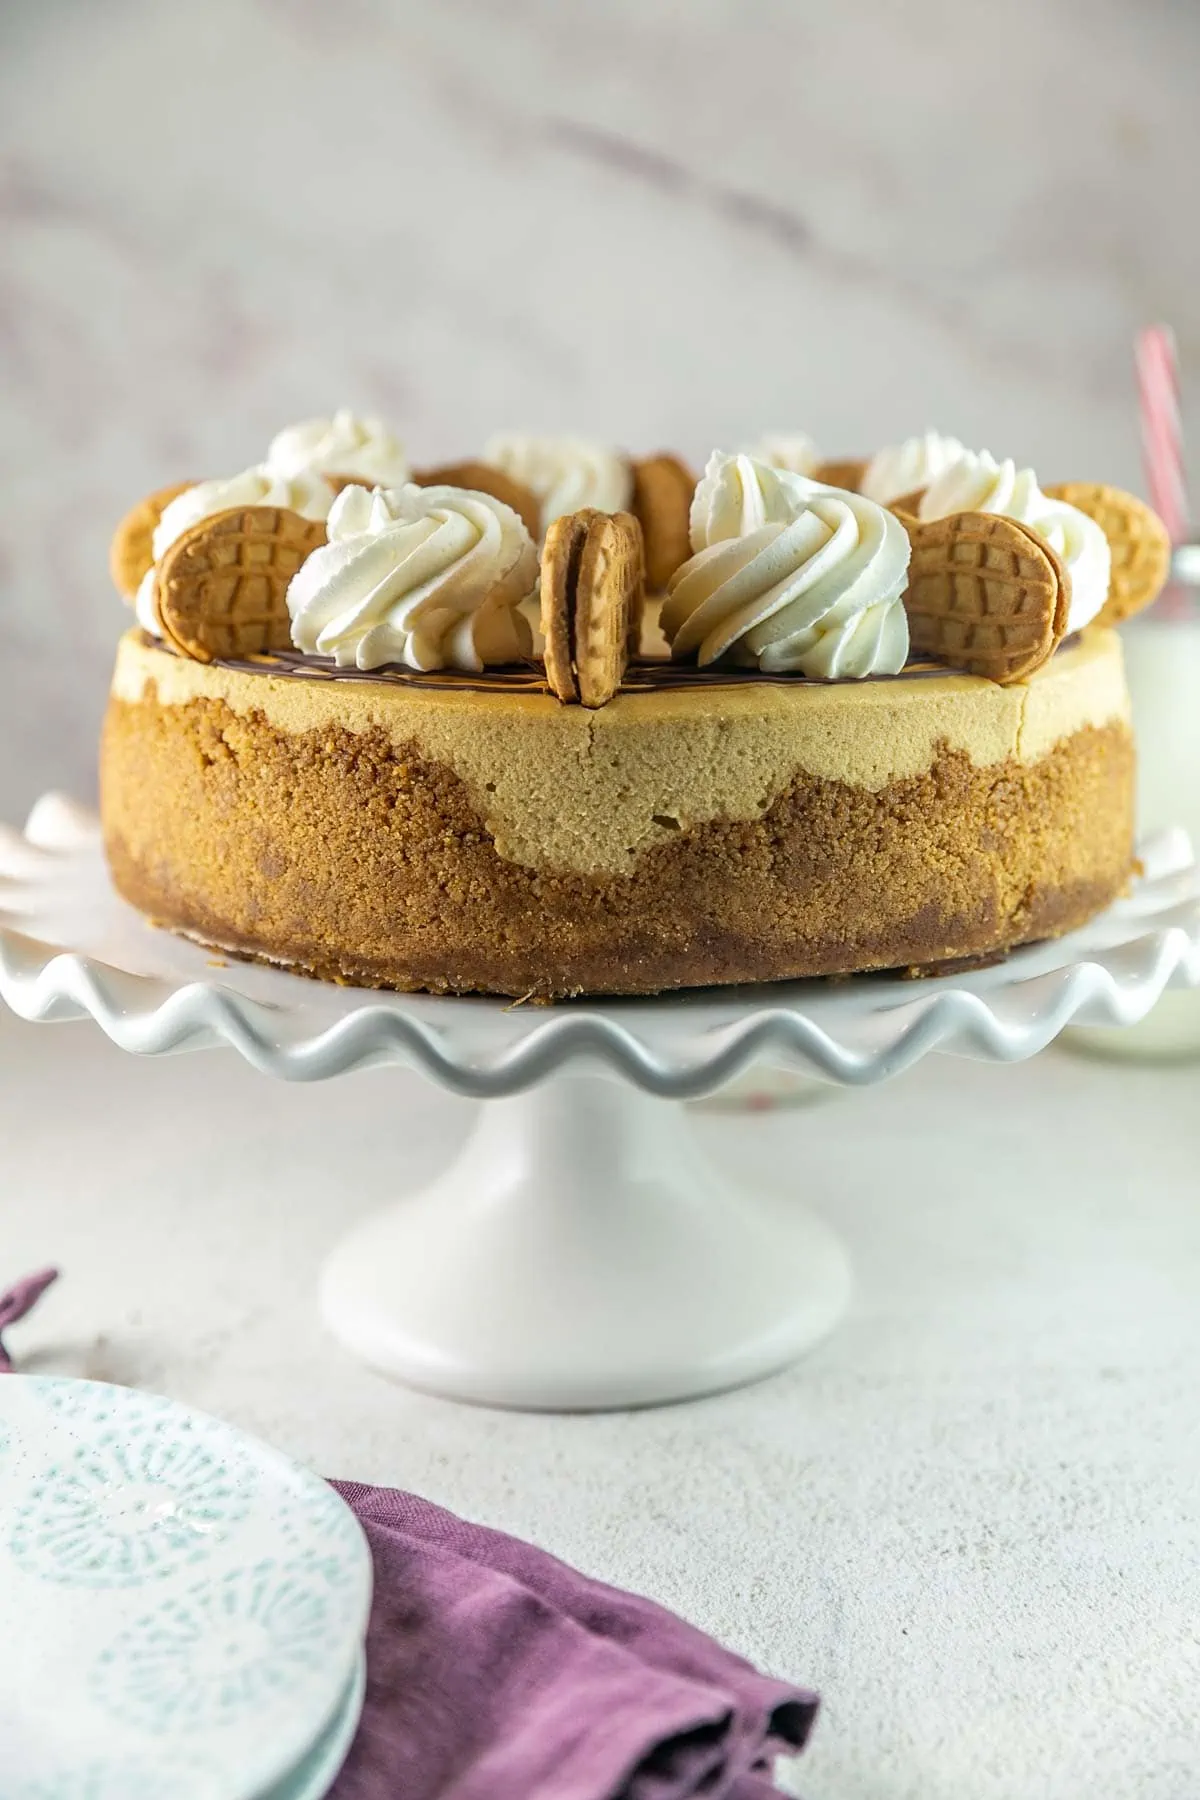
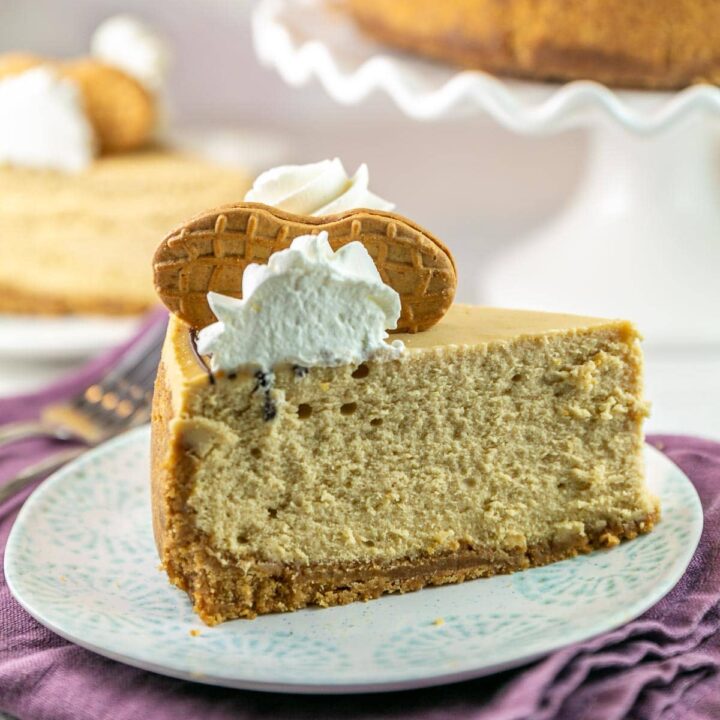
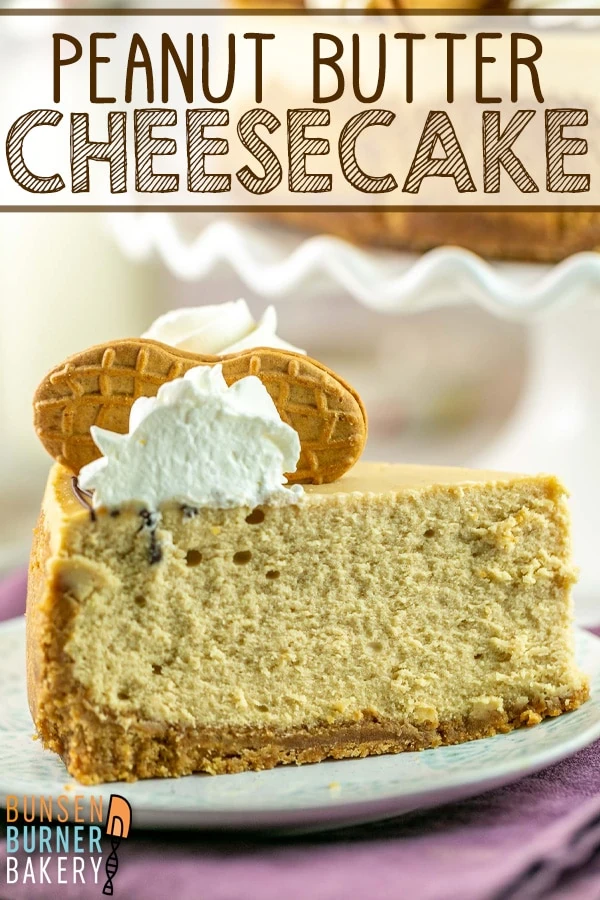
If you love peanut butter and cheesecake, you are going to love the ULTIMATE Peanut Butter Cheesecake! With a Nutter Butter crust, swirls of melted chocolate and peanut butter, and dollops of fluffy whipped cream, this is the perfect celebratory dessert for the peanut butter lovers in your life!
Hello, peanut butter lovers! Do I have the recipe for you!
If you love peanut butter and you love cheesecake, you need (yes, need!) this in your life.
This isn’t just any old peanut butter cheesecake. It’s the ultimate peanut butter cheesecake.
What does that mean? It means we’ve jam-packed all the peanut butter we can into this creamy, dreamy, silky, delicious cheesecake.
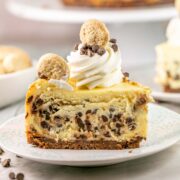
Forget a graham cracker crust — we’re doing a Nutter Butter crust. With extra Nutter Butters on top, of course.
And whipped cream swirls, because every dessert is made better with whipped cream swirls!
If you’re new to making cheesecakes, don’t worry – you can make this! Read on for all the step-by-step instructions for a perfect cheesecake every time!
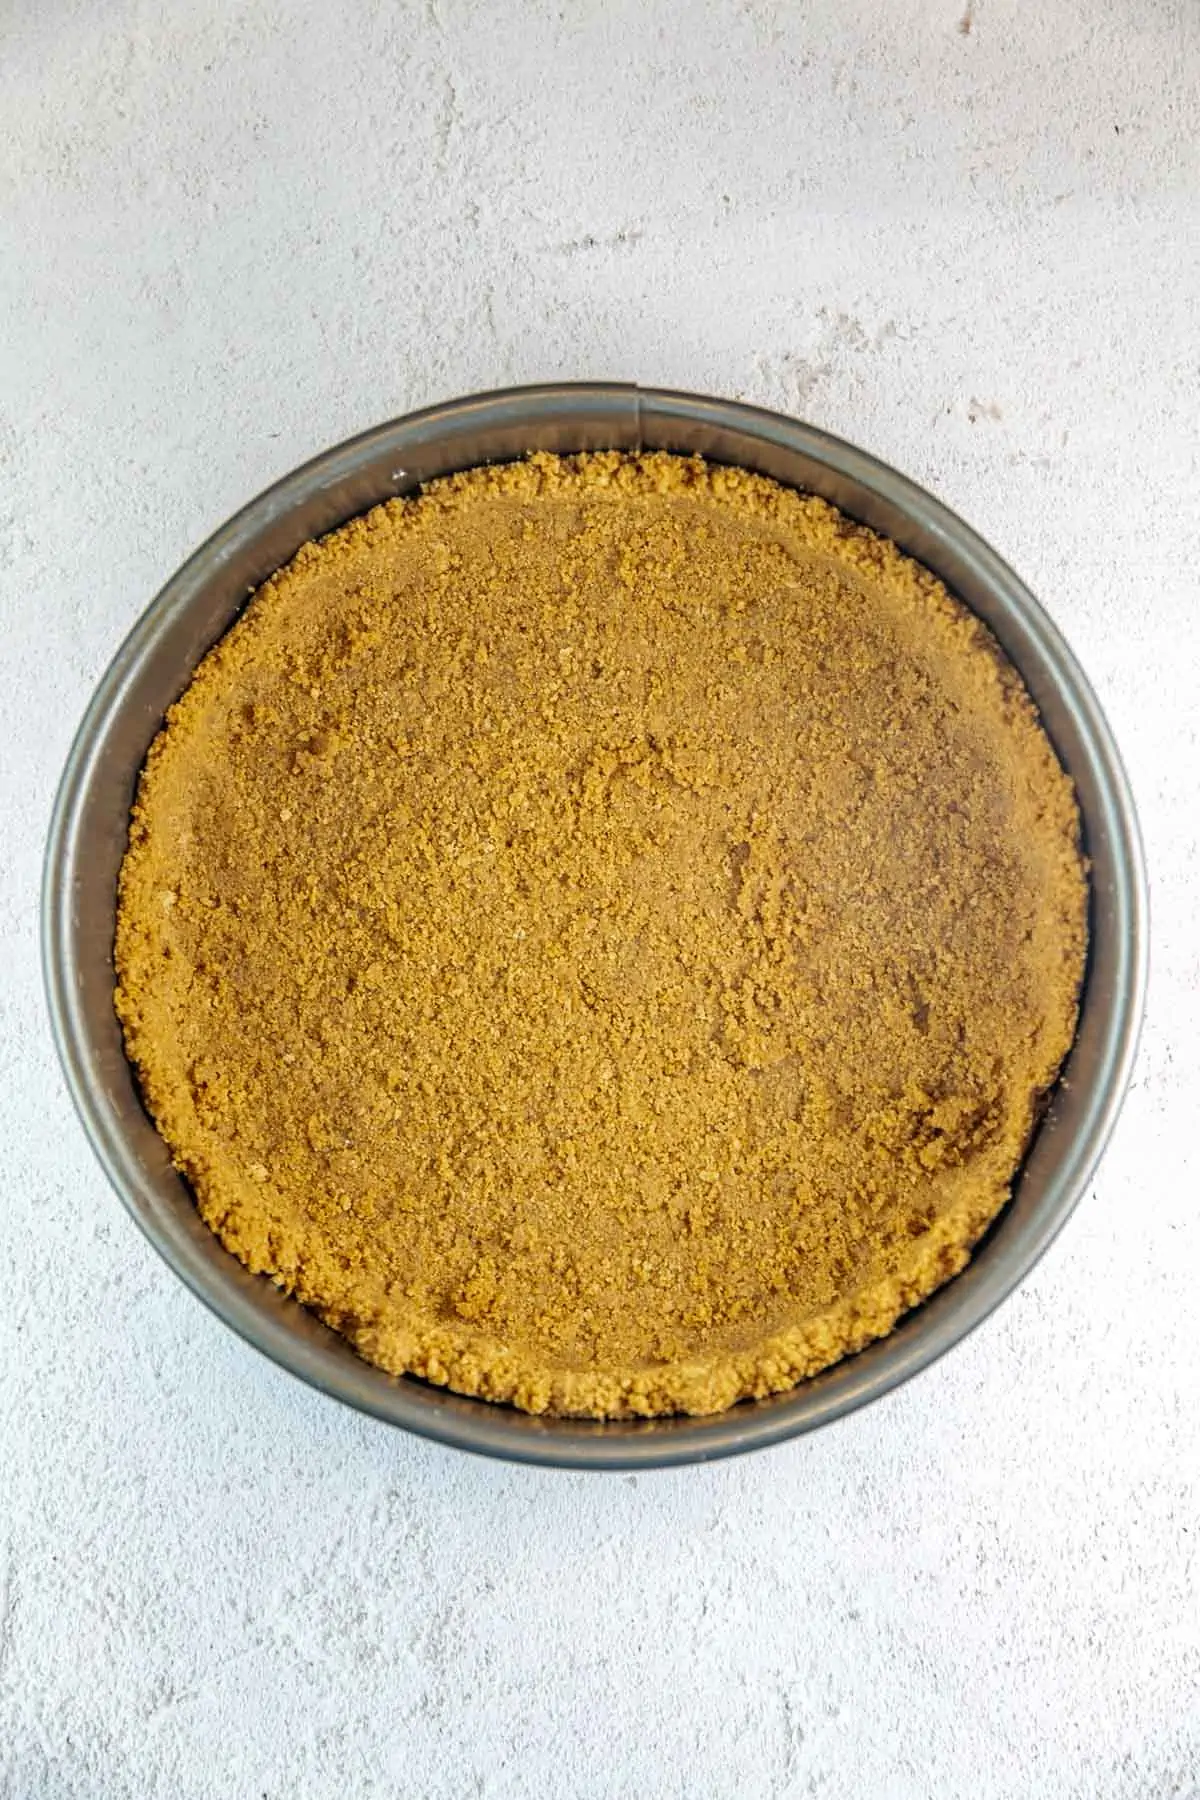
Nutter Butter Cookie Crust
Yes, you can do a graham cracker crust or an Oreo crust. (Chocolate and peanut butter IS a winning combination, after all.)
Buuuuut we’re packing this full of the most peanut butter flavor possible, which means a nutter butter cookie crust!
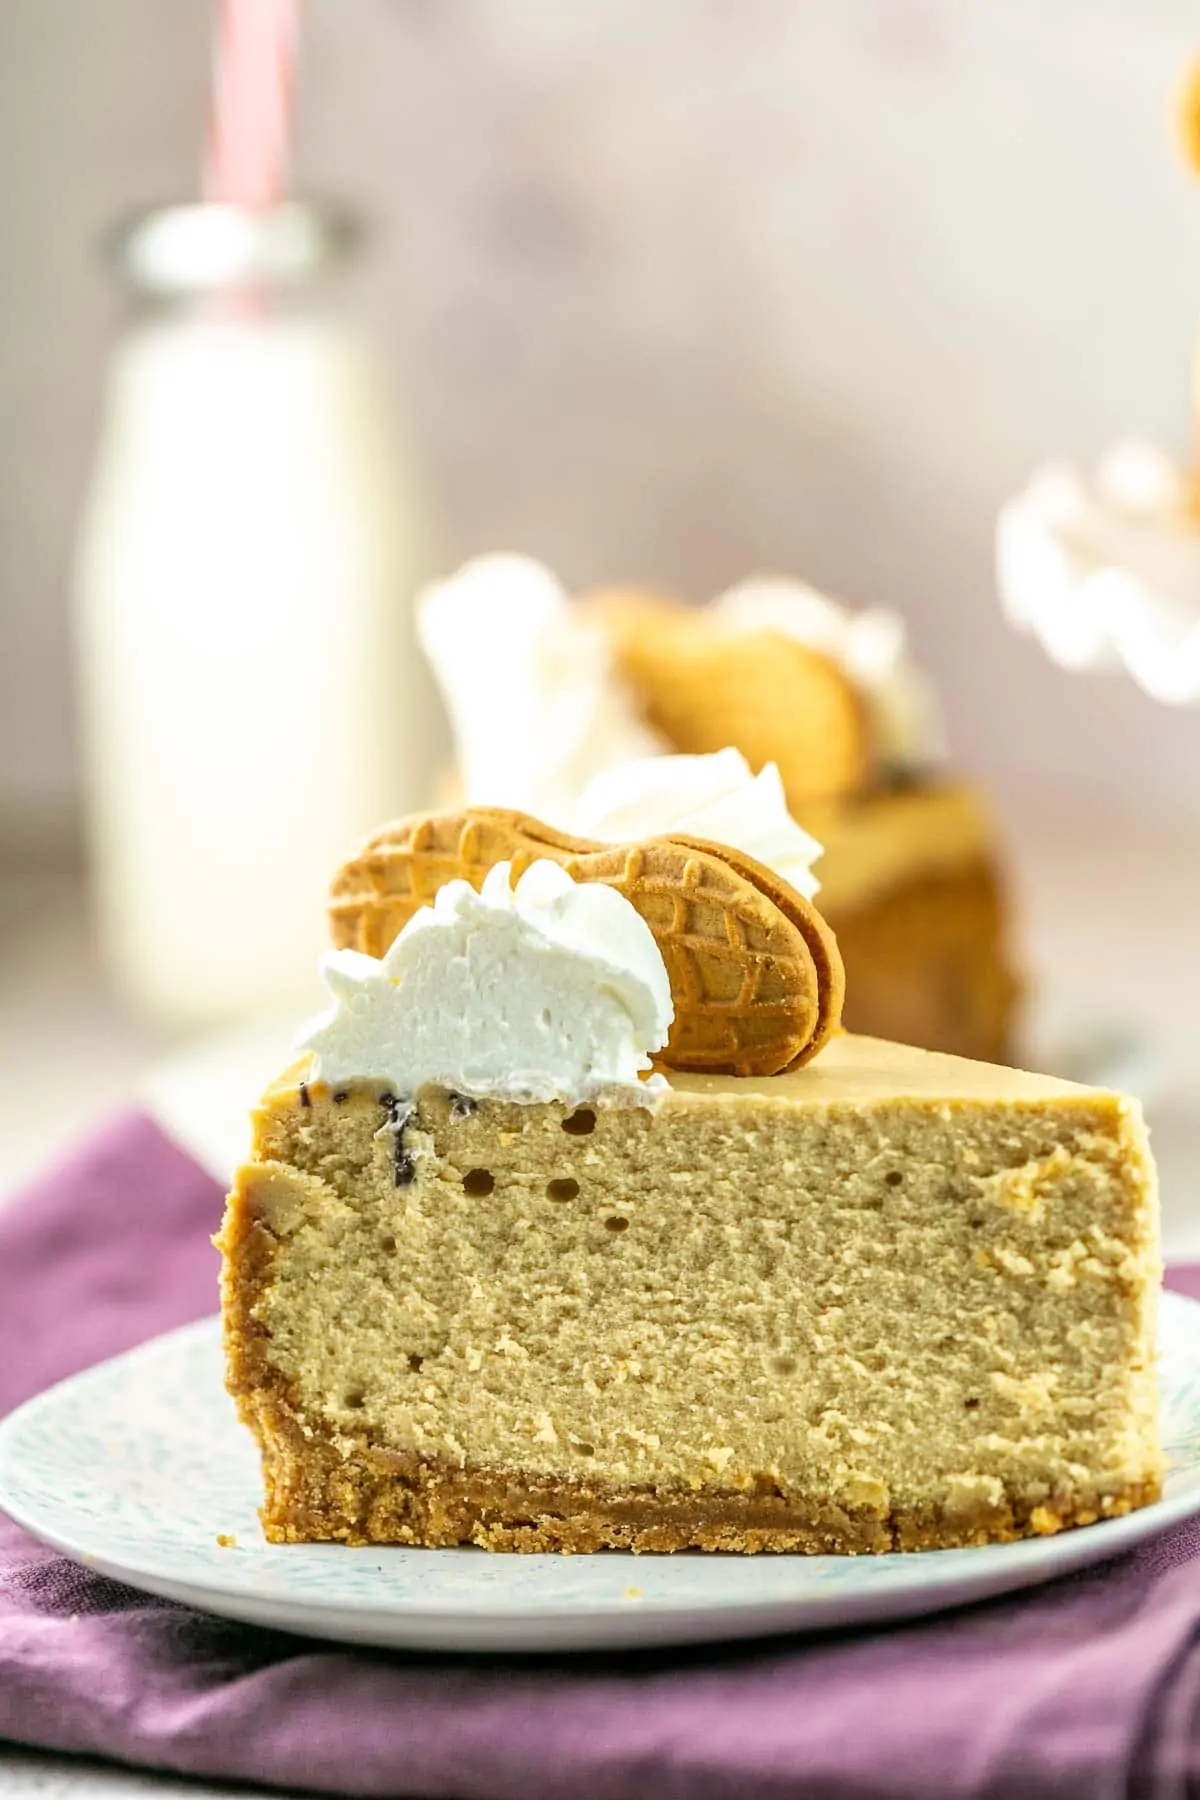
If you’re not familiar with Nutter Butters, they’re peanut butter sandwich cookies – peanut butter flavored cookies filled with a peanut butter filling. Think Oreos, but all peanut butter.
If you can’t find Nutter Butters, substitute any peanut butter sandwich cookie, or use regular peanut butter cookies.
To make the crust, crush the cookies into a fine, sand-like consistency. Mix with melted butter, press into a springform pan, and bake.
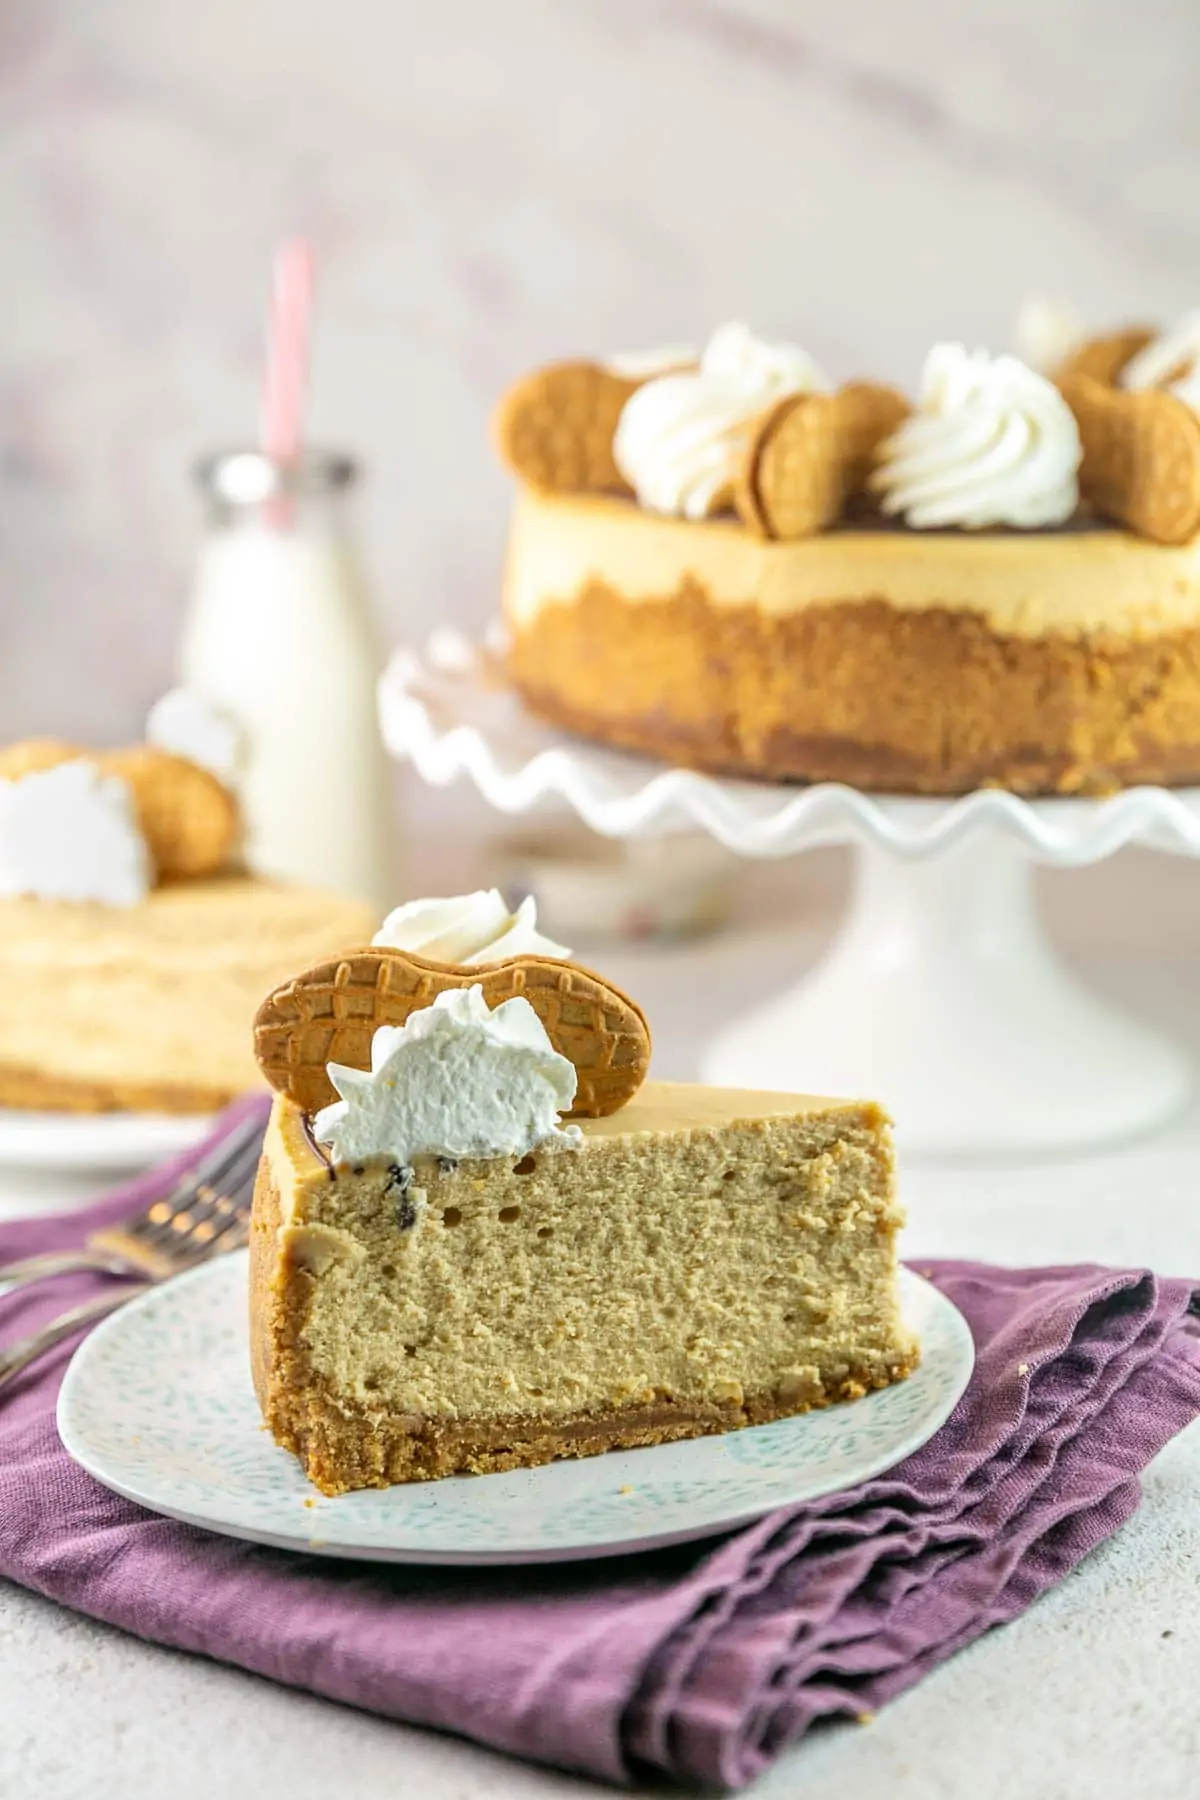
Creamiest Peanut Butter Filling
Let’s talk about getting the best texture AND flavor out of the peanut butter cheesecake itself.
We’re going to include all the usual suspects in my many cheesecake recipes: cream cheese, sour cream, and eggs.
This time, we have a few extra additions. Peanut butter, of course – it is a peanut butter cheesecake, after all! And brown sugar, in lieu of the traditional granulated sugar. This adds an extra peanut butter cookie-ish flavor to the cheesecake. Finally, we’re also adding one extra egg yolk to the eggs, for an even creamier texture.
One tip that makes a huge difference in both texture and flavor? Use commercial peanut butter, not natural (the kind that separates and requires stirring). Why? It’s time for my favorite subject… kitchen chemistry!
Kitchen Chemistry
Commercial peanut butters undergo a homogenization process, which adds a stabilizer to the ground peanuts to eliminate the separation of oils. Because of this homogenization, commercial peanut butter will not separate out after temperature fluctuations, unlike natural peanut butter.
So why does this matter? Natural peanut butter will separate out as the cheesecake bakes and then chills, resulting in patches of oil and a grittier texture.


Storing Cheesecake
Once the cheesecake is baked and cooled, it should be stored in the refrigerator for up to a week.
There are often water droplets that settle on the top of the cheesecake after refrigeration. This is normal and due to condensation. Use a paper towel to gently press on the surface of the cheesecake to absorb any of the water.
Cheesecakes also freeze beautifully and are a perfect make-ahead dessert!
To freeze the whole cheesecake, leave off the whipped cream and decorative Nutter Butters. Refrigerate until chilled, then wrap the entire cheesecake in a layer of plastic wrap and a layer of aluminum foil. Freeze for up to 3 months. To use, thaw in the refrigerator and add the whipped cream and nutter butters before serving.
Individual slices of cheesecake can also be frozen. Place cut slices on a cookie sheet and freeze until the whipped cream on top is solid. Wrap each slice in plastic wrap, followed by a layer of aluminum foil, and store in a freezer bag. Unwrap each slice before thawing it in the refrigerator.

Recommended Tools for Peanut Butter Cheesecake
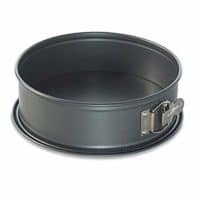
- 9-inch Springform Pan: The cheesecake is baked in a 9-inch springform pan, and this one is my favorite.
- 10-inch Round Cake Pan: The easiest way to do a water bath is to place the springform pan inside another round pan.
- Large Roasting Pan: The springform pan and 10-inch round cake pan can be placed in a roasting pan full of water for the water bath.
- Food Processor: A food process makes crushing the Nutter Butters for the crust quick and easy.
Tips and Tricks for the Best Peanut Butter Cheesecake
- Use all room temperature ingredients! If the cream cheese is too firm, the batter will not be smooth and the resulting lumps are likely to cause cracks.
- Don’t overmix the batter! Overmixing adds additional air, which can also lead to cracks in the cheesecake. Always keep the mixer speed on low.
- Scrape the sides of the bowl frequently while mixing. This ensures all ingredients are well mixed and no pockets of cream cheese are left in the bottom of the bowl.
- Bake the cheesecake in a water bath. The water bath creates additional steam which keeps the texture creamy and helps prevent cracking. Either wrap the springform pan with several layers of aluminum foil and place this inside a pan full of water, or place the 9-inch springform pan inside a 10-inch round cake pan, and then place both together inside a larger pan filled with water.
- Bake until there is a 2-3 inch diameter circle in the center which is still very jiggly. Alternatively, use an instant-read thermometer and bake until the cheesecake reaches an internal temperature of 145 °F.
- Cool slowly and gently. Abrupt changes in temperature cause a cheesecake to deflate and rack. Turn off the oven, leave the door open an inch, and let the cheesecake cool.
More Peanut Butter Recipes
- Chocolate Peanut Butter Banana Pretzel Pie
- No Bake Oreo Peanut Butter Pie
- Peanut Butter Stuffed Brownies
- Chocolate Peanut Butter Cup Bundt Cake
- Peanut Butter Cup Cheesecake Dip
- Chocolate Peanut Butter Cup Cake
- All Peanut Butter Recipes ≫
2022 Cheesecake of the Month Series
-

- Funfetti Cheesecake

-
- Red Velvet Cheesecake

-
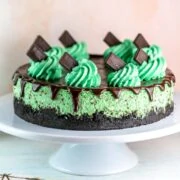
- Mint Chocolate Cheesecake
-
- Peanut Butter Cheesecake

-
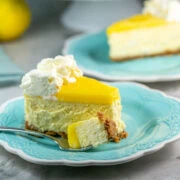
- Lemon Cheesecake
-
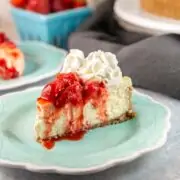
- Strawberry Cheesecake
-
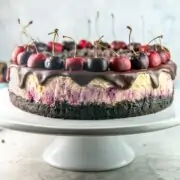
- Chocolate Cherry Cheesecake
-
- S’mores Cheesecake

-
- Cookie Dough Cheesecake
-
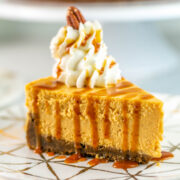
- Sweet Potato Cheesecake
-
- Turtle Cheesecake
-
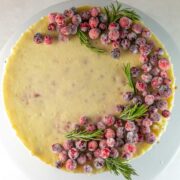
- Cranberry Cheesecake
Peanut Butter Cheesecake
With a Nutter Butter crust, swirls of melted chocolate and peanut butter, and dollops of fluffy whipped cream, this Peanut Butter Cheesecake is the perfect celebratory dessert for the peanut butter lovers in your life!
Ingredients
For the Crust:
- 30 Nutter Butter peanut butter sandwich cookies cookies
- 6 tablespoons (85 grams) unsalted butter, melted
For the Cheesecake:
- 32 ounces (908 grams) cream cheese, room temperature
- 1 cup (270 grams) creamy peanut butter
- 1/2 cup (113 grams) sour cream, room temperature
- 1 1/4 cups (266 grams) brown sugar, packed
- 3/4 teaspoon kosher salt
- 2 teaspoons vanilla extract
- 4 large eggs plus 1 egg yolk, room temperature
For the Whipped Cream:
- 3/4 cup (170 grams) heavy cream
- 2 tablespoons confectioners' sugar
- 1/2 teaspoon vanilla extract
To Decorate:
- 8 Nutter Butter cookies
- 1/4 cup (42 grams) chocolate chips (optional)
- 1/4 cup peanut butter chips (optional)
Instructions
- Make the crust. Preheat oven to 350 °F. Add Nutter Butters to a food processor and chop or crush into fine crumbs by hand. Pour in melted butter and mix using the food processor. Press the crumbs along the bottom and extend up the sides of a 9-inch springform pan, compacting the crumbs as much as possible. Bake for 10 minutes, then remove from oven. Reduce oven temperature to 325 °F.
- Make the cheesecake. Using an electric mixer with the whisk attachment, beat together the cream cheese and peanut butter until smooth and well combined, 2 to 3 minutes. Mix in the sour cream, brown sugar, salt, and vanilla extract, stirring until well combined. Crack the four eggs plus one extra egg yolk into a small bowl and mix with a fork to break up the yolks. Slowly pour roughly a quarter of the eggs into the cream cheese mixture, mix to combine, and repeat until all eggs are added. Do not over-mix the cheesecake - this makes it more likely to crack. Using a rubber spatula, scrape down the sides and along the bottom of the bowl several times while mixing ingredients.
- Prepare the springform pan. Wrap the springform pan in 3 layers of aluminum foil, or create a pan-in-pan water bath (recommended) by placing the 9-inch springform pan inside a 10-inch cake pan (both pans together will be placed inside the water bath). Pour the cheesecake batter into the prepared Nutter Butter crust.
- Bake the cheesecake. Place the springform pan inside a larger pan with high sides and pour in hot water until the water level comes approximately halfway up the sides of the springform pan (or the outer cake pan). Bake at 325 °F for 60 to 70 minutes, or until the edges have set but a 3-inch diameter circle in the center of the cheesecake still jiggles. Turn off the oven and open the door slightly; cool in the warm oven for 30 minutes. After 30 minutes, remove the cheesecake from the oven and let it sit at room temperature for 1 hour before placing in the refrigerator to chill for at least 4 hours, preferably overnight.
- Make the whipped cream. Once the cheesecake has cooled, make the whipped cream. Using a hand mixer, stand mixer, or immersion blender with a whisk attachment, whisk together the heavy cream, confectioners' sugar, and vanilla extract until stiff peaks form.
- Decorate the cheesecake. If desired, melt the chocolate chips in the microwave and drizzle the melted chocolate around the edges of the cheesecake. Repeat with the peanut butter chips. Pipe the whipped cream onto the cheesecake and decorate with the additional Nutter Butter cookies.
Notes
- Use room temperature ingredients to ensure proper mixing with no lumps.
- Mix the batter thoroughly, but do not overmix or mix on high speed which incorporates additional air into the batter.
- Scrape the sides and bottom of the bowl frequently while mixing the batter.
- Bake until the center of the cheesecake still jiggles, or reaches a temperature of 145 °F on an instant-read thermometer.
Cheesecake can be refrigerated for up to 5 days or frozen for up to 3 months.
Recommended Products
As an Amazon Associate and member of other affiliate programs, I earn from qualifying purchases.


Making this now, adding in butterfingers! Smells great!
Oooooh butterfingers sounds like a great addition!!
Is step 5, Make the Ganache, an optional step? I don’t see ingredients or quantities for that step and the picture of the cheesecake doesn’t like it has a ganache on it.
You are totally right – that shouldn’t have been in there, there’s no ganache in this cheesecake! Recipe has been updated to take that part out, thank you!
This was soo good. Cheesecakes are not my forte, but this came out great. I could have used a few more minutes in the oven, and a few more seconds on the whip cream, but still great. Made it for our son’s birthday. Now I have to make it for my grandson’s birthday, too.
Hi, so I have made this twice and both times it comes out with like a tang flavor. Which I do not like. Is it because of the sour cream? I’m so confused on why it does not come out with out that flavor. Can you omit the sour cream. I have made many other cheesecakes and have never had this happen, and the only thing that is drastically different is the sour cream.
Hi Persi – I include sour cream in every cheesecake recipe on my site and have never had a comment about a tang flavor before, so I don’t think it’s the sour cream!
The tang is from the cream cheese and the sour cream. Sour cream always adds an extra slight acidic tang and is usually added not only for extra creaminess but to cut through the sugar. I do not like the tang it gives either to cheesecake so I just swap out the same amount of heavy cream in its place. Works perfectly, I think even better. Just my opinion.
I’m making this for the first time and am no cheesecake expert. After the cheesecake comes out of the oven, do you take it out of the water bath and unwrap the foil?
Hi Tiffany! You can take it out of the water bath to cool and remove the foil at any point – I usually wait until the foil has cooled and dried off a bit, but you can also remove the foil immediately if you prefer!
Made this a few days ago and this time with this cheesecake I purposefully did not add the sour cream, came out great like when I accidentally forgot the sour cream in the chocolate cherry cheesecake.