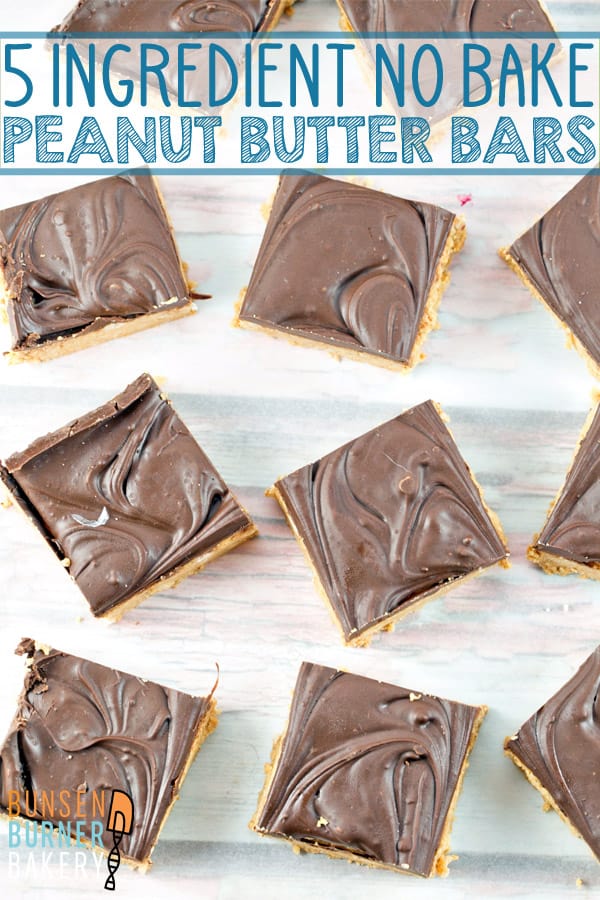
No Bake Peanut Butter Bars
Five ingredients and ten minutes are all you need for these No Bake Peanut Butter Bars. Grab one quick: this crowd-pleasing favorite will disappear before your eyes!
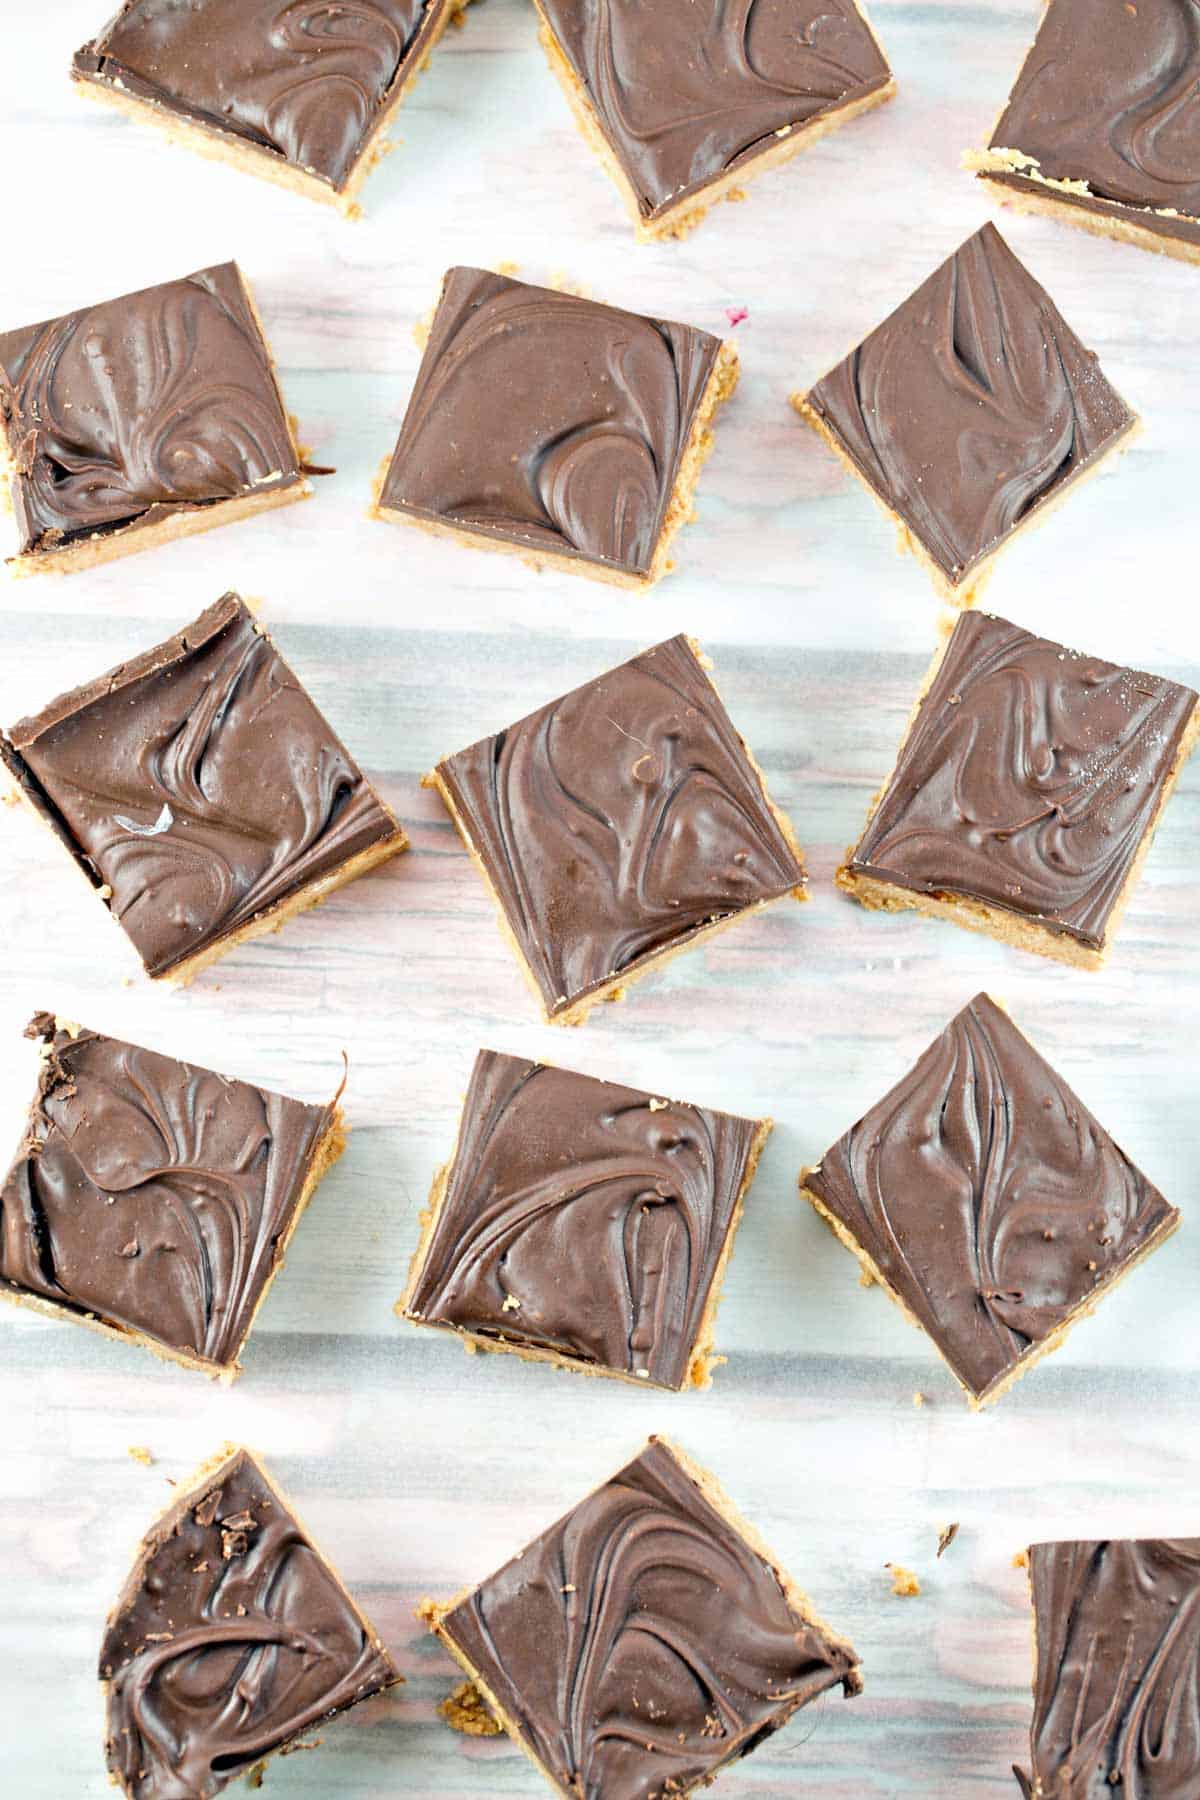
The simplest foods are so often the best, right? Like these five-ingredient no-bake peanut butter bars.
These are both one of the easiest possible desserts I have ever made and also one of my most frequently requested treats.
Do you have a 9×13-inch pan? Do you have a microwave-safe bowl and a microwave? How about a mixing spoon?
Congratulations: you’re all set to make no-bake peanut butter bars!
Hardly a party or event goes by when friends do not ask me to bring along a batch of peanut butter bars. I am always happy to oblige because of the minimal effort involved. I’m pretty sure I could make them in my sleep!
And yet despite how easy these are, they are so popular. There are never any leftovers after a party! Crowd-pleasing and easy peasy? Now that’s a winning dessert!
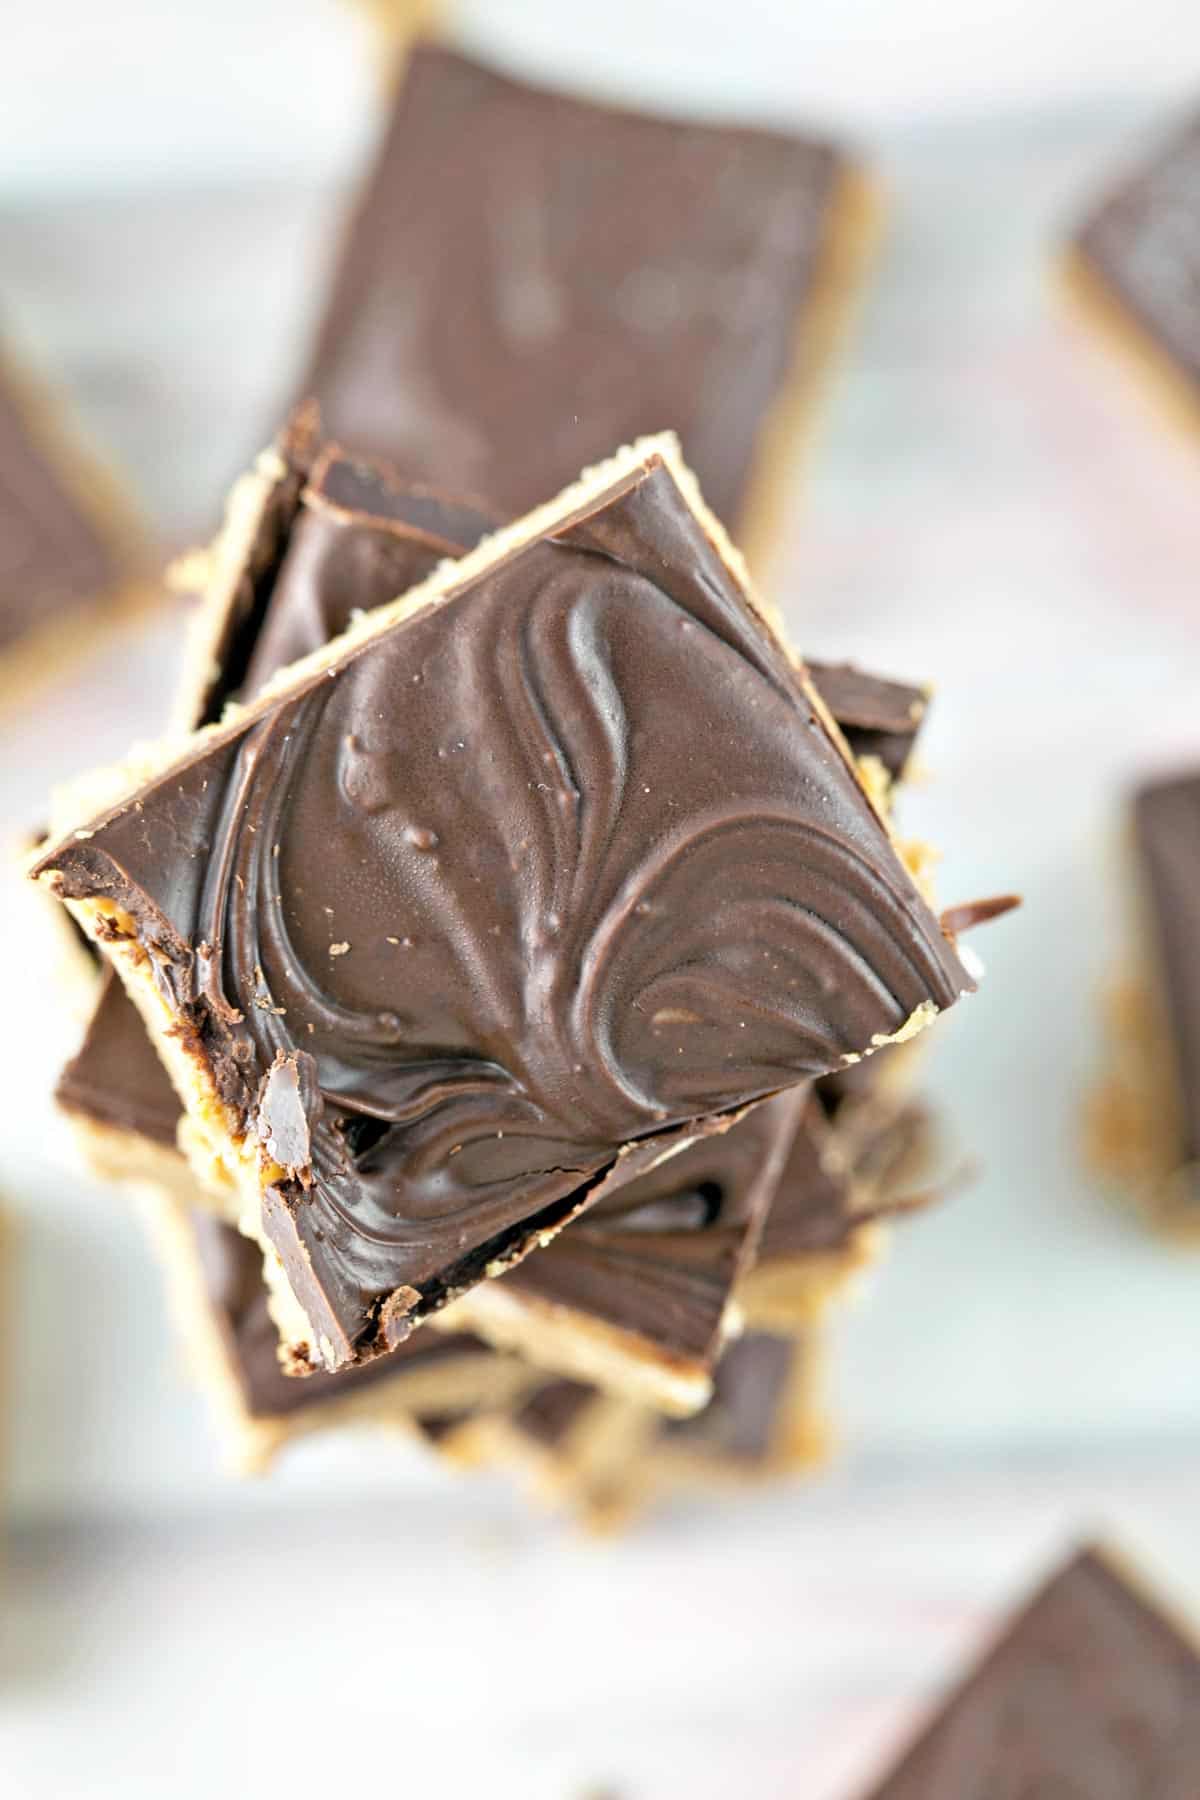
Ingredients and Substitutions for Peanut Butter Bars
Are you ready for the 5 ingredients for these ridiculously easy peanut butter bars? Here we go!
- Butter: Salted. Unsalted. It doesn’t matter. Dairy-free? Use margarine or vegan butter. It’s all fine.
- Confectioners’ Sugar: You’ll need to use confectioners’ sugar, also called powered sugar, to make these.
- Graham Cracker Crumbs: Any brand. Buy premade crumbs. Buy full-size graham crackers and toss them in a food processor. Use gluten-free graham crackers to keep this gluten-free. You can even swap out the type of cookie – use shortbread or chocolate wafers.
- Peanut Butter: Creamy or chunky work, just make sure this is commercial peanut butter and not natural! (See more on this below.)
- Chopped Chocolate or Chocolate Chips: We’ll cover the whole top with melted chocolate. Use whatever you have on hand – chopped chocolate bars, chocolate chips, dark chocolate, semi-sweet chocolate, milk chocolate. It all works!
Now, why do we have to use commercial peanut butter? Is it really important? Yes! It does make a big texture difference in the end!
Kitchen Chemistry
Commercial peanut butter undergoes a homogenization process, which adds a stabilizer to the ground peanuts to eliminate the separation of oil. As a result of this homogenization, commercial peanut butter will not separate out after temperature fluctuations. Using “natural” peanut butter often results in a greasy texture after refrigeration, as the oil separates out.
If you’re really set on using natural peanut butter, or want to switch and use almond butter or cashew butter instead, add an extra cup of confectioners’ sugar to the peanut butter mixture to absorb the extra oil.
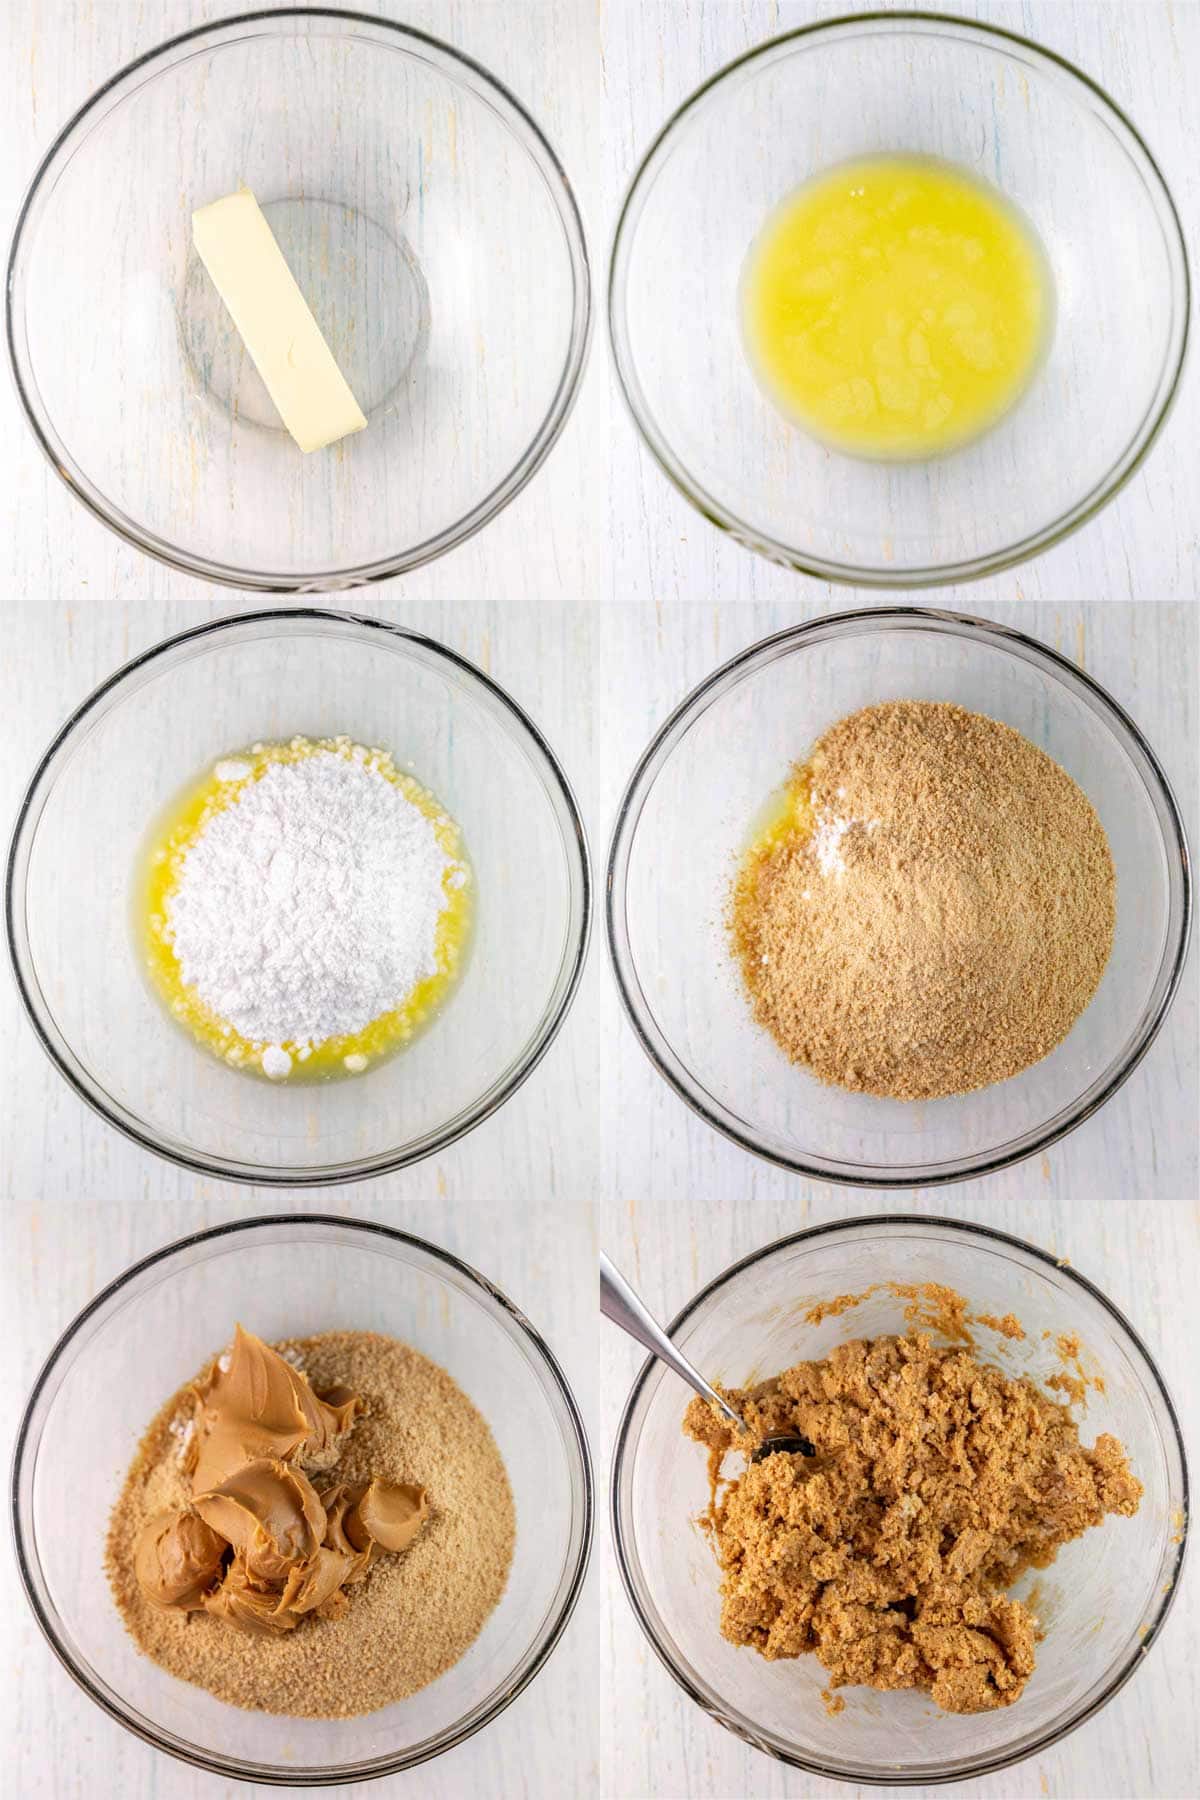
Easiest No Bake Dessert
Are you ready for this really long, complicated recipe? Let’s go!
- Melt butter in the microwave.
- Mix in sugar, graham cracker crumbs, and peanut butter.
- Spread this mixture in a pan.
- Melt chocolate.
- Pour melted chocolate over the peanut butter mixture.
- Wait for everything to cool. <— the hardest step, BY FAR
Seriously, that’s it. Five ingredients. Ten minutes (plus cooling time). Delicious peanut butter bars. Boom.
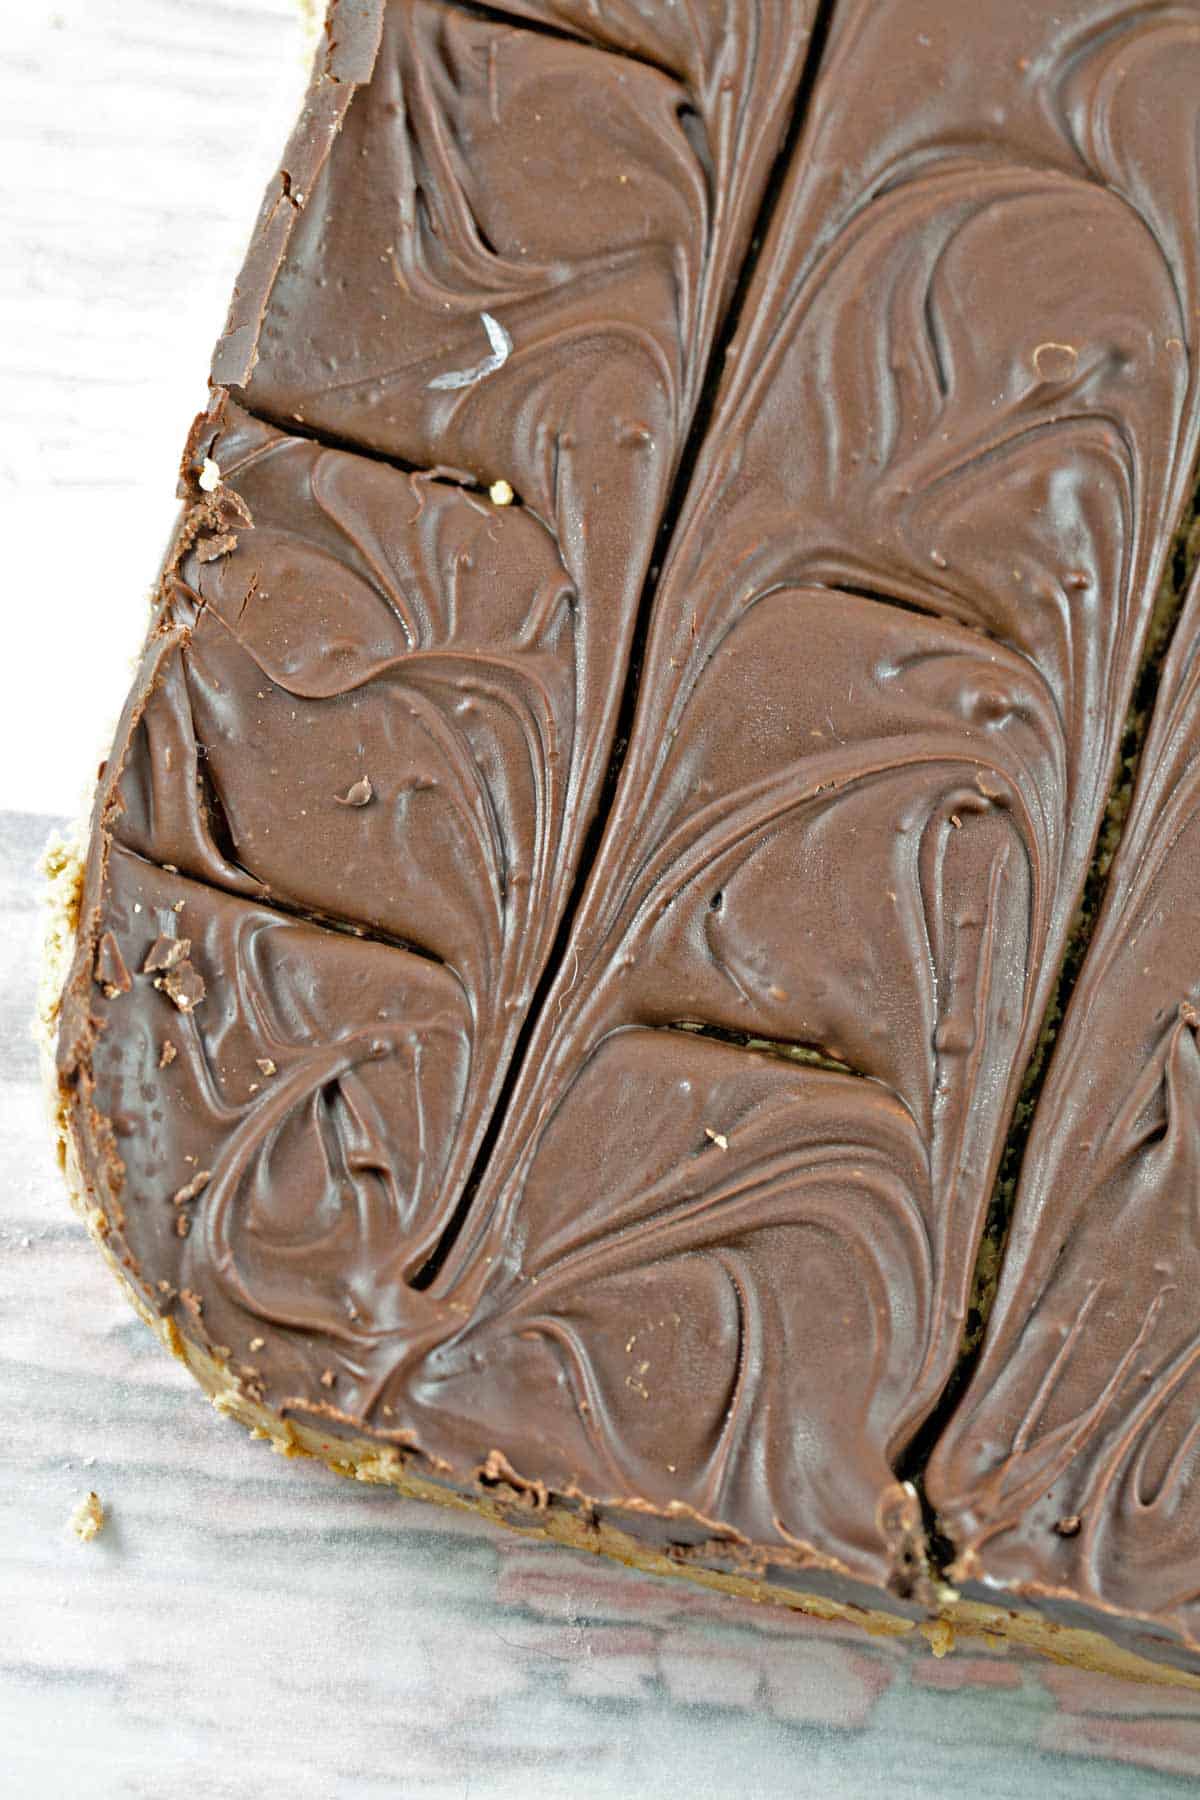
One helpful tip: let the chocolate cool a little before pouring it into the pan. Then use a knife to score the cut marks where the bars will be cut (see photo below). Set the pan aside at room temperature for an hour while the chocolate solidifies, then use your knife to trace through the score marks once again before either keeping the bars at room temperature for additional time or transferring them to the refrigerator.
If you don’t make these score marks, the chocolate layer on top may crack when you cut the bars. Still totally delicious – just not as neat and pretty!
Using Other Nut Butters
People often ask if you can make these with other kinds of nut butter. Yes, of course! I mean, then they’ll be almond butter bars or cashew butter bars, but yes of course.
Just make sure to mix the nut butter really, really well first if it’s the ‘natural’ kind that requires stirring — and if the mixture feels too ‘greasy’ add an extra 1/2 to 1 cup of powdered sugar.
The world is your oyster when it comes to peanut butter bars!
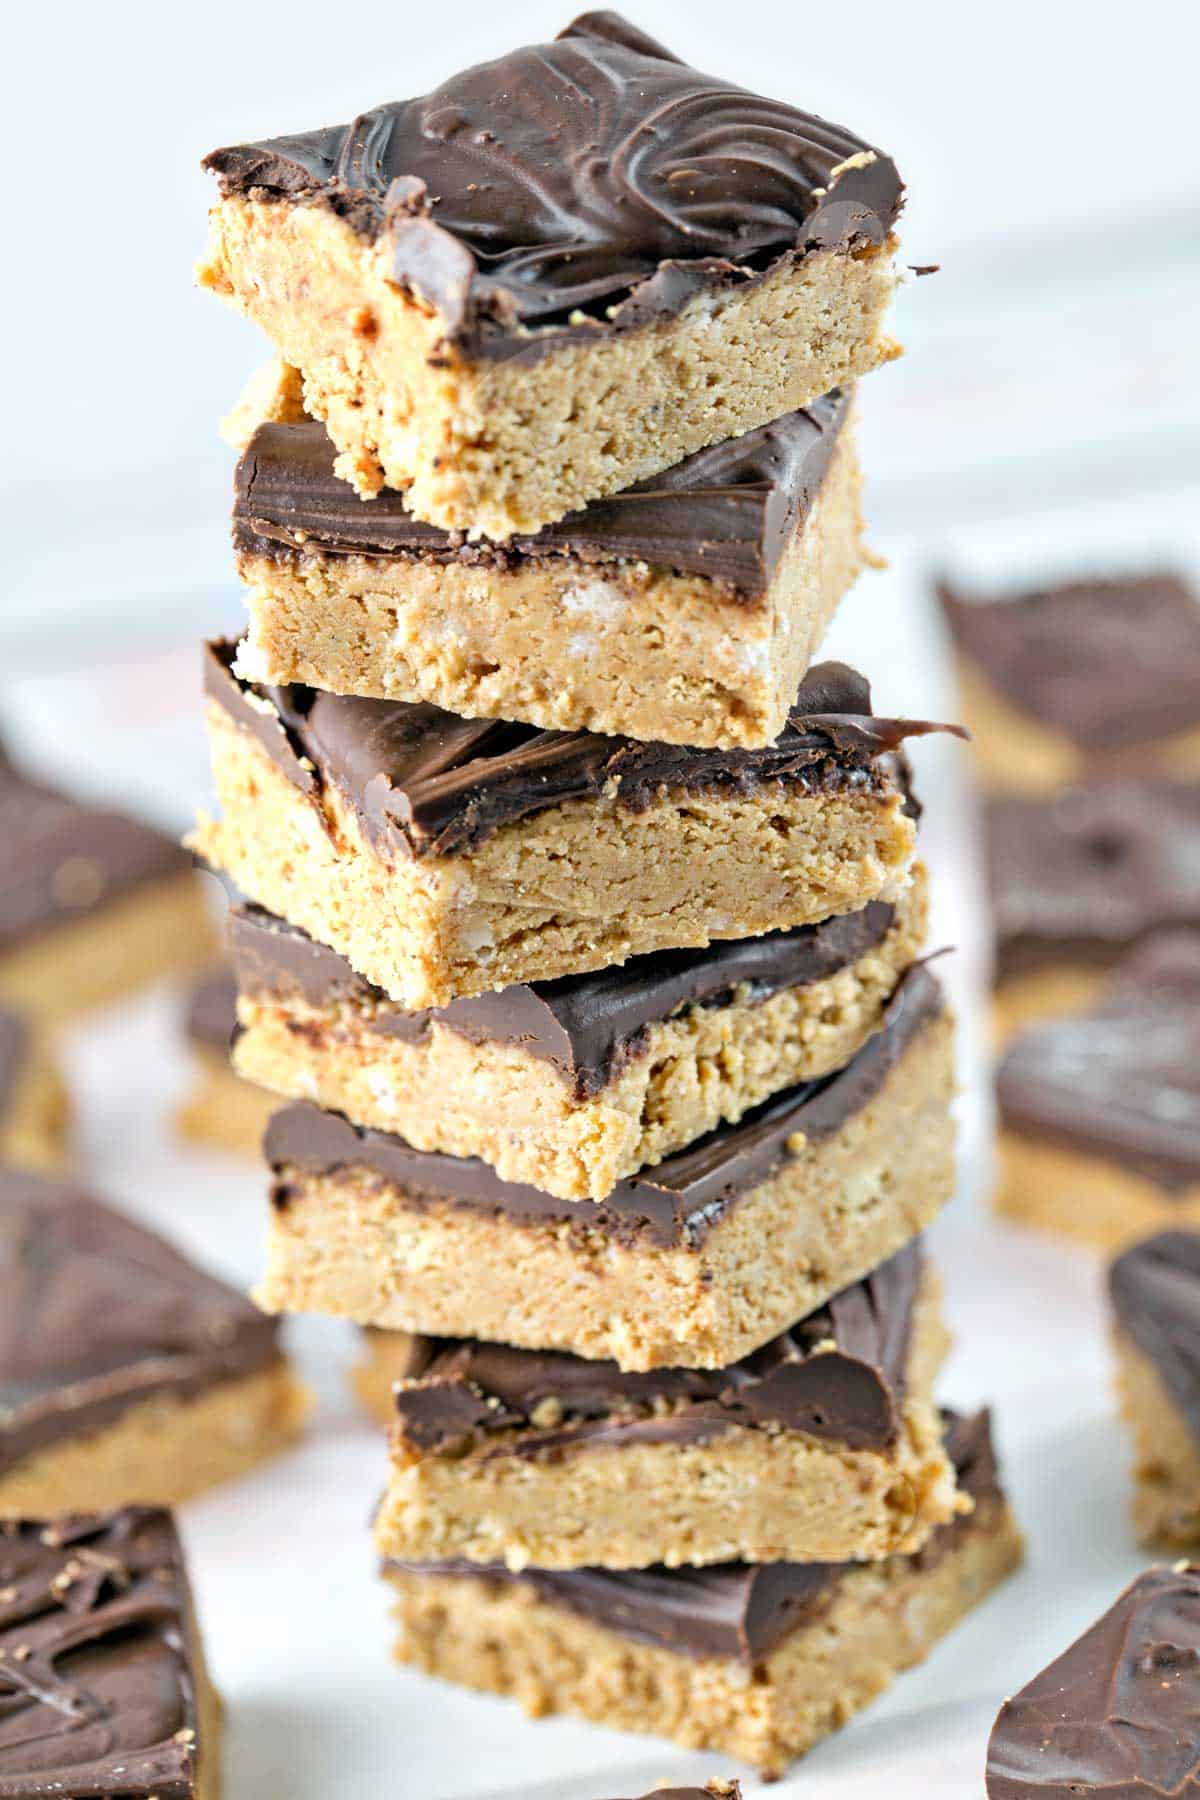
Tips and Tricks for The Best No Bake Peanut Butter Bars
- Not into peanut butter? You can substitute any other nut butter — almond butter, cashew butter, etc – or a combination of nut butters.
- This works best with conventional (not the natural kind that separates) peanut butter. If you are using natural nut butter, stir the nut butter extremely well and add 1/2 cup to 1 cup of additional confectioners’ sugar to offset the oily texture of natural nut butter.
- Grind the graham cracker crumbs well. You can use a food processor or break the graham crackers by hand with a heavy object (like a rolling pin), but make sure the graham crackers crumbs are small and consistent; no big pieces.
- When storing peanut butter bars, place a sheet of wax paper in between layers so the peanut butter from the bottom doesn’t stick to the chocolate on top of the bar beneath it.
- Peanut butter bars can be stored at room temperature or refrigerated to keep the chocolate on top from melting, or frozen for up to 3 months.
More Easy No-Bake Desserts:
- Sprinkle Rice Krispie Treats
- Chocolate Chip Cookie Dough Dip
- No Bake Peanut Butter Oatmeal Bars
- 3 Ingredient No Bake Oreo Truffles
- Peanut Butter Cup Cheesecake Dip
- All No Bake Dessert Recipes »
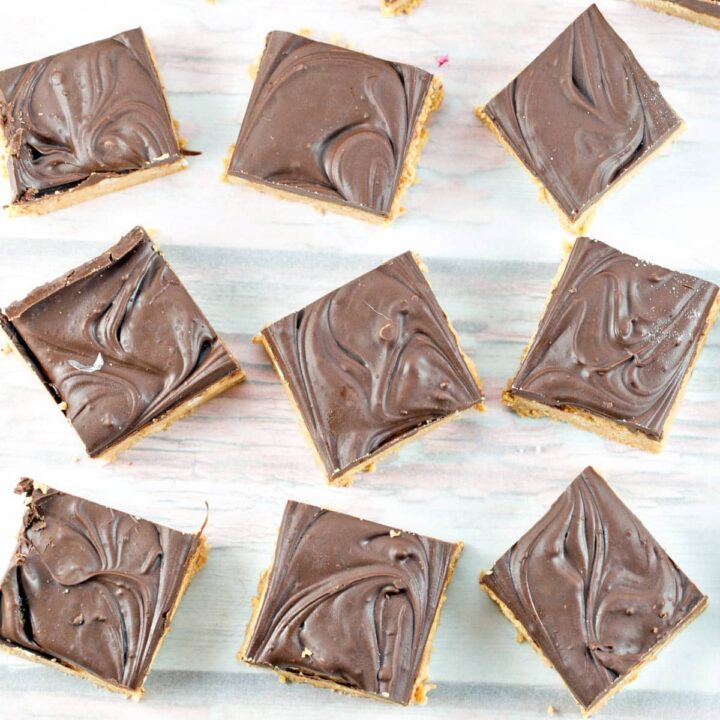
No Bake Peanut Butter Bars
Five ingredients and ten minutes are all you need for these no bake peanut butter bars.
Ingredients
- 1/2 cup (113 grams) butter or margarine
- 2 cups (227 grams) confectioners sugar
- 1 1/2 cups (149 grams) graham cracker crumbs
- 1 cup (270 grams) peanut butter, smooth or chunky
- 12 ounces (340 grams) semi-sweet baking chocolate (about 2 cups chocolate chips)
Instructions
- Line a 9×13-inch baking pan with foil, with ends of foil extending over the sides of the pan.
- Melt butter in a large microwaveable bowl on high for 45 seconds, or until melted. Add sugar, graham cracker crumbs, and peanut butter; mix well. Spread into prepared pan.
- Melt chocolate in a double boiler or a glass bowl tightly set over barely simmering water (or in the microwave for 30-second increments), stirring until thoroughly melted. Cool slightly, and pour over the peanut butter mixture in the pan.
- Cut partially through the chocolate to mark 48 squares. Set aside for 1 hour, repeat cutting through the chocolate again, then refrigerate until set.
- Lift from the pan, using foil handles. Run a knife under warm water, dry, and then cut all the way through the dessert into squares. Store in an airtight container.
Notes
- Any other nut butter can be substituted for peanut butter, but if it's a 'natural' nut butter (i.e., requires stirring to mix in the oil) add an additional 1/2 cup confectioners' sugar to offset the greasiness from the additional oil.
- Grind the graham cracker crumbs well using a food processor or beating with a heavy object.
- When storing peanut butter bars, place a sheet of wax paper in between layers so the bars don't stick to each other.
- Peanut butter bars can be stored at room temperature or refrigerated for up to 2 weeks, or frozen for up to 3 months.
Recommended Products
As an Amazon Associate and member of other affiliate programs, I earn from qualifying purchases.
Nutrition Information:
Yield: 24 Serving Size: 1 barAmount Per Serving: Calories: 232Total Fat: 14.4gCarbohydrates: 23.6gProtein: 3.5g
