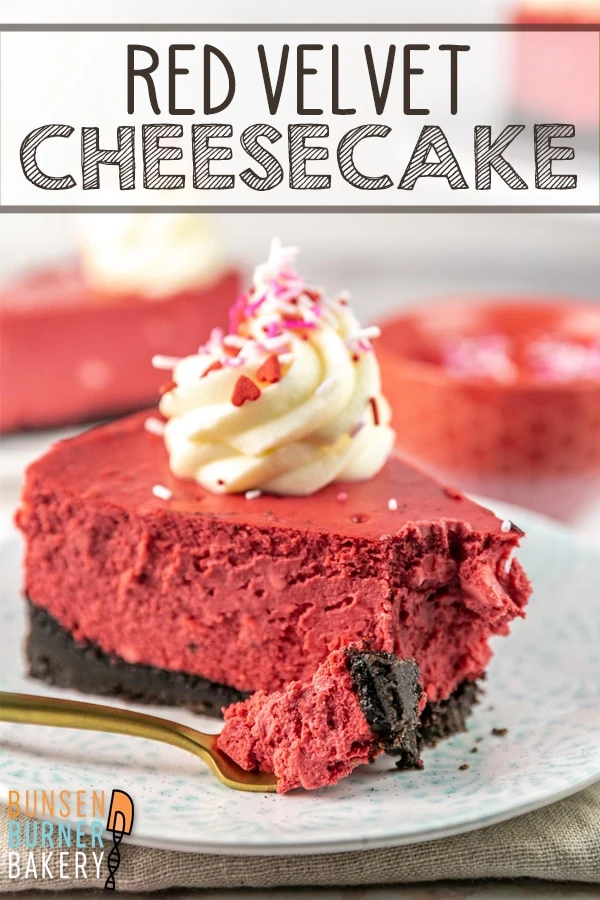
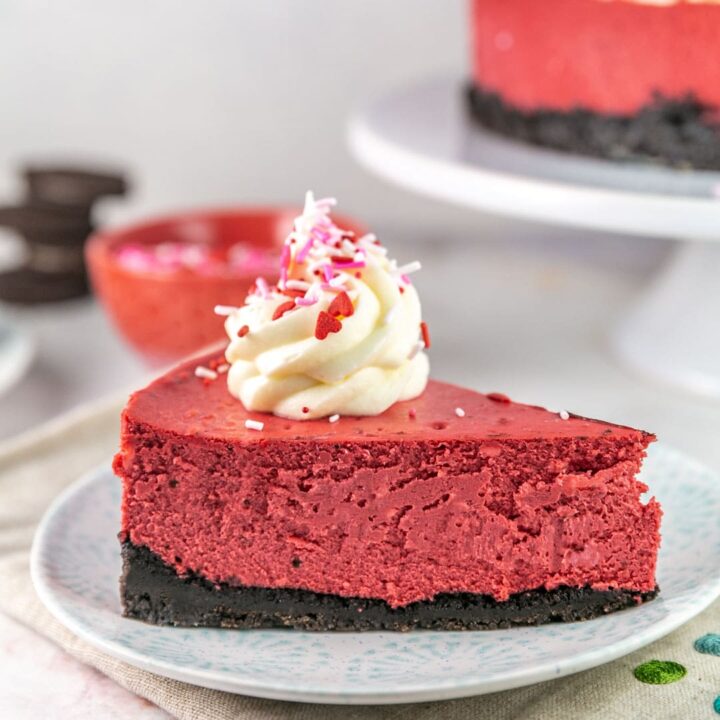
Red Velvet Cheesecake
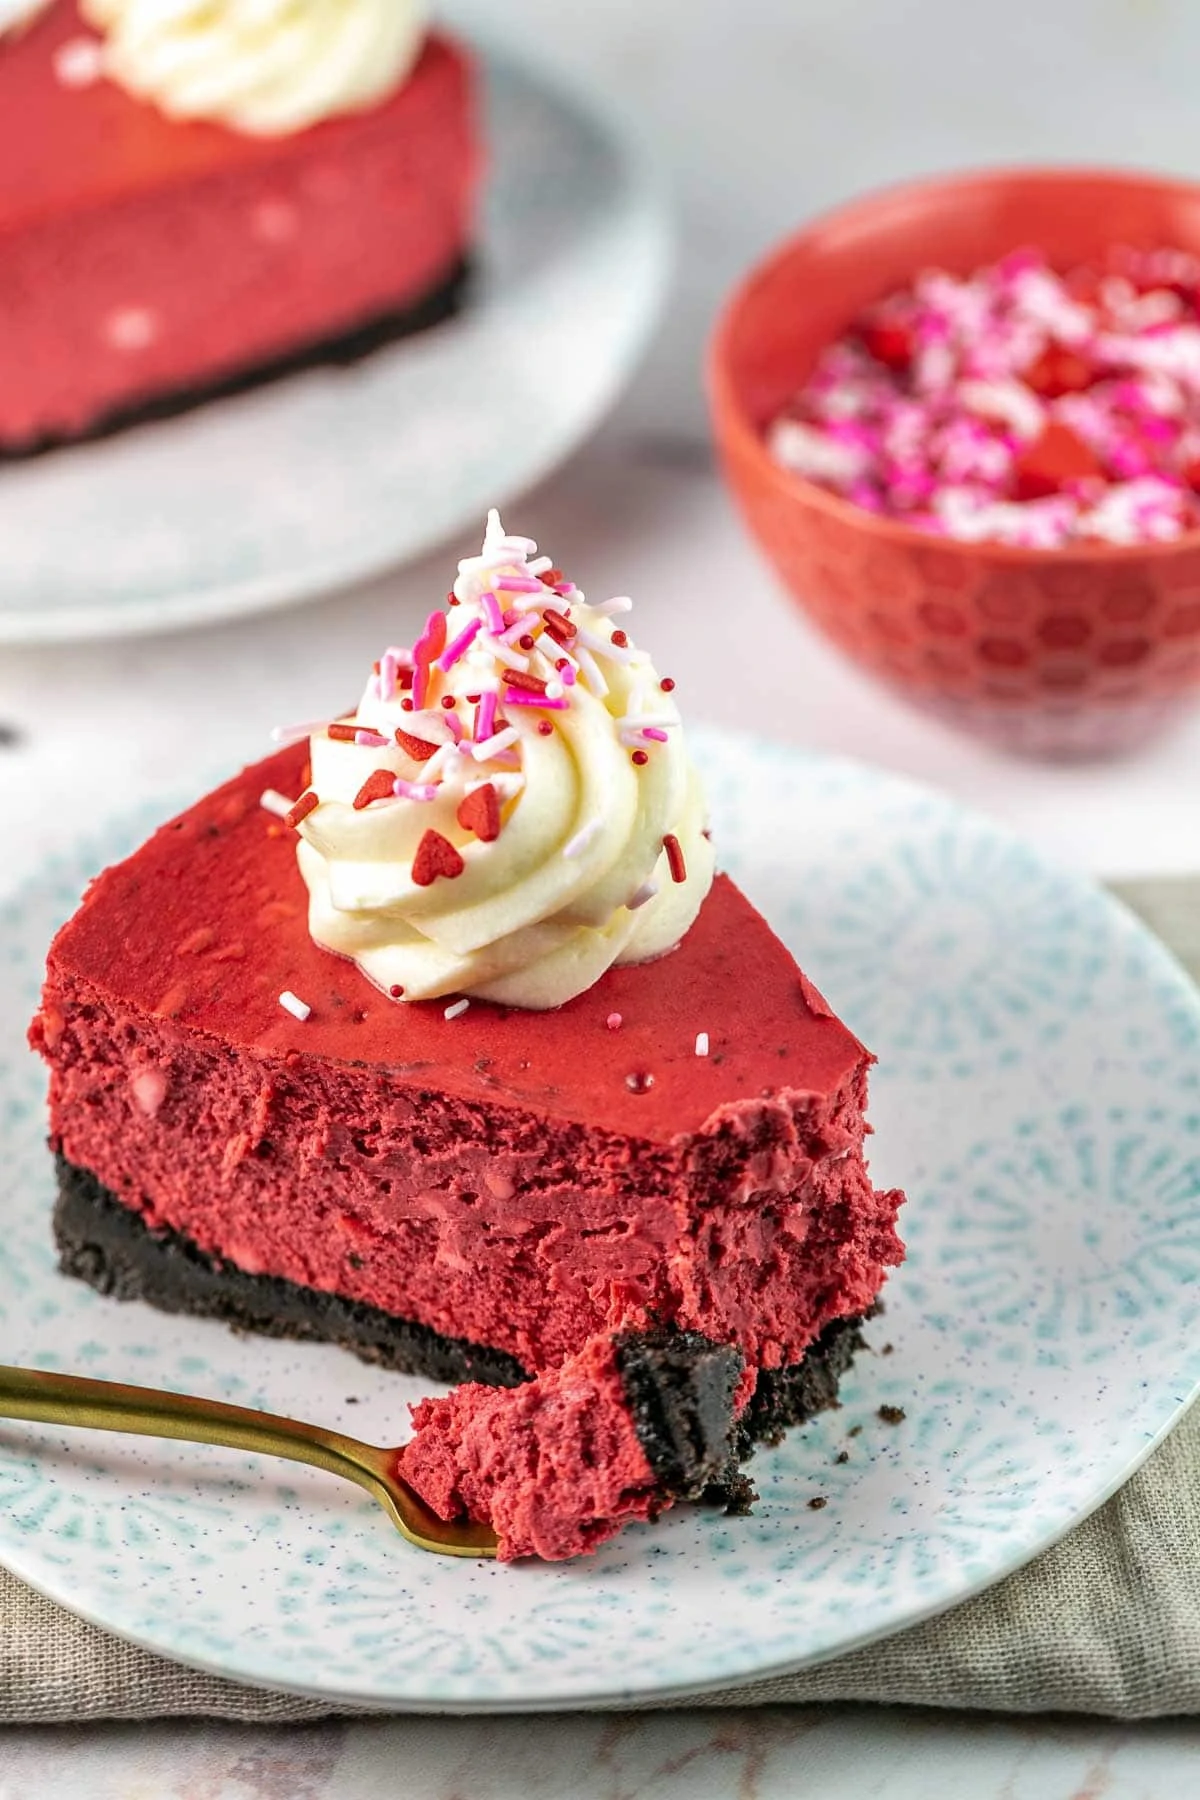
Calling all red velvet lovers! This Red Velvet Cheesecake combines the classic tang of a red velvet cake with a perfectly creamy cheesecake (and don’t forget the cream cheese frosting on top!). With a Oreo cookie crunch, this cheesecake packs in all the red velvet flavors you know and love, just in cheesecake form.
While red velvet is a delicious choice any time of year, it seems especially relevant in February. People love to make red desserts for Valentine’s Day!
So when I embarked on a year-long series of cheesecakes, it only made sense to make a red velvet cheesecake for January.
Most red velvet cheesecakes seem to consist of two layers of red velvet cake with a layer of cheesecake in the middle. And while this is a really fun option (after all, I included a carrot cake cheesecake cake as part of last year’s series of layer cakes!), I wanted just plain cheesecake.
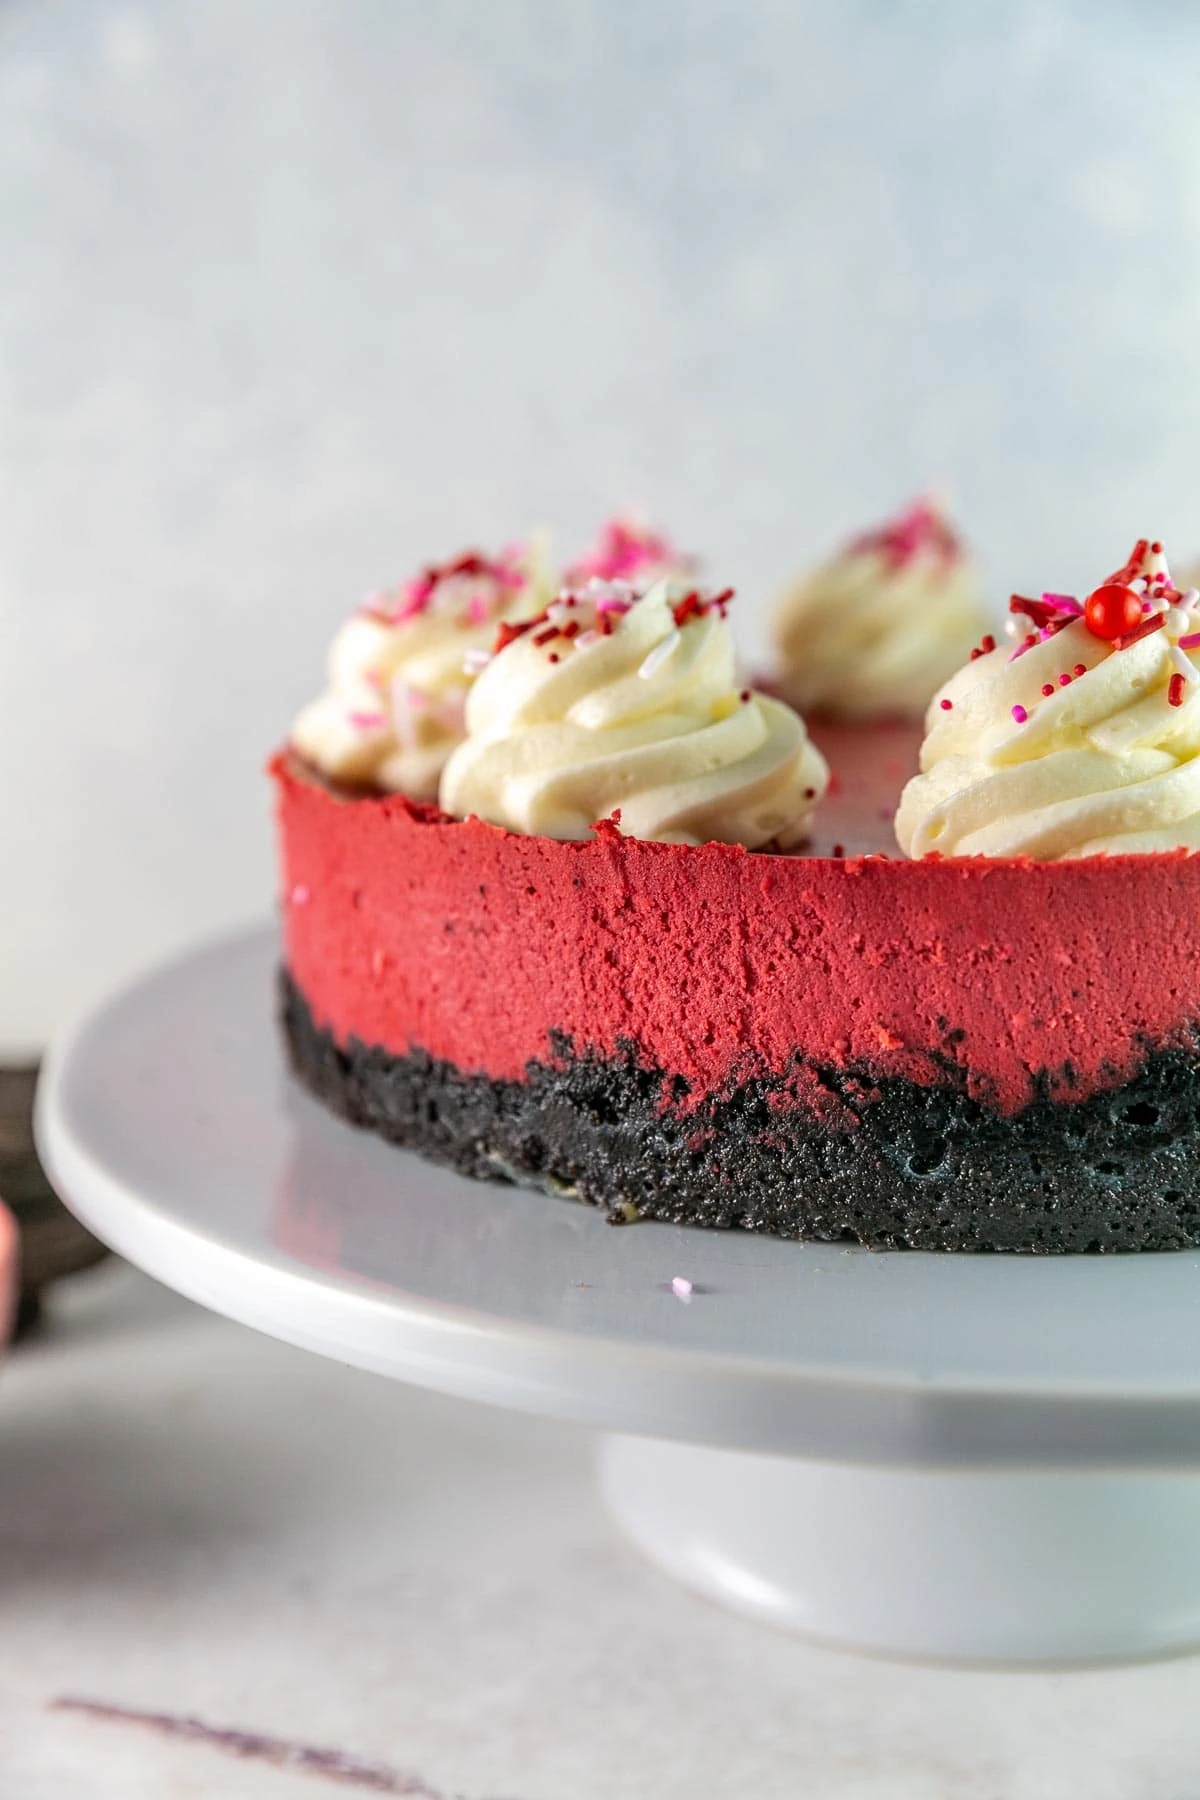
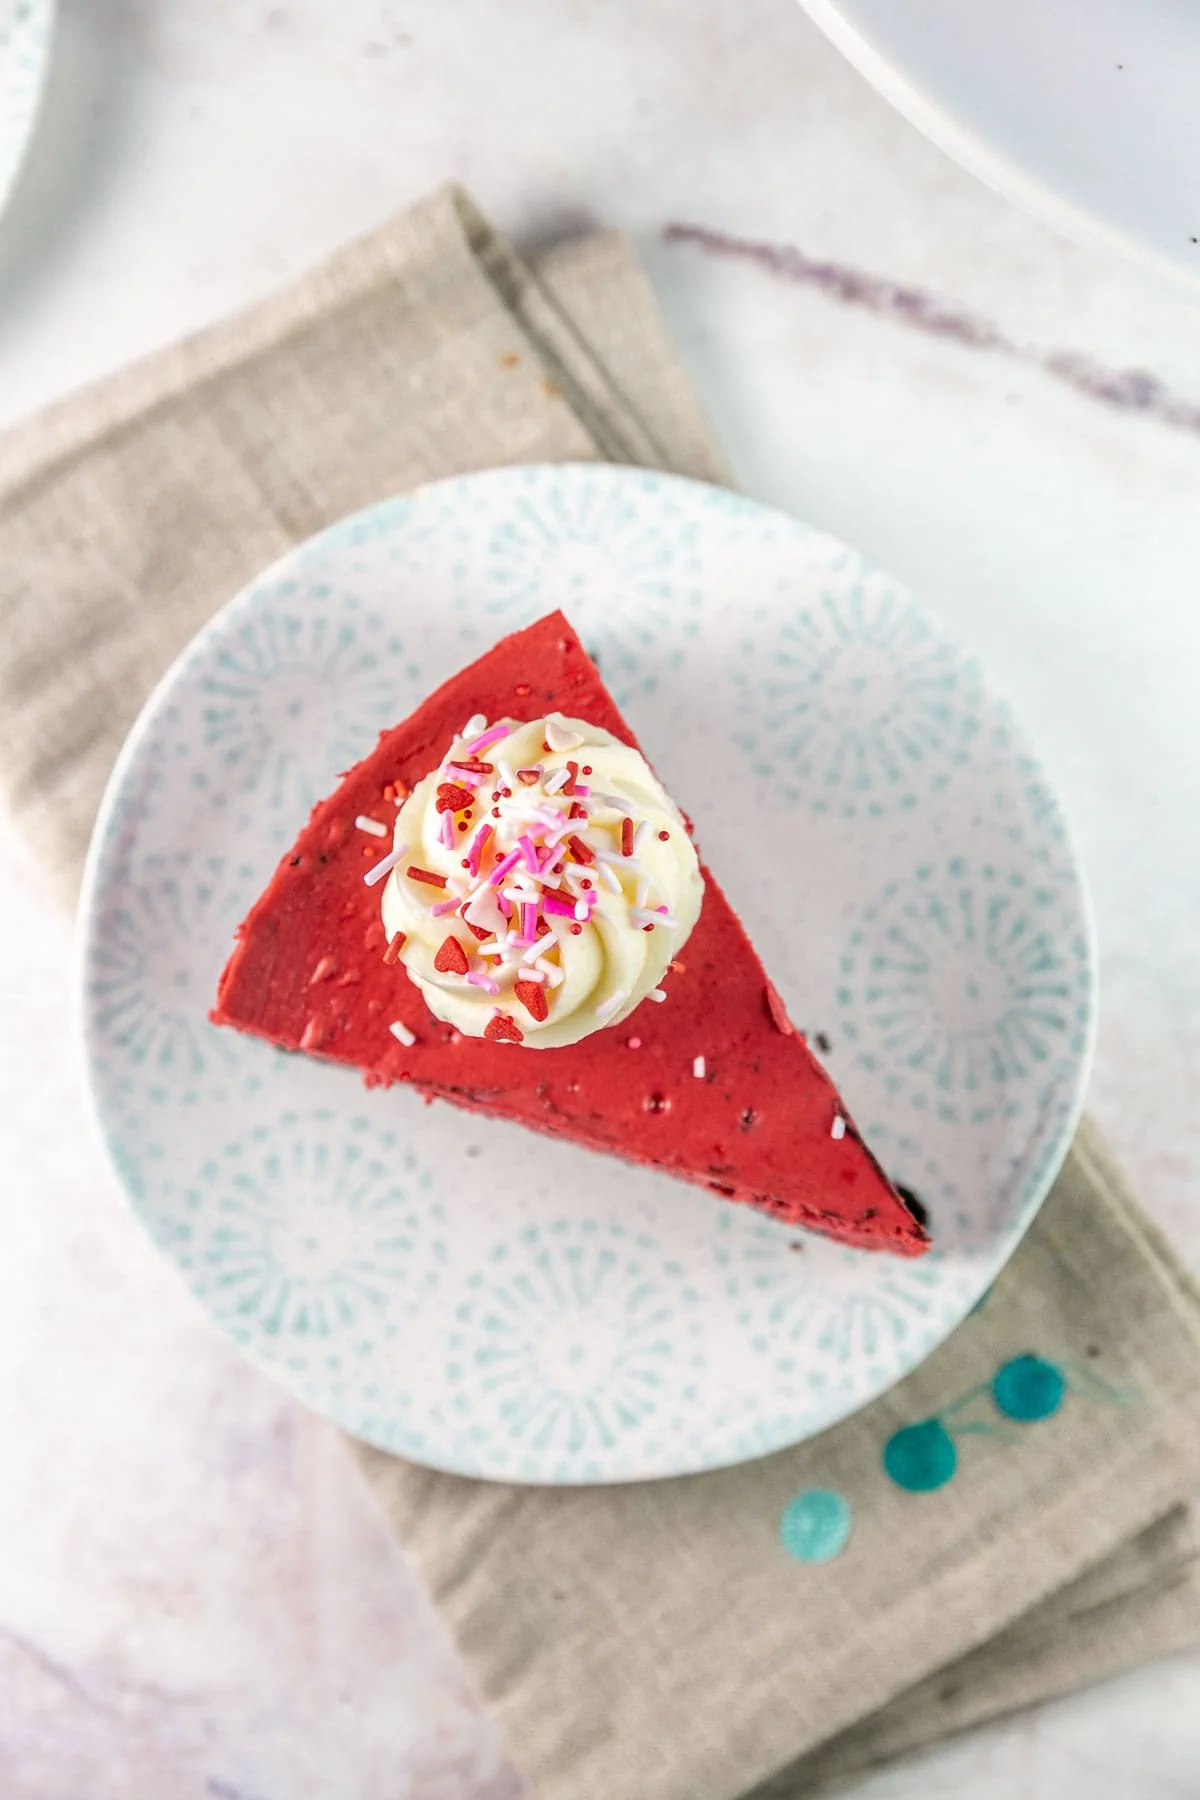
So just plain cheesecake this – with all the characteristic flavors and ingredients of classic red velvet. And since red velvet is usually paired with cream cheese, we even have swirls of cream cheese frosting on top! (And sprinkles, because… sprinkles.)
If you love red velvet and you love cheesecake, this is sure to become a new favorite!

Traditional Red Velvet Ingredients
Let’s start by talking about what exactly makes red velvet… well… red velvet.
Red velvet cake traditionally used vinegar and buttermilk to make the cake more tender and velvet-like. Cocoa powder used to contain a compound called anthocyanin, which changes color based on pH.
When the anthocyanins reacted with the acid from the vinegar and buttermilk, the color changed from brown to deep red.
Nowadays, cocoa powder is usually neutralized which makes it taste more chocolatey.. but also makes the color darker brown. This means the natural color change no longer happens, so we substitute red food coloring instead.
We’re going to use these flavors in our cheesecake to make sure it tastes more like red velvet than a regular cheesecake.
Red Velvet Flavor for Cheesecake
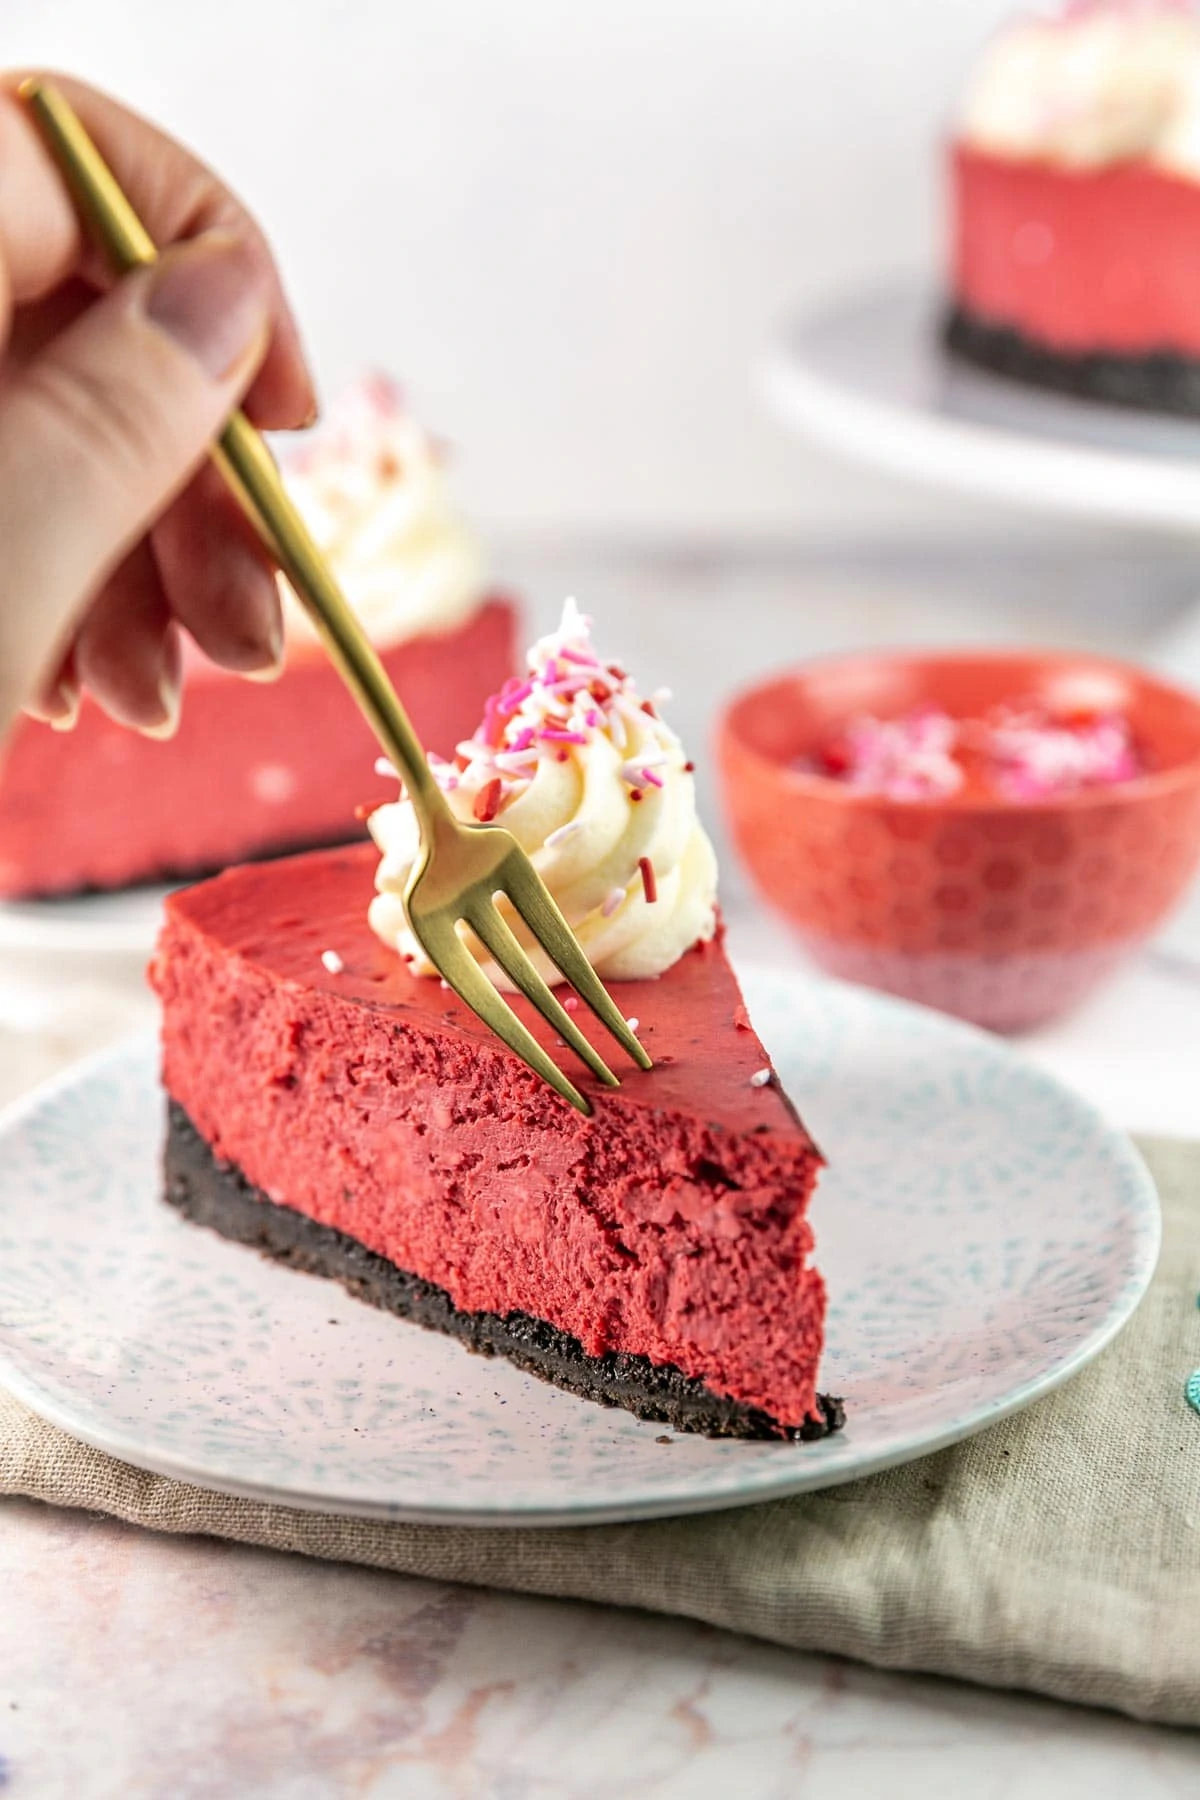
For our recipe, we’re taking red velvet cake a little further by making it an actual cheesecake! The velvety red cheesecake filling uses cream cheese rather than buttermilk and gets poured into a delicious crumb crust made of crushed Oreos and melted butter.
First, we’ll include a little cocoa powder. Not so much that it tastes super chocolatey, but just a hint, like a true red velvet cake.
For the acidic tang of red velvet, we’ll add a little vinegar. Don’t worry, the cheesecake won’t taste like vinegar! But it will be just a little bit more sour-ish than a plain cheesecake. This recipe doesn’t include buttermilk, but we do have the additional acid profile from the cream cheese and the sour cream.
Lastly, we’ll also include the classic cream cheese frosting! You can spread the frosting over the top of the whole cheesecake but I prefer to pipe it along the edges with a swirly piping tip.
Since our cocoa power won’t actually produce the red color, this recipe includes red food coloring. But it’s totally optional – if you want red velvet flavor without the artificial red look, you can skip it!
Water Bath for the Best Cheesecake Texture
Cheesecakes can be baked with or without a water bath, and different recipes are better suited for different baking options.
For this recipe, I loved to use a water bath for the dreamiest, creamiest, softest red velvet cream cheese texture!
Last month, we discussed how cheesecake relies on eggs to set and form the structure that supports the cheesecake. This month, we’ll discuss how to get that structure to set in the best way possible.
Water baths are, admittedly, an extra step and sometimes a hassle. So why do we want to use them? It’s time for my favorite subject… kitchen chemistry!
Kitchen Chemistry
Because cheesecakes contains so much dairy, they will curdle and turn grainy when cooked too quickly. Baking in water bath guarantees that the cheesecake itself will not be subjected to temperatures higher than boiling point, 212 °F, no matter how hot the oven gets, because the water will turn to steam and evaporate when it exceeds this temperature. By maintaining an even temperature around the outside of the pan, the cheesecake will cook evenly, instead of the outside cooking significantly faster than the inside.
If you’re picturing a water bath and thinking about wrapping layers and layers of aluminum foil around the outside of a pan, allow me to offer an easier option!
The aluminum foil method works just fine most of the time. Sometimes, however, if you don’t wrap it quite tight enough, or there’s a little tear in the foil, water can leak in. And then your crust gets all soggy. No one wants a soggy crust!
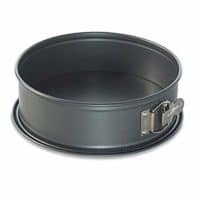
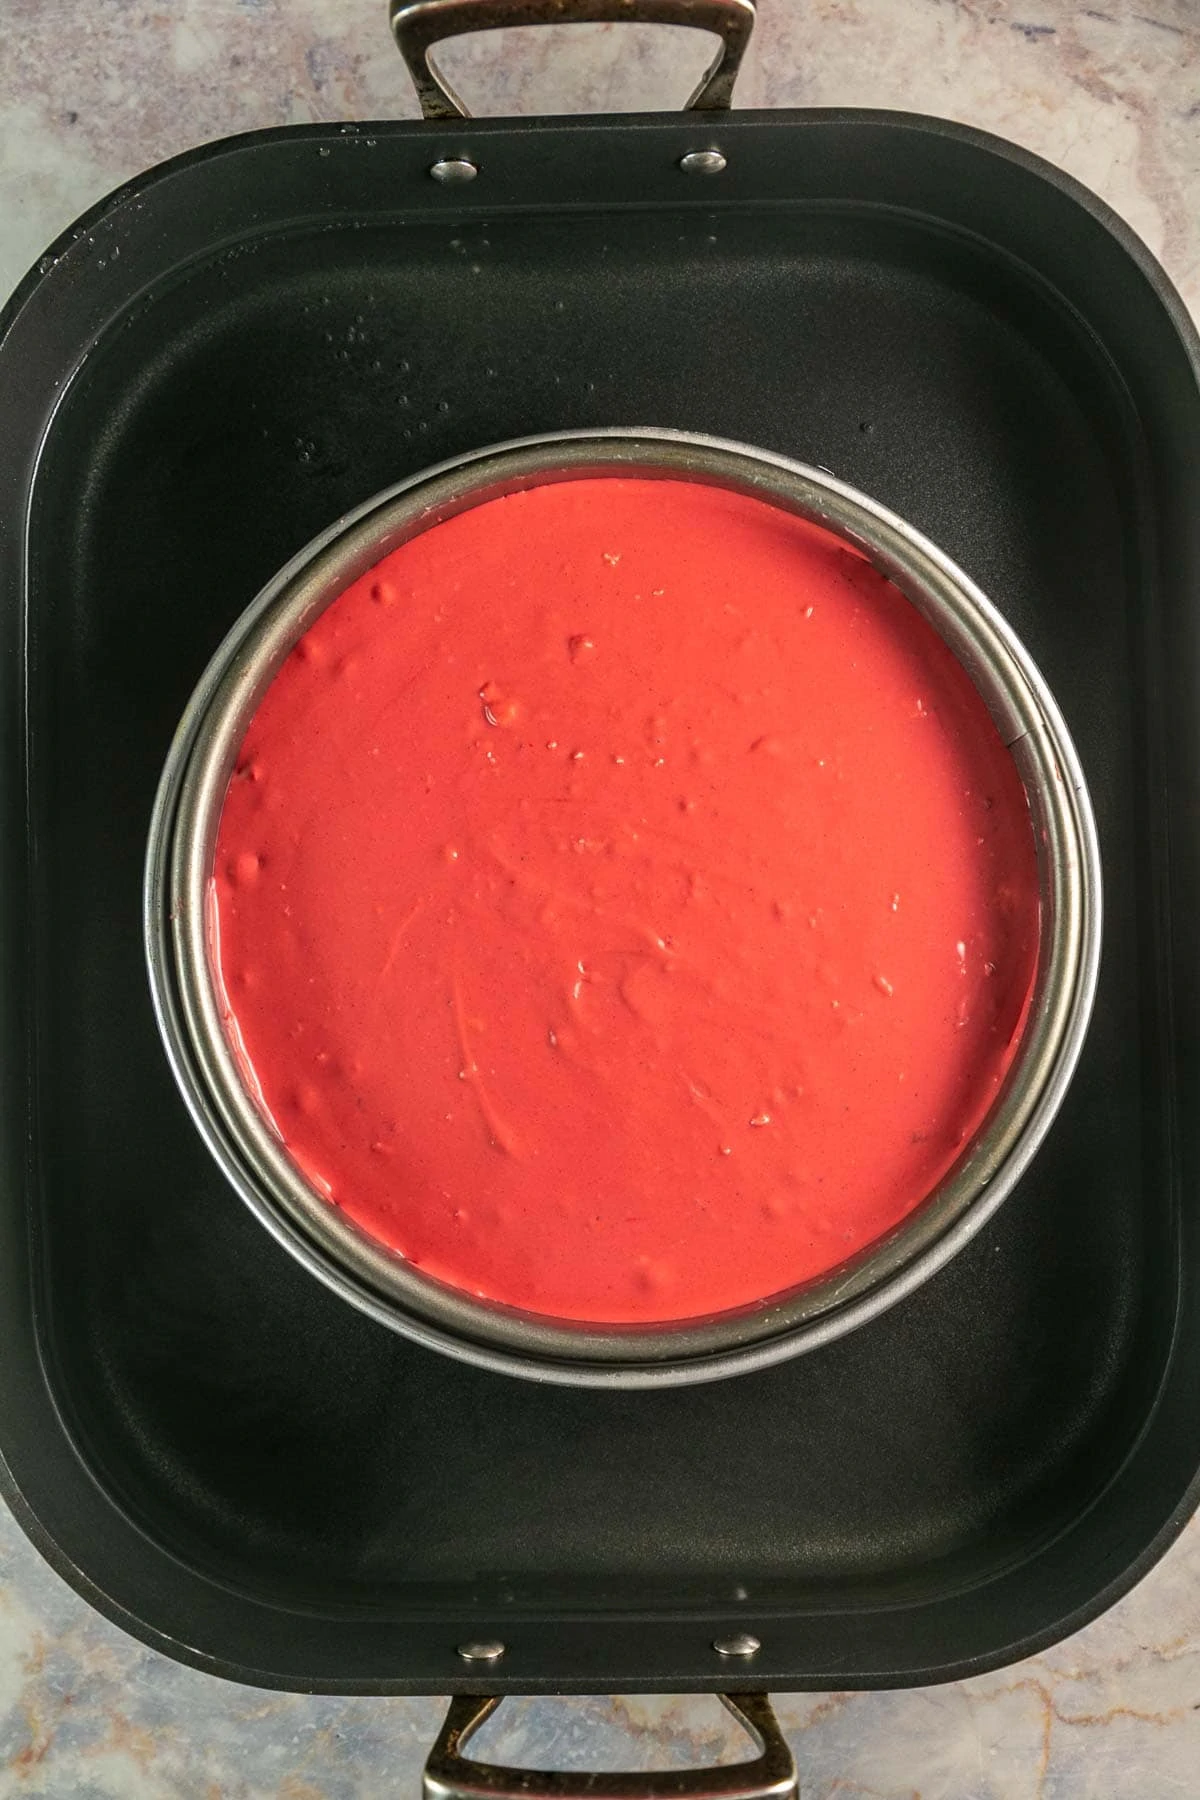
So here’s an even better option — create a pan-in-a-pan water bath.
Place your 9-inch springform pan inside a 10-inch cake pan, and place this cake pan in a roasting pan filled with water, like this ↓↓↓.

The one-inch diameter difference is small enough that hot air won’t overheat the outside of the springform pan, and as long as you don’t overfill the outer pan containing the water, it won’t leak in.
Just make sure not to use a larger cake pan. If there’s too much room, the air will heat up too much between the pans and cook the outside of the cheesecake too quickly!
Tips and Tricks for the Best Red Velvet Cheesecake
- Use all room-temperature ingredients! If the cream cheese is too firm, the batter will not be smooth and lumps are likely to cause cracks.
- Sift the cocoa powder before adding. Cocoa powder is notoriously clumpy and any clumps make the cheesecake more likely to crack!
- Don’t over-mix the batter! The more the batter is mixed, the more air is incorporated, which is more likely to lead to cracks.
- Scrape the bowl frequently while mixing the cheesecake. This ensures there isn’t a pocket of unmixed cream cheese left in the bottom of the bowl – changes in texture in the batter lead to cracks.
- Bake until the cheesecake reaches an internal temperature of 145°F or until there is roughly a 2-3 inch diameter circle in the center that still jiggles.
- Cool slowly and gently. Abrupt changes in temperature can cause a cheesecake to deflate and crack. One easy way to do this is to turn off the oven, leave the door open partway, and let it cool. Alternatively, take the cheesecake out of the oven and let it cool inside a closed microwave or invert a large bowl overtop the cheesecake.
FAQs about Red Velvet Cheesecake
Aside from the Oreo cookie crust, there are no gluten-free ingredients in the cheesecake batter. Use gluten-free chocolate sandwich cookies and ensure the white vinegar is certified gluten-free.
The outside edge should be set but the center should still have a slight jiggle when you shake the pan. The internal temperature of the cheesecake taken with an instant-read thermometer should be 145 °F
Once the cheesecake fully cools to room temperature, it should be refrigerated for at least 4 hours, but preferably overnight. The cheesecake will continue to set in the refrigerator.
These water droplets on top of the cheesecake are from condensation. Press a paper towel gently on top of the cheesecake to absorb any water droplets.
Run your knife blade under hot water before slicing. Dry the blade on a kitchen towel, then slice into the cheesecake. Rinse the blade with hot water, dry it off, and slice again. The warm blade will slice through the cheesecake more easily and helps prevent the cheesecake from sticking to the side of the knife.
Cheesecake freezes beautifully! To freeze the whole cheesecake, wrap the chilled cheesecake in a layer of plastic wrap, followed by a layer of aluminum foil. To freeze individual slices, place the slice on a cookie sheet and freeze until solid. Then wrap in plastic wrap and aluminum foil. Unwrap before thawing in the refrigerator.
More Cheesecake Recipes:
- Best Oreo Cheesecake
- Caramel Apple Cheesecake
- Macaroon Crust Cheesecake
- Chocolate Banana Cheesecake
- Dark Chocolate Cheesecake
2022 Cheesecake of the Month Series
-

- Funfetti Cheesecake

-
- Red Velvet Cheesecake

-
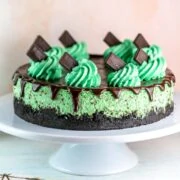
- Mint Chocolate Cheesecake
-
- Peanut Butter Cheesecake

-
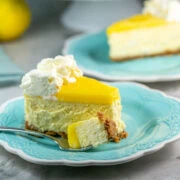
- Lemon Cheesecake
-
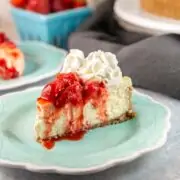
- Strawberry Cheesecake
-
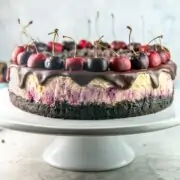
- Chocolate Cherry Cheesecake
-
- S’mores Cheesecake

-
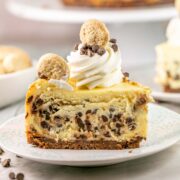
- Cookie Dough Cheesecake
-
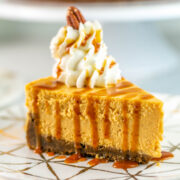
- Sweet Potato Cheesecake
-
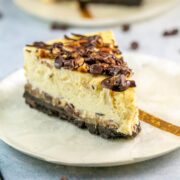
- Turtle Cheesecake
-
- Cranberry Cheesecake
Red Velvet Cheesecake
Calling all red velvet lovers! This Red Velvet Cheesecake combines the classic tang of a red velvet cake with a perfectly creamy cheesecake (and don’t forget the cream cheese frosting on top!).
Ingredients
For the crust:
- 30 oreo cookies (340 grams)
- 1/4 cup (56.5 grams) unsalted butter
For the cheesecake:
- 32 ounces (908 grams) cream cheese, room temperature
- 1 cup (198 grams) granulated sugar
- 3 tablespoons natural unsweetened cocoa powder, sifted
- 2/3 cup (151 grams) sour cream, room temperature
- 1 1/2 teaspoons white vinegar
- 2 teaspoons vanilla extract
- 1/4 teaspoon salt
- 2 tablespoons liquid red food coloring
- 4 large eggs, room temperature
For the frosting:
- 4 ounces (113.5 grams) cream cheese, room temperature
- 1/4 cup (56.5 grams) unsalted butter, room temperature
- 2 cups (227 grams) confectioners' sugar
- 2 teaspoons vanilla extract
Instructions
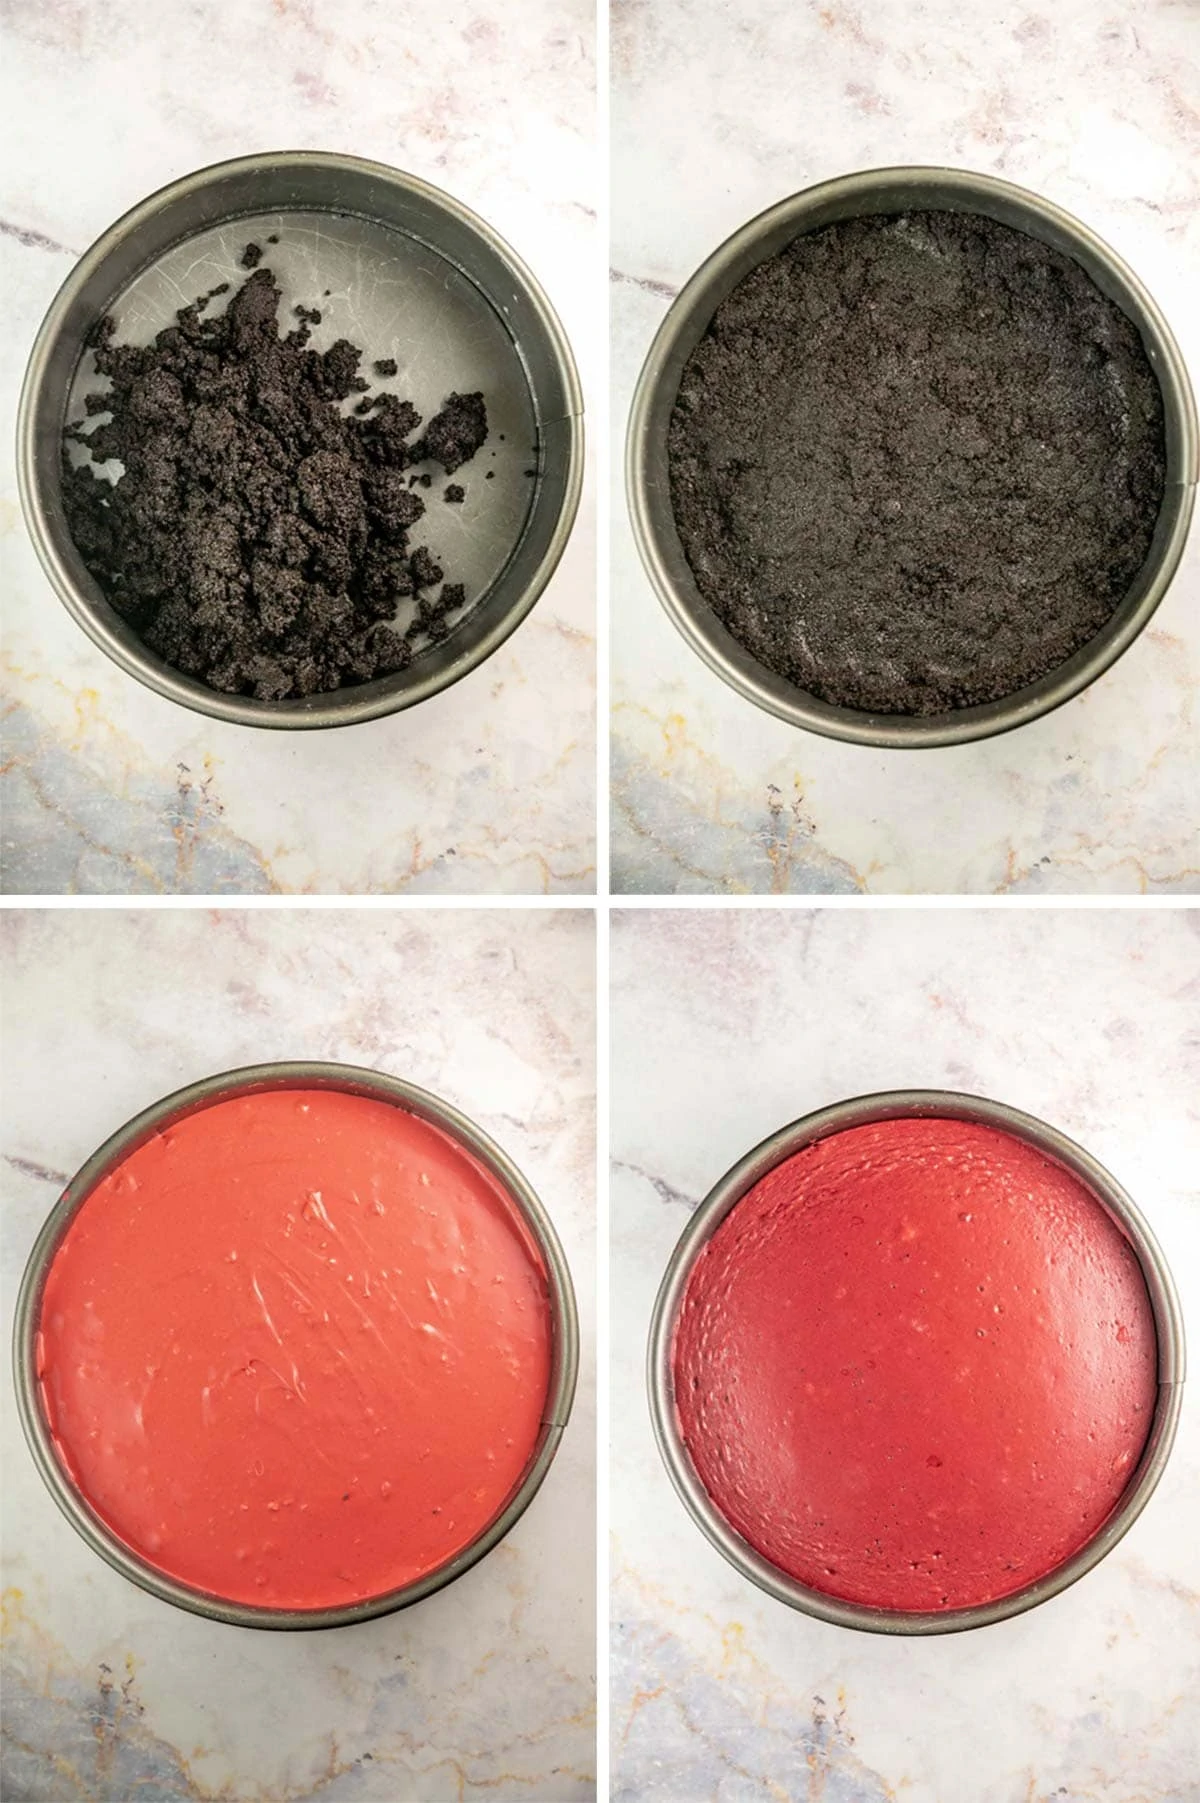
- Make the crust. Preheat oven to 350 °F. Add Oreos to a food processor and chop or crush into fine crumbs by hand. Pour in melted butter and mix using the food processor. Press the crumbs along the bottom and extending up the sides of a 9-inch springform pan, compacting the crumbs as much as possible. Bake for 10 minutes, then remove from oven. Reduce oven temperature to 325 °F.
- Make the cheesecake. Using an electric mixer with the whisk attachment, beat together the cream cheese and sugar until creamy and well combined, 2 to 3 minutes. Mix in the cocoa powder, sour cream, vinegar, vanilla extract, salt, and red food coloring, stirring until well combined. Crack the four eggs into a small bowl and mix with a fork to break up the yolks. Slowly pour roughly a quarter of the eggs into the cream cheese mixture, mix to combine, and repeat until all egg has been added. Do not over-mix the cheesecake - this make it more likely to crack. Using a rubber spatula, scrape down the sides and along the bottom of the bowl.
- Prepare the springform pan. Wrap the springform pan in 3 layers of aluminum foil, or create a pan-in-pan water bath by placing the 9-inch springform pan inside a 10-inch cake pan (both pans together will be placed inside the water bath). Pour the cheesecake batter into the oreo crust.
- Bake the cheesecake. Place the springform pan inside a larger pan and add in hot water until the water level comes approximately halfway up the sides of the springform pan (or the outer cake pan). Bake at 325 °F for 70 minutes, or until the edges have set but a 3 to 4-inch diameter circle in the center of the cheesecake still jiggles. Turn off the oven and open the door slightly; cool in warm oven for 30 minutes. After 30 minutes, remove the cheesecake from the oven and let it sit at room temperature for 1 hour before placing in the refrigerator to chill for at least 4 hours, preferably overnight.
- Make the cream cheese frosting. Using an electric mixer, beat together the cream cheese and butter until light and fluffy. Add in the confectioners' sugar and vanilla extract and continue to beat until fully incorporated.
- Unmold the cheesecake. Once the cheesecake has fully chilled, run a knife along the outside edge and remove the ring of the springform pan. Decorate with piped cream cheese frosting or spread the frosting across the top with an offset spatula.
Notes
- Use room temperature ingredients to ensure proper mixing with no lumps.
- Mix the batter thoroughly, but do not overmix or mix on high speed which incorporates additional air into the batter.
- Scrape the sides and bottom of the bowl frequently while mixing the batter.
- Bake until the center of the cheesecake still jiggles, or reaches a temperature of 145 °F on an instant read thermometer.
Cheesecake can be refrigerated for up to 5 days or frozen for up to 3 months.
Recommended Products
As an Amazon Associate and member of other affiliate programs, I earn from qualifying purchases.