Black and White Cookies Recipe
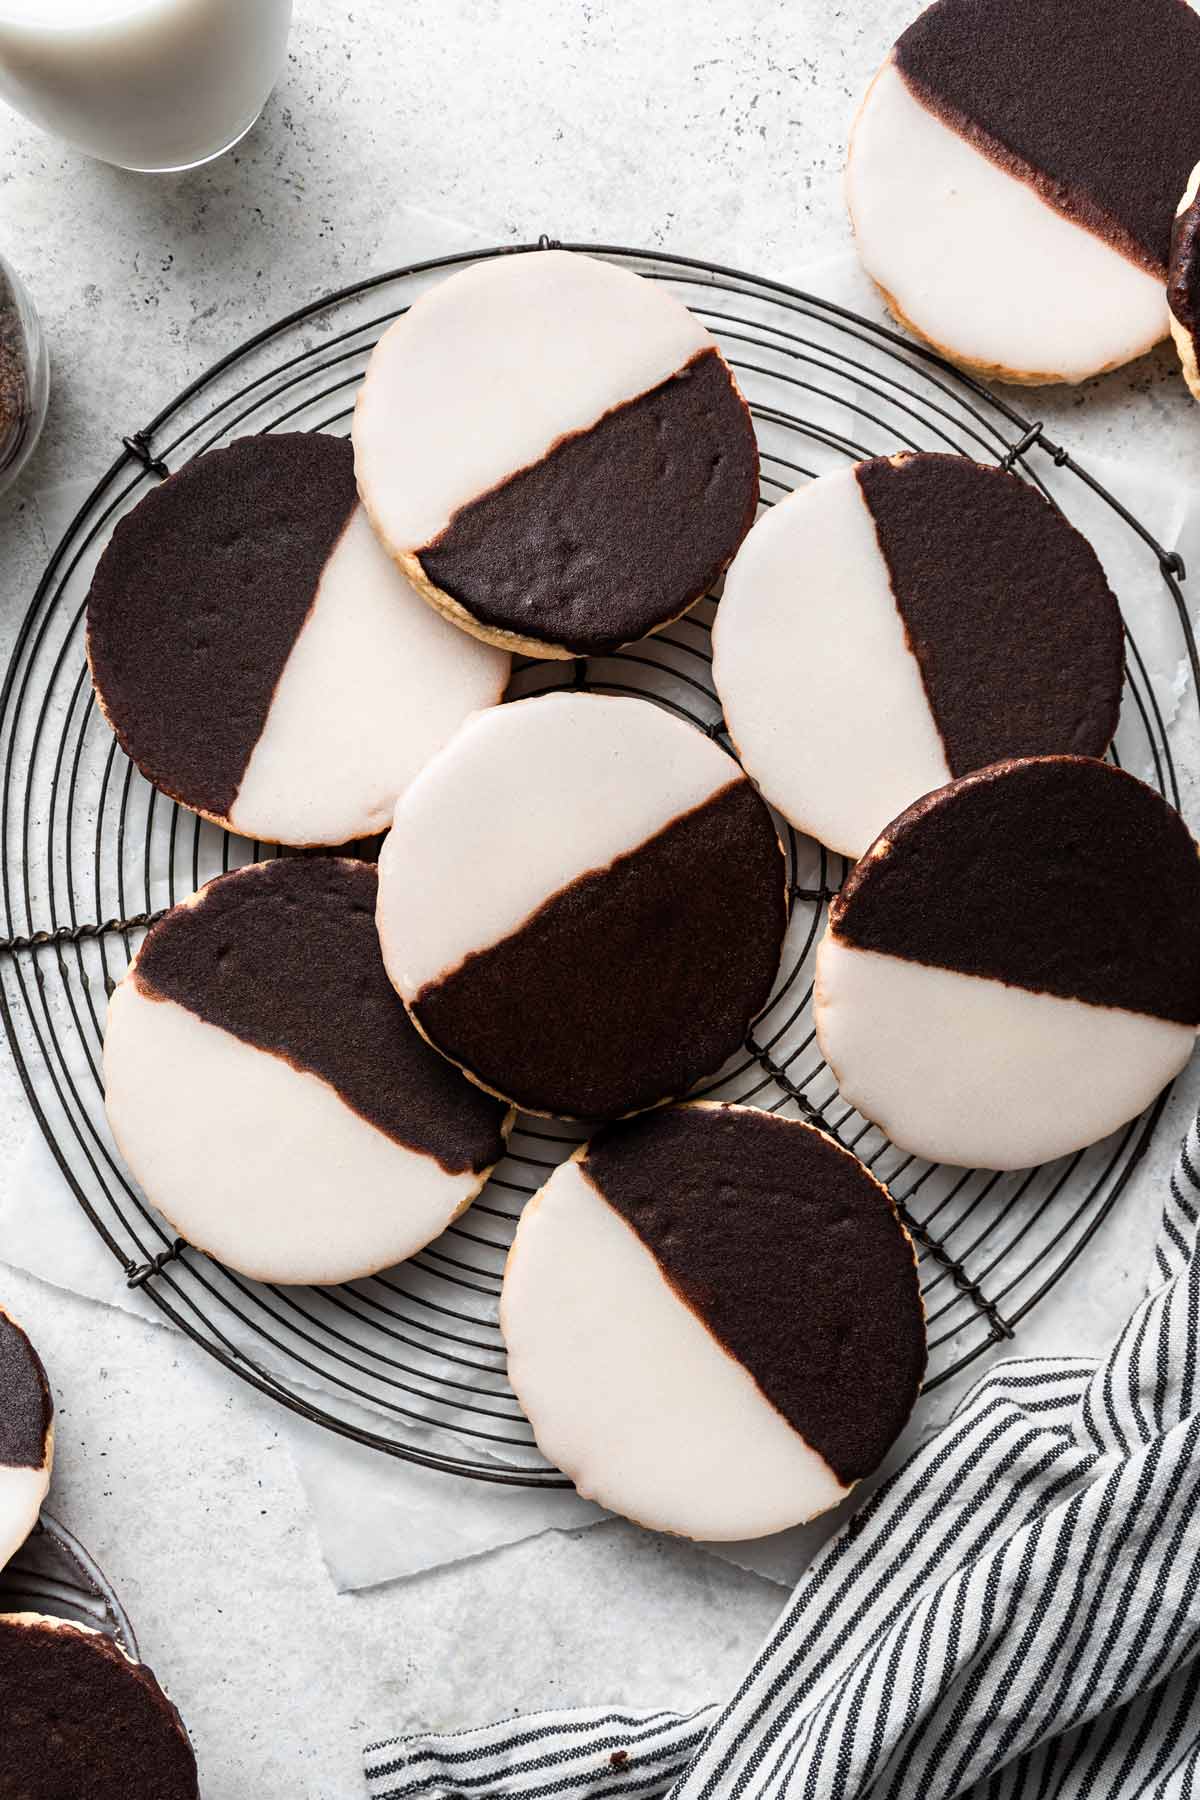
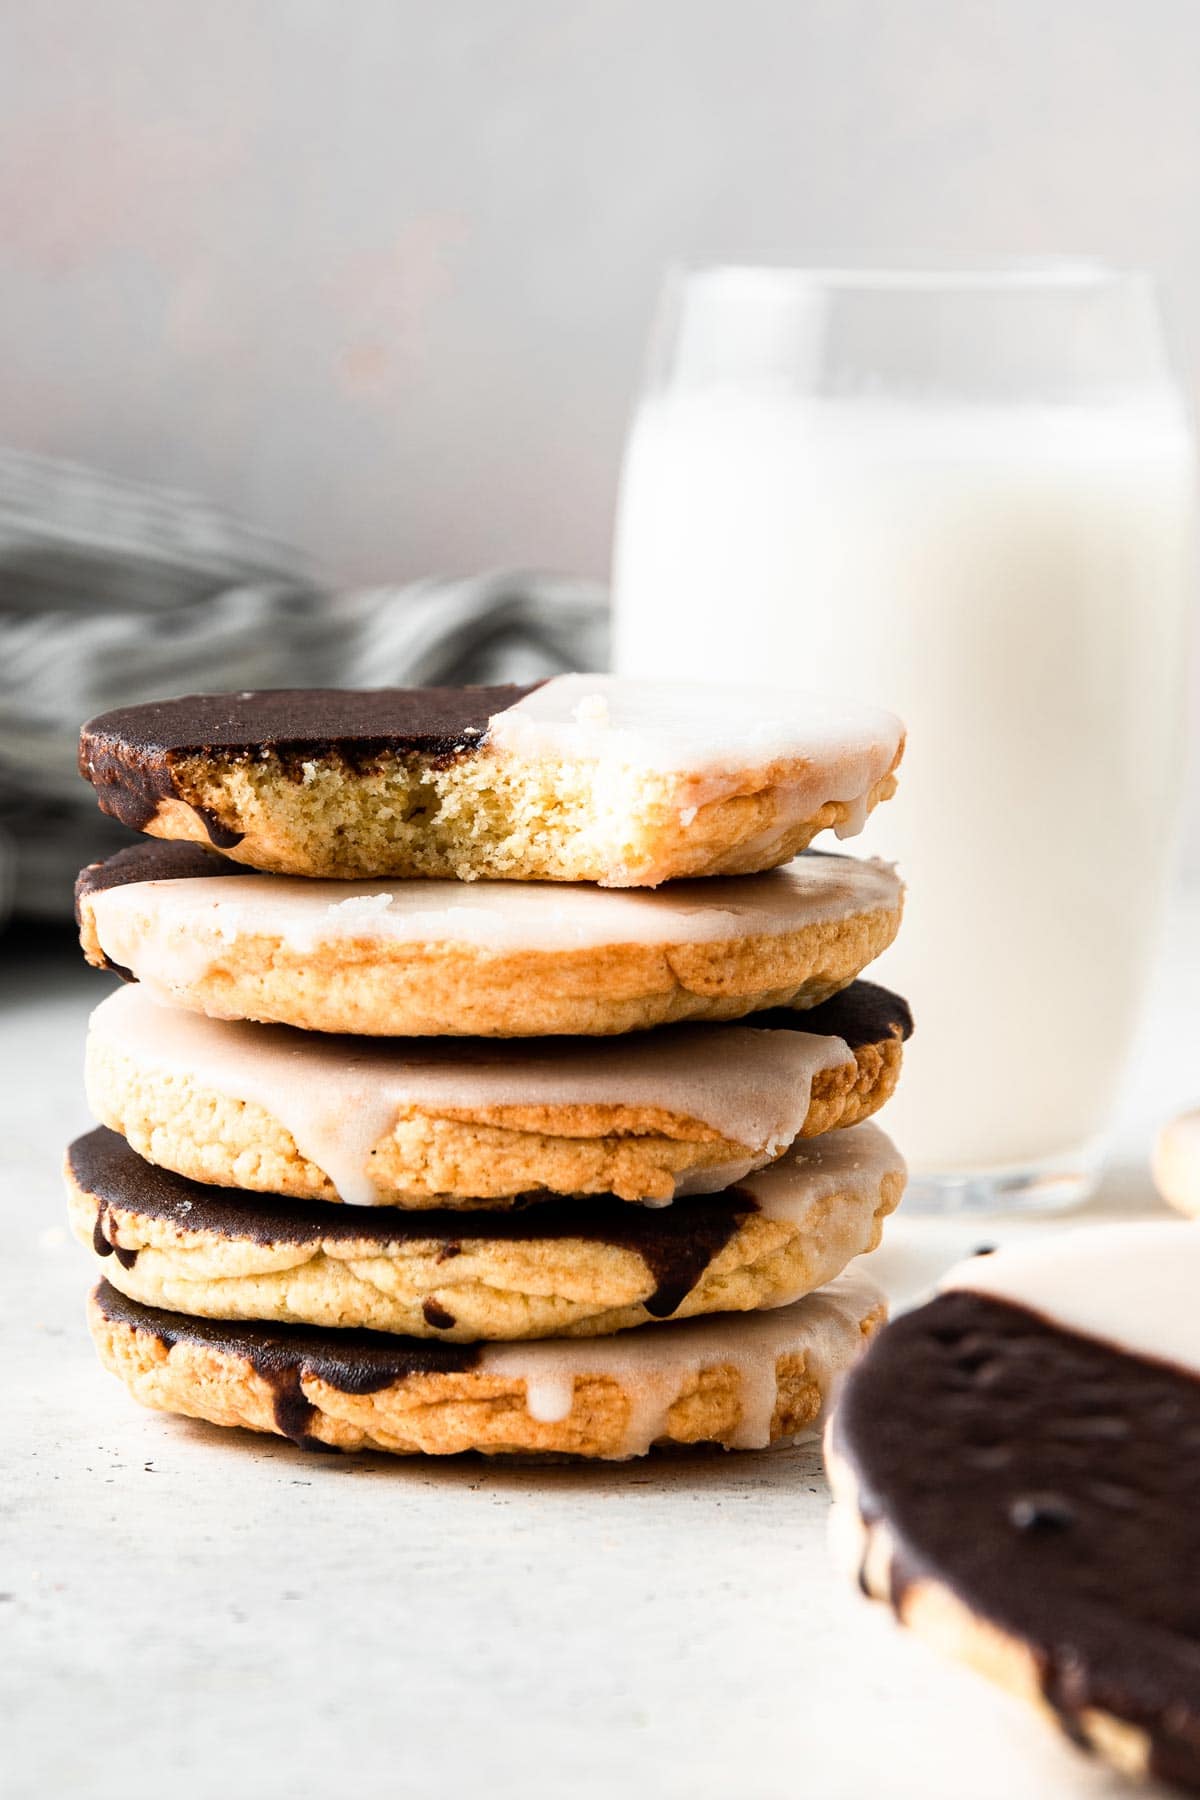
Soft and pillow-like with a thick layer of chocolate and vanilla frosting, these giant Black and White Cookies are just like your favorite NYC bakery, without having to leave your house. Halfway between a cookie and cake, it’s the perfect mix of chocolate and vanilla!
I am ridiculously, super duper excited to share this black and white cookie recipe with you today.
Black and white cookies (also sometimes called half and half cookies or half-moon cookies, although the later sometimes has buttercream frosting instead of a thick sugar glaze) are probably my all-time favorite cookie (or at least tied with my chocolate and vanilla pinwheel cookies!), which is funny because they’re not really a cookie. They’re kind of more like a little spongy cake. But not as cakey as a cake. Does that even make sense?
As a black and white cookie bakes, it puffs up in the middle making a cupcake-top dome shape. The cookie is then flipped over and glazed with both chocolate and vanilla glaze.
And they’re just so good. They might be a little more work than some other cookies but trust me when I say it’s well worth it!
I’m also super duper excited to once again be participating in The Sweetest Eason Cookie Exchange, a cookie-based fundraiser for pediatric cancer. Just like in previous years, we’re helping to raise funds for Cookies for Kids’ Cancer, a nonprofit organization dedicated to raising funds for research to develop new, improved, and less toxic treatments for pediatric cancer. If you’re so inclined to donate, our donation link is here (and OXO is matching donations!).
For a little refresher, CLICK HERE to learn a little more about the organization, my own research background in pediatric cancer, and why you should consider donating to this great charity! (And there’s a really great chewy chocolate mint cookie recipe on the other side of that link too, in case you need a little extra motivation to click.)
What are Black and White Cookies?
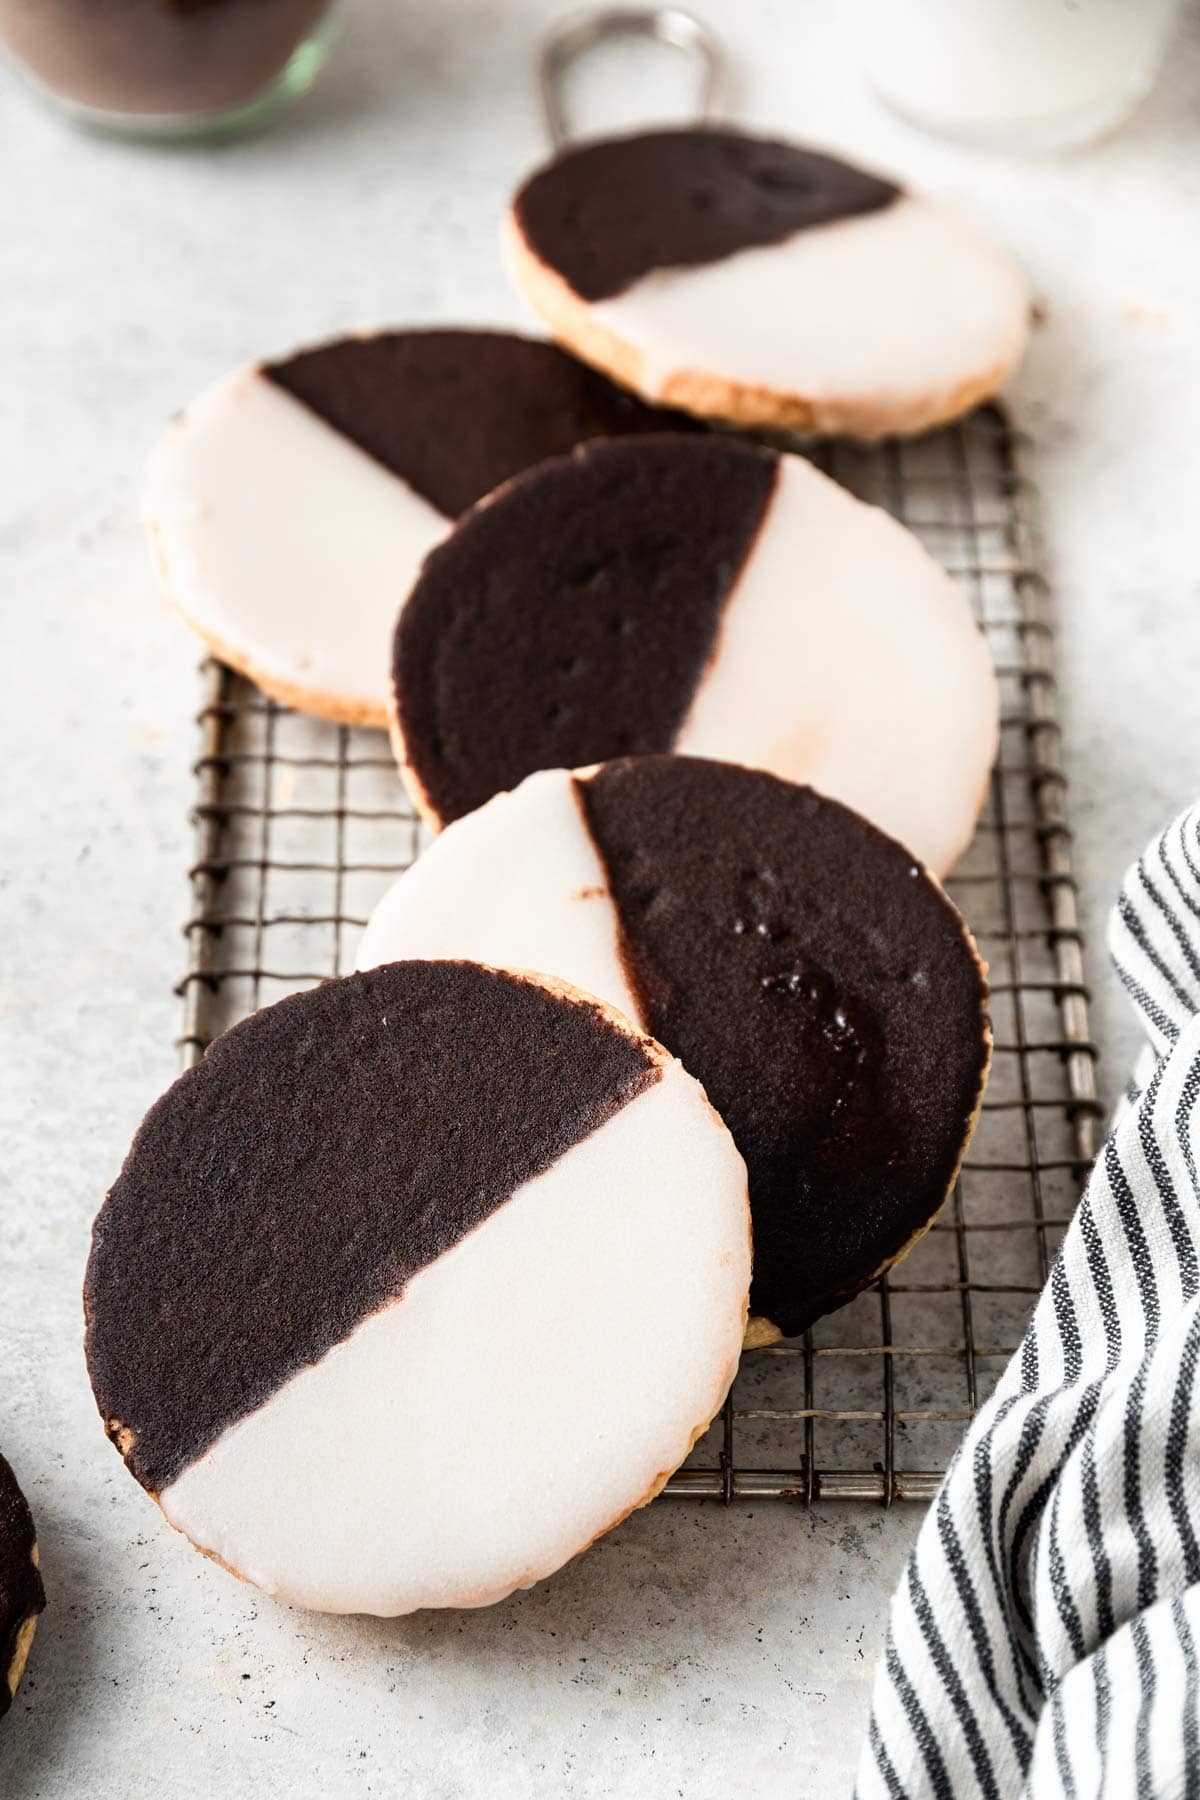
If you grew up in the northeast, you probably know exactly what I’m talking about. Every good NYC bakery and Jewish deli has giant, bigger-than-your-hand, black and white cookies for sale.
But after polling my coworkers, it’s clear that black and white cookies are not ubiquitously known. (One of my prior labmates assumed I was talking about Oreos when I asked if he knew about black and white cookies.)
So let’s start with a little explanation! These thick and fluffy cake-like cookies are flavored with vanilla. But the real gem is the frosting: half is covered with a vanilla (or sometimes lemon) glaze, and the other half is covered with a chocolate glaze.
Why decide between vanilla or chocolate when you can BOTH on one giant cakey cookie?!
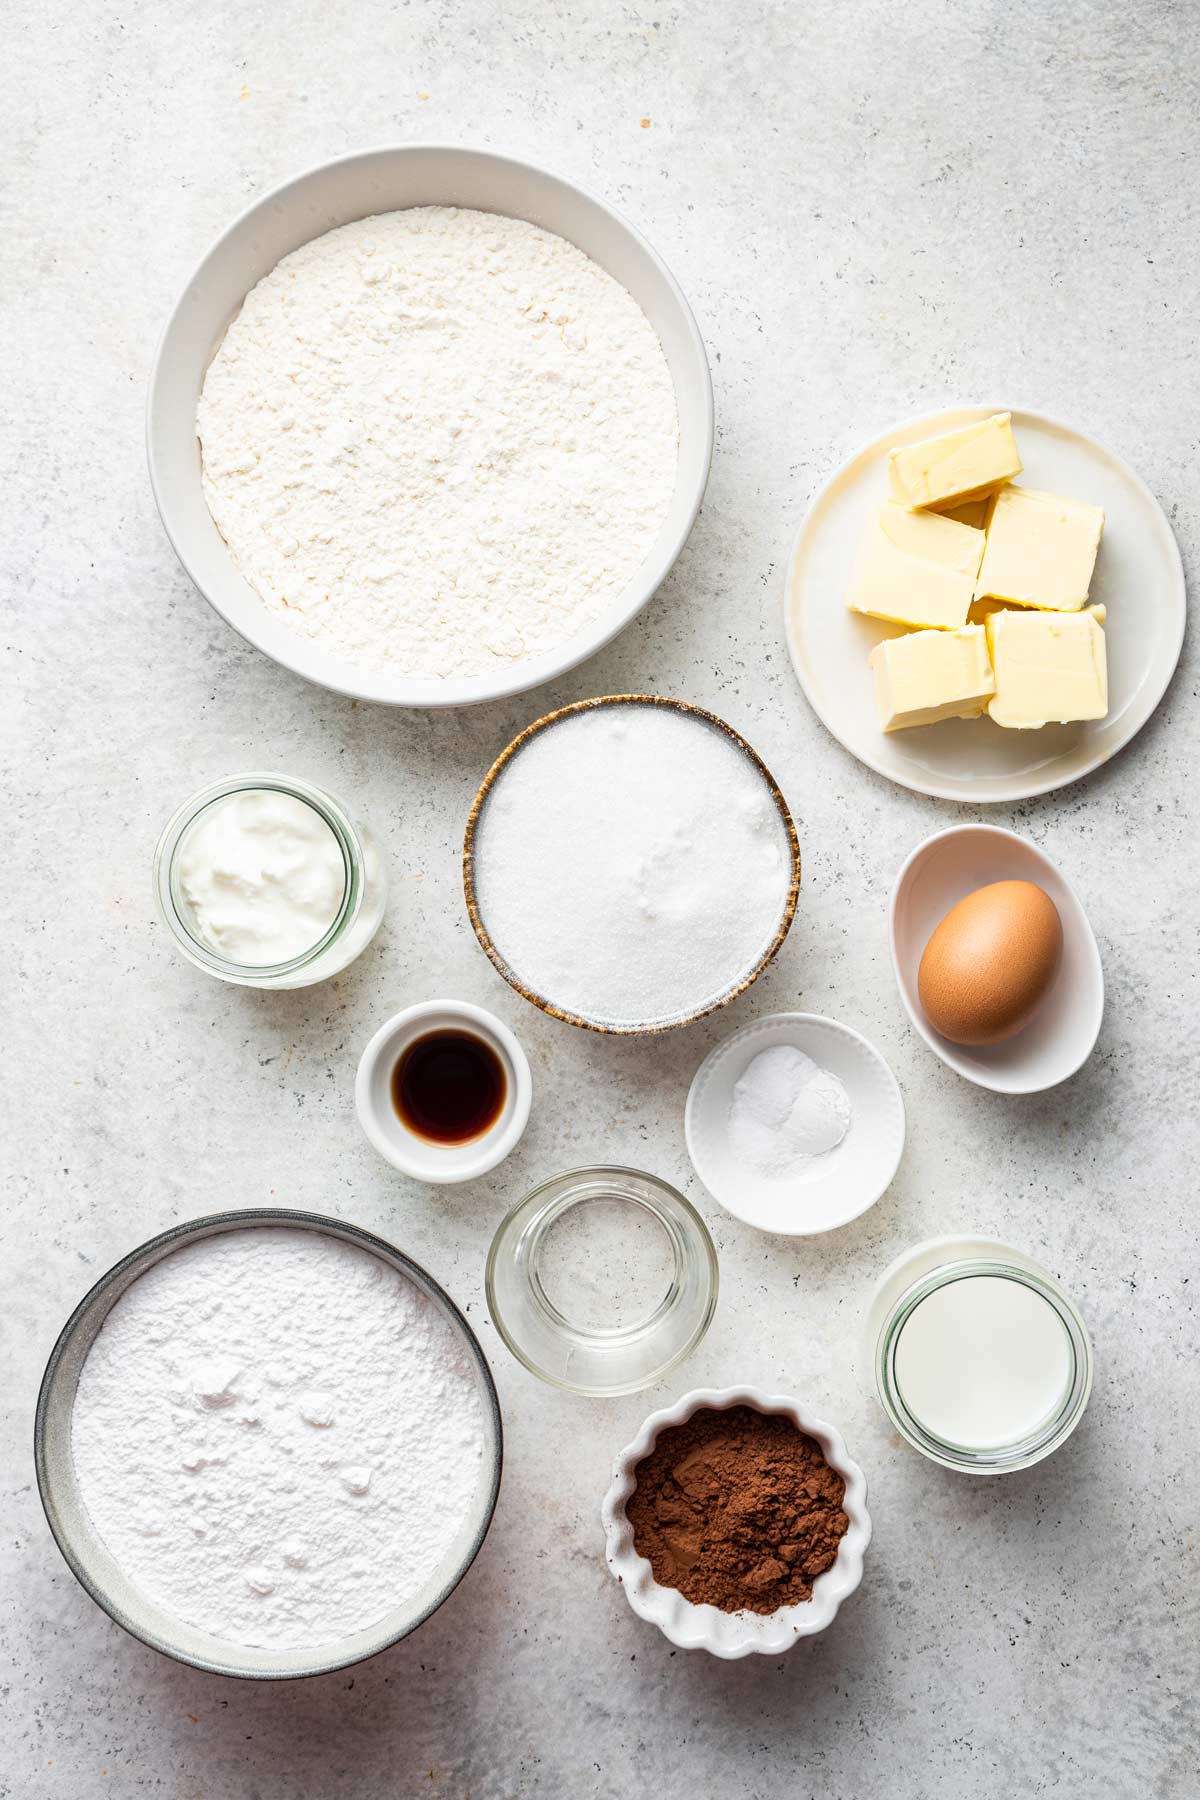
Ingredients for Black and White Cookies
While I usually develop all my own recipes, I’m going to give credit here to America’s Test Kitchen’s The Perfect Cookie (affiliate link) for absolutely nailing it with their cookie. This recipe relies very heavily on theirs, with a few tweaks (and lots of helpful tips) to make them even just a little better!
These cookies contain all the standard cookie ingredients, like flour, chemical leavners (baking soda and baking powder), salt, butter, sugar, an egg, and vanilla extract, but they also contain sour cream. Sour cream is key for the light and fluffy texture! We can explain why with my favorite subject… kitchen chemistry!
Kitchen Chemistry
Adding sour cream to a batter increases significantly increases the moistness, without increasing the liquid content of the batter (which would cause the cookies to spread). Furthermore, sour cream is acidic, which helps break down the gluten molecules, resulting in a soft, fluffy cake-like cookie.
The glaze is also pretty standard: confectioners’ sugar, milk, vanilla extract, cocoa powder for the chocolate glaze, lemon juice (if desired) for the lemon glaze, and also a little corn syrup for a beautiful, shiny smooth finish.
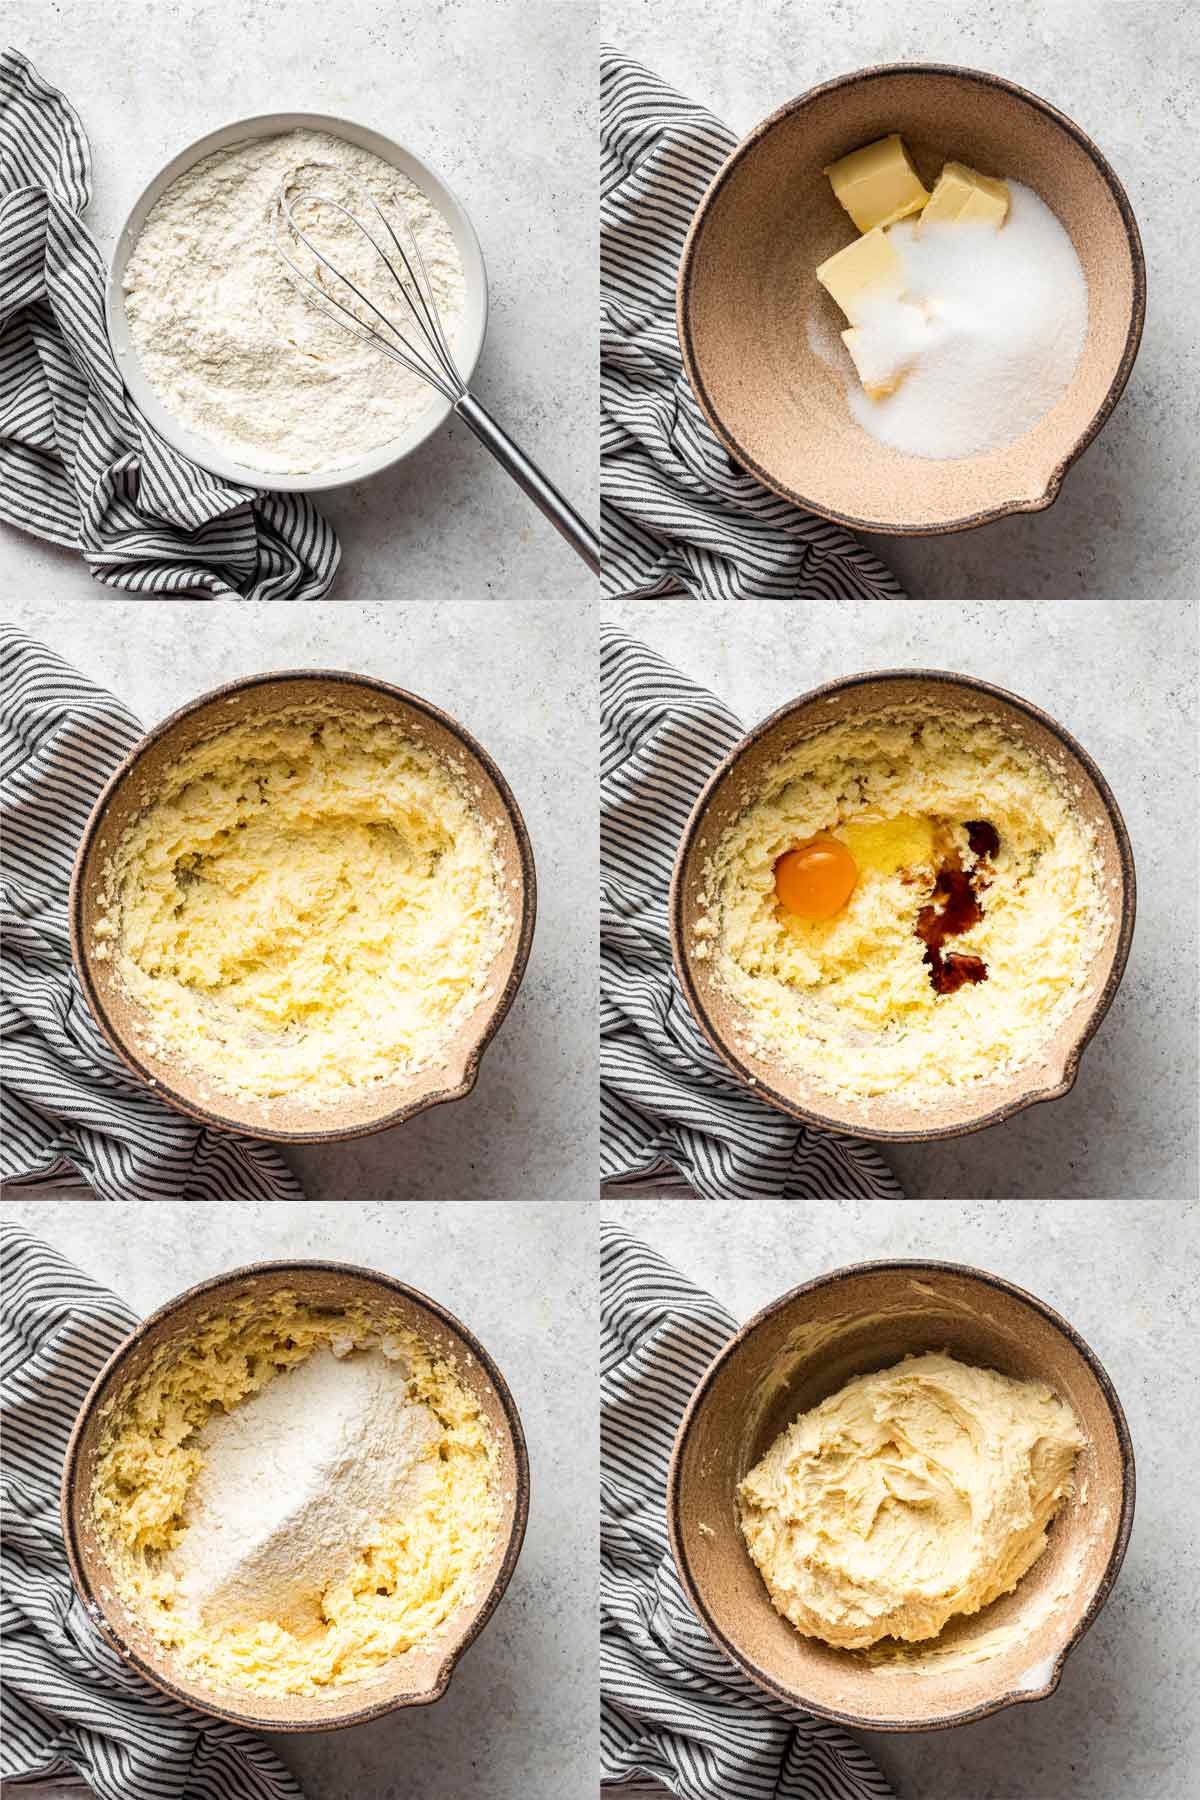
Baking the Cookies
Let’s start with some step-by-step instructions (and photos!) on how to bake the perfect black and white cookie.
- Whisk together dry ingredients.
- Cream together the butter and sugar until light and fluffy (this takes a few minutes!).
- Add the egg and vanilla extract.
- Mix in the dry ingredients and sour cream, alternating between the two.
- Beat until dough comes together.
- Scoop the cookies onto the baking sheet and bake.
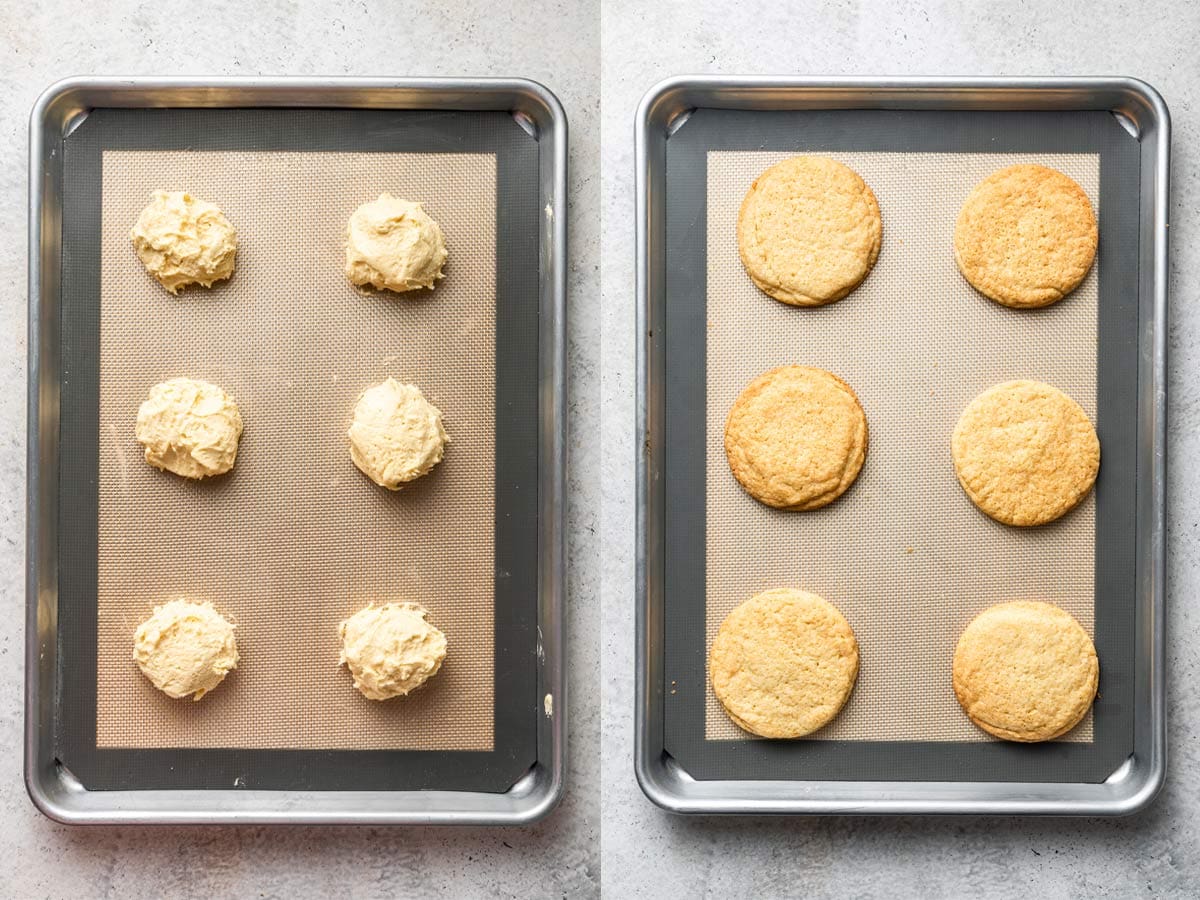
Essential Tip #1: How to Keep Black and White Cookies Round
The dough for these cookies is thick and sticky, and it can sometimes be hard to get a nice, round scoop of dough onto the cookie sheet. If your cookies are a little lumpy and oblong after baking, use a round cookie cutter to cut a perfect circle. The frosting will drip down the sides and hide the freshly cut edges.
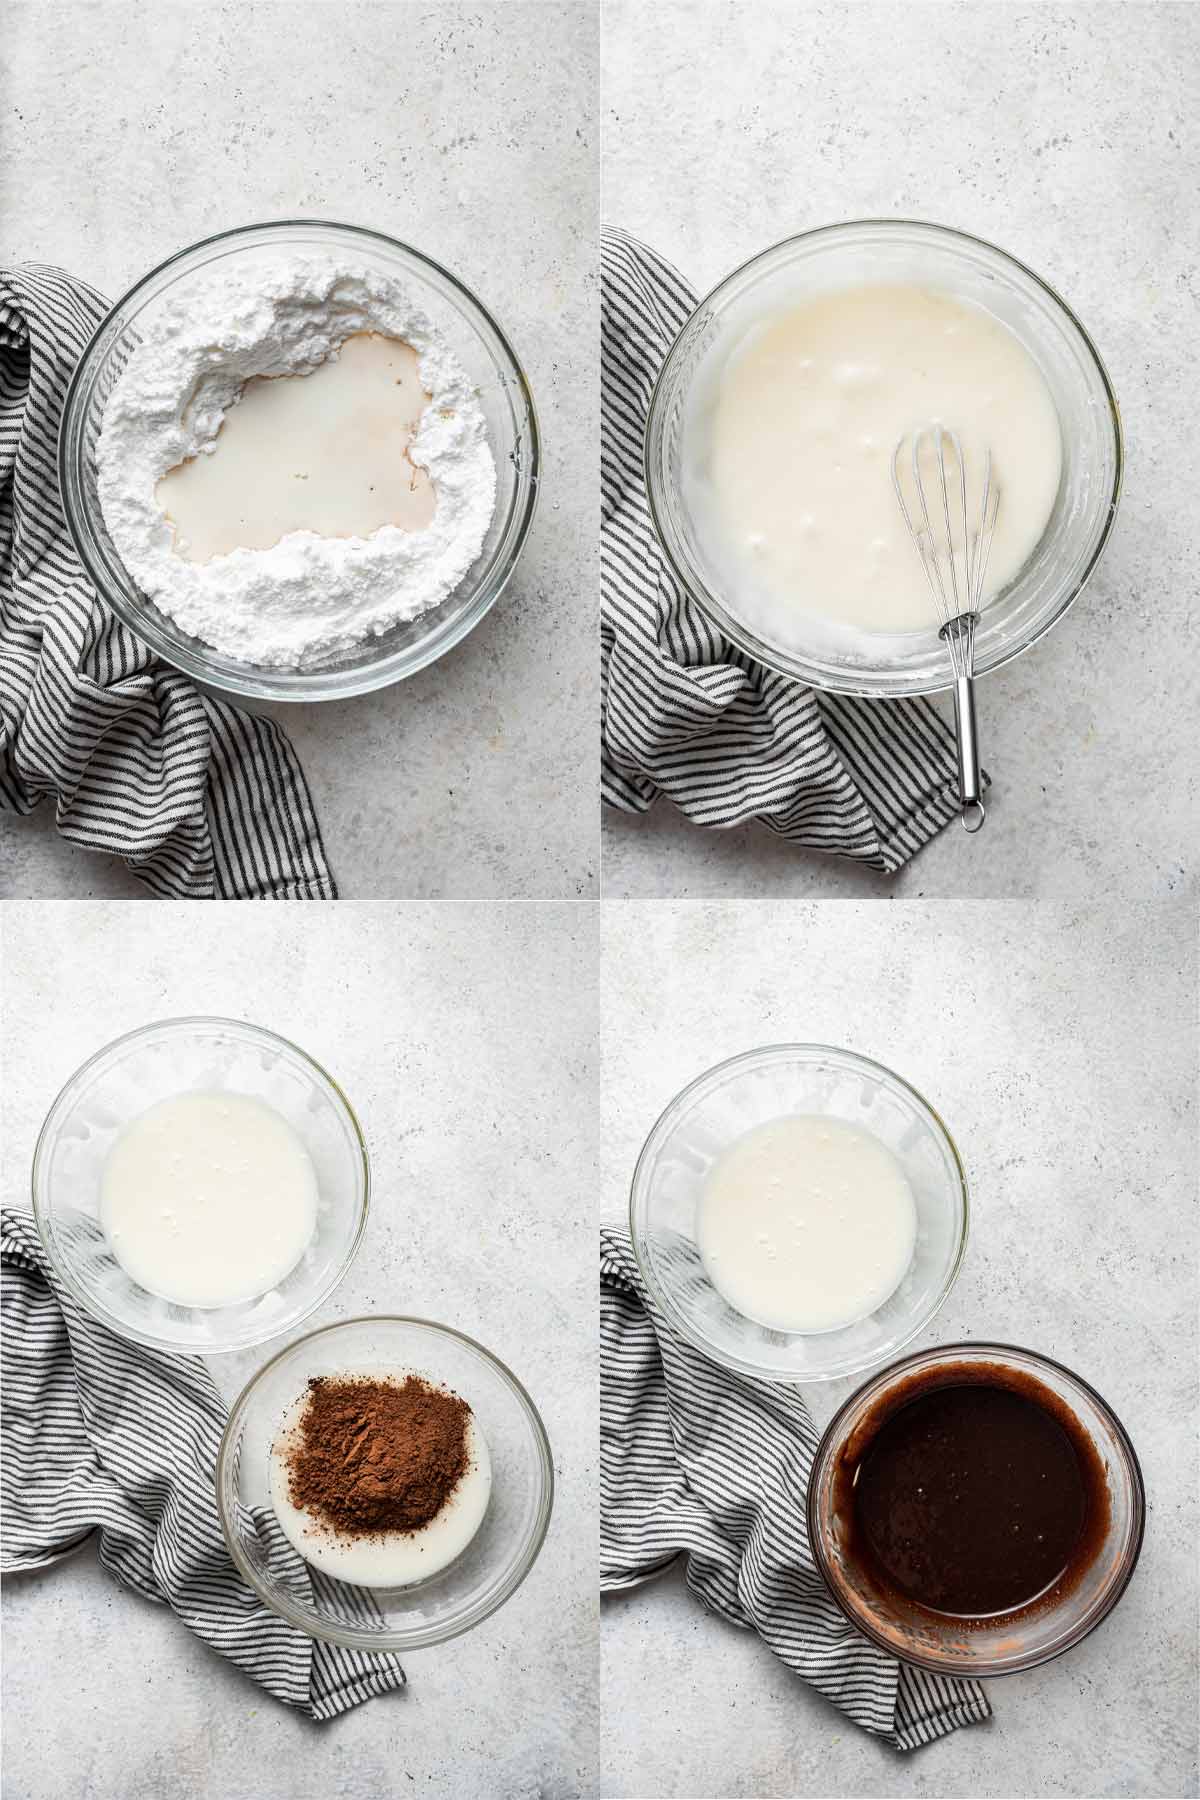
Frosting the Cookies
Next up, we’re going to make the vanilla and chocolate frosting. First things first, sometimes black and white cookies are made with lemon frosting instead of vanilla. I didn’t grow up with the lemon-flavored frosting and I don’t love the lemon + chocolate combination, so I make mine with plain vanilla. But my recipe below includes optional lemon juice if you’d prefer lemon flavor in your white frosting!
To make the frosting, we’ll need two bowls. We’ll start with one base frosting and then split it into two.
- Whisk together the base ingredients.
- Divide the frosting in half.
- Add chocolate (and lemon, if desired).
- Frost the cookies!
Essential Tip #2: How to Get a Flat Surface
Once the cookies have cooled and you’re ready to frost, flip the cookies upside-down and frost the bottom. You can frost the tops and they’ll still be delicious, but to get a flat, smooth look, you’re going to flip the cookies over and frost the bottom.
Essential Tip #3: How to Get a Straight Frosting Line
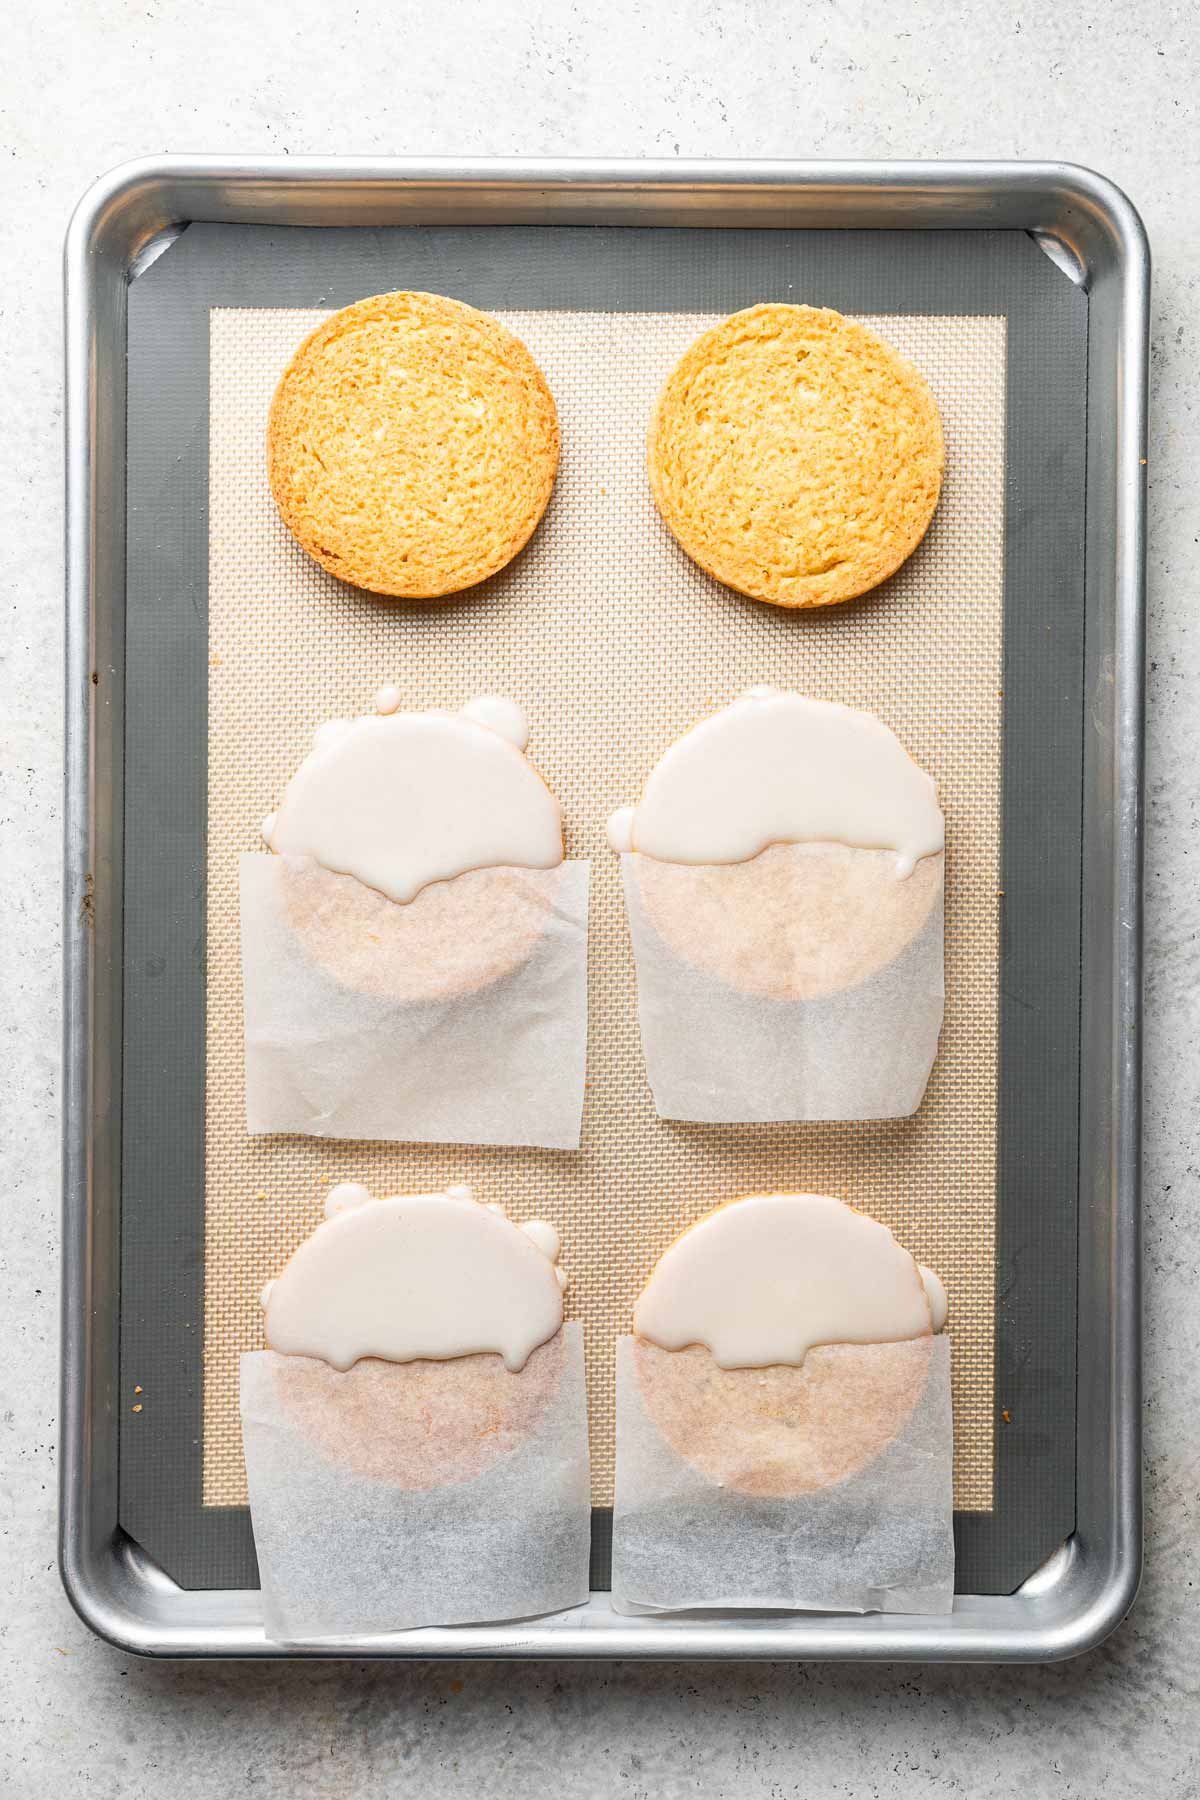
If you want a picture-perfect straight, even line between the black and white frostings, use wax paper (or parchment paper). Cut a small square of wax paper and place it halfway across the cooking. Then spread on your first frosting, going slightly over the edge of the wax paper. Place the half-frosted cookie in the refrigerator to set the frosting, then slowly and gently peel up the wax paper.
Tips and Tricks for the Best Black and White Cookies
- Use room temperature ingredients for the cookie batter and full fat sour cream for the best texture and flavor.
- Cool the cookies completely before frosting to prevent the icing from melting off the cookie.
- Cookies which look lumpy and uneven after baking can be cut into a perfectly round shape using a circular cookie cutter.
- Refrigerate the cookies after adding the first flavor of frosting. This helps set the frosting more quickly.
- Frost the bottoms of the cookies, not the top!
- For a super-straight frosting line, use a piece of wax paper to cover half of the cookie.
- These cookies are very large. For smaller cookies, use a two tablespoon scoop instead of a quarter-cup scoop for the dough. Start checking for doneness around 10 minutes of baking time.
More Cookie Recipes:
- Chocolate Pinwheel Cookies
- Oatmeal Chocolate Chip Cookies
- Toffee Crunch Cookies
- Sprinkle Sugar Cookies
- Lemon Thumbprint Cookies
- All Cookie Recipes »
Black and White Cookies
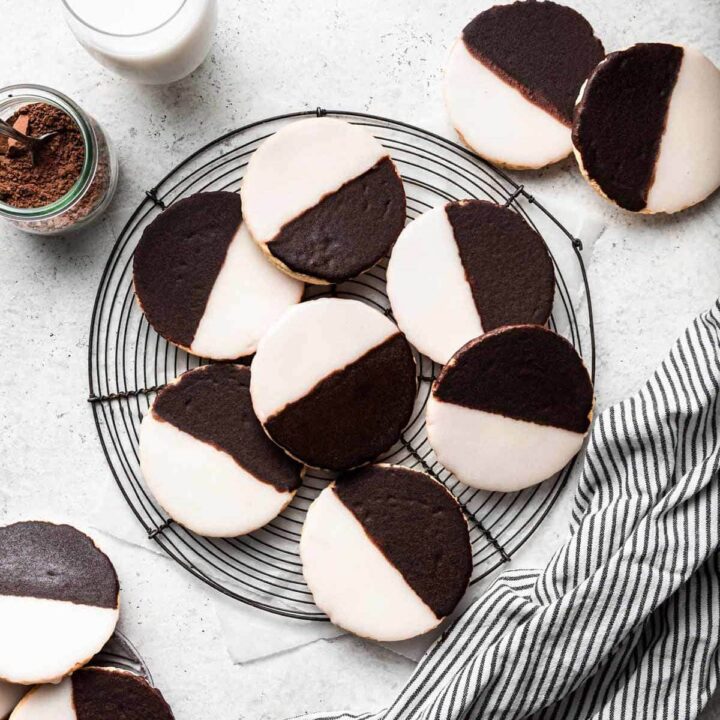
Soft and pillow-like with a thick layer of chocolate and vanilla frosting, these Black and White Cookies are just like your favorite NYC bakery.
Ingredients
FOR THE COOKIES:
- 1 3/4 cups (220 grams) all-purpose flour
- 1/2 teaspoon baking powder
- 1/2 teaspoon baking soda
- 1/8 teaspoon salt
- 10 tablespoons (145 grams) unsalted butter, room temperature
- 1 cup (198 grams) granulated sugar
- 1 egg, room temperature
- 1 tablespoon vanilla extract
- 1/3 cup (80 grams) full-fat sour cream, room temperature
FOR THE FROSTING:
- 6 cups (681 grams) confectioners’ sugar
- 7 tablespoons (99 grams) whole milk, divided
- 2 tablespoons light corn syrup
- 1 teaspoon vanilla extract
- 1/2 teaspoon salt
- 3 tablespoons (16 grams) cocoa powder
- 1 1/2 teaspoons lemon juice, optional
Instructions
- Preheat the oven to 350 °F. Line two baking sheets with parchment paper or silpat baking mats.
- Make the cookie dough. Whisk together the flour, baking powder, baking soda, and salt in a small bowl. Set aside.
- Using an electric mixer, beat together the butter and sugar on medium-high speed until light and fluffy, 2-3 minutes. Add in the egg and vanilla, continuing to beat until combined, an additional minute. Reduce speed to low and add in half of the dry ingredients, followed by the sour cream, and ending with the rest of the dry ingredients. Continue to beat on low until no streaks of flour remain.
- Bake the cookies. Grease a 1/4 cup measuring cup. Scoop the batter into the measuring cup and drop it onto the prepared baking sheet, keeping cookies 3-4 inches apart. Bake for 16 to 18 minutes, or until the edges of the cookies are lightly browned. Cool cookies on the baking sheets for 5 minutes, then transfer them to wire racks to cool completely before frosting.
- Make the frosting. Whisk together the confectioners' sugar, 6 tablespoons of milk, corn syrup vanilla extract, and salt. Divide the frosting in half, moving half to another bowl. Whisk in the cocoa powder and the remaining 1 tablespoon of milk in one bowl. If desired, add the lemon juice to the other bowl. The frosting should be thick enough to spread with a knife; if it is too thin, add a little extra confectioners' sugar; if it is too thick, stir in a little extra milk.
- Frost the cookies. Cut small squares of wax paper, at least the size of the cookies. Cover half of each cookie with a square of wax paper. Using an offset spatula or knife, spread vanilla/lemon frosting onto the bottom of half of the cookie, overlapping on top of the wax paper. Chill the frosting cookies in the refrigerator for 30 minutes, or until the frosting is set. Slowly pull up the wax paper. Frost the remaining half of the cookie with the chocolate frosting, then allow the frosting to fully set for about 1 hour.
Notes
- If the cookies look misshapen or lumpy after baking, use a round cookie cutter to cut out a perfectly round circle.
- Frost the bottoms of the cookies, not the tops!
- Use wax paper or parchment paper to divide the cookie in half with a straight frosting line.
- For smaller cookies, use two tablespoons of dough instead of a quarter cup. Start checking for doneness around 10 minutes of baking time.
- Store cookies in an airtight container at room temperature for up to 3 days, or in the refrigerator for up to a week. To stack cookies, place a piece of wax paper between each cookie to prevent frosting from sticking to the bottom of the cookie above it.
Recipe adapted from The Perfect Cookie.
Recommended Products
As an Amazon Associate and member of other affiliate programs, I earn from qualifying purchases.
Nutrition Information:
Amount Per Serving: Carbohydrates: 76.6gProtein: 3.1g
This recipe was first shared December 2017 and was updated with new pictures and helpful tips December 2022.

