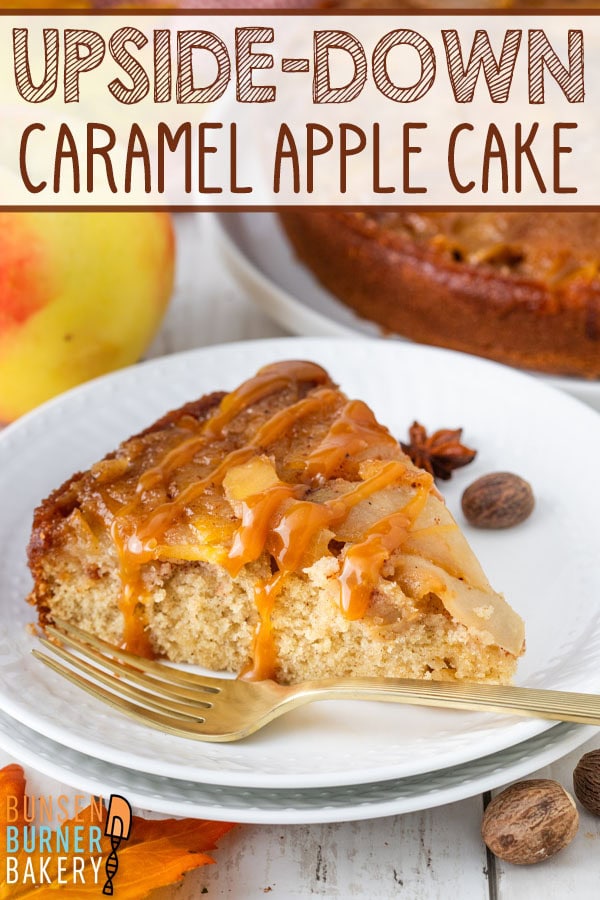
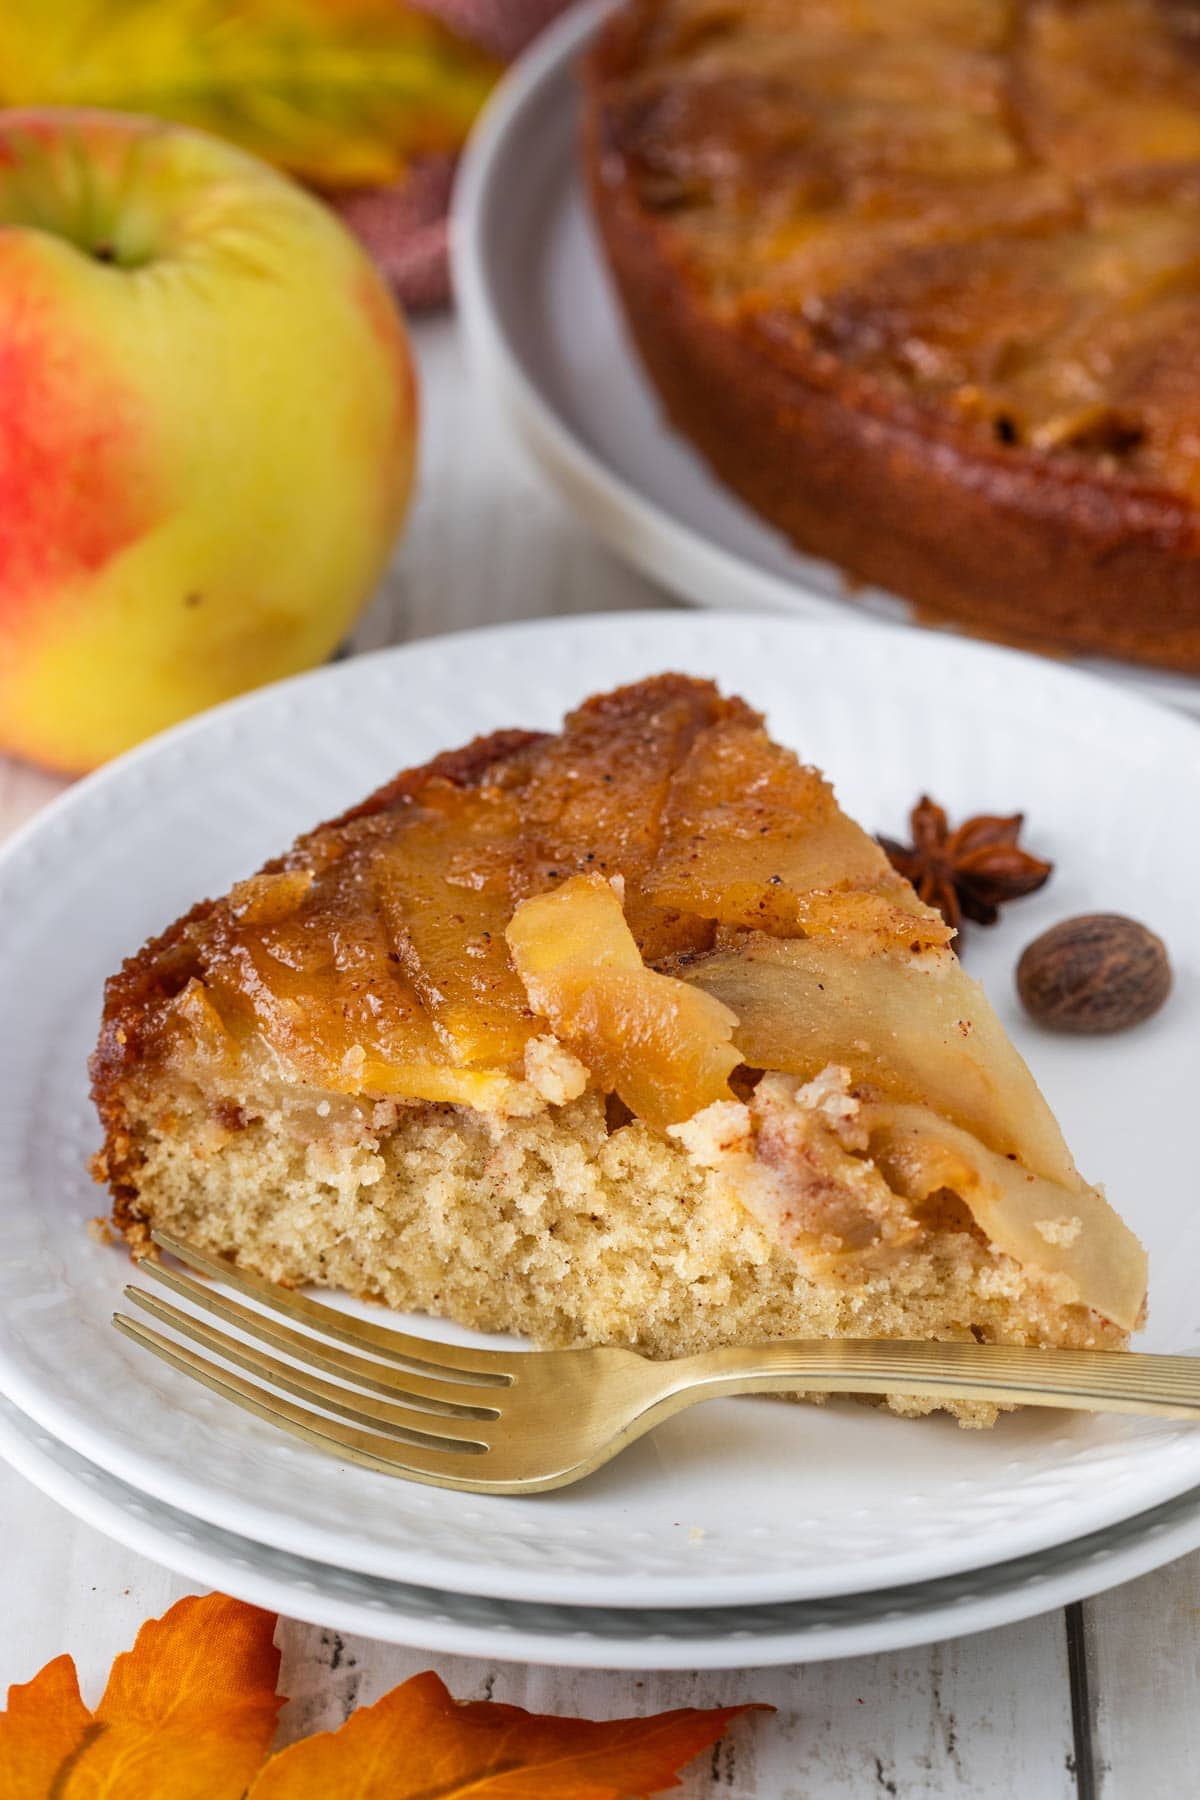
Caramel Apple Upside-Down Cake
This Caramel Apple Upside-Down Cake is the perfect cozy dessert for fall with buttery brown sugar caramel apples baked under a fluffy vanilla cake. Once flipped, the apples become a glossy topping, as beautiful as it is delicious.

While I’m still clinging to the last warm weather temperatures, fall is on its way and you know what that means: apples in everything! Apple pie, apple crisp, apple muffins – you name it, I’ve baked it. But when I want a showstopper that requires zero fuss or advance planning, I turn to this Caramel Apple Upside-Down Cake.
There’s something nostalgic about upside-down cakes. Pieapple is the classic, of course, and I really love these nectarine upside-down and chocolate chip cherry upside-down cakes. But apples with caramel? That’s autum perfection.
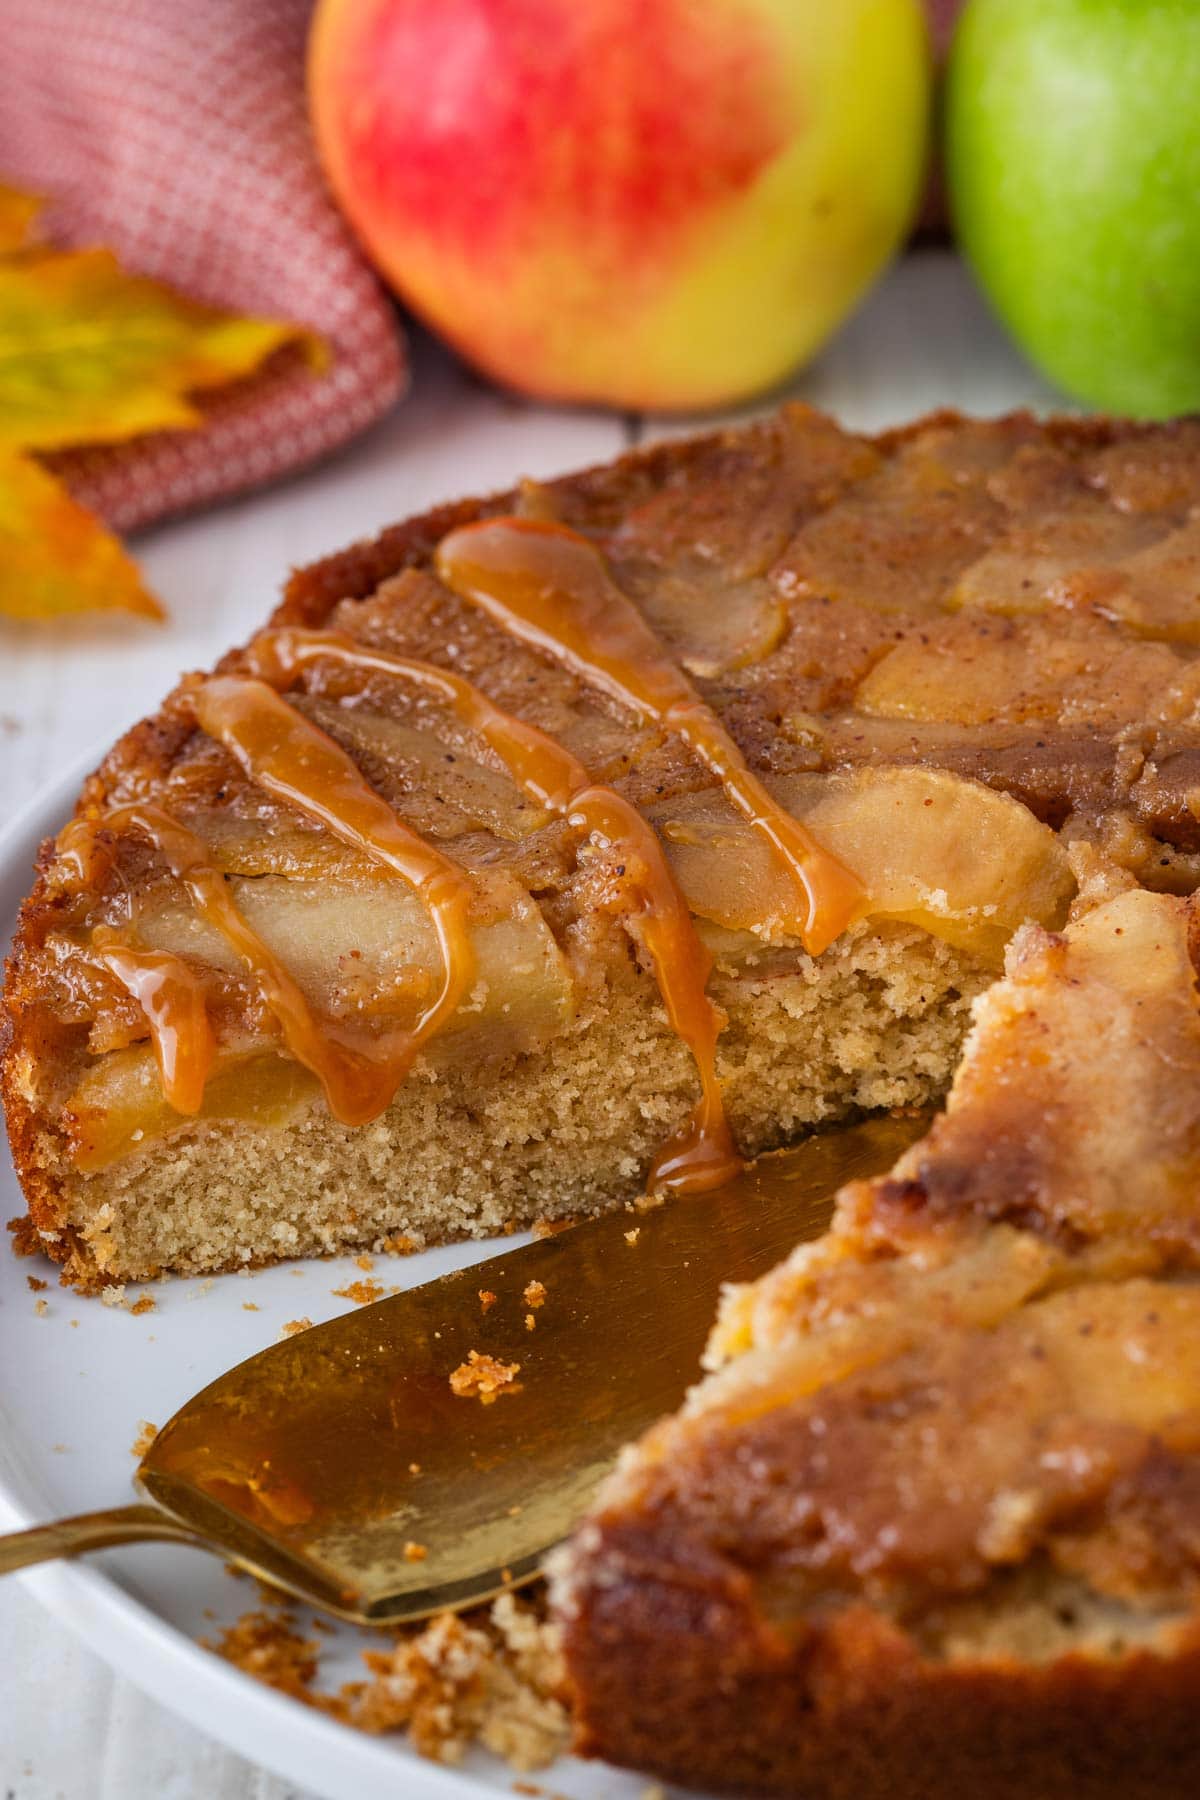
The magic happens when you flip the cake out of the pan and the apples, caramelized in butter and brown sugar, become the star of the show. Every slice has a thick layer of glossy, spiced apples on top and buttery, soft cake underneath.
I’ve tested this recipe with different apple varieties, played with the caramel-to-apple ratio, and worked out all the details so it bakes up perfectly every time. This cake is a fall baking essential and I know you’re going to love it.
Why You’ll Love This Recipe
- One-Bowl Cake Batter: No mixer required and easy cleanup.
- Cozy Fall Flavors: Warm cinnamon, buttery caramel, and tart-sweet apples.
- Showstopping Presentation: Flip it out of the pan for a glossy apple topping that looks bakery-worthy.
- Flexible Recipe: Works with many apple varieties and easy to make gluten-free or dairy-free.
- Make-Ahead Friendly: Tastes even better the next day as the caramel soaks into the cake.
Ingredients and Substitutions
Here’s what you’ll need to make this easy upside-down apple cake, along with some key recipe notes and substitutions listed below.

- Butter: Use a high-quality vegan butter for a dairy-free cake.
- Brown Sugar: Either light or dark brown sugar works, but dark adds a deeper molasses flavor.
- Apples: Use firm baking apples, like Granny Smith, Honeycrisp, Braeburn, or Gala. Softer apples like Red Delicious will turn too mushy.
- Flour: For a gluten-free cake, use a 1:1 gluten-free baking blend.
- Eggs: For egg-free, substitute with 1/4 cup unsweetened applesauce or a flax egg per egg.
- Sour Cream: Greek yogurt is a good substitution, or use a thick full-fat dairy-free yogurt.
- Milk: Use whole milk or a dairy-free high protein milk, like soy milk or pea protein milk.
How to Make Caramel Apple Upside-Down Cake
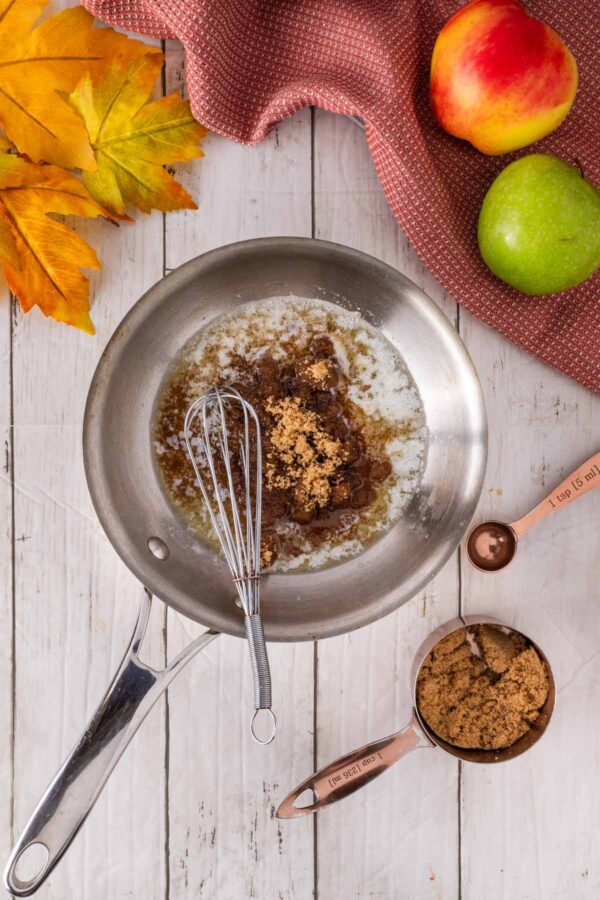
- Make the Caramel: Melt butter and brown sugar together until glossy, then spread over the bottom of the pan.

- Layer the Apples: Arrange sliced apples over the caramel in a single, slightly overlapping layer. Sprinkle with spices.


- Make the Cake Batter. Whisk the dry ingredients together. Beat the butter and sugar until fluffy, then add eggs one at a time. Fold in the sour cream, then alternate adding the dry ingredients and milk to the batter.


- Bake the Cake: Pour the batter over the apples and bake until golden brown and set in the center.

- Invert: Place a serving plate over the pan, carefully flip, and lift off the pan to reveal the caramel apple topping.

Caramelization and Maillard Browning
Upside-down cakes are all about the magic of heat transforming butter, sugar, and fruit into a glossy caramel topping.
Kitchen Chemistry
When heated, sugar undergoes caramelization starting around 320°F, producing complex nutty and toasty flavors. At the same time, the proteins in butter react with sugar through the Maillard reaction (around 350°F), creating even deeper flavor compounds and that beautiful golden color. Together, these processes turn a simple butter and sugar mixture into the rich caramel layer that makes this cake so special.
So why does this matter? The caramel not only provides flavor, it also keeps the apples from drying out in the oven. The apples slowly release juice as they bake, which mixes into the caramel and soaks into the cake layer above, keeping the crumb moist and tender.
This is also why the cake often tastes even better on day two — the caramel has more time to seep into the cake, enhancing both moisture and flavor. Upside-down cakes are simple in method, but it’s the chemistry of caramelization and browning that makes them shine.
Tips and Tricks for the Best Caramel Apple Upside-Down Cake
- Apple Choice Matters: A tart, firm apple like Granny Smith balances the sweetness, while Honeycrisp adds juiciness. Avoid softer apples like Red Delicious, which turn mushy.
- Even Slices: Cut apples uniformly so they cook evenly and create a smooth, glossy topping once flipped.
- Invert Quickly: The caramel must still be warm and fluid to release cleanly. Wait around 10 minutes: just long enough for the cake to set, but before the carmel starts to harden.
- Make Ahead: The caramel soaks into the cake as it rests, so the flavor is even better the next day.
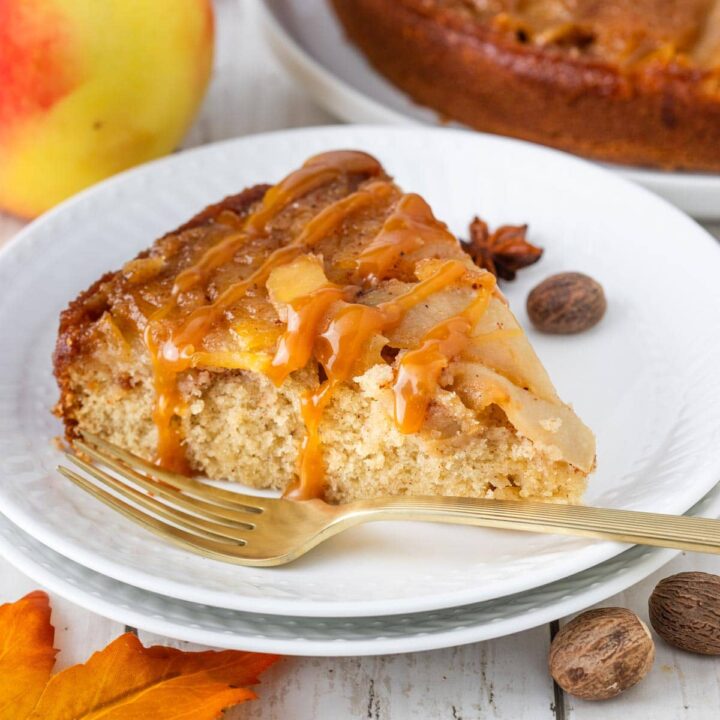
- Serving Suggestion: A scoop of vanilla ice cream or a dollop of whipped cream balances the rich caramel and tender apples perfectly.
- Storage: Store leftovers covered at room temperature for up to 2 days or in the refrigerator for up to 5 days. Warm individual slices in the microwave before serving for the best flavor.
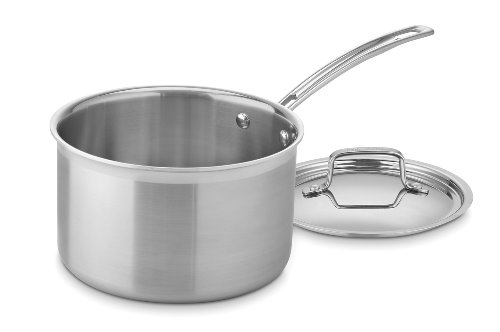
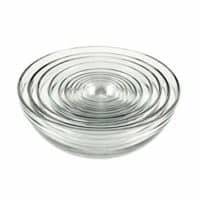
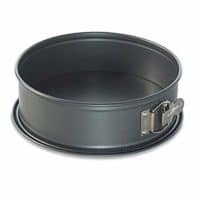
- Recommended Tools: 9-inch Springform Pan | Mixing Bowls | Stand Mixer | Saucepan


More Apple Recipes
- Best Jewish Apple Cake
- Caramel Apple Cheesecake
- Caramel Apple Layer Cake
- Honey Apple Babka
- Apple Pie Cinnamon Rolls
- Apple Bread with Cinnamon Crumble
Caramel Apple Upside-Down Cake
This Caramel Apple Upside-Down Cake is the perfect cozy dessert for fall with buttery brown sugar caramel apples baked under a fluffy vanilla cake.
Ingredients
For the Apples:
- 4 tablespoons (57 grams) unsalted butter
- 3/4 cup (160 grams) brown sugar
- 2 medium apples, peeled, cored, and thinly sliced
- 1/2 teaspoon cinnamon
- 1/4 teaspoon nutmeg
For the Cake:
- 1 1/2 cups (180 grams) all-purpose flour
- 1 1/2 teaspoons baking powder
- 1/2 teaspoon baking soda
- 1/2 teaspoon salt
- 1/2 teaspoon cinnamon
- 1/2 cup (113 grams) unsalted butter, cool room temperature
- 3/4 cup (149 grams) granulated sugar
- 2 large eggs, room temperature
- 2 teaspoons vanilla extract
- 1/2 cup (113 grams) sour cream, room temperature
- 1/2 cup (113 grams) whole milk, room temperature
Instructions
- Prepare the pan. Preheat oven to 350°F (175°C). Grease a 9-inch round springform or cake pan and line the bottom with parchment paper for easy release.
- Make the caramel layer. Peel, core, and thinly slice apples. In a small saucepan over medium heat, melt the butter. Stir in the brown sugar and cook until bubbly, about 2 minutes. Pour into the prepared pan and spread evenly. Arrange the apple slices on top in a circular pattern. Sprinkle with cinnamon and nutmeg.
- Make the cake batter. In a medium bowl, wisk the flour, baking powder, baking soda, salt, and cinnamon. In a large mixing bowl, beat the butter and granulateds ugar until light and fluffy, 2–3 minutes. Add the eggs one at a time, mixing well after each, then mix in the vanilla extract.
- Combine wet and dry ingredients. Mix in the sour cream until smooth. Add the dry ingredients in three additions, alternating with milk, beginning and ending with dry ingredients. Mix until just combined (do not overmix).
- Assemble and bake. Gently spread the batter over the apples, smoothing the top. Bake for 40–45 minutes, or until a toothpick inserted in the center comes out with a moist crumb.
- Invert and serve. Let the cake cool in the pan for 10 minutes, then carefully invert it onto a serving plate. Peel away the parchment paper if it sticks to the apple layer. Serve warm with ice cream, whipped cream, or a drizzle of homemade caramel sauce.
Notes
- Use tart, firm baking apples, like Granny Smith, Honeycrisp, or Braeburn. Avoid soft apples like Red Delicious, which will turn mushy.
- Cut the apples into uniform, thin slices (about 1/4-inch thick) so they cook evenly.
- Let the cake rest for 10 minutes, then invert; if the caramel cools too much, it will be hard to remove the cake from the pan.
- Store leftovers covered at room temperature for up to 2 days or in the refrigerator for up to 5 days. Warm individual slices in the microwave before serving for the best flavor.
- Recommended Tools: 9-inch Springform Pan | Mixing Bowls | Stand Mixer | Saucepan
Recommended Products
As an Amazon Associate and member of other affiliate programs, I earn from qualifying purchases.