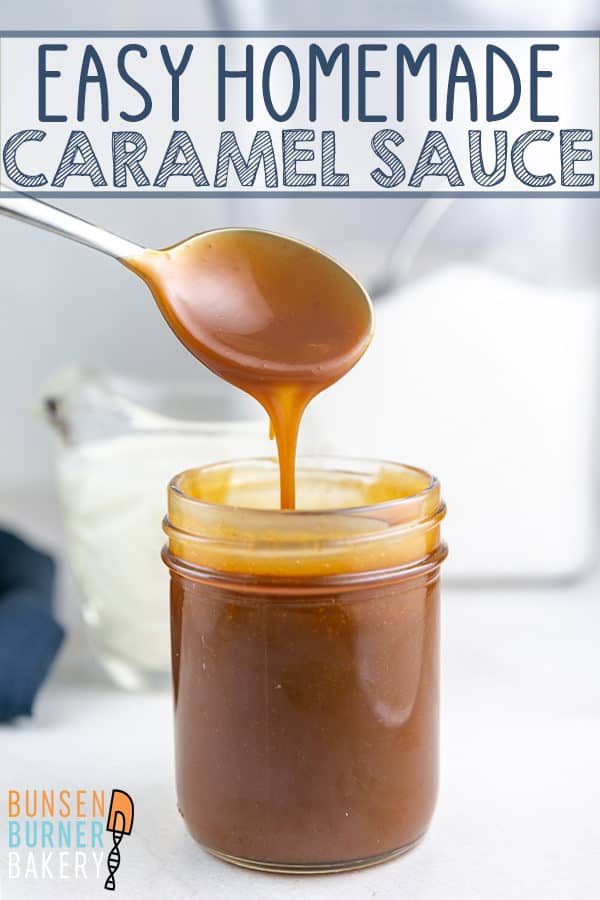
Easy Salted Caramel Sauce
Sugar, heavy cream, and salt are all you need for this amazingly easy Homemade Salted Caramel Sauce! Step-by-step photos will help guide you through the process to guarantee the best results.
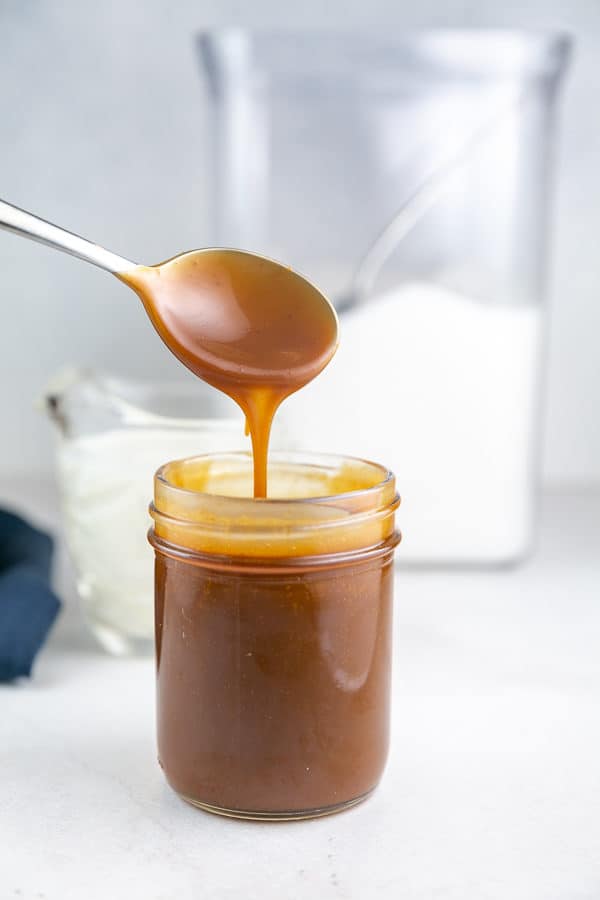
This week is a “two-fer” week on Bunsen Burner Bakery. A new post today, for the world’s easiest homemade salted caramel. And then later this week, a recipe with exactly how you should be using this salted caramel. (Spoiler alert: the upcoming recipe is probably one of the best things I’ve ever made).
There are hundreds of salted caramel recipes on the internet, but a lot of them look a little bit different than this one. Today’s post will be a little “kitchen chemistry” heavy as I explain exactly why this recipe doesn’t include some of the ingredients in other recipes.
It’s the all-you-need-to-know about salted caramel. Believe me when I say this recipe is easy, and you won’t screw it up. I’m also including lots of step-by-step photos of the process so you know exactly what to expect.
Also believe me when I say you need this in your life, so you should probably make a batch today. And it only includes four ingredients: water, sugar, heavy cream, and salt.
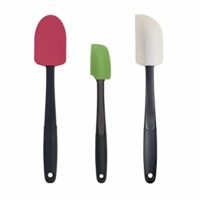
As far as tools, you’ll need a large-ish stainless steel sauce pot or saute pan (I use a 3 quart sauce pot), a rubber/silicone spatula for stirring, measuring cups or a kitchen scale, and an instant-read thermometer, if you have one available.
Ready? Let’s make this super easy salted caramel!
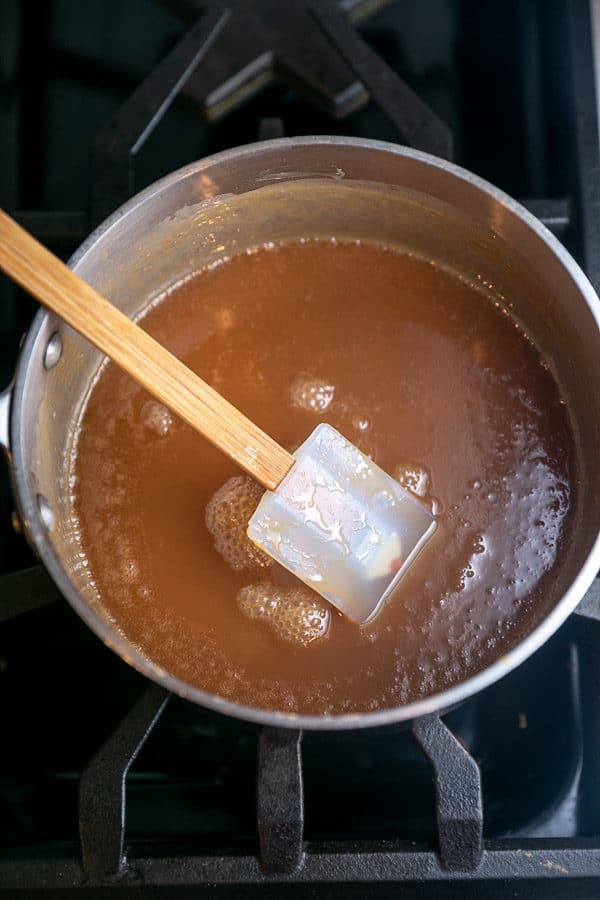
The Caramelization Process
First things first, since we talk a lot about the chemistry behind cooking and baking, let’s address caramelization.
The main ingredient in our homemade salted caramel sauce? Sugar. And what is caramelization? The browning of sugar.
(Of note: it’s a heat-based browning process — and doesn’t involve brown sugar, which is brown from adding molasses. NOT THE SAME THING.)
How does sugar undergo caramelization? It’s time for my favorite subject…. kitchen chemistry!
Kitchen Chemistry
Caramelization is a type of non-enzymatic browning, which results from the thermal decomposition of sugar as heat is added. The darkened color is produced by polymers, namely caramelans, caramelens, and caramelins, while the flavor comes from the release of volatile chemicals.
Only Four Ingredients Necessary
As I mentioned above, the only things you need are water, sugar, heavy cream, and salt. That’s it! (You can add in vanilla extract if you’d like, but I find this is plenty flavorful without.)
So let’s talk about what we’re not including, and why. A lot of caramel sauces include butter and corn syrup, but we’re not including either here.
In lieu of butter, we’re using more heavy cream. Butter is made from over-whipping heavy cream until a solid separates out from the buttermilk. We’re adding the exact same ingredients, but cutting out the middle man. (And it can be a finicky middleman — sometimes butter-based caramel sauces break, resulting in a greasy texture. Absolutely no risk of that here!)
Cream also contains quite a bit more lactose than butter, because the lactose separates out in the buttermilk layer. What is lactose? Milk sugar. What gives us the delicious caramel flavor and toasty brown color? Sugar. Using all heavy cream instead of butter gives us more of the delicious caramel flavor and color.
You may also find recipes that include a little corn syrup, usually with an explanation that it prevents the formation of sugar crystals. Sounds great, right? We don’t want gritty crystals in our smooth caramel sauce! Except… caramel sauces are considered noncrystalline. The high-fat content of the sauce naturally prevents the formation of sugar crystals.
Step-by-Step Guide to Caramel Sauce
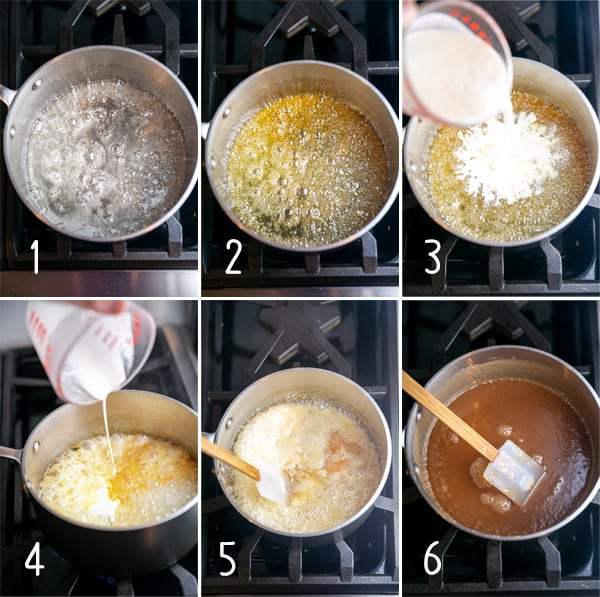
Here’s a little guide of what all the different steps look like, with some helpful tidbits along the way. Use this as a visual guide to make your own foolproof salted caramel.
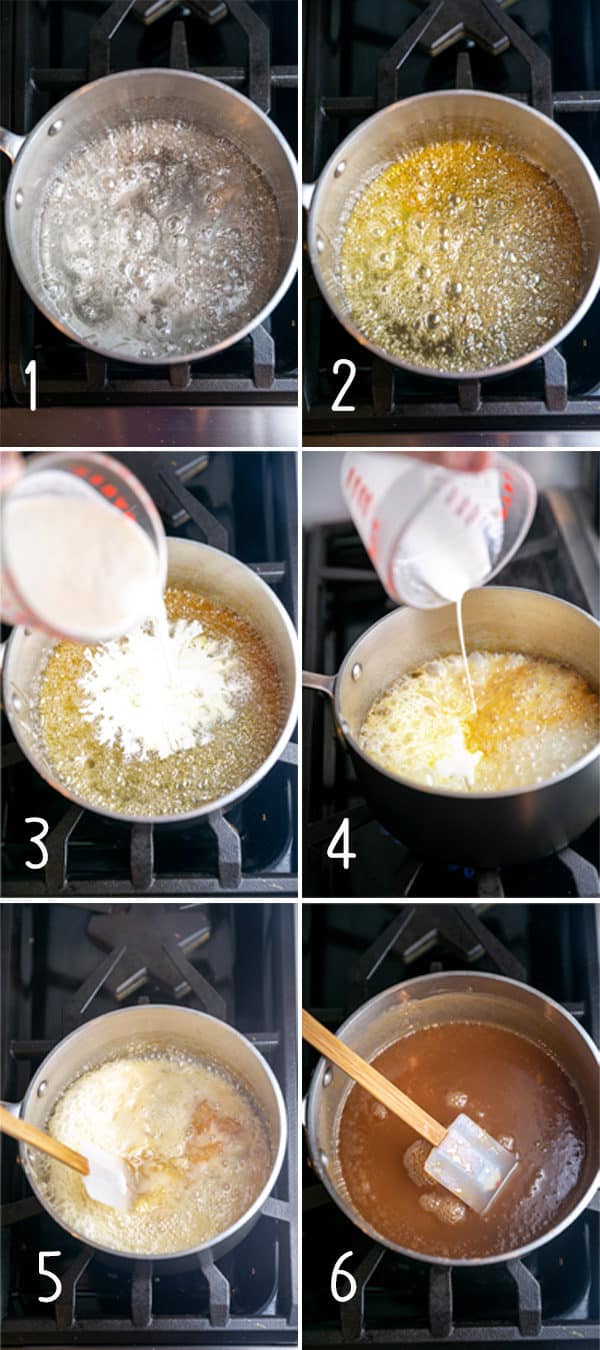
- Bring the water, sugar, and salt to a rolling boil.
- Continue to boil until the mixture reaches a medium amber color. At this point, I usually use the handle of my saucepan to gently roll the mixture around to ensure everything darkens evenly.
- Pour the heavy cream into the boiling sugar.
- Because of the temperature difference between the hot sugar and cold cream, the mixture will bubble up. This is normal (and why you need to use a large enough saucepan.)
- Once you start stirring the mixture, the caramel will feel like it seized up — you can see some large pieces of solid caramel in the photo. Keep stirring! This will smooth out into a creamy sauce.
- Cook over medium-low heat for several more minutes until the caramel sauce thickens.
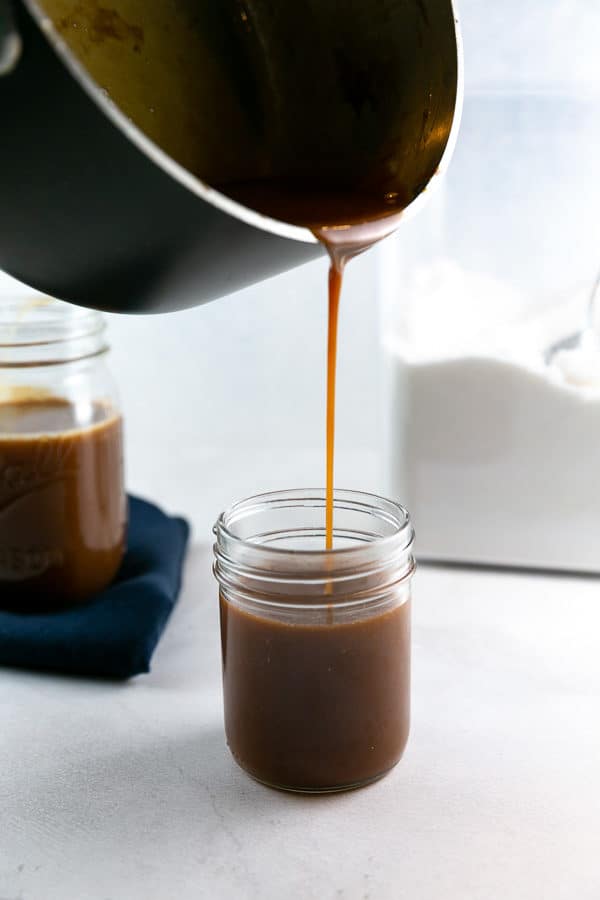
At this point, pour the caramel into a heat-safe jar (I like glass canning jars) and allow the mixture to cool.
Appropriate Temperature for Caramel Sauce
You can make this without a thermometer — continue to cook at a slow boil for 3-4 minutes. The sauce will thicken as it cools, so it will still seem runny while hot.
If you like to get technical (and I do – after all, I’m a scientist!), you can use an instant-read thermometer for batch-to-batch consistency. After stirring in the heavy cream, you want the temperature to reach at least 220 °F to thicken appropriately (it will remain on the thin and pourable side – even straight out of the fridge).
Personally, I like to cook mine to 227-228 °F — still soft even after refrigeration, but just a little thicker, making it perfect to drizzle on things without running everywhere. You can even cook it longer, 230 to 235 °F, for a chewier, thick consistency.
Tips and Tricks for the Best Easy Salted Caramel Recipe:
- This is easy to adjust for your preferred caramel color – just add the heavy cream a little earlier (or later) based on your preferred sugar caramelization level. The color of the sugar when the cream is added dictates the final end color.
- The times indicated in the recipe are approximate; make this based on visual cues rather than just time. Using a wider, more shallow saute pan instead of a saucepan will shorten the times as there is a larger surface area and ingredients will heat more quickly.
- Use an appropriately large pan. A smaller pan may result in the mixture bubbling over after adding the heavy cream.
- Not into salted caramel? Reduce the salt in the recipe down to 1/2 teaspoon and stir in a splash of vanilla extract during the last step.
- Have your heavy cream pre-measured and ready to go. The boiling sugar mixture will stay clear for the first few minutes, then quickly progress to a light honey color and then suddenly darker to amber very quickly. Be prepared to pour the cream quickly!
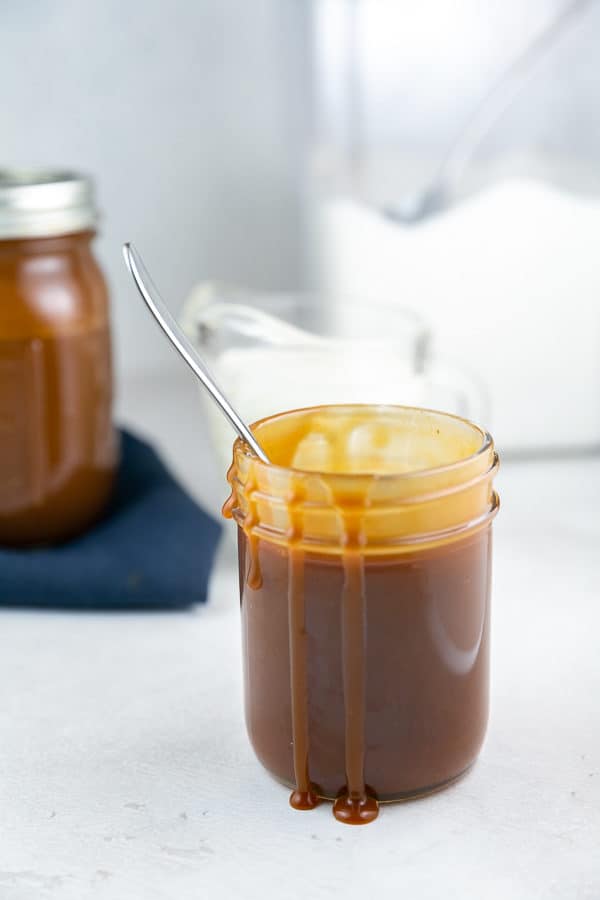
- Immediately pour the smooth sauce into a heatproof container and store at room temperature for a few days or in the refrigerator for up to 2 months. If the caramel sauce stiffens in the refrigerator, gently heat in the microwave at 50% power, stirring frequently, to return to a pourable consistency.
Recipes to Pair with Easy Salted Caramel Sauce:
- Caramel Apple Cheesecake
- Caramel Pear Pie with Oatmeal Cookie Crumble
- Jewish Apple Cake
- Bourbon Buttermilk Pie
- Oatmeal Cookie Ice Cream
- Salted Caramel Pumpkin Bread
- Caramel Pecan Turtle Brownies
Easy Salted Caramel Recipe
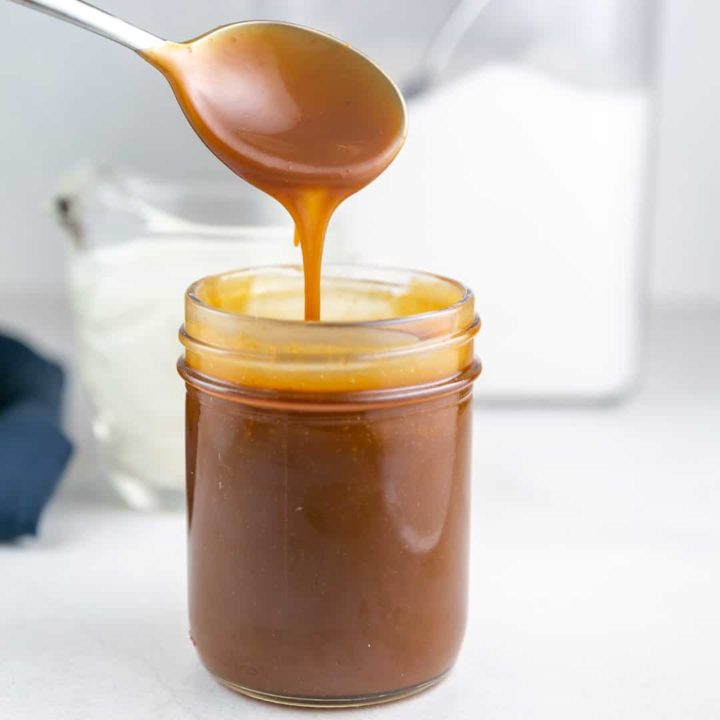
Sugar, heavy cream, and salt are all you need for this amazingly easy homemade salted caramel sauce!
Ingredients
- 1/2 cup (114 grams) water
- 1 1/4 cups (248 grams) granulated sugar
- 1 rounded teaspoon kosher salt
- 1 cup (227 grams) heavy cream
Instructions
- Combine water, sugar, and salt in a 3 quart sauce pan over medium heat. Gently stir with a rubber spatula while the mixture comes to a boil, about 5 minutes (photo panel 1). Once boiling, continue to boil until the color of the sugar mixture progresses to an amber color - an additional 6 to 7 minutes (2). Use the handle of the sauce pan to gently shake the pan to stir if the sugar mixture is browning unevenly.
- Once the desired color is achieved, immediately add the heavy cream and reduce the heat slightly to the higher end of medium low (3). The sauce will bubble and foam; use the rubber spatula to stir constantly to keep the mixture from bubbling over (4). Immediately after adding the heavy cream, the mixture will feel hard and clumpy; continue to stir and the sauce will soften and smooth (5). Keep on a low boil for 3 to 5 minutes to thicken the sauce, or until the desired temperature is achieved using an instant-read thermometer (225-230 °F) (6). The sauce will still be thin but will thicken as it cools.
- Pour into a heat-safe container and cool completely. Keep at room temperature for a few days or refrigerate for up to 2 months.
Notes
- Times are just an estimate; actual times will vary based on material and diameter of pan used. Go based off of visual cues for color of sauce and feel for thickness.
- For a non-salted caramel version, reduce salt to 1/2 teaspoon and add stir in 1 teaspoon of vanilla extract, immediately before pouring into a jar.
- Homemade salted caramel can be kept at room temperature for a few days or stored in the refrigerator for up to 2 months.
Recommended Products
As an Amazon Associate and member of other affiliate programs, I earn from qualifying purchases.
Nutrition Information:
Yield: 10 Serving Size: 2 tablespoonsAmount Per Serving: Calories: 179Total Fat: 8.8gCarbohydrates: 25.6gProtein: 0.5g
