No Bake Peanut Butter Cheesecake
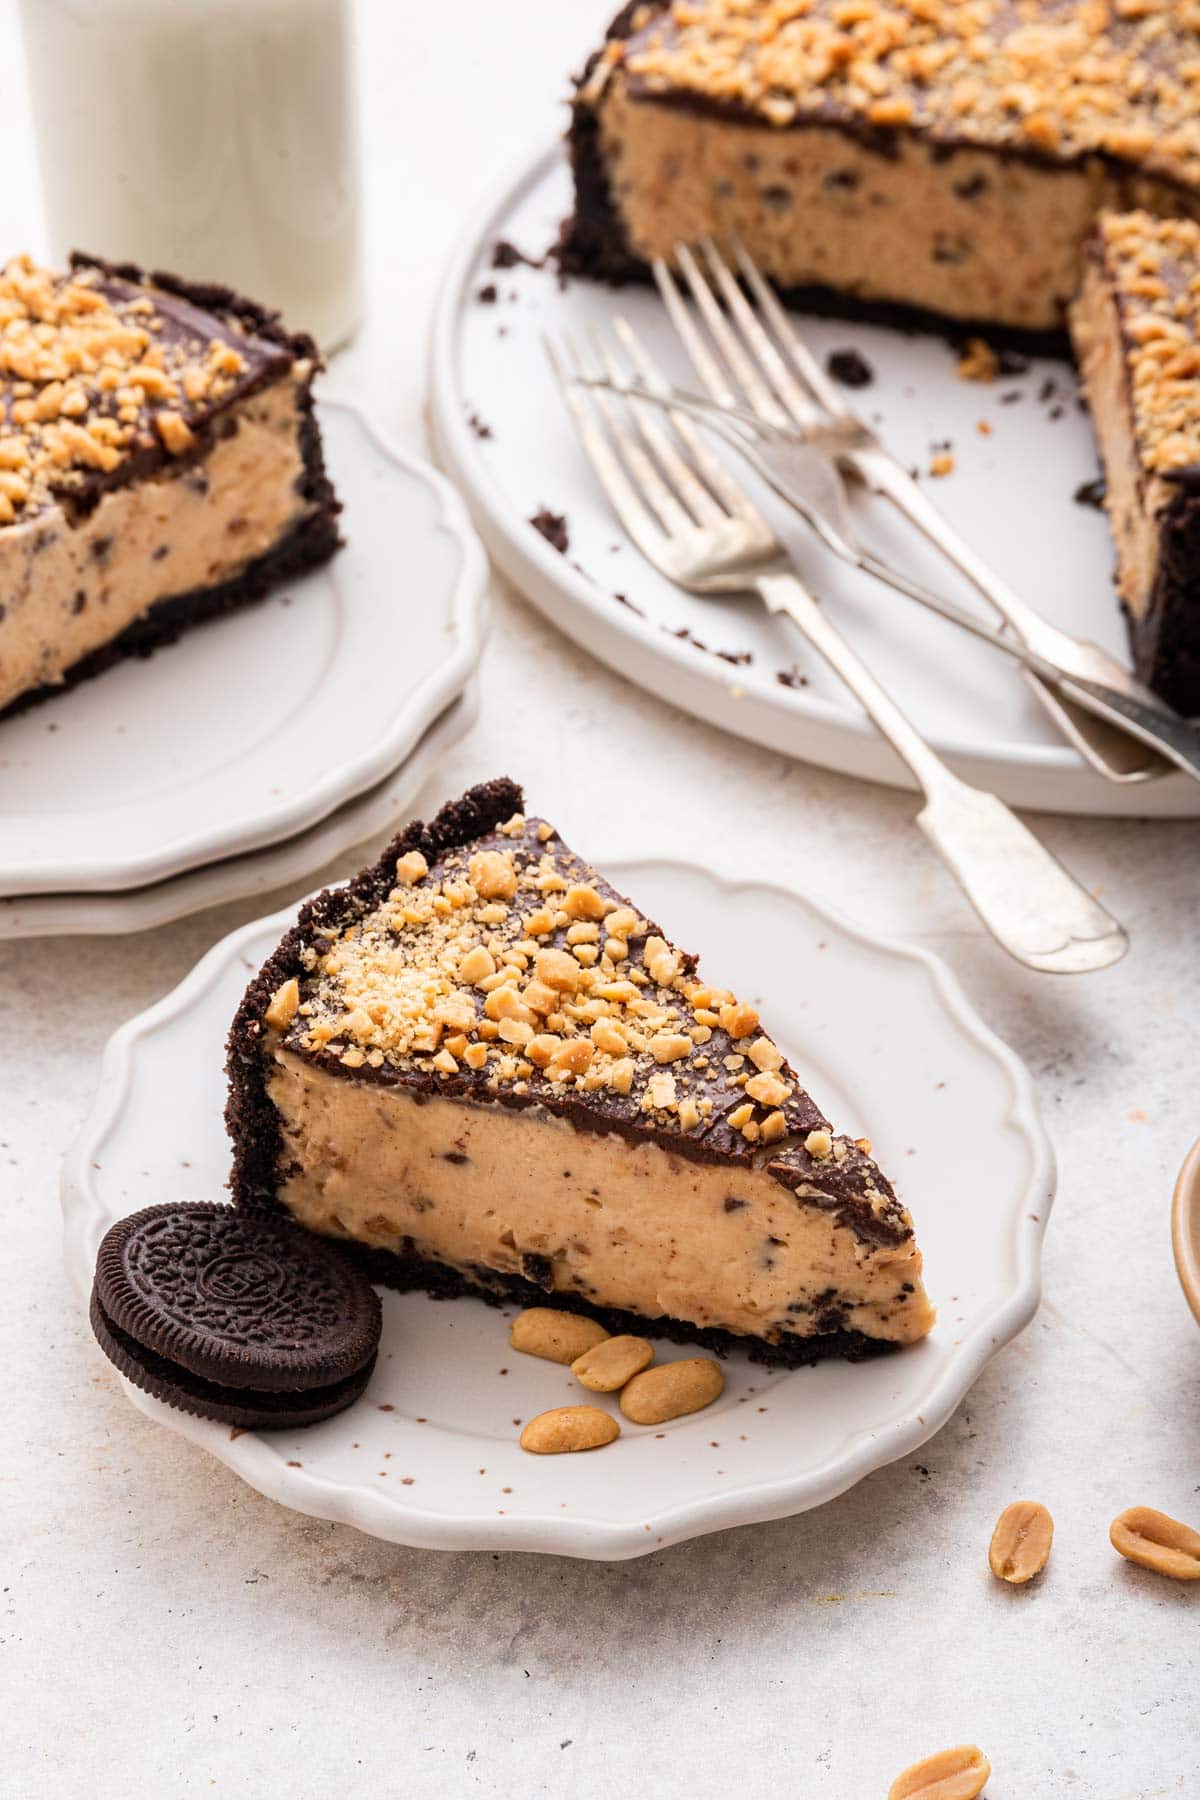
Oreos! Peanut butter! Cream cheese! Chocolate ganache! This surprisingly easy No Bake Peanut Butter Cheesecake is well worth the effort for a spectacular celebration-worthy dessert. With an Oreo cookie crust, smooth peanut butter cheesecake filling, and a layer of crunchy peanuts and chocolate for texture, all covered with chocolate ganache, you’re in for a show-stopping treat.
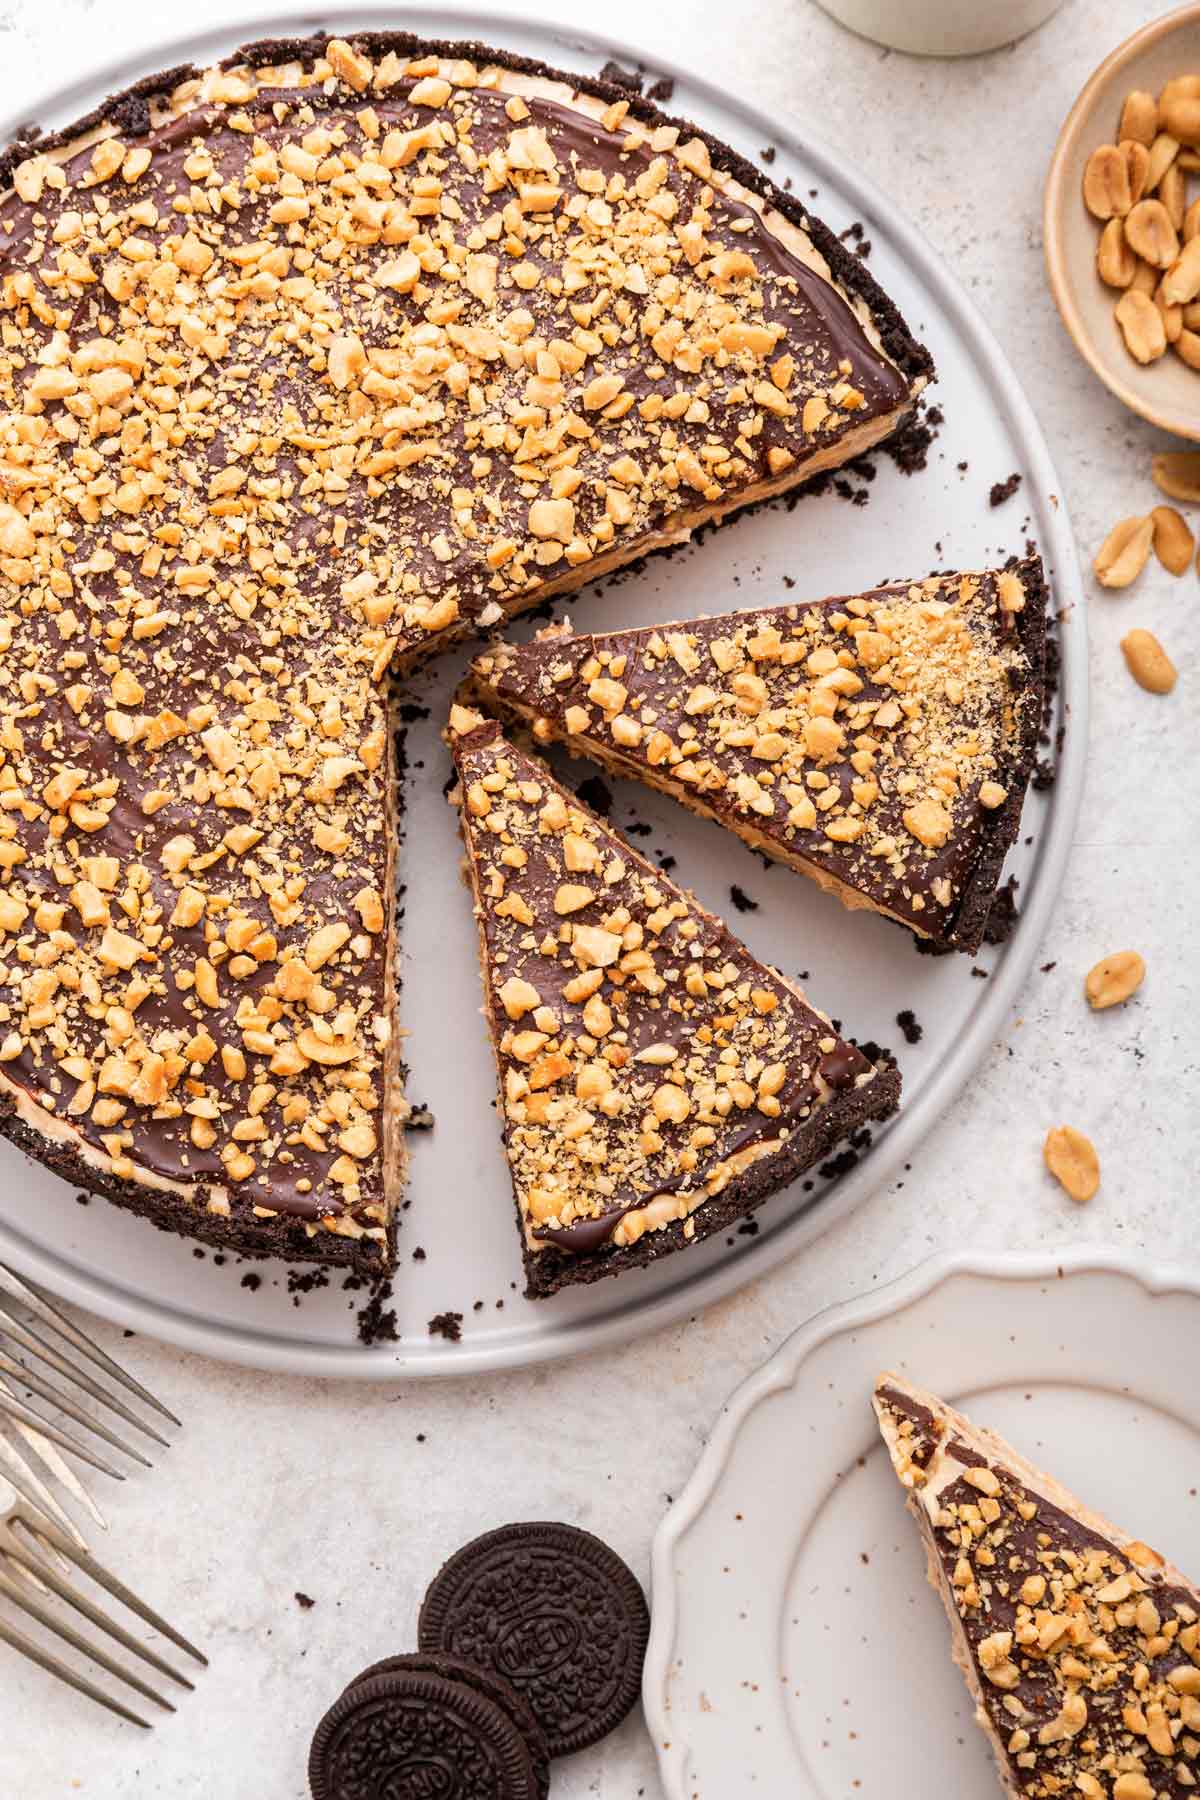
If you’re a regular reader of Bunsen Burner Bakery, you know I have a lot of cheesecake recipes. We’ve got all sorts of flavors, one of the most popular being this Peanut Butter Cheesecake. And for good reason – it’s delicious!
But sometimes, you don’t want to make a normal cheesecake. I get it – it’s time-consuming. The cheesecake bakes for over an hour, then cools in the oven for 30 minutes, further cools at room temperature for an hour or two, and then finally chills in the refrigerator for several hours. I have started many a cheesecake after dinner just to realize that it’s going to be well past midnight before I can finally move the cheesecake into the refrigerator.
At times like these, I wish I had opted for this no bake cheesecake instead! It still requires an overnight rest in the refrigerator, but once you’ve made the peanut butter filling and added it to the crust, it goes right into the refrigerator. No baking or waiting to cool necessary!
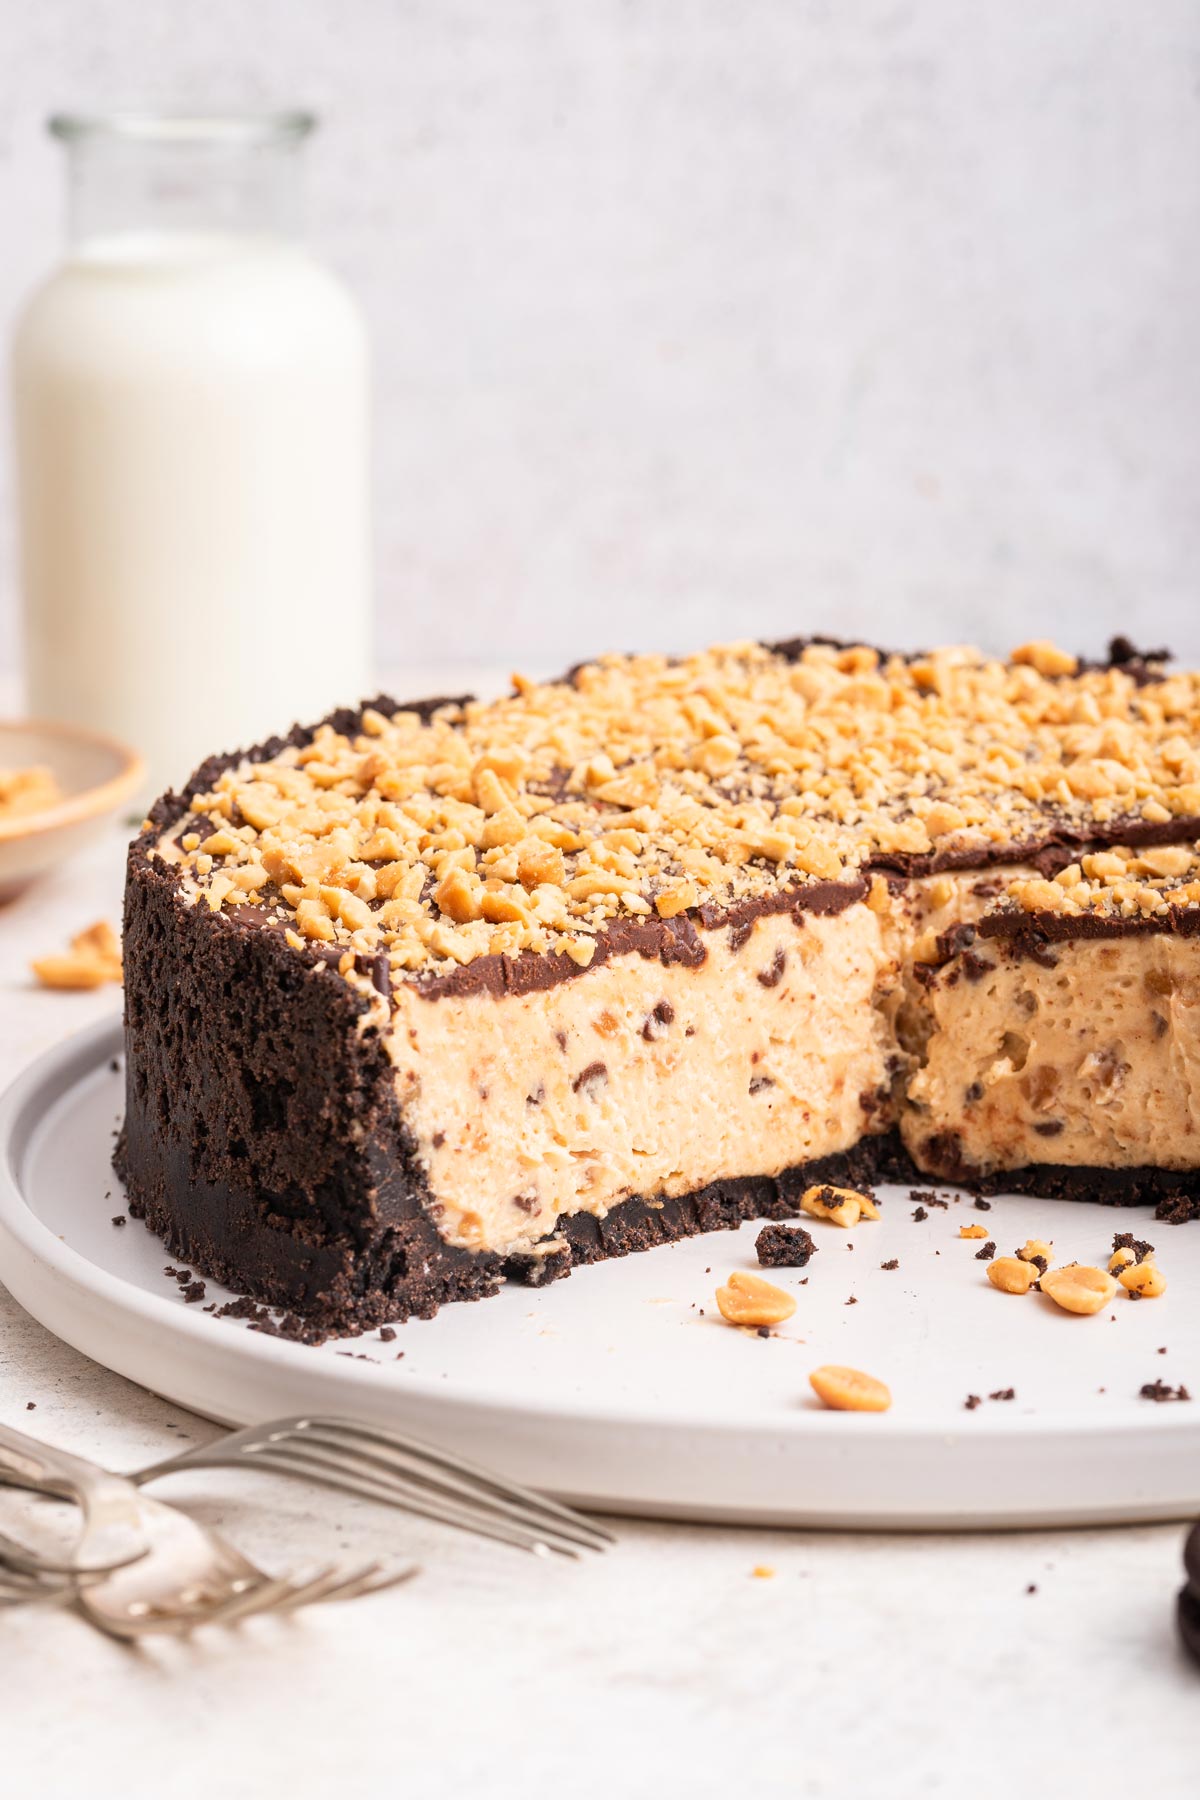
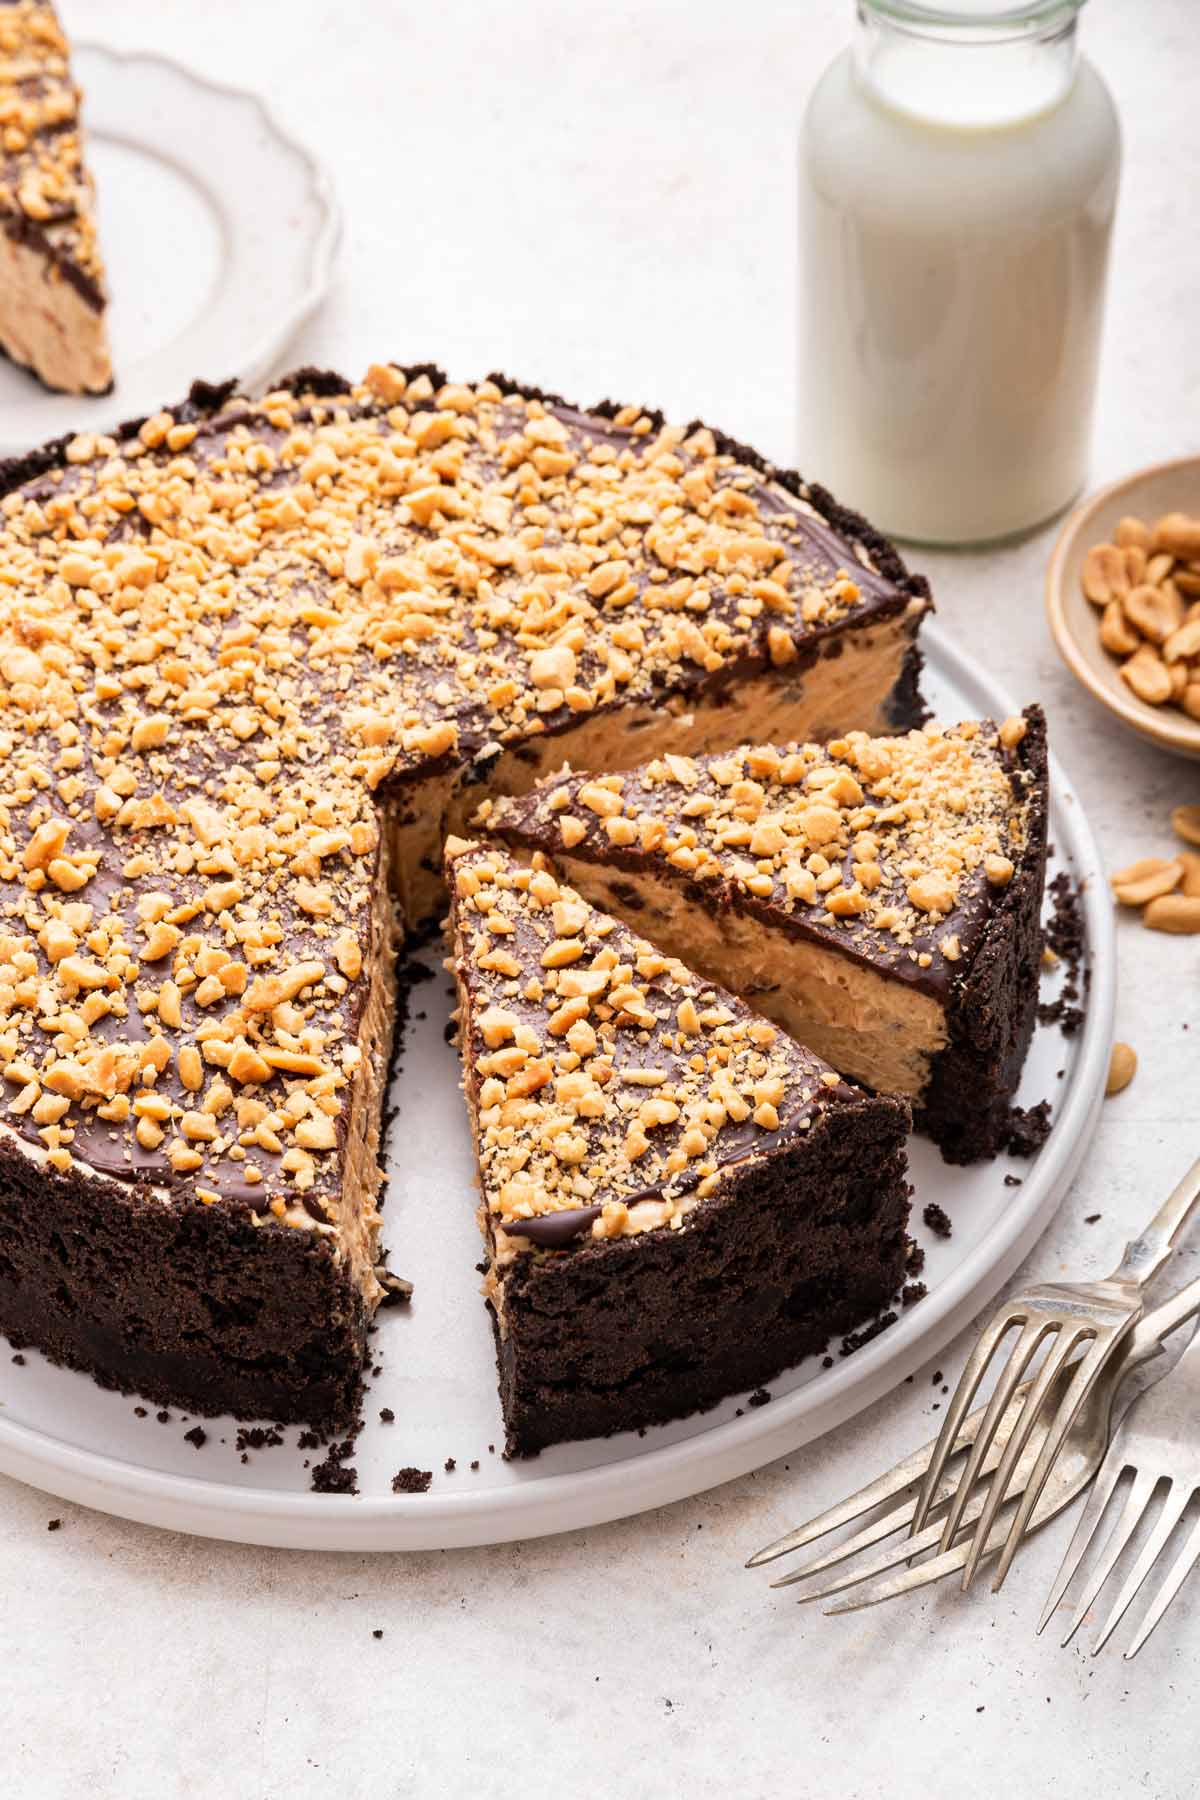
The filling is so soft and silky, it’s almost like a mousse. And while silky smooth things can be delicious, I think the best desserts have texture – it keeps them exciting! So to contrast how smooth the cheesecake-y, mousse-y filling is, we’re going to add some crunch. There’s an Oreo cookie crust (because chocolate and peanut butter are the perfect pairing) and a sprinkle of chopped salted peanuts and miniature chocolate chips.
Top it all with some slightly chewy, extra chocolatey ganache and you have the perfect dessert for any celebration – no waiting around hours for it to cool.
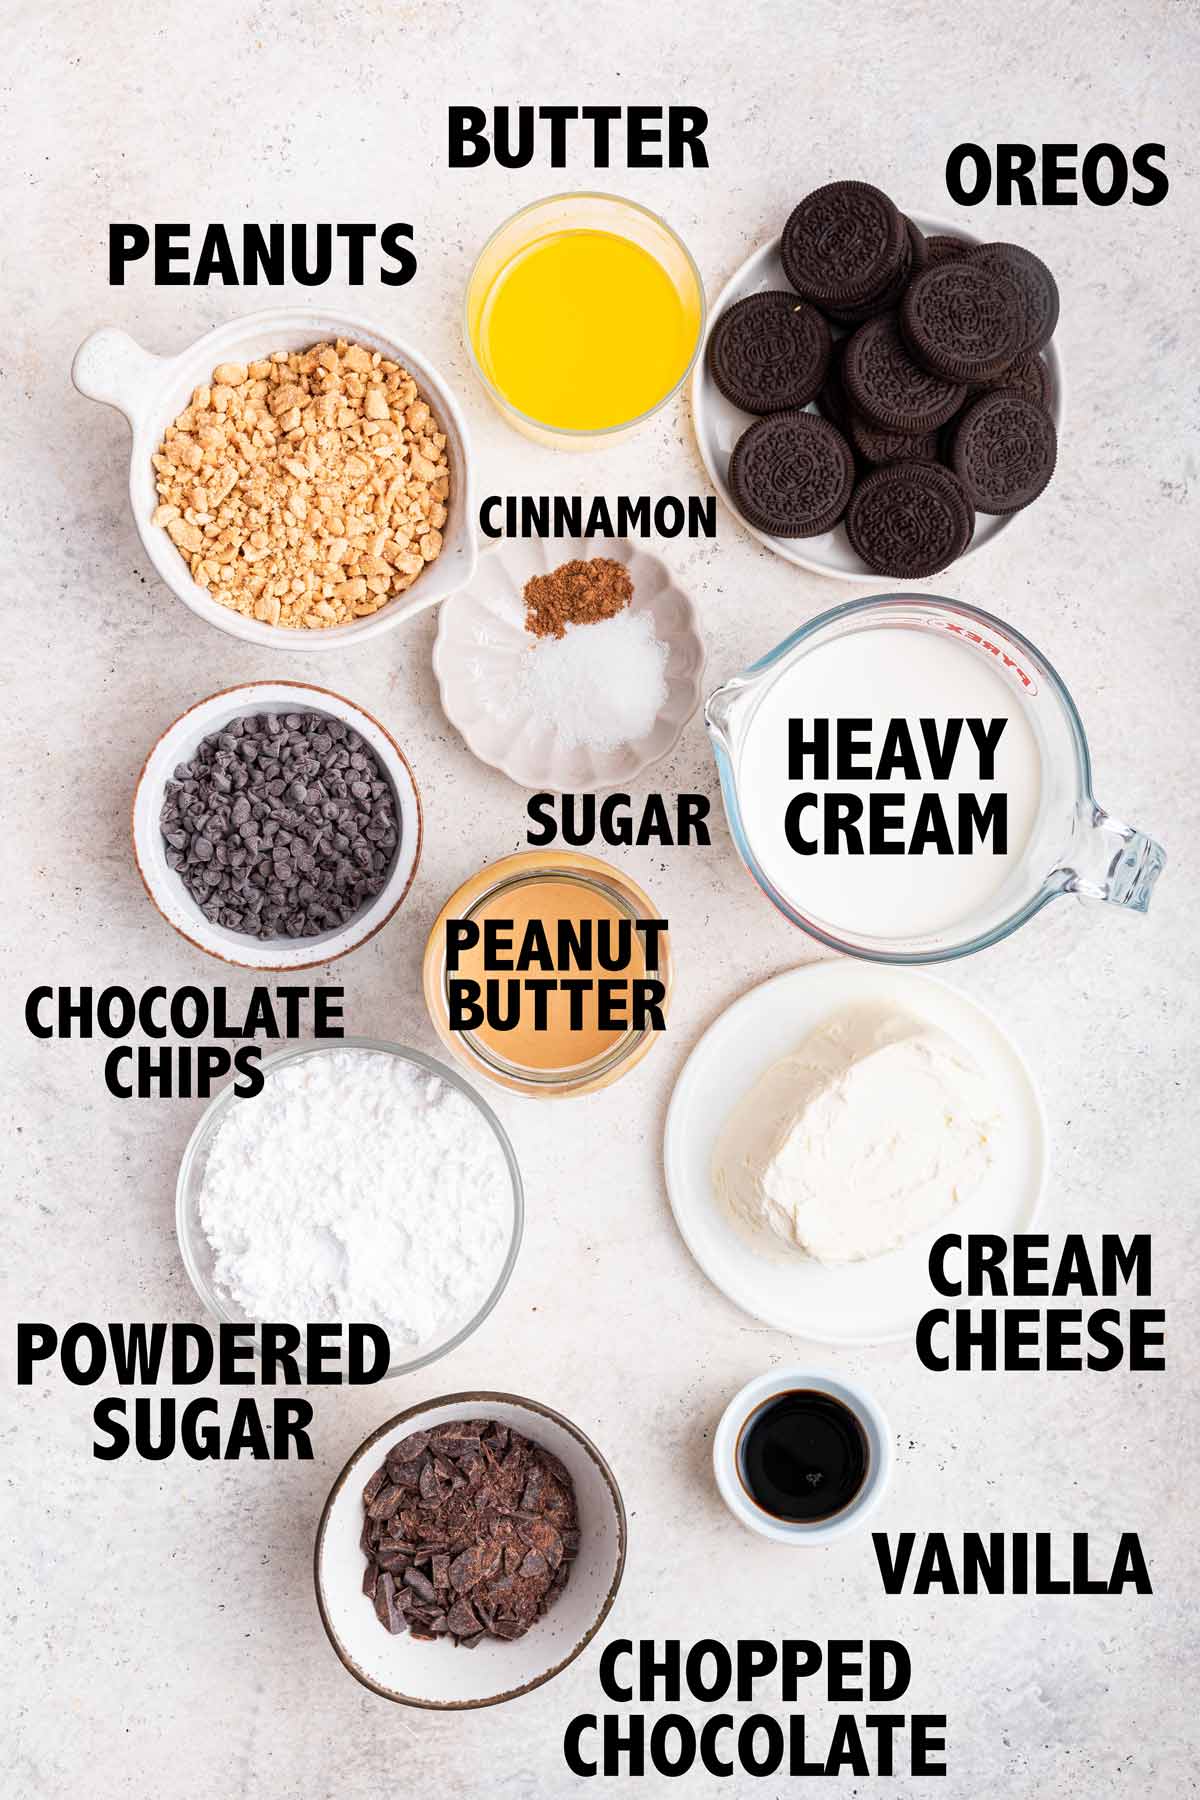
Ingredients and Substitutions
- Oreos: I always use standard Oreo cookies, but you could switch it up and try flavored Oreos, too, like peanut butter Oreos! Use gluten-free Oreos to keep this cheesecake gluten-free.
- Butter
- Salted Peanuts: If you have a peanut allergy, this works just as well with other nuts, like almonds or cashews.
- Miniature Chocolate Chips
- Sugar
- Cinnamon: If you’re sensitive to cinnamon or don’t enjoy the flavor, feel free to omit.
- Heavy Cream: Using heavy cream is important here to achieve the proper texture – half and half won’t work as a substitute!
- Confectioners’ Sugar
- Cream Cheese: Make sure the cream cheese is at cool room temperature – around 65°F. It should be soft enough to dent with a finger, but not warm.
- Peanut Butter: I always use creamy, but if you really like extra texture, use crunchy peanut butter! Standard commercial homogenized peanut butter will work better in this recipe than natural peanut butter with oil that separates. To accommodate peanut allergies, I’ve also made this with tahini and Nutella instead of peanut butter and it is delicious!
- Vanilla Extract
- Bittersweet Chocolate: This cheesecake is pretty sweet, so I love the contrast of using extra dark bittersweet chocolate for the ganache. If you prefer your desserts on the sweeter side, feel free to use semi-sweet or even milk chocolate.
How to Make a No Bake Peanut Butter Cheesecake
Despite the multiple steps and layers – oreo crust, peanut butter mousse, chocolate ganache – this practically no-bake treat comes together fairly easily, just leave time for lots of chilling.
1. Prepare the Crust:
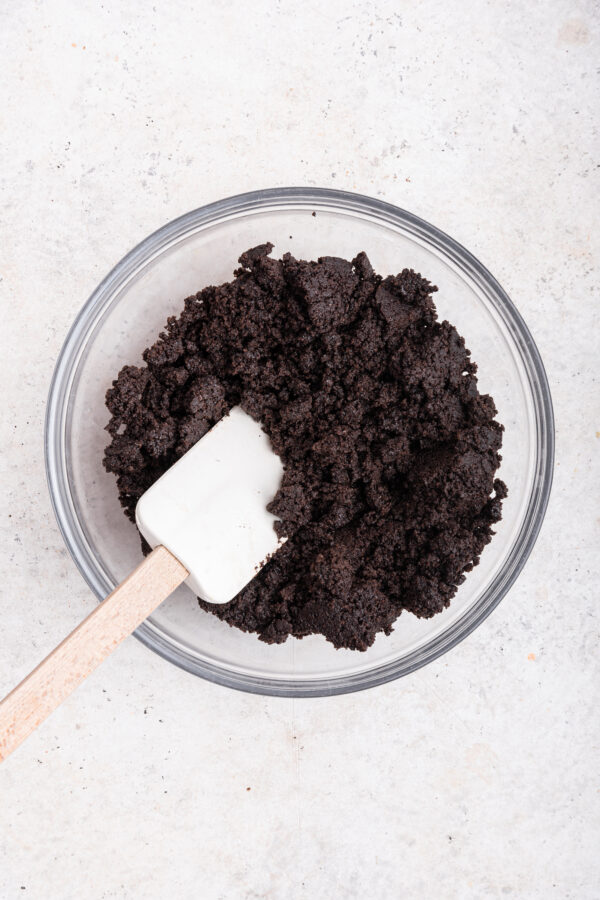
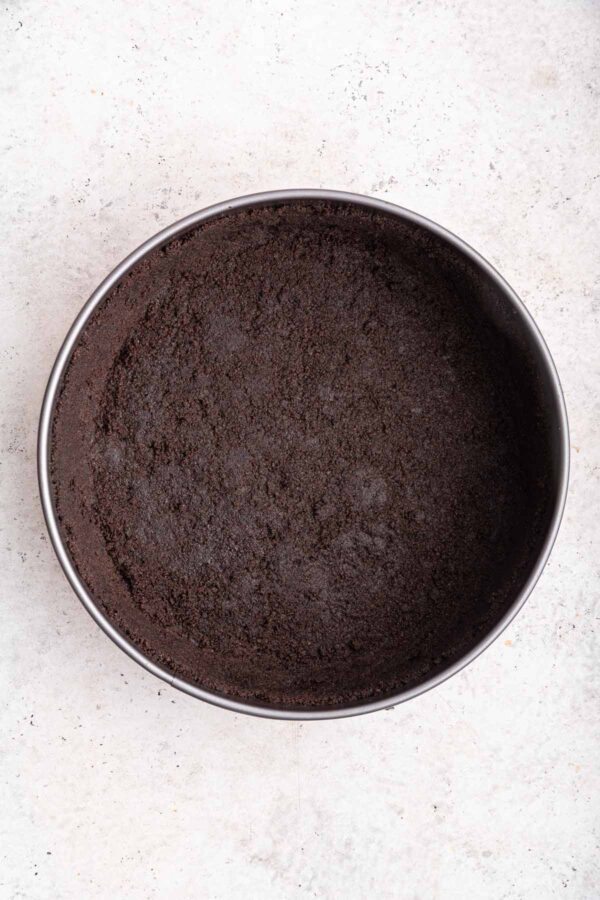
- Mix the finely crushed Oreos with melted butter until well combined.
- Press the mixture firmly into the bottom and up the sides of a springform pan, creating a firm, even layer. Freeze while you prepare the filling, or for an even crunchier crust that never gets soggy, bake the crust first for a few minutes.
2. Make the Filling:
- Whip the heavy cream until medium-stiff peaks form.
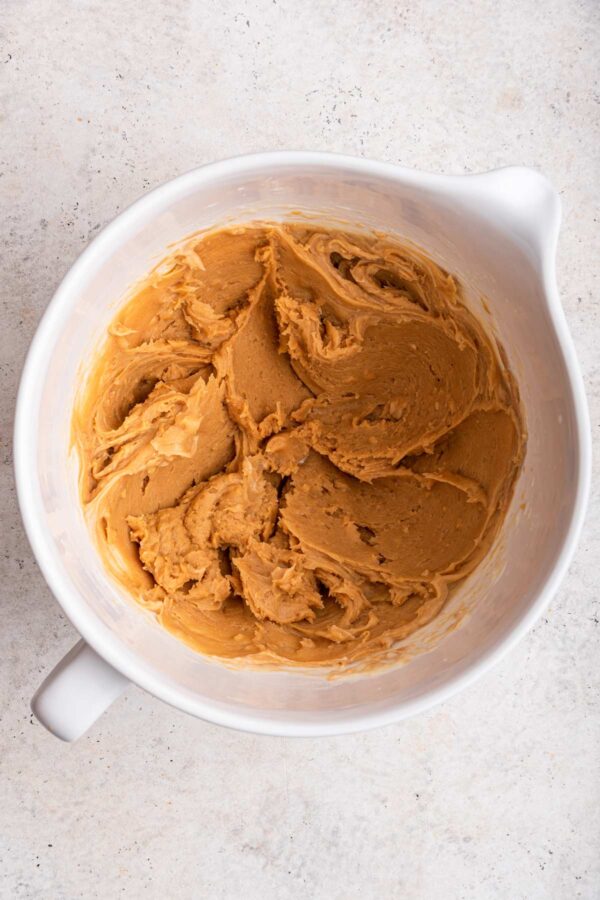
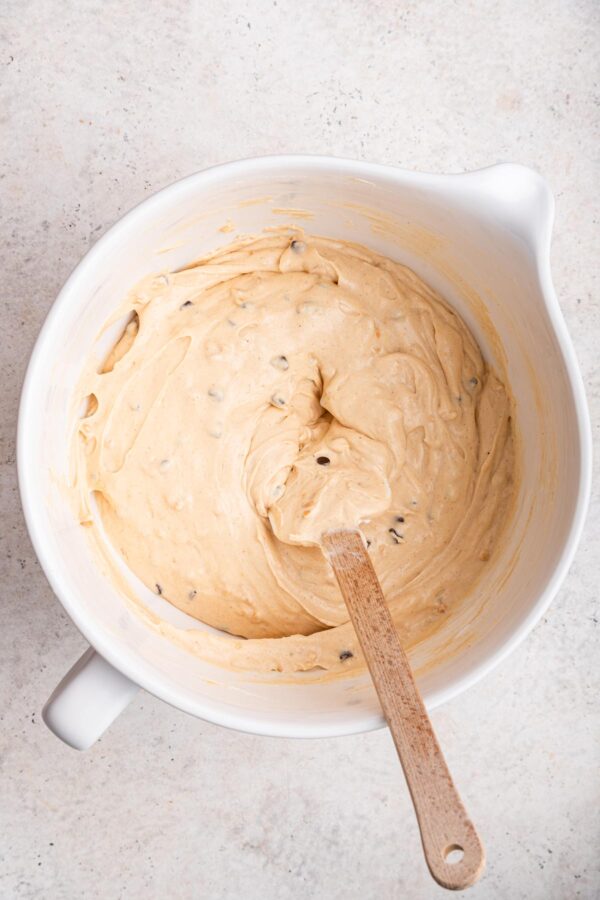
- In a large bowl, combine the peanut butter, powdered sugar, cream cheese, vanilla extract, and chopped peanuts. Mix until smooth and well combined.
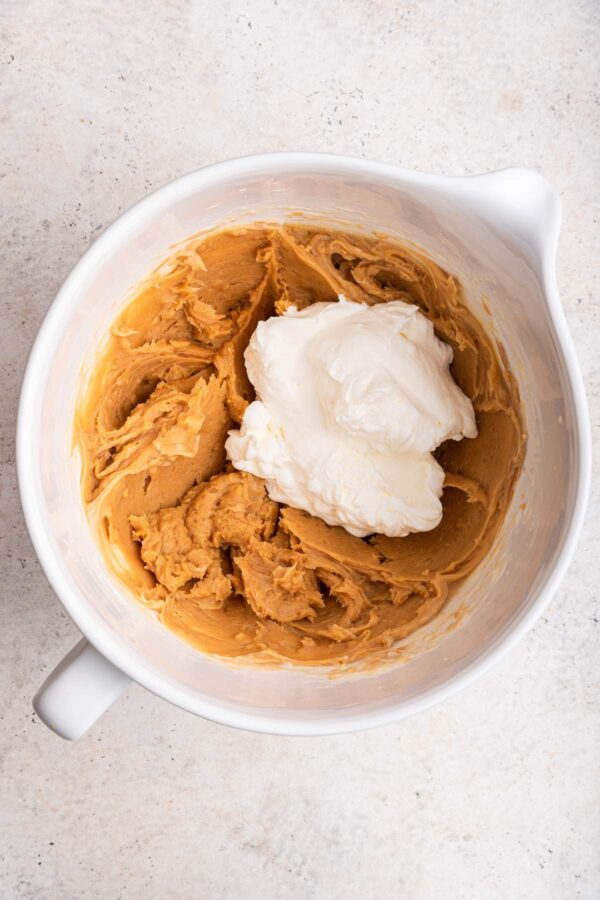
- Gently fold in the whipped cream. Go slowly so you don’t deflate the air from the whipped cream!
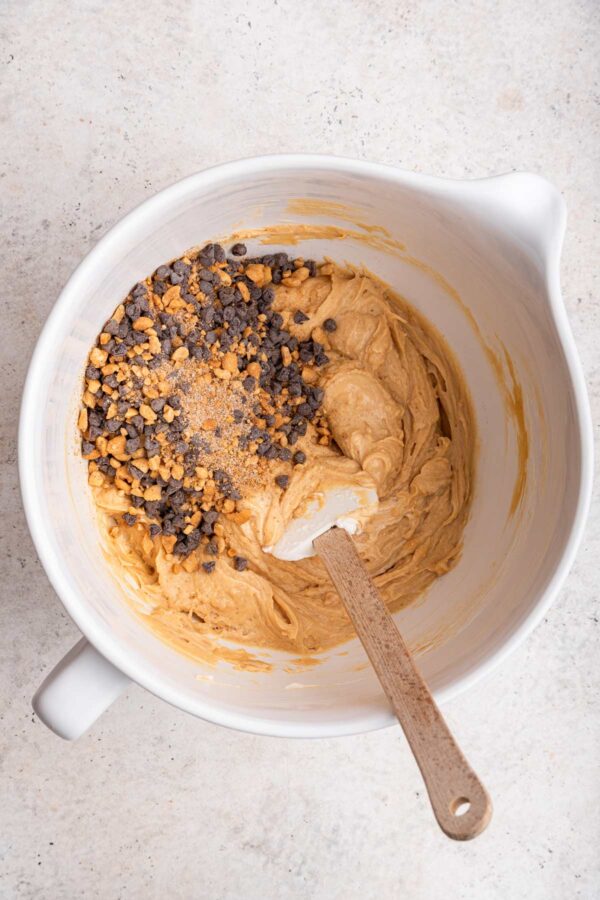
- Fold in the crushed peanut/chocolate chip mixture.
3. Assemble the Cheesecake:
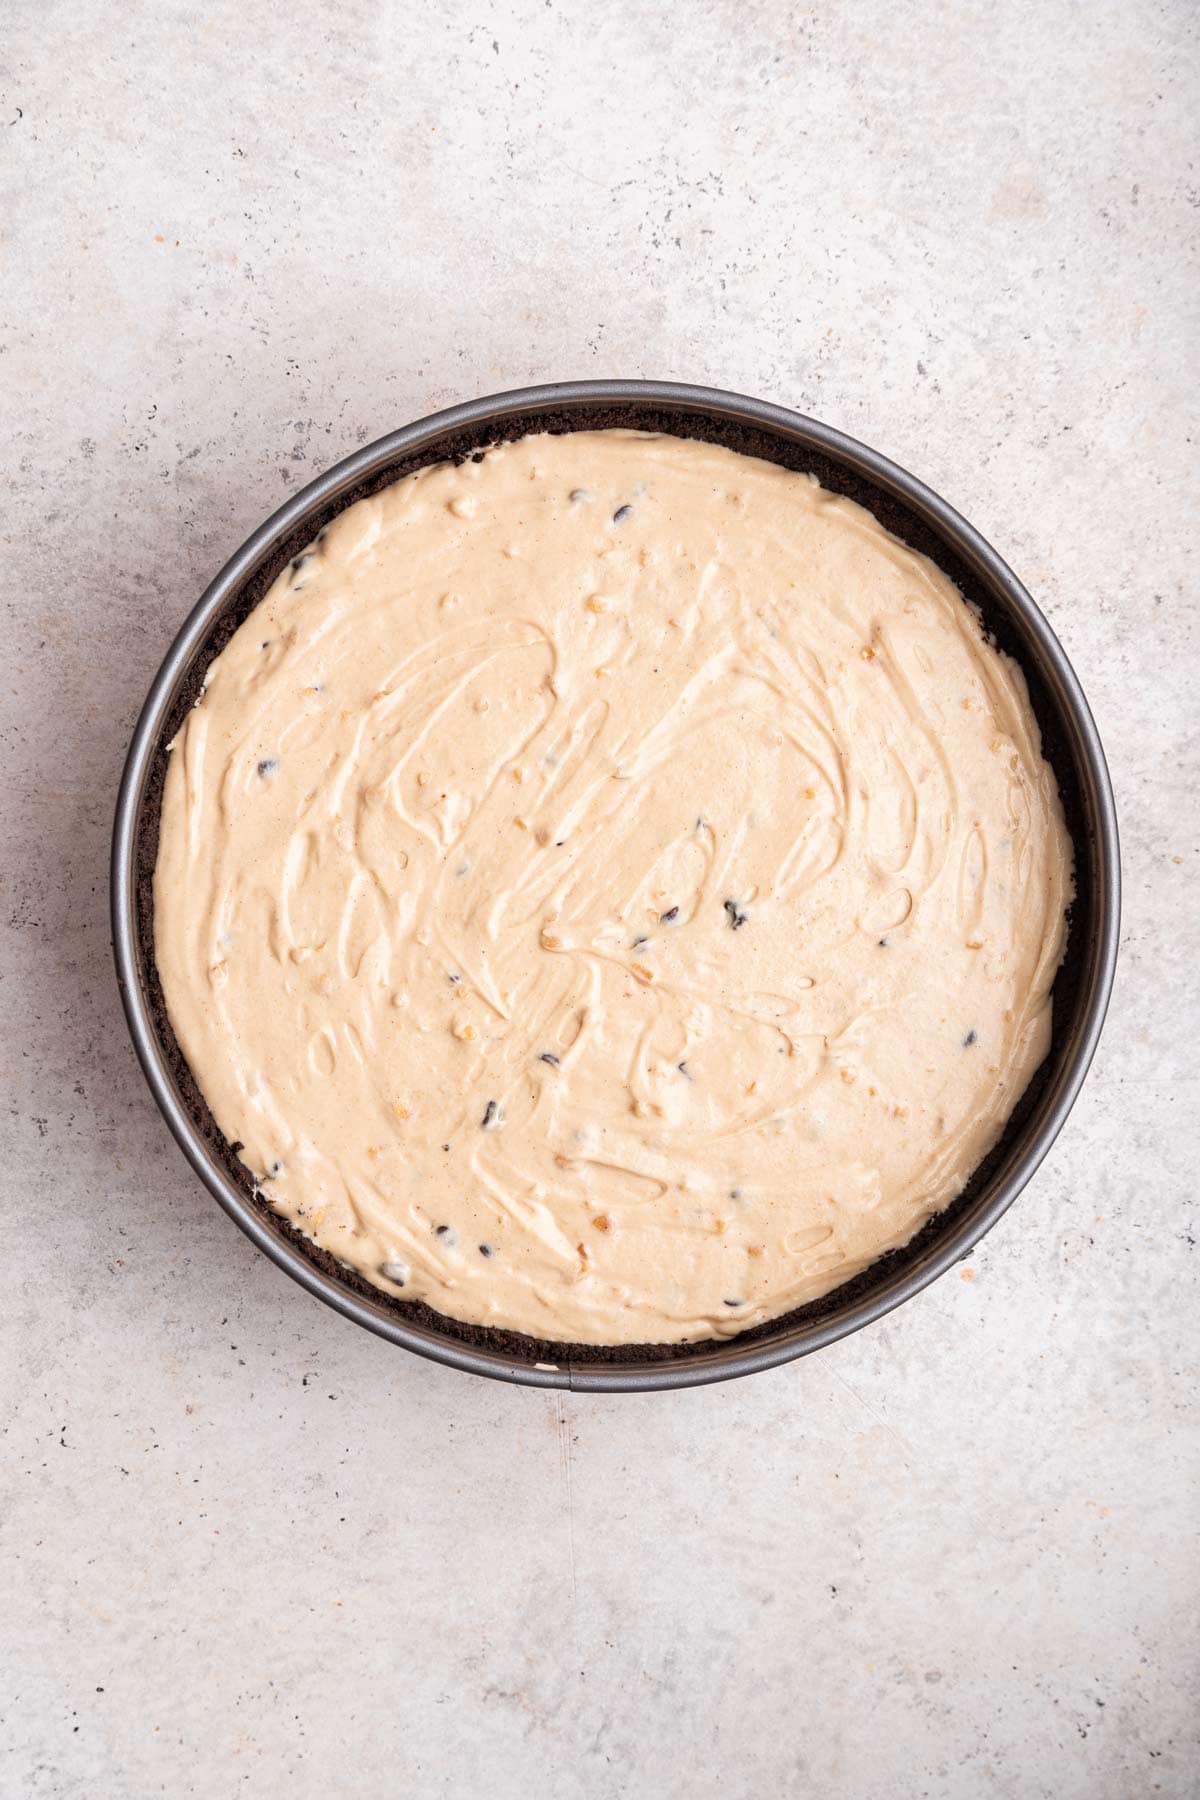
- Pour the filling into the prepared crust, smoothing the top with a spatula.
- Chill in the refrigerator for at least 4 hours, or until firm.
4. Prepare the Ganache:
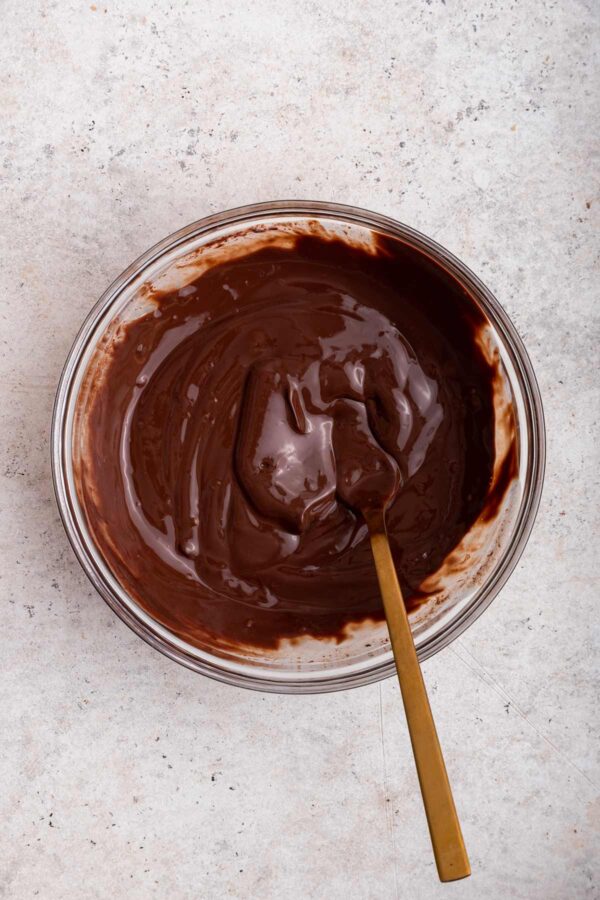
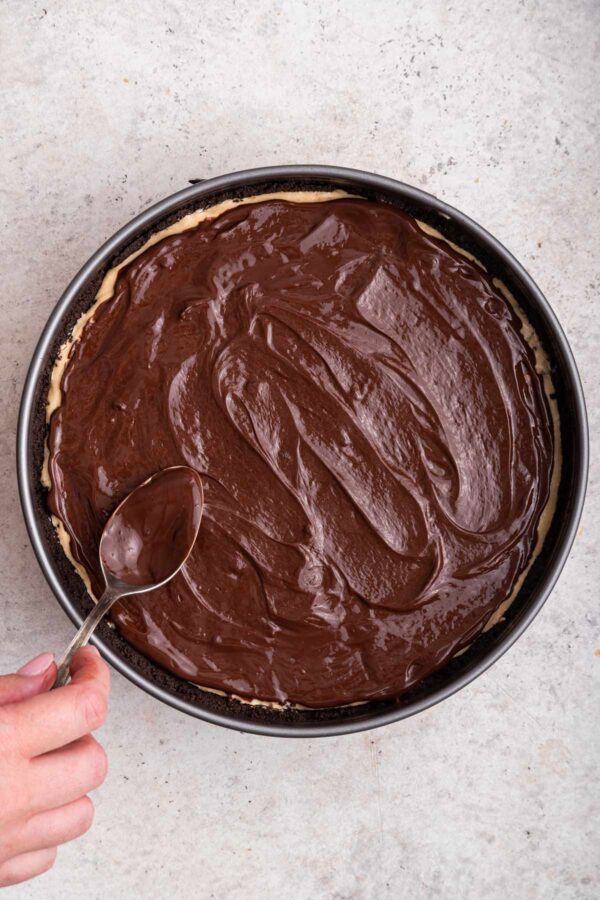
- Heat the heavy cream until it’s just about to boil, then pour it over the chocolate chips. Let it sit for a few minutes, then stir until smooth.
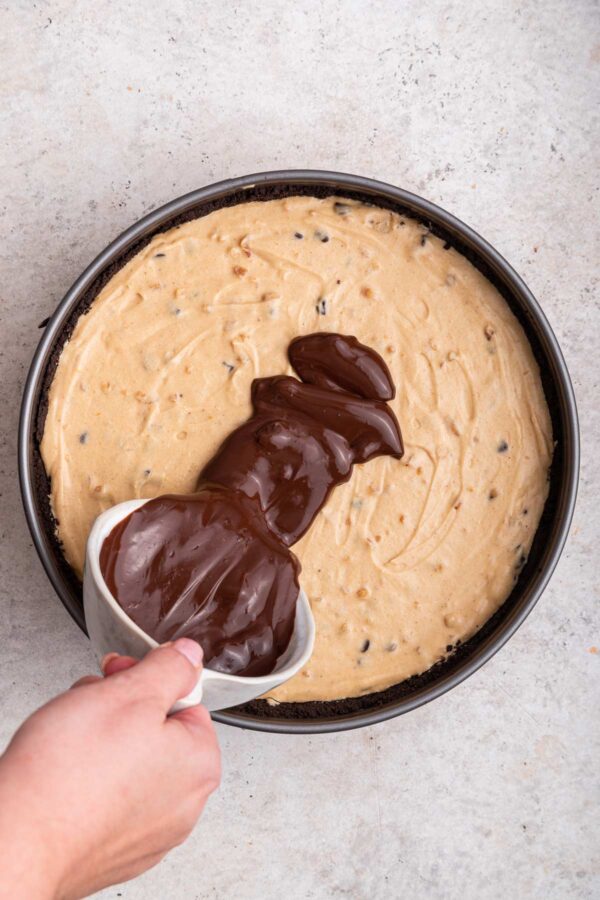
- Pour the ganache over the top of the chilled cheesecake, spreading it out to cover the cheesecake completely.
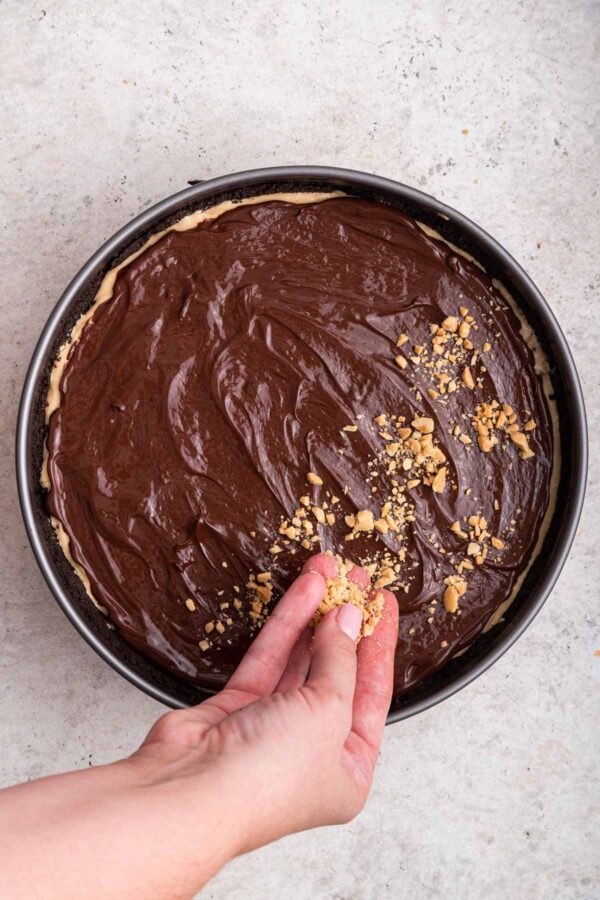
- Scatter the remaining chopped peanuts on top of the ganache.
5. Chill and Serve
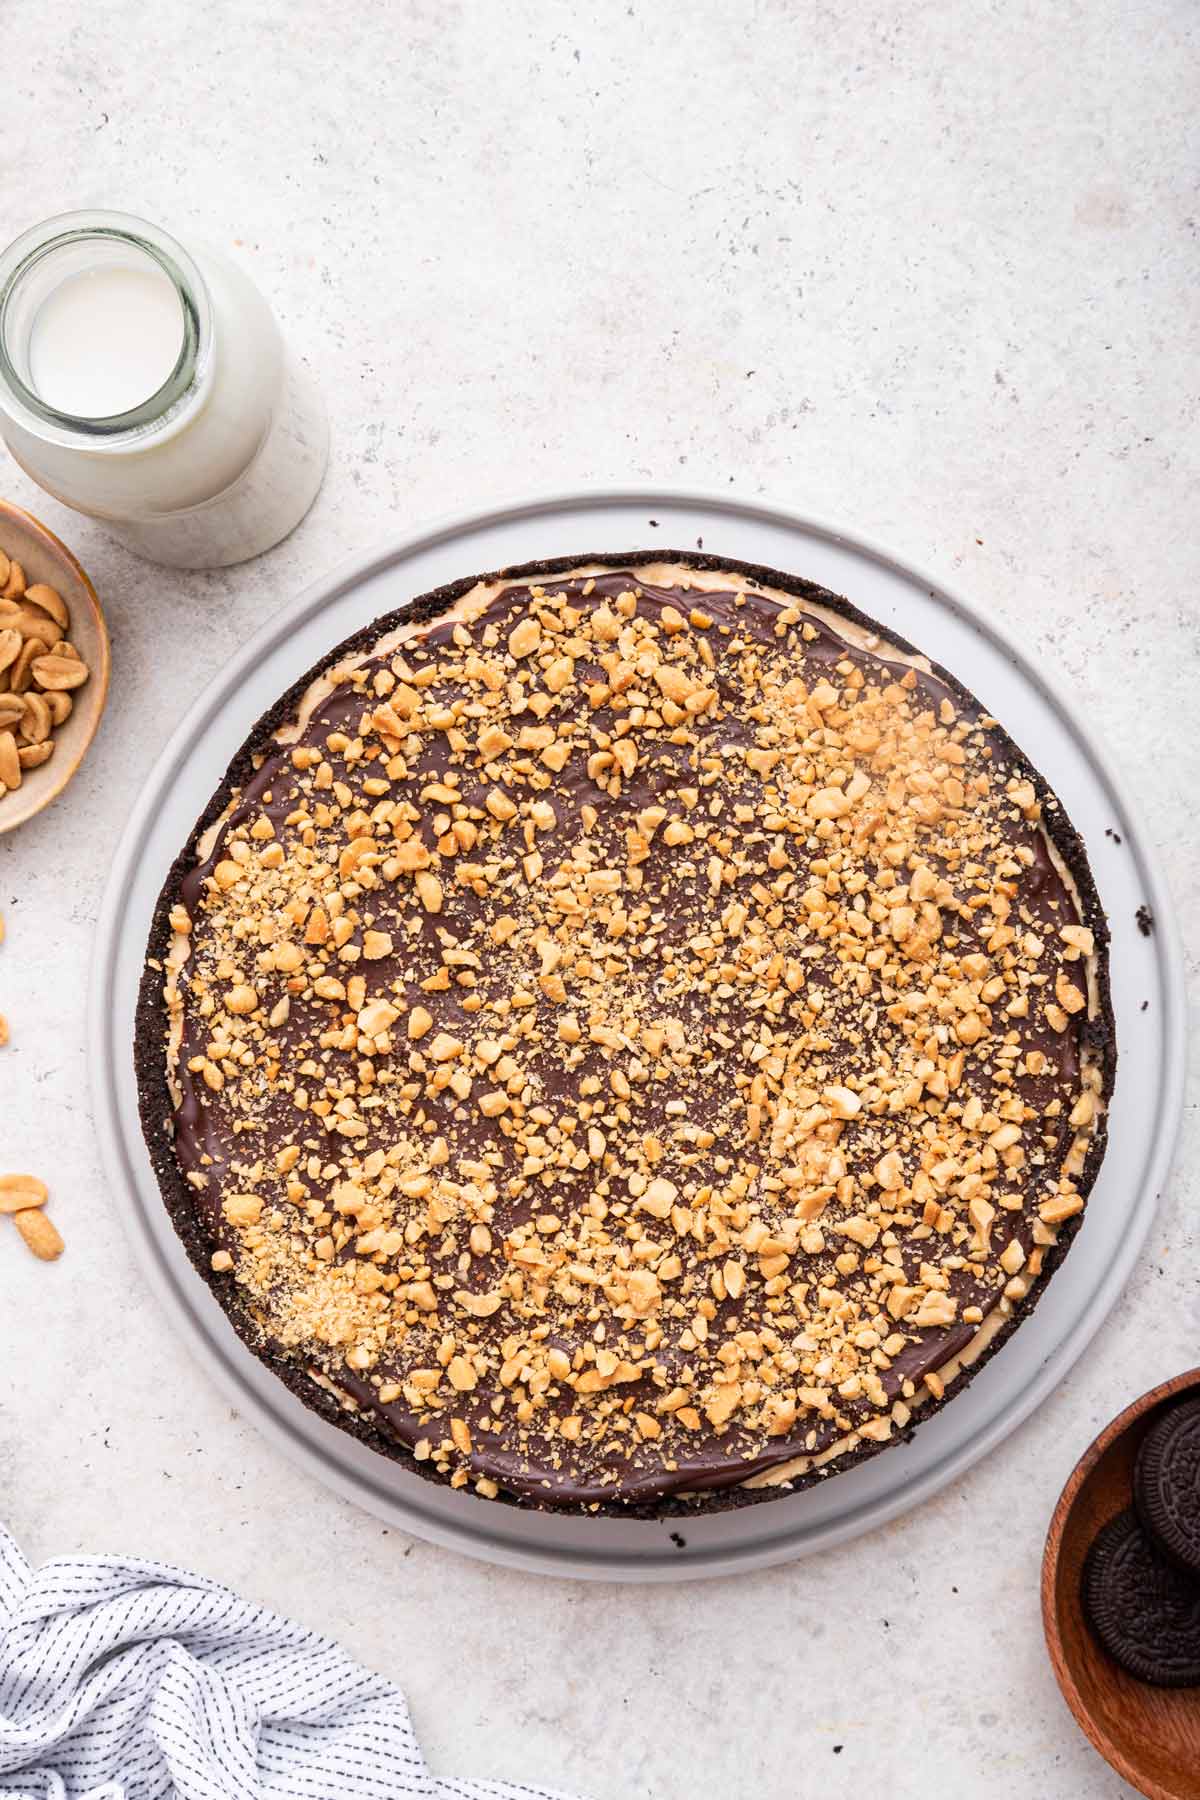
- Allow the cheesecake to set in the refrigerator for another hour to ensure the ganache is firm.
- When ready to serve, release the cheesecake from the springform pan, slice, and enjoy!
Magic Behind No Bake Cheesecakes
A normal cheesecake is held together as the eggs heat in the oven. The denatured protein strands form new structures, pulling together a soft, creamy, barely-solid structure.
But how does this work for no-bake cheesecakes? It may seem like magic, but of course we can answer it with my favorite subject – kitchen chemistry! Today we’re learning all about emulsions: a mixture of two liquids that normally don’t mix together.
Kitchen Chemistry
The key to the silky-smooth cheesecake filling is the emulsion between the fat in the peanut butter and the cream cheese and the liquid in the whipped cream. Normally, fat and water repel each other, but whipping the cream incorporates air and breaks down the fat molecules so they can coexist with the water molecules in a stable form. Gently folding this whipped cream into the peanut butter and cream cheese mixture creates a stable emulsion that is airy yet firm enough to hold its shape – no baking needed!
This emulsion is crucial for several reasons:
- Texture: It gives the cheesecake its signature smooth and creamy texture. The air bubbles trapped during the whipping process make the cheesecake light and fluffy.
- Stability: It helps the cheesecake hold its shape. Even without baking, the stable emulsion means that once the cheesecake sets in the refrigerator, it’s firm enough to slice.
- Flavor Release: Fat is an excellent carrier of flavor, and the distribution of fat molecules throughout the cheesecake means that each bite releases the full spectrum of flavors from the peanut butter, cream cheese, and chocolate.
Recommended Tools for this Chocolate Oreo Peanut Butter Cheesecake
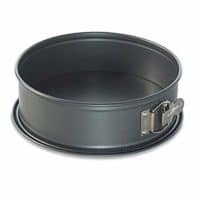
- 9-inch Springform Pan: Use a springform pan that is 9-inches in diameter and at least 3-inches deep.
- Food Processor: A food processor is my favorite way to finely crush the Oreo cookies to uniform size.
- Mixing Bowls: This set of glass mixing bowls has all the sizes you need to mix ingredients and melt the chocolate ganache, plus it’s microwave- and dishwasher-safe.
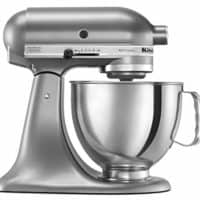
- Stand Mixer: Either a hand mixer or stand mixer works, but this trusty stand mixer has been going strong for 15+ years in my kitchen!
- Beater Blade: If I’m using the paddle attachment for my mixer, I always use a Beater Blade – it scrapes down the side of the bowl for you!
Tips and Tricks for the Best No Bake Peanut Butter Cheesecake
- Crunchy Oreo Crust: For a firm and crunchy crust, use a food processor to crush the Oreos into a fine crumb. Before adding the filling, chill the crust in the freezer for 10 to 15 minutes to set – and consider baking the crust if you’d like it extra crunchy!
- Extend the Crust: Press the cookie crust the entire way up the sides of the springform pan. A solid layer of cookie crust ensures that the peanut butter filling doesn’t stick to the sides of the springform pan.
- Smooth Filling: To achieve a smooth and creamy filling, make sure the cream cheese is at room temperature before mixing. If you’re in a rush, cut the cream cheese into small pieces to bring it to room temperature more quickly.
- Fold Gently: When incorporating the whipped cream into the peanut butter mixture, fold gently to keep the mixture light and airy. This is crucial for achieving the desired fluffy texture.
- Let it Set: Patience is key! Ensure the cheesecake has enough time to set in the refrigerator (4 hours or ideally overnight). This waiting period is crucial for the cheesecake to achieve its optimal texture.
- Serving Tip: For clean slices, dip your knife in hot water and wipe it dry in between each slice. This trick helps cut through the cheesecake smoothly, ensuring each piece looks as good as it tastes!
- Keep it Cold: Store the cheesecake in the refrigerator until serving. Leftovers can be stored in the refrigerator for up to 5 days or frozen for up to 3 months. The entire uncut cheesecake can be frozen whole in the springform pan – cover well with a layer of plastic wrap followed by aluminum foil. Individual slices should be frozen on a cookie sheet until frozen solid, then wrapped in plastic wrap followed by aluminum foil. Thaw in the refrigerator.
More Chocolate Peanut Butter Desserts:
- Peanut Butter Oreo Brownies
- Chocolate Peanut Butter Banana Pretzel Pie
- No Bake Oreo Peanut Butter Pie
- Peanut Butter Stuffed Brownies
- Chocolate Peanut Butter Cup Bundt Cake
- No Bake Peanut Butter Bars
No Bake Peanut Butter Cheesecake
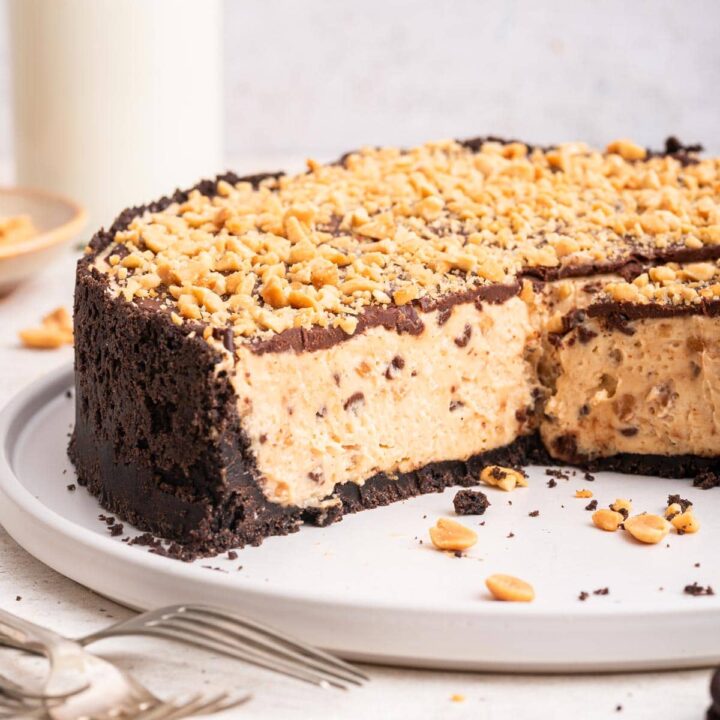
With an Oreo cookie crust, silky peanut butter cheesecake filling, and a layer of crunchy peanuts and chocolate for texture, covered with chocolate ganache, this no bake cheesecake is the ultimate treat!
Ingredients
For the Crust:
- 32 oreo cookies, ground into crumbs
- 5 tablespoons butter, melted
For the Filling:
- 2 cups (454 grams) heavy cream
- 1 1/4 (142 grams) cups confectioners' sugar
- 12 ounces (340 grams) cream cheese, room temperature
- 1 1/2 cups (405 grams) creamy peanut butter
- 1 tablespoon vanilla extract
- 3/4 cup (105 grams) salted peanuts, chopped
- 1/2 cup (89 grams) miniature chocolate chips
- 2 teaspoons (8 grams) granulated sugar
- 1/4 teaspoon cinnamon
- 1/4 cup salted peanuts (35 grams), chopped
For the Ganache:
- 1/2 cup (114 grams) heavy cream
- 4 ounces (113 grams) bittersweet chocolate, chopped
- 1/2 cup (71 grams) salted peanuts, chopped
Instructions
- Preheat the oven to 350 °F. Butter a 9-inch springform pan.
- Prepare the crust. Butter a 9-inch springform pan. Combine the Oreo crumbs and melted butter in a small bowl and stir to form small clumps. Press the Oreo mixture into a thin layer, covering the bottom and the sides of the springform pan. Freeze the crust for 10 minutes before filling, or for an extra-crispy crust, bake the crust at 350°F for 10 minutes and cool completely before filling.
- Make the filling. Using an electric mixer fitted with the whisk attachment, whip 2 cups of the heavy cream until it holds medium peaks. Whisk in 1/4 cup of the confectioners' sugar, beating an additional few minutes until the peaks become firmer. Scrape the whipped cream into a separate bowl.
- Replace the whisk with a paddle attachment if available and beat together the cream cheese, the remaining 1 cup of confectioners' sugar, peanut butter, and vanilla extract until well combined. Gently fold in 1/4 of the whipped cream using a rubber spatula. Add the rest of the whipped cream, along with the chopped peanuts, miniature chocolate chips, cinnamon, and granulated sugar and fold into the cheesecake mixture until ingredients are combined.
- Assemble the cheesecake. Scrape the peanut butter mixture into the Oreo crust, smoothing the top. Refrigerate for at least 4 hours or up to overnight; cover with plastic wrap once the cheesecake layer firms.
- Make the ganache. Once the cheesecake is fully chilled and firm, start the ganache layer. Add the chopped chocolate to a heatproof bowl. Bring the 1/2 cup of cream to just before a a full boil in a small saucepan or in the microwave, then pour the boiling cream over the chopped chocolate. Let the chocolate and cream sit for 5 minutes; then stir with a rubber spatula until the ganache is completely smooth.
- Pour the ganache over the torte, smoothing with a spatula. Scatter the remaining chopped peanuts over the top and chill the entire torte in the refrigerator until the ganache sets, 30 minutes to an hour. Once the ganache is firm, remove the sides of the springform pan and refrigerate until ready to serve.
Notes
This no bake peanut butter cheesecake can be stored in the refrigerator up to 5 days or frozen for up to 3 months. The entire uncut cheesecake can be prepared and frozen whole in the springform pan; cover well with a layer of plastic wrap followed by two layers of aluminum foil. Individual slices should be frozen on a cookie sheet until frozen solid, then wrap in plastic wrap followed by aluminum foil. Thaw in the refrigerator.
Recommended Products
As an Amazon Associate and member of other affiliate programs, I earn from qualifying purchases.
This post was originally published in June 2015 and updated with new photos and helpful tips in February 2024.

