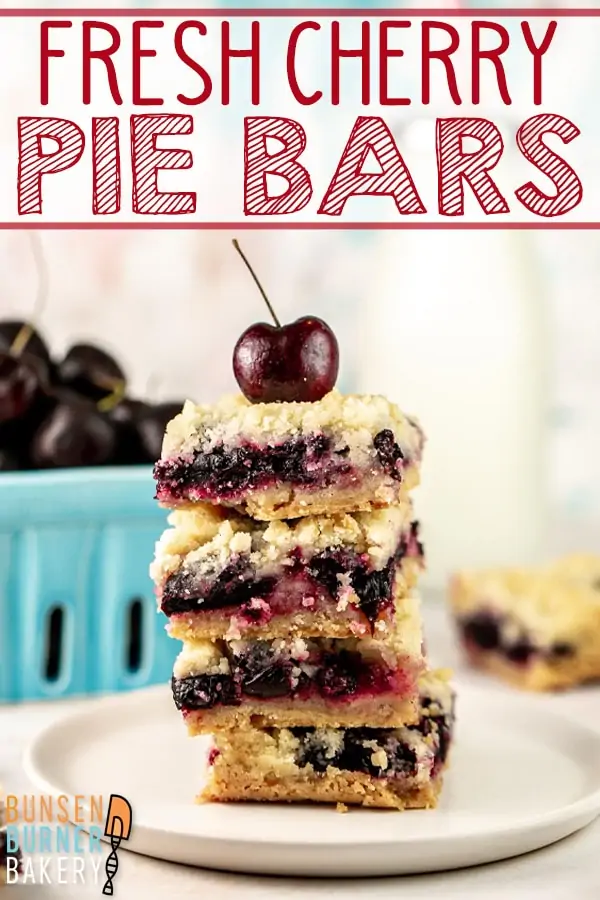
Cherry Pie Bars
These quick and easy Cherry Pie Bars, made with fresh (or frozen!) cherries and covered with an easy crumb topping, are easy to make and perfect to share!

If you’ve been a long-time reader of Bunsen Burner Bakery, you know fruit desserts — specifically pies — are my all-time favorite dessert. I love a good summer pie.
I love rolling out a pie crust from scratch and filling it with fresh summer fruit. I love hearing the gentle thump-thump-thump sound of bubbling pie filling, indicating that the pie is done baking. (And of course, I especially love eating the pie.)
What I don’t always love? How long pies take to bake. How challenging it can be to transport a pie (ever tried to put a whole pie in your backpack to bring it to work?). How little self-restraint I have when it comes to eating pie.
So how can we keep all the best parts of a pie but reduce the time it takes to prepare and bake, make it easy to transport, and super easy to share with friends?
The answer, of course, is pie bars!
We’ve done pie bars using several other fruits before (lemon pie bars, chocolate chip pumpkin pie bars, peach pie bars, blackberry pie bars) and today, we’re making my favorite pie version: cherry pie bars!
(This was a by-popular-request recipe. We stocked up on end of summer cherries and I asked Instagram to choose between four different cherry desserts. I’m so glad when you guys choose my favorite option, too!)
Easy Shortbread Crust
Instead of a classic pie crust or graham cracker crust, these cherry pie bars use my favorite easy shortbread crust.
One of the reasons I really like a shortbread crust is because it doesn’t puff up as a base layer. By skipping the classic creaming together butter and sugar step, we’re not adding additional air and lift into the dough.
Instead, everything gets quickly mixed together in the food processor (or by hand, cutting in the butter), making these super simple.
I also like shortbread crusts because they’re not too sweet — a nice contrast to the sweet cherry pie filling.
Making this even easier, we’ll reserve some of the same crust to crumble on top of the bars for a perfect crumble topping.
Cherry Pie Bars with Fresh Cherries
While most cherry pie bar recipes use canned cherry pie filling, this one uses fresh (or frozen) whole cherries. Cherries are my favorite fruit and I can’t resist baking with them whenever I can!
Combine halved pitted cherries, cornstarch, lemon juice, and sugar and scoop into the prepared crust. No need to heat the mixture beforehand – the cherries will release juices while they bake.
Storing Cherry Pie Bars
One of the most common questions I get about pies and pie bars is if they have to be refrigerated.
This depends on what goes into the pie: sugar and acid are the important keys. It’s time for my favorite subject… kitchen chemistry!
Kitchen Chemistry
Fruit pies which include sugar and acid are safe to keep at room temperature as the sugar and low pH both slow bacteria growth. The bacteria loses water through the process of osmosis – i.e., dehydration – as the sugar draws water out of the bacteria, preventing bacterial division and growth.
Of course, if pie filling has any dairy or eggs in it, it should be refrigerated. But in the case of these cherry pie bars, room temperature storage is fine for up to two days. Refrigerate if storing for more than 2 days.
Cherry pie bars can also be frozen for up to 3 months! Thaw at room temperature for several hours before enjoying.
Tips and Tricks for the Best Cherry Pie Bars
- If using frozen cherries, thaw the cherries first and drain any excess liquid. The easiest way to do this is to thaw on a plate overnight in the refrigerator.
- After baking, allow the bars to sit for at least an hour before slicing. This ensures the fruit filling will completely set.
- Wipe off your knife after each cut for even, smooth edges. Otherwise, crumbs from the crust and the cherry pie filling will stick to the knife and carry over to the next bar.
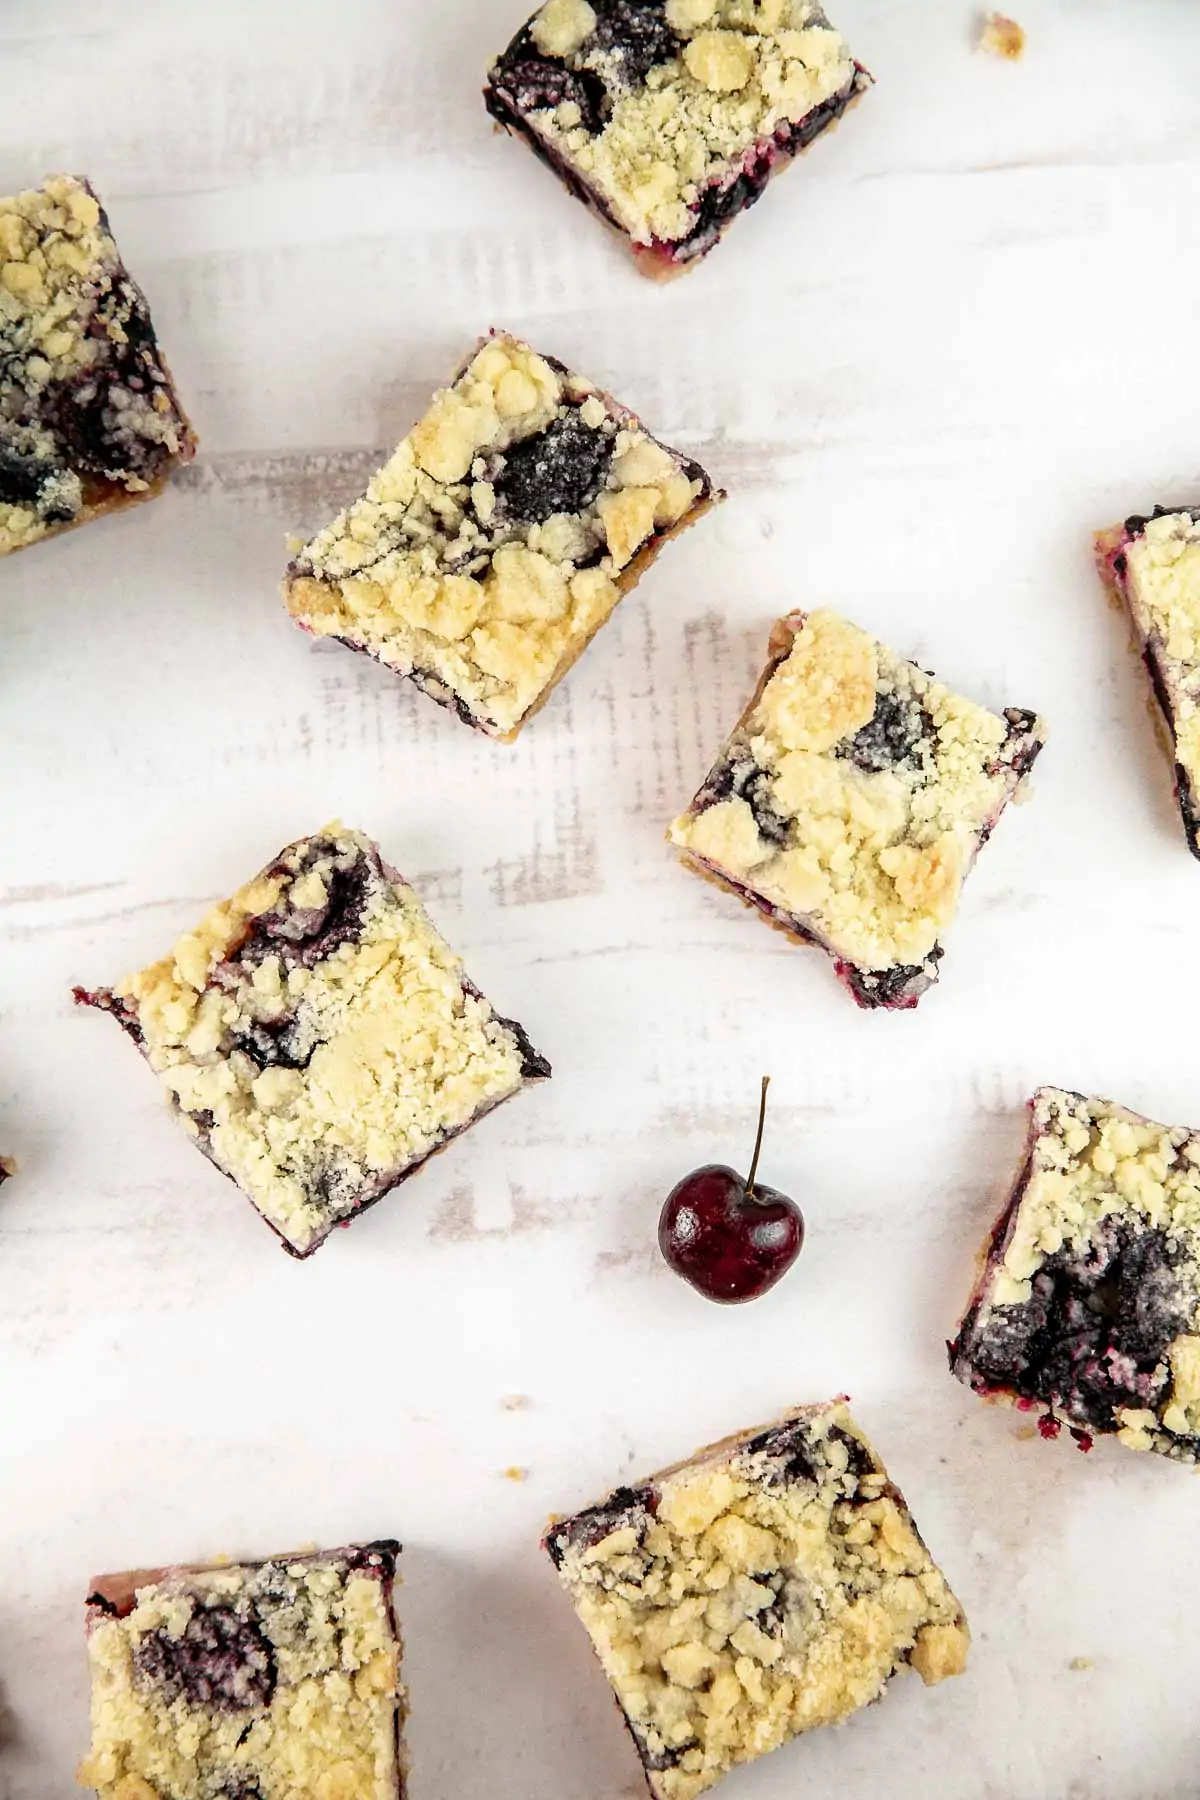
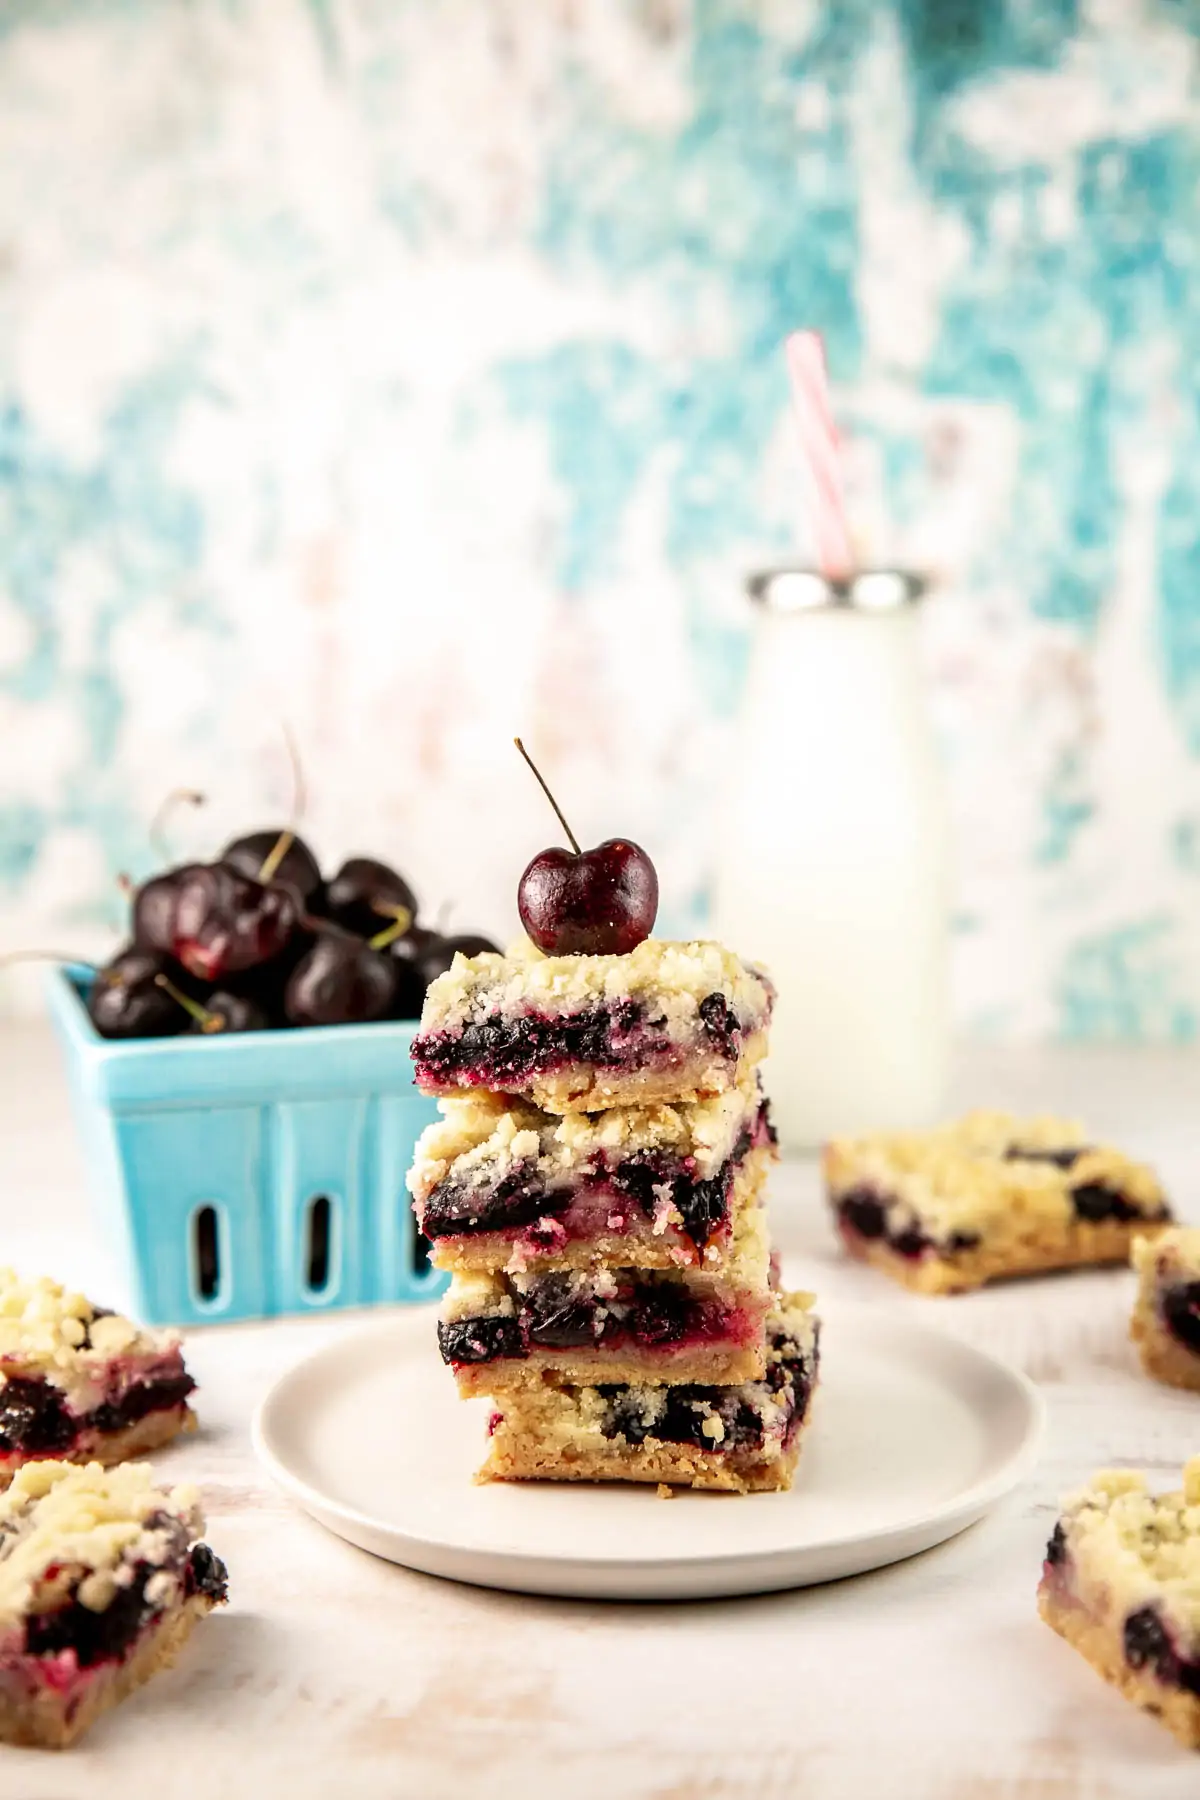
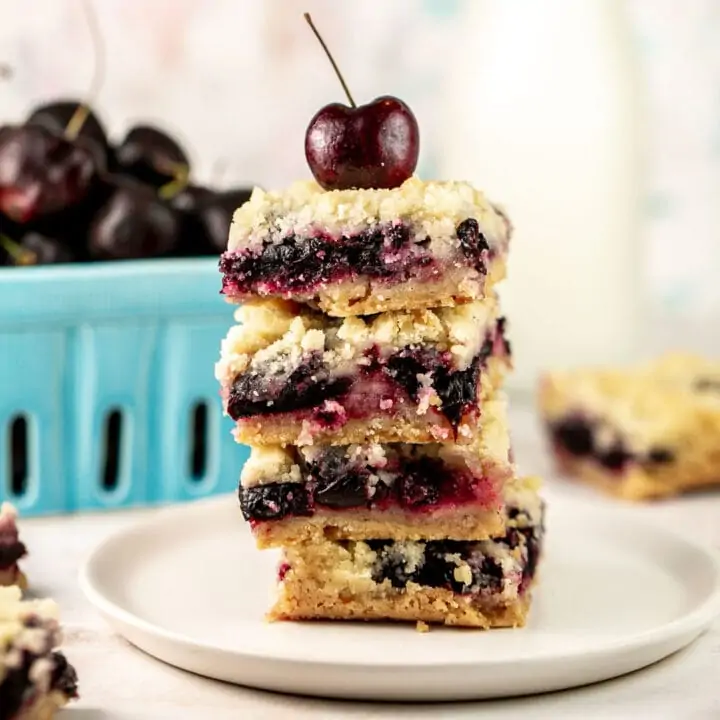
- For classic bright red cherry pie bars, use bing or Rainer cherries. The recipe above was photographed using dark Hudson cherries, which results in a darker color – many people thought they were actually blueberry bars until tasting them!
More Cherry Recipes
- Chocolate Chip Cherry Pound Cake
- Chocolate Chip Cherry Upside Down Cake
- Cherry Chocolate Chunk Muffins
- Chocolate Cherry Bundt Cake
- Cherry Almond Pie
- Cherry Cheesecake Brownies
Cherry Pie Bars
These quick and easy Cherry Pie Bars, made with fresh (or frozen!) cherries and covered with an easy crumb topping, are easy to make and perfect to share!
Ingredients
For the Crust:
- 2 1/2 cups (300 grams) all-purpose flour
- 3/4 cup (85 grams) confectioners sugar
- 3/4 teaspoon salt
- 1 1/4 cups (282.5 grams) butter, cut into 1/2-inch pieces
For the Filling:
- 4 cups cherries (480 grams), fresh or frozen, pitted and cut in half
- 2 tablespoons (14 grams) cornstarch
- 1 tablespoon lemon juice
- 1 1/2 tablespoons (18.5 grams) granulated sugar
Instructions
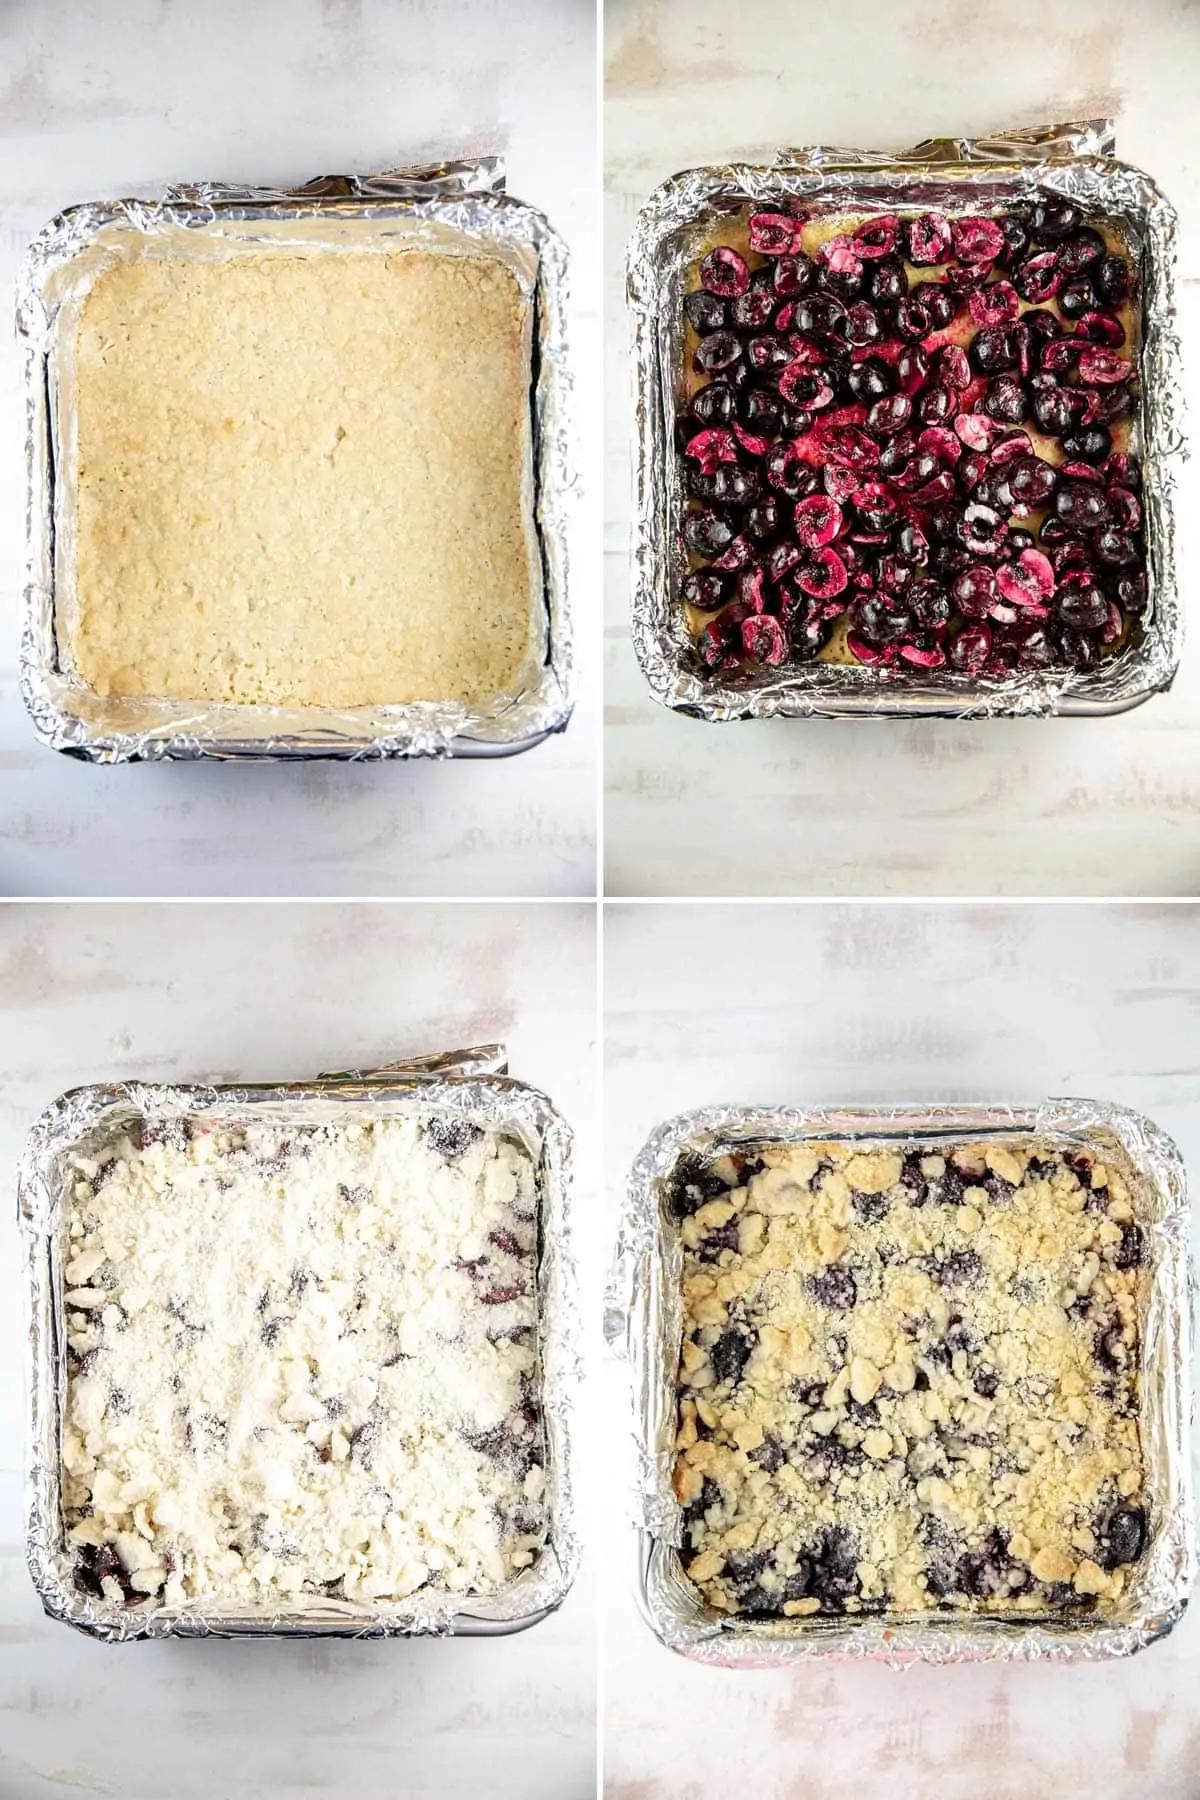
- Preheat oven to 375 °F. Line a 9×9-inch square pan with aluminum foil, then lightly grease.
- Make the shortbread crust. Add the flour, sugar, and salt to the bowl of a food processor and pulse several times to combine. Add the butter and continue to pulse in short, one second bursts, until the mixture resembles coarse sand. (Alternatively: whisk together ingredients and cut butter into the dough with two knives.)
- Set aside approximately 3/4 cup of the shortbread crust mixture. Spread the remaining shortbread crust into the prepared pan, pressing the crumbly dough down with a heavy glass, until dough forms an even layer across the pan. Bake for 12 minutes, then remove from the oven.
- Make the fruit filling. While the crust bakes, prepare the filling. In a large bowl, mix together the halved cherries, cornstarch, lemon juice, and sugar. Spread the cherry filling over the crust.
- Top with crumb topping. Crumble the rest of the remaining shortbread crust dough over the top of the cherries, trying to get an even layer across the filling.
- Bake the pie bars. Return the baking pan into the oven and bake until the filling is bubbling and the crumb topping is golden, 25 to 30 minutes.
- Let bars cool fully in the pan and cut into bars before serving.
Notes
- If using frozen cherries, thaw the cherries first and drain any excess liquid.
- After baking, allow the bars to sit for at least an hour before slicing.
- The final color of the cherry filling depends on the type of cherry used. For a darker filling, use dark sweet or Hudson cherries. For a classic bright red filling, use Bing cherries.
Recommended Products
As an Amazon Associate and member of other affiliate programs, I earn from qualifying purchases.