Raspberry Pie Bars
These easy Raspberry Pie Bars are made with fresh raspberries, a buttery crust, and a crunchy oatmeal crumb topping for the perfect summertime treat!
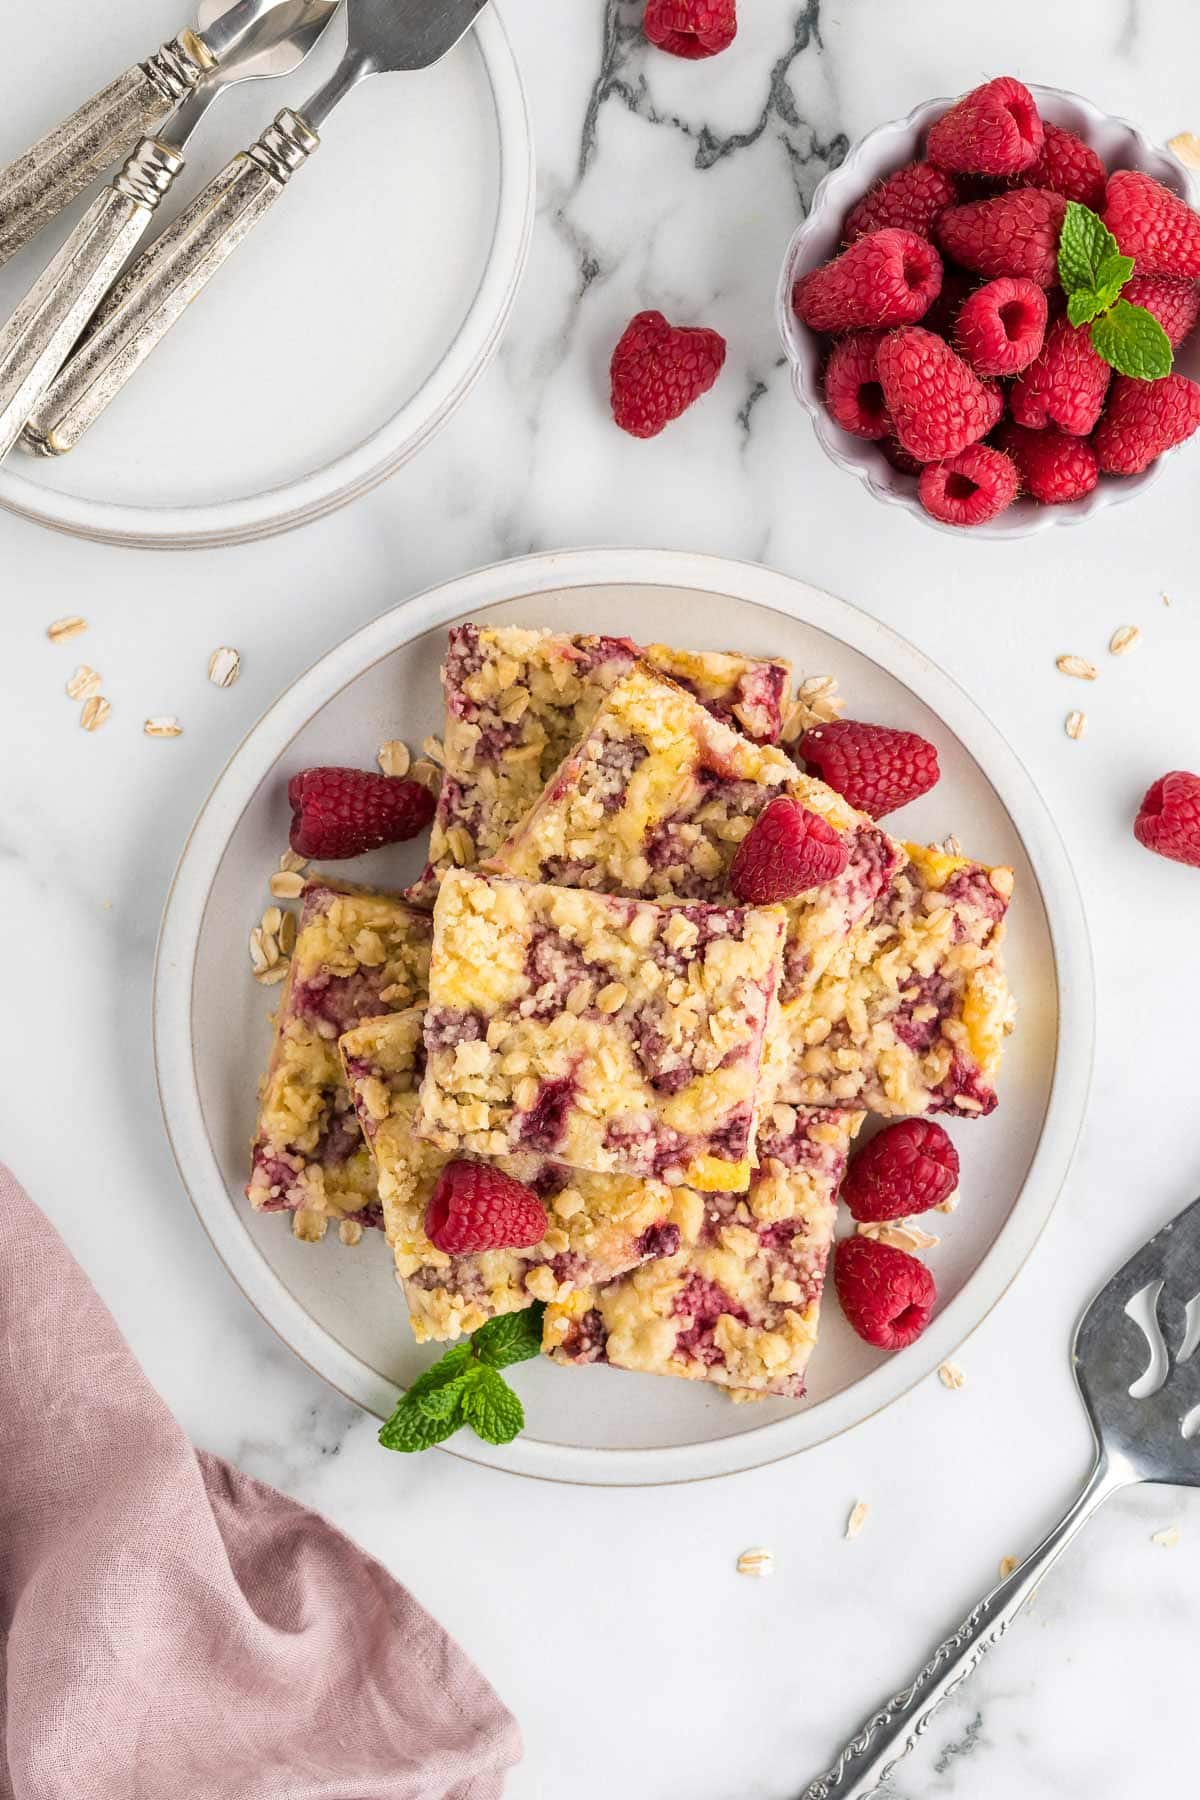
Fruit pies are one of my favorite things to make, especially in the summer when fresh fruit is so abundant! But when you aren’t in the mood to bake a full pie, these raspberry pie bars are the perfect substitute.
They have all of the flavors of pie with a buttery crust and sweet yet tart fruity custard filling. I like to top them off with a crumble mixture that is the same as the crust, and it gets super crispy in the oven!
These bars are perfect to bring to summertime get-togethers like BBQs since they are so easy to slice up and share! They can be eaten as is, but they are even better when you serve them warm with a scoop of vanilla ice cream or a dollop of whipped cream.
And great news: if you love raspberries and want to make these but it’s not fresh berry season, you can even use frozen raspberries, too! A delicious taste of summer – ready to make year-round.
Ingredients and Substitutions
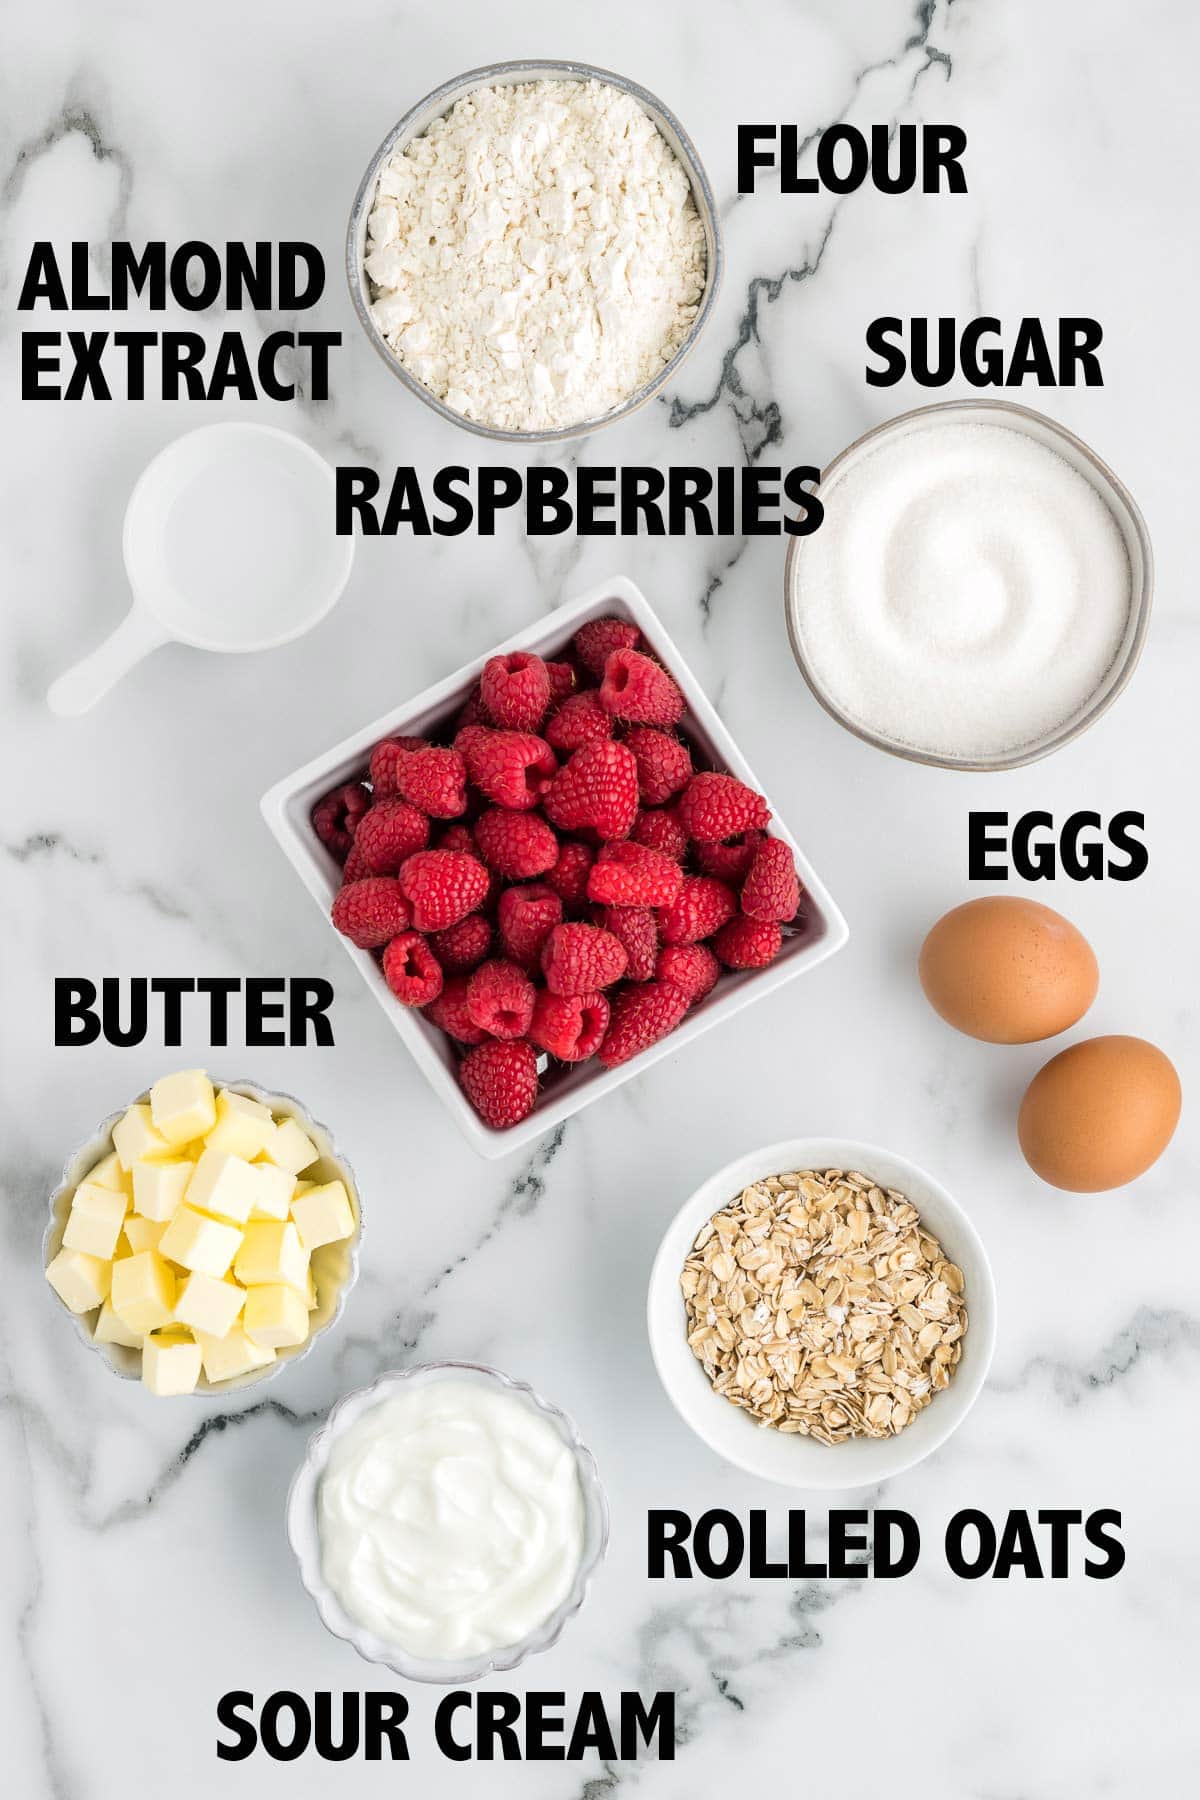
The ingredient list is pretty short for this one, but let’s go over what you need and a few substitution ideas!
For the Crust/Crumble Topping:
- Flour: Use all-purpose flour (weighed or fluffed and spooned into a measuring cup) or a gluten-free 1:1 baking mix to keep these raspberry bars gluten-free.
- Rolled Oats: Look for old-fashioned rolled oats, not instant oats or steel cut oats. Quick cook oats can be used in a pinch, but rolled oats provide the best texture.
- Sugar: Both the crust and filling use granulated sugar, but if you’re looking to add a slightly deeper flavor, try substituting some of the granulated sugar in the crust for brown sugar!
- Salt: This recipe is written for table salt or Morton kosher salt – adjust accordingly if using Diamond.
- Butter: Use unsalted butter, and keep it cold! We want to work small cubes of butter into the flour and oat mixture.
For the Raspberry Filling:
- Eggs: Two large eggs, at room temperature.
- Sugar: Granulated sugar, just like the crumb topping.
- Sour Cream: I always bake with full-fat sour cream for the best flavor, but if all you have on hand is low-fat sour cream, it will work. You can also use Greek yogurt (preferably full fat) instead of sour cream. Let this sit out before baking so it’s room temperature.
- Almond Extract: I love almond extract in my fruit pies, but if you’re not a fan, use vanilla extract instead.
- Flour: All-purpose flour or a suitable gluten-free baking mix substitute.
- Raspberries: Fresh raspberries are best, especially ripe in-season raspberries, but frozen raspberries can be used, too.
Easy Buttery Crust
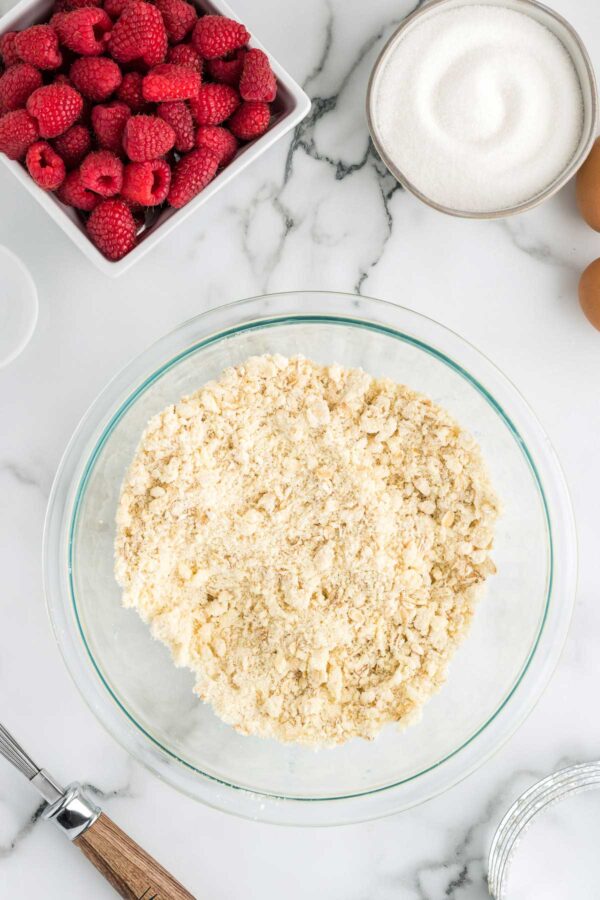
The crust here is going to double as your crumble topping which makes these raspberry crumble bars so easy to make! You can simply combine the butter, flour, rolled oats, sugar, and salt in a bowl and use a pastry cutter to cut the butter into the mixture. This will create some small pieces of butter that make this crust tender and flaky once it comes out of the oven!
Another way to get the same effect when mixing in cold butter is to mix in a food processor! Just be careful not to over-mix and only mix until the butter is pea-sized and the mixture is crumbly with a sand-like texture.
You may see recipes that call for crumble toppings made with melted butter. So why am I asking you to go through the extra step of cutting in cold butter instead of just mixing in melted butter? The answer, of course, all lies in my favorite subject… kitchen chemistry!
Kitchen Chemistry
For the best crunchy, crumbly crumb bar topping, always start with cold butter! Sugar starts to dissolve into melted butter, which causes the crumble to spread and flatten as it bakes and results in a greasy texture. Starting with cold butter, however, binds together the ingredients into clumps which create the crispy, textured crumb topping.
The colder the butter, the more crunchy the topping – so I recommend setting your crumb topping mixture in the refrigerator while you par-bake the crust and make the filling!
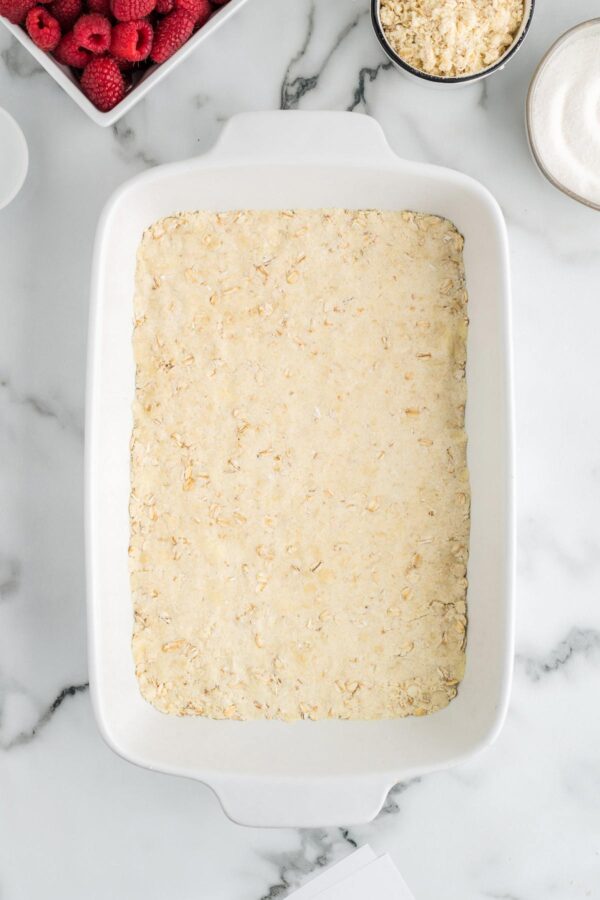
And speaking of par-baking — don’t skip this step! We don’t want to wind up with a soggy bottom crust in the end, so we need to give it a bit of a head start in the oven before we add the raspberry filling.
Fresh Raspberry Custard Filling
Fresh raspberries are around all year long, but are especially good in late summer and early fall. I just can’t stop buying them right now – both for eating and baking! The riper and tastier the raspberries, the better these raspberry pie bars will be!
But don’t worry. If it’s not fresh raspberry season or they’re prohibitively expensive, you can use frozen raspberries as well. Just add them at the very end and don’t thaw them first. Fold them in and pop them right into the oven. You may need to bake for an extra minute or two since the batter will be colder to start.
No raspberries? Prefer another kind of fruit? Go for it! Any sort of berry works well here – blueberries, blackberries, chopped strawberries, or even pitted cherries.
The filling for these pie bars is a baked custard filling. We’ll use eggs to provide the texture and the custard will thicken and set while the pie bars bake thanks to the flour. The raspberries melt down into the custard so you end up with a creamy layer of sweet custard with tangy raspberries in the middle.

Recommended Tools to Make Pie Bars
- Baking Dish: While I use ceramic baking dishes for pictures (because they look pretty!), I prefer to bake in light-colored metal pans which conduct heat more efficiently.
- Mixing Bowls: This set is my favorite! Lots of sizes to make the crumble and the filling, and both microwave and dishwasher-safe.
- Food Processor: The faster way to make the crust and crumble topping (but more dishes to wash!).
- Pastry Cutter: The more hands-on, time-consuming (but fewer dishes!) way to make the crust.
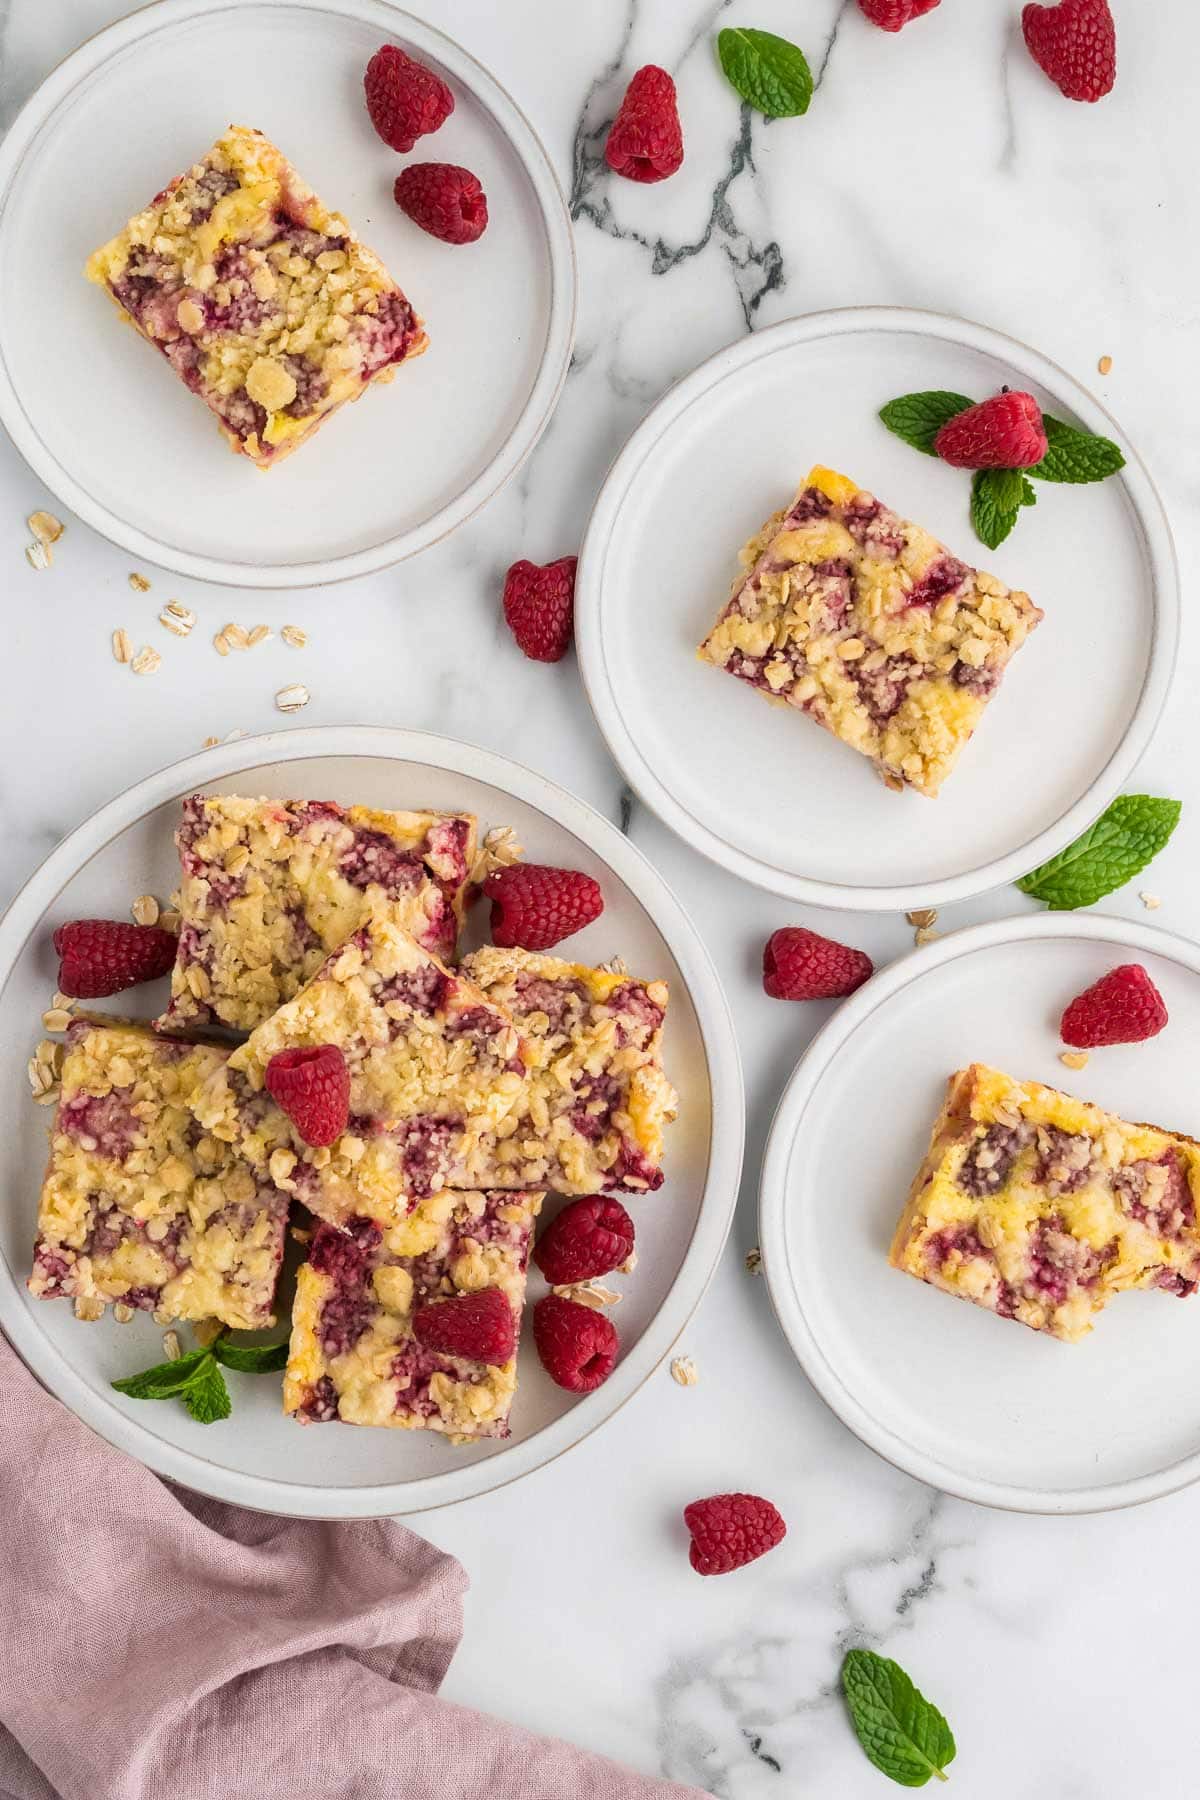
Tips and Tricks for the Best Raspberry Pie Bars
- Use cold butter! Make sure the butter you use in your crust and crumb topping is cold. This will ensure a flaky texture!
- Try other berries! Blueberries, blackberries, strawberries, or halved cherries (or a combination of them!) are all delicious.
- To prevent the crust from getting soggy, par-bake the crust before adding the raspberry custard filling.
- Let the bars set before cutting into them! Make sure to let your raspberry pie bars sit at room temperature for at least an hour (several hours or overnight is even better!) before cutting into them.
- Raspberry pie bars can be stored in an air-tight container at room temperature for up to 2 days, refrigerated for up to 5 days, or frozen for up to 3 months.
- For a warm pie bar and a deliciously crispy topping, reheat sliced par bars in the oven at 300°F for 10 minutes.
- Don’t forget to serve with ice cream! When you serve them warm, top them off with a scoop of vanilla ice cream for an extra summery treat.
More Favorite Summer Fruit Desserts:
- Homemade Fig Bars
- Lemon Pie Bars
- Berry Oatmeal Crumble Bars
- Strawberry Rhubarb Oatmeal Bars
- Peach Pie Bars
Raspberry Pie Bars
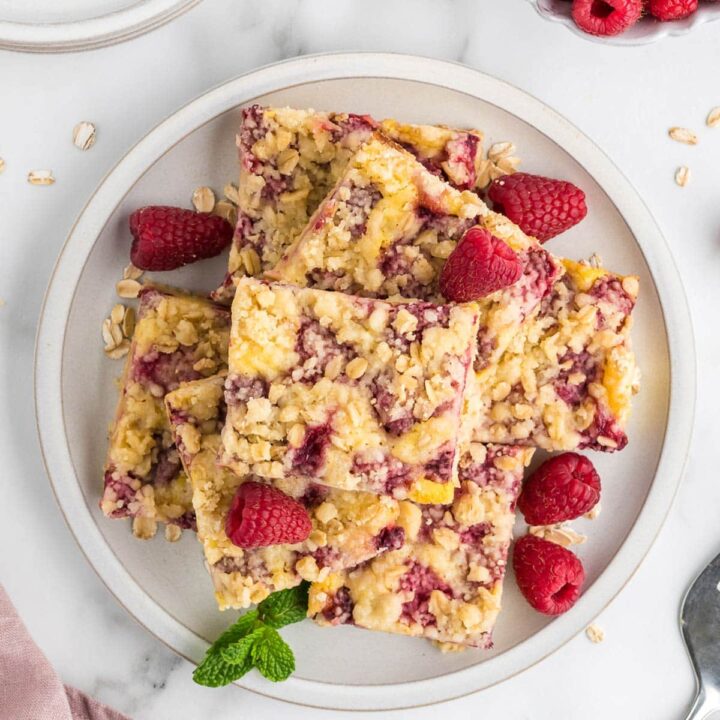
These easy Raspberry Pie Bars are made with a fresh raspberry custard filling and a buttery oatmeal crust and crumb topping for the perfect summertime treat!
Ingredients
For the Crust:
- 1 1/2 cups (180 grams) all-purpose flour
- 1/2 cup (45 grams) old-fashioned rolled oats
- 1/2 cup (99 grams) granulated sugar
- 1/8 teaspoon salt
- 1/2 cup (113 grams) butter, cold, cut into 1/2-inch cubes
For the Filling:
- 2 large eggs, room temperature
- 1 cup (198 grams) granulated sugar
- 1/2 cup (113 grams) sour cream
- 1 teaspoon almond extract
- 1/3 cup (40 grams) all-purpose flour
- 3 cups (360 grams) fresh raspberries
Instructions
- Preheat the oven to 350 °F. Lightly grease a 9 x 13-inch baking dish or line it with parchment paper extended over the edges of the baking dish for easy removal.
- Make the crust. Whisk together the flour, oats, sugar, and salt in a medium mixing bowl. Add the cubes of cold butter and cut the butter into the flour using a pastry cutter until pea-sized clumps of butter remain. This can also be done using a few pulses in a food processor.
- Set aside approximately 1 cup of the crust mixture in a small bowl and place in the refrigerator. Press the remaining mixture into the prepared pan, using the bottom of a heavy measuring cup or glass to firmly press the mixture in an even layer across the bottom of the pan.
- Bake the crust for 12 minutes, until just slightly golden but still soft. Set aside to cool slightly.
- Make the filling. In a medium mixing bowl, whisk together the eggs, sugar, sour cream, almond extract, and flour until combined. Fold the raspberries into the mixture.
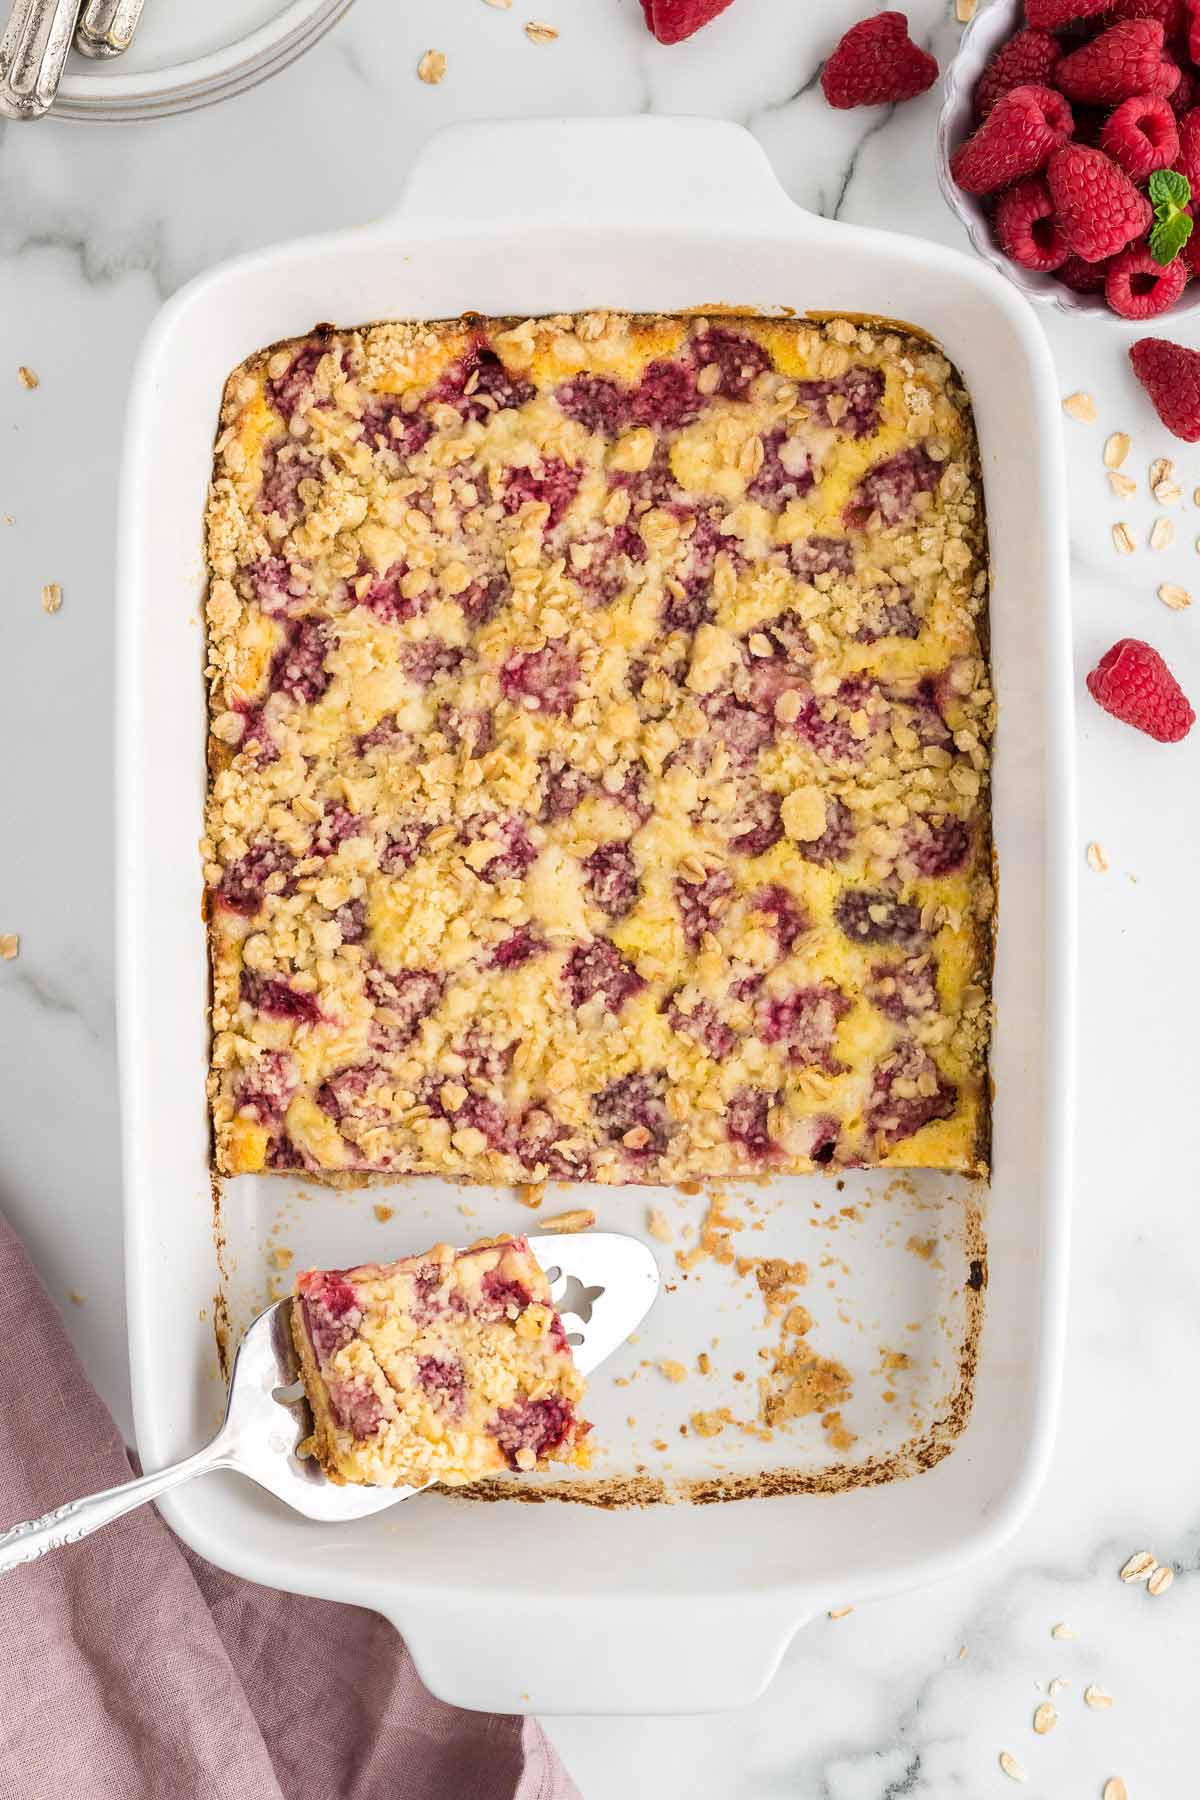
- Transfer the raspberry filling into the parbaked crust, spreading it to the edges. Sprinkle the reserved crust mixture over the top of the pie bars, squeezing some of the crust between your fingers to form clumps.
- Bake the pie bars. Bake for 45 minutes, or until the crust is golden brown and the filling has started to set.
- Remove from the oven and set aside to cool for at least 1 hour before cutting and serving.
Notes
- Other berries, such as blackberries, blueberries, quartered strawberries, or even halved cherries can be substituted for the raspberries.
- Use a gluten-free baking mix in lieu of the all-purpose flour to keep these raspberry pie bars gluten-free.
- Raspberry pie bars can be stored in an air-tight container at room-temperature for 2 days, refrigerated for up to 5 days, or frozen for up to 3 months.
Recommended Products
As an Amazon Associate and member of other affiliate programs, I earn from qualifying purchases.


