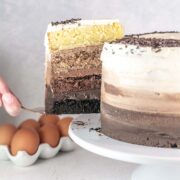
Ombre Chocolate Cake
Chocolate lovers unite! This four-layer Ombre Chocolate Cake is just as delicious as it is beautiful! This is a stunning cake to make for any birthday or celebration.

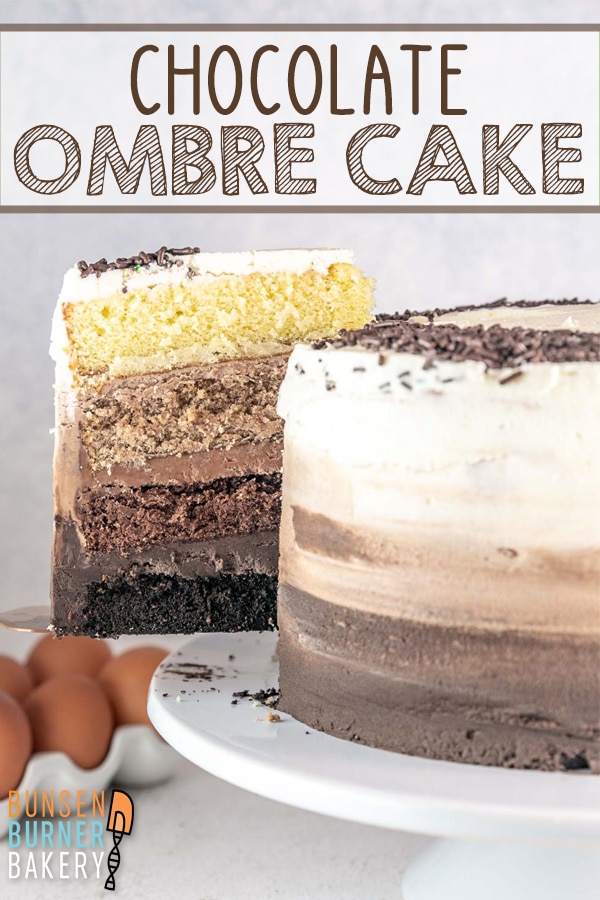
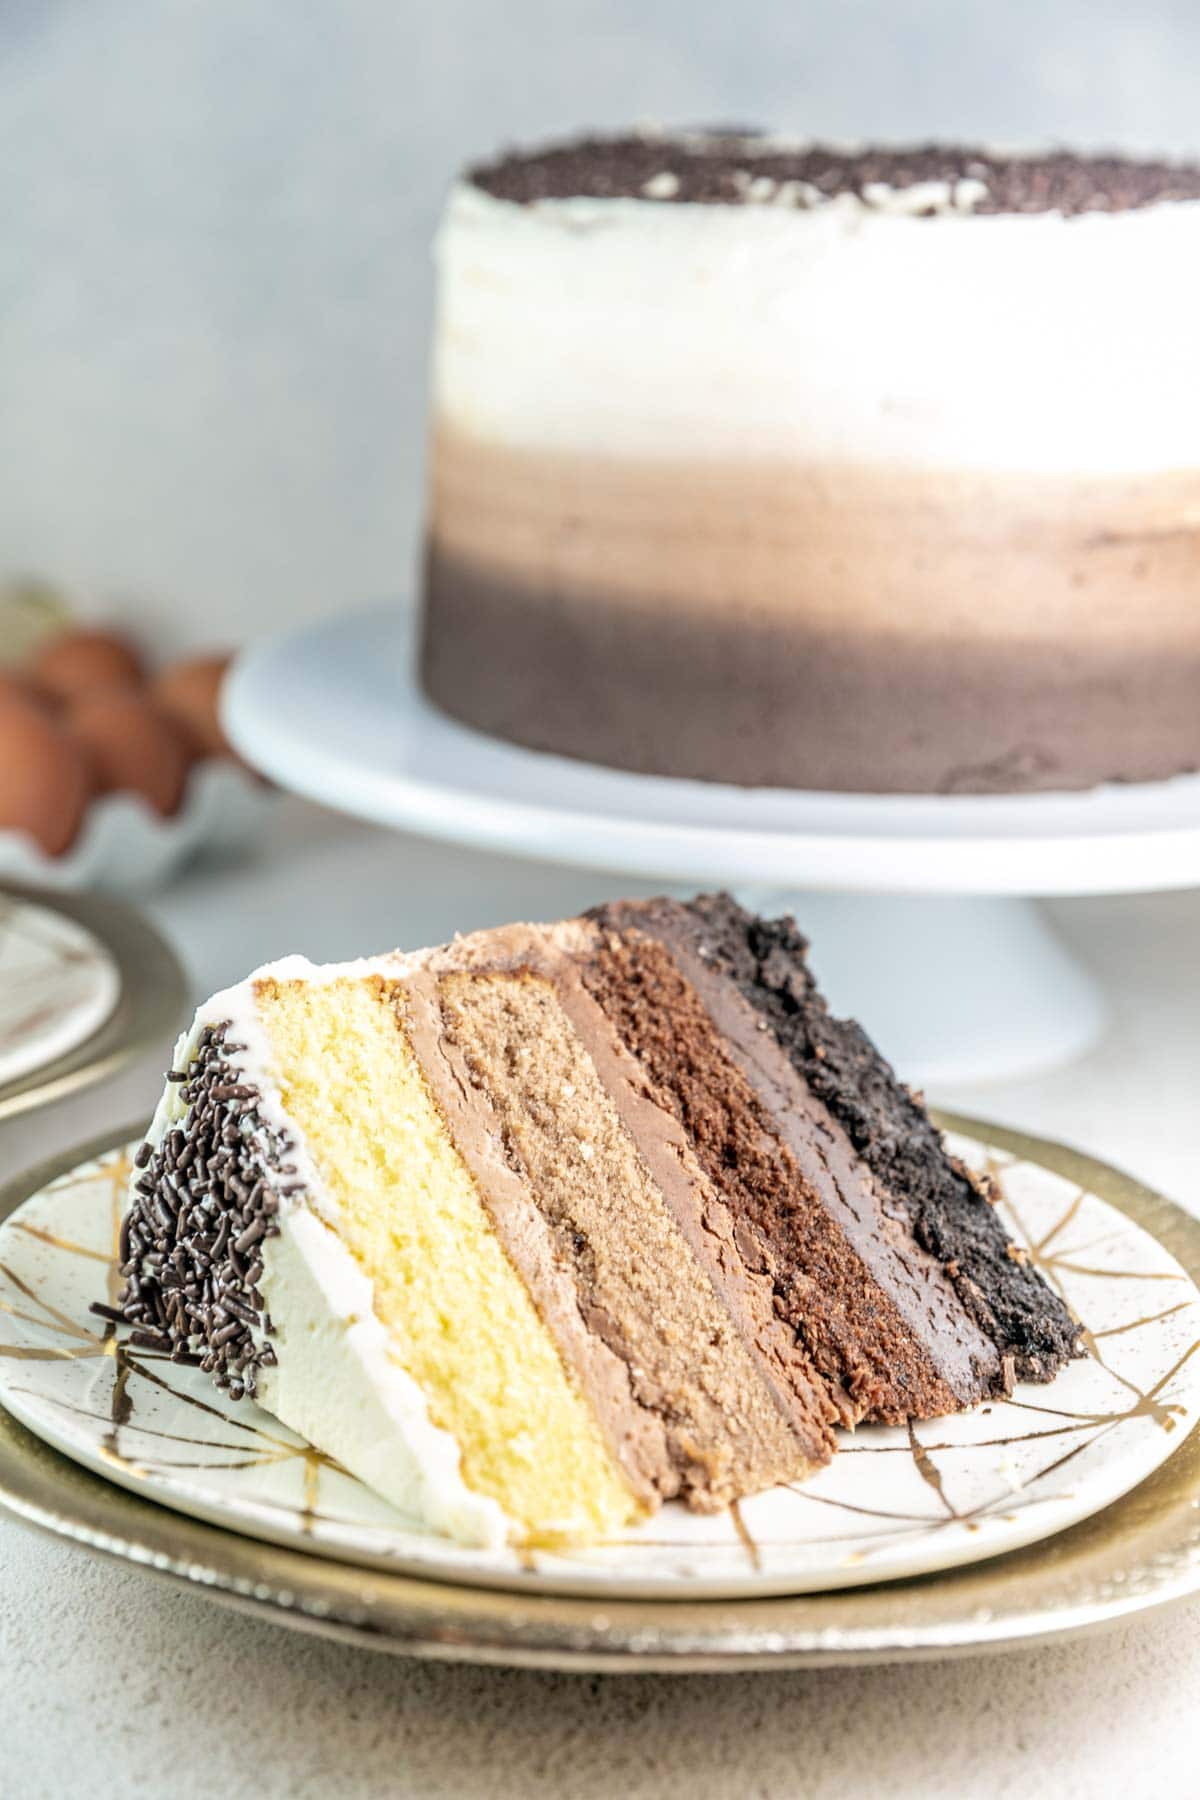
Is there anything better than a really good chocolate cake? Probably not. And this ombre chocolate cake has the best of both worlds: chocolate and vanilla. With one layer of vanilla cake and three layers of chocolate cake, you get a perfectly balanced cake that gets chocolatier in every layer.
While I know this cake might seem a bit intimidating, it is actually not difficult to make! You will make just one base cake batter and one base frosting and add additional ingredients after they are separated into separate bowls.
This is the perfect cake for any sort of celebration – birthday, anniversary, holiday – it’s delicious and beautiful! I have all the step-by-step directions you need for a stunning ombre cake.

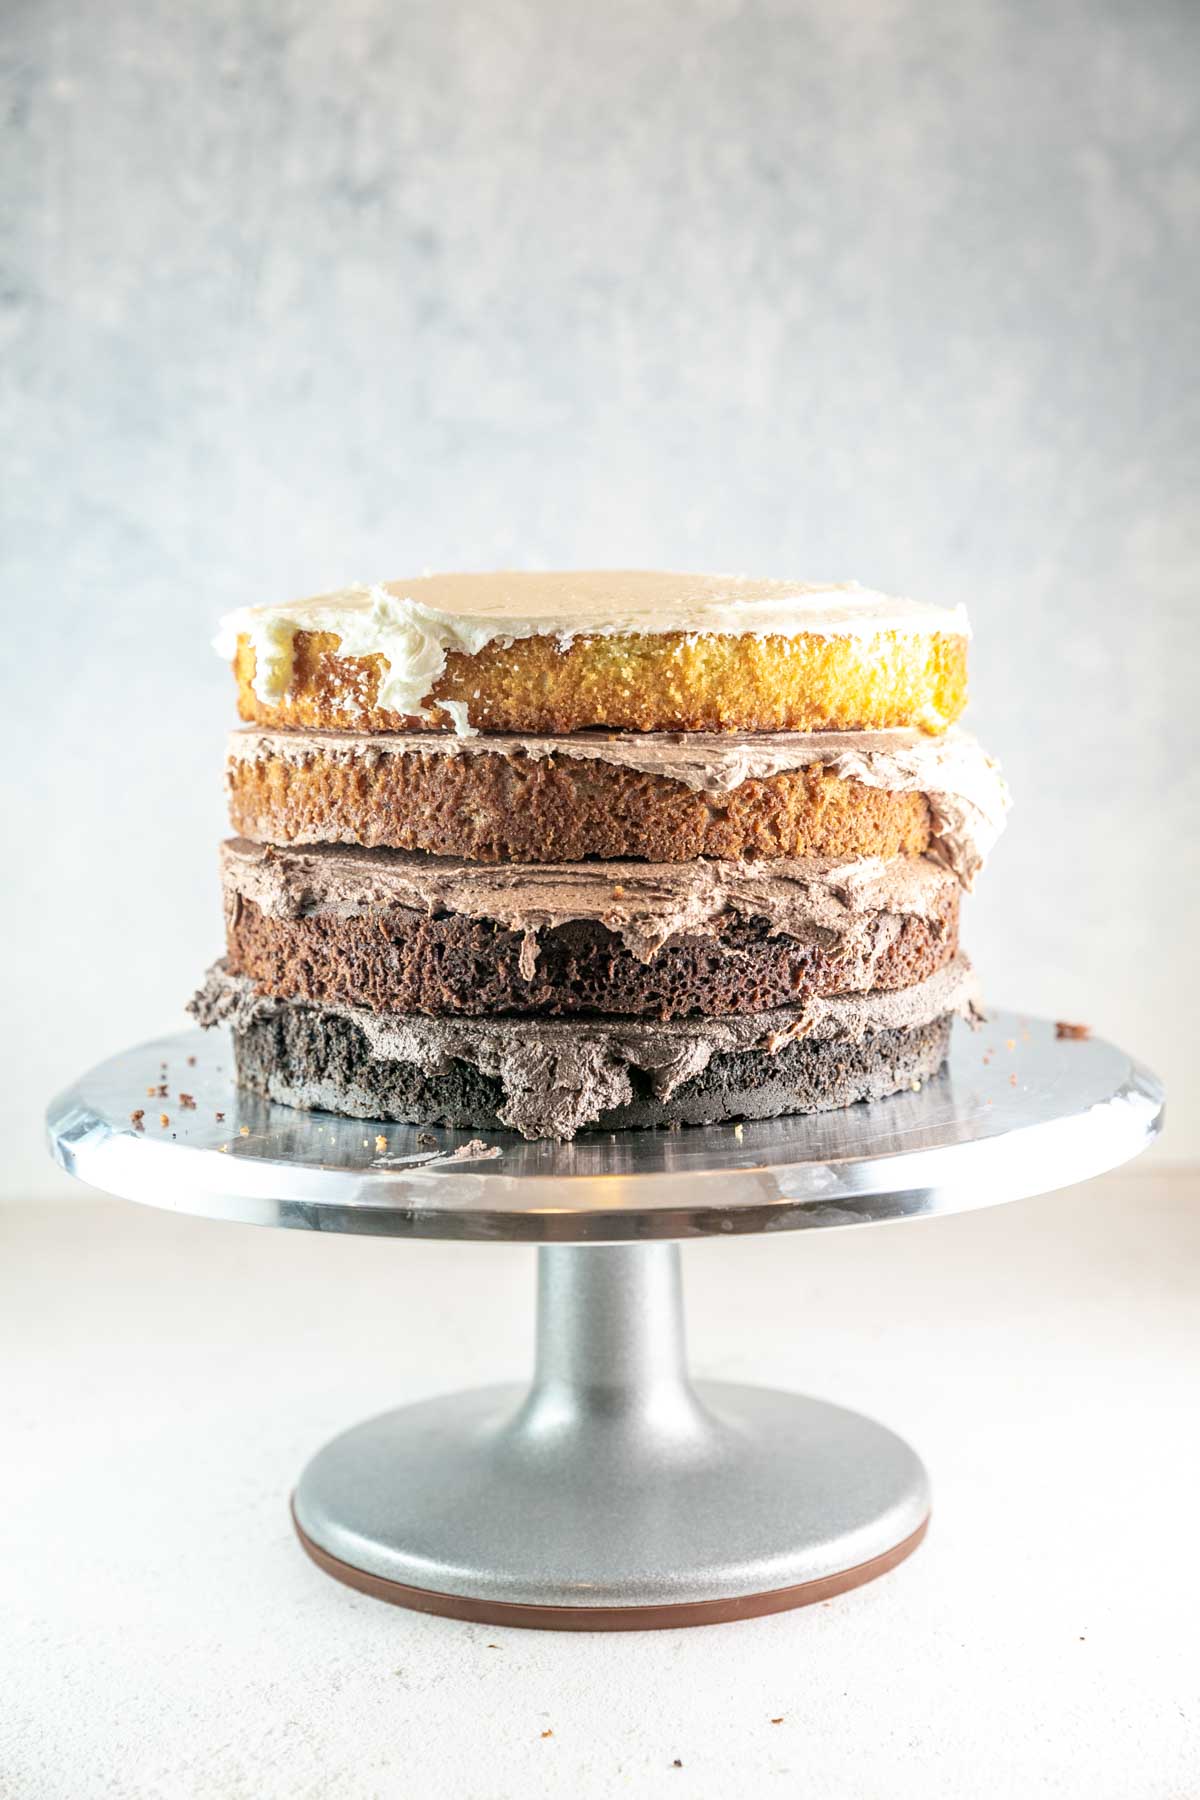
Four Layers of Cake
What makes my chocolate ombre cake recipe so special is the four different layers of cake and frosting. You can see that the cake starts light and gets more chocolate added to both the cake and the frosting in each layer! Not only does this make the cake so delicious, but also so fun and beautiful.
First, start off by making the vanilla cake batter. This serves as the base for all four layers. Then we’ll separate this batter into four equal parts in four bowls. One bowl stays as is for the vanilla cake layer, but we’ll add cocoa powder to each of the other bowls to make increasingly more and more chocolatey layers of cake.
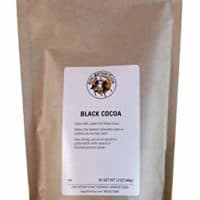
For the three layers of chocolate cake, you will need two different kinds of cocoa powder: Dutch Process Cocoa Powder and Black Cocoa Powder. Both of these cocoa powders are Dutch Processed and make a darker, more fudge-like cake than regular cocoa powder.
But, what makes cocoa powder dutch processed? It’s time for my favorite subject… kitchen chemistry!
Kitchen Chemistry
Dutch Process cocoa powder is treated with a potassium carbonate (an alkalyzing agent) to lower the pH level of the cocoa powder, which is naturally acidic. Dutch process cocoa powder has a smoother, richer, and deeper chocolate flavor. Because Dutch process cocoa powder is pH neutral instead of acidic, it will not react with baking soda and requires baking powder if a leavening agent is needed.
Dutch process cocoa powder not only tastes more chocolatey, it also results in a darker finished product, which was just what I wanted for this ombre cake.
To get the increasingly dark, more chocolatey layers of cake, we’ll add a little more Dutch process cocoa powder to each layer, ending with some black cocoa powder (which is super-Dutched – i.e., has even more alkalizing agent added to it). However, cocoa powder is pretty drying, and just adding more and more cocoa powder to the batter leaves a crumbly, dry-tasting cake. To counteract this, we’ll add some vegetable oil to each of the chocolate cake layers. Adding a little additional fat adds extra moisture and ensures a tender crumb throughout the entire cake.

Four Colors of Frosting
Similar to the cake batters, you will also make one big batch of vanilla frosting for the chocolate ombre cake. The frosting will be separated into four bowls again, adding different amounts of cocoa powder to create the ombre layers of each frosting.
We’ll also use Dutch process cocoa powder in these for the deeper flavor and color, although in a frosting recipe or anything that doesn’t involve a chemical leavener like baking soda or baking powder, you could swap between Dutch process and natural unsweetened cocoa powder.
Since we’ll blend the frosting together outside the cake, there’s no need to weigh the frosting to get the exact same amount in each bowl – just eyeballing is good enough!

Assembling the Ombre Cake
After baking your four cake layers, let them cool to room temperature before assembling. If the top of the cake layers are domed, use a sharp knife to trim the tops so they are flat.
On a large plate or cake stand, place the darkest chocolate layer down first, then add a layer of the darkest frosting on top. Spread the frosting with a rubber spatula or offset spatula. Then, add each cake layer with the corresponding frosting.
Then, roughly put the frostings onto the sides of the cake in order of lightest frosting to darkest. Use an offset spatula to smooth the edges of the cake and create an ombre effect. The amazing thing about this cake is that it doesn’t have to be perfect. The ombre will work even if the original placement of the frosting is a little messy!
Tips & Tricks for the Best Chocolate Ombre Cake
- When separating the cake batter into four bowls, you can either eyeball it or use a scale to ensure that each layer is relatively the same. My batter came out to 1762 grams, so I divided the cake batter into about 440 grams for each bowl.
- If you don’t have four cake pans, bake two at a time and let the cake pans cool completely before continuing with the second batch of cake.
- Make the cake ahead of time and freeze. The cake layers can be made up to 3 months in advance, wrapped in plastic wrap, and frozen. Once you are ready to assemble the cake with the frosting, let the cake layers fully thaw before decorating.
- You can also use piping bags to decorate the cake, if preferred. Piping the separate ombre layers and then smoothing them out with an offset spatula will make a more neat ombre effect.
- Top with sprinkles! I love topping this cake with sprinkles since it is an easy and fun way to make the chocolate ombre cake look even more beautiful!
- Store leftover cake in an airtight container at room temperature for up to 3 days or in the refrigerator for up to a week. To prevent any cut sides of the cake from getting stale, press a piece of plastic wrap up against any exposed sides of the cake to help trap in any moisture.
More Cake Recipes to Try
- Chocolate Oreo Cake
- Dark Chocolate Cookie Cake
- Rainbow Layer Cake
- Tres Leches Cake
- Chocolate Hazelnut Cake
- All Cake Recipes ≫
2021 Layer Cake of the Month Series
-

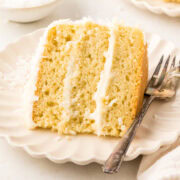
- Homemade Funfetti Cake

-
- Chocolate Raspberry Cake

-
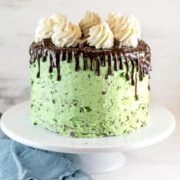
- Mint Chocolate Chip Cake
-
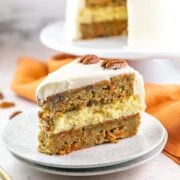
- Carrot Cake Cheesecake Cake
-
- Chocolate Chip Layer Cake

-
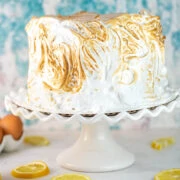
- Lemon Meringue Layer Cake
-
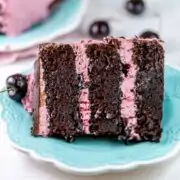
- Chocolate Cherry Cake
-
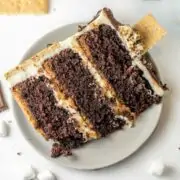
- Three Layer S’mores Cake
-
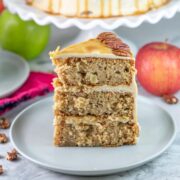
- Caramel Apple Cake
-
- M&M Candy Cake

-
- Chocolate Ombre Cake
-
- Coconut Layer Cake

Ombre Chocolate Cake
Chocolate lovers unite! This four layer Ombre Chocolate Cake is just as delicious as it is beautiful! This is an absolutely stunning cake for any occasion.
Ingredients
For the cake:
- 1 1/2 cups (339 grams) butter, room temperature
- 3 cups (594 grams) granulated sugar
- 5 large eggs, room temperature
- 3 cups (360 grams) all-purpose flour
- 2 teaspoons baking powder
- 1/2 teaspoon baking soda
- 1/2 teaspoon salt
- 1 cup (227 grams) buttermilk, room temperature
- 2 teaspoons vanilla extract
- 6 tablespoons + 2 teaspoons Dutch processed cocoa powder, divided
- 2 tablespoons black cocoa powder
- 6 teaspoons vegetable oil, divided
For the Frosting:
- 3 cups (678 grams) unsalted butter, room temperature
- 10 cups (1135 grams) confectioners' sugar
- 3/4 teaspoon salt
- 2 teaspoon vanilla extract
- 1/4 cup (57 grams) heavy cream, divided
- 5/8 cup Dutch process cocoa powder, divided
- 1/8 cup black cocoa
Instructions
- Prepare the cake pans. Preheat oven to 350° F. Line four 8-inch round cake pans with parchment paper, then spray parchment paper with nonstick baking spray. (If you don't have four cake pans, bake the cake in two batches of two cake layers, making sure the pans are cooled completely before filling and baking the second layers.)
- Make the cake batter. In the bowl of an electric mixer, beat together the butter and sugar on medium-low speed until light and fluffy, about 5 minutes. Turn the speed to low and beat in the eggs, one at a time, waiting until the egg is incorporated until adding the next.
- In a small bowl, stir together the flour, baking powder, baking soda, and salt. Add half of this mixture to the butter and eggs and beat until just combined. Slowly pour in the buttermilk and vanilla mix to combine, and follow with the remaining flour. Beat until just combined and no lumps remain.
- Add cocoa powder to make the ombre chocolate layers. Divide the cake batter into four bowls with an equal amount of batter in each. Leave one bowl with vanilla batter. To the second bowl, mix in 2 teaspoons of Dutch processed cocoa powder. To the third bowl, mix in 3 tablespoons of Dutch processed cocoa powder and 2 teaspoons of vegetable oil. To the fourth bowl, mix in 2 tablespoons of black cocoa powder, 2 tablespoons of Dutch processed cocoa powder, and four teaspoons of vegetable oil. Scrape the cake batter from each of the bowls into one of the four prepared pans.
- Bake the cake layers. Bake for 23-25 minutes, until a tester inserted into the center comes out with a moist crumb. Remove from the oven, allow to cool in the cake pans for 5 minutes, then turn out onto a wire rack to cool completely.
- Make the frosting. While the cake layers cool, make the buttercream frosting. Using an electric mixer, beat the butter on medium speed for 3-4 minutes, until light and fluffy. Reduce the speed to low and add the confectioners' sugar, 1 cup at a time, waiting until the sugar has been fully incorporated before adding more. Once all the sugar has been added, increase the speed to medium and beat for 3 minutes. Add the vanilla extract and 2 tablespoons of the heavy cream and whip together on medium speed for 1 minute.
- Remove approximately one-fourth of the frosting to a bowl. Add in 1/4 cup (4 tablespoons) of the Dutch process cocoa powder, 1/2 tablespoon of heavy cream, and beat for 1 minute. Remove approximately one-third of the remaining frosting to a second bowl. To the frosting remaining in the mixing bowl, add an additional 1/4 cup (4 tablespoons) of the Dutch process cocoa powder, 1/2 tablespoon of heavy cream, and beat for 1 minute. Remove half of this frosting into a third bowl. To the frosting remaining in the mixing bowl, add in 1/8th cup of Dutch process cocoa powder, 1/8th cup of black cocoa, and the remaining 1 tablespoon of heavy cream. Beat for another minute to combine. If any of the four colors of frosting feel too stiff, add a few drops of milk or heavy cream and stir to combine.
- Assemble the cake. Once the cake has fully cooled, level the tops of the cake if they domed during baking. Place the darkest chocolate cake on the bottom and cover with a layer of the darkest chocolate frosting. Add the second-darkest chocolate cake layer and cover with the second-darkest frosting. Top with the lightest chocolate cake layer and cover with the lightest chocolate frosting. Finally, add the vanilla cake on top, face down, and cover the top of the cake with the vanilla frosting. Use an offset spatula to frost the sides of the cake, adding the frosting to the corresponding cake layer. Using the offset spatula held vertically, smooth the frosting around the whole cake, slightly blending the frostings together to create a gradient effect. Top with swirls of extra frosting, chocolate ganache drips, or chocolate sprinkles, if desired.
Notes
- If you don’t have four cake pans, bake two at a time and let the cake pans cool completely before continuing with the second batch of cake.
- The cake layers can be made up to 3 months in advance, wrapped in plastic wrap, and frozen. Once you are ready to assemble the cake with the frosting, let the cake layers fully thaw before decorating.
- Store leftover cake in an airtight container at room temperature for up to 3 days or in the refrigerator for up to a week.
Recommended Products
As an Amazon Associate and member of other affiliate programs, I earn from qualifying purchases.